
The USB Rubber Ducky comes with two software components, the payload script to be deployed and the firmware which controls how the Ducky behaves and what kind of device it pretends to be. This firmware can be reflashed to allow for custom Ducky behaviors, such as mounting USB mass storage to copy files from any system the Duck is plugged into.
The USB Rubber Ducky, featured on Mr. Robot stealing login credentials, is a device designed to fit inside the "shell" of a cheap USB case to disguise itself as a normal USB mass storage drive. When plugged in, however, it acts like a keyboard, rapidly typing any instructions you program into it. Human interface device (HID) attacks work because computers have to trust keyboards — it's how humans communicate with them.
In this tutorial, I'll go over how to flash custom firmware to the Ducky using Ducky Flasher and show some examples of firmware options to expand the number of ways you can deploy your Duck!
Why Use the Rubber Ducky in the First Place?
In our previous article on the Rubber Ducky, we learned how to load and use keystroke injection attacks. For a refresher on that, skip over to the following link to review.
If you're looking to compromise a computer, evading detection is a primary concern. In most cases, Windows Defender or an antivirus program will swoop in to stop a harmful automated process that might damage the system. If you were to tell Windows to destroy itself from the command line, however, it will for the most part just do it.
The Rubber Ducky abuses this trust by allowing you to accomplish actions that might otherwise arouse suspicion or take too much time to do manually within a brief window of physical access. Aside from outputting whatever commands you tell it to, the Ducky allows you to bake in delays when needed to accommodate old or slow computers.
What Can You Do with It?
The USB Rubber Ducky can do anything you can type into a terminal window, which is a dangerous amount of things. This includes downloading and running any program you want from the internet immediately. For computers with internet access, it's often best to do all the work on the downloadable payload and focus on making a few seconds of access count without being detected.
You can schedule embarrassing emails to government officials containing local .jpeg files with suspicious file names. You can add backdoor accounts or reverse SSH shells. Pretty much anything you could accomplish behind the keyboard at the computer, you can automate into a few seconds of contact with the USB Rubber Ducky.
What Can't You Do with It?
You can't put information back on the Ducky since it just reads a .bin binary file that tells it how to send keystroke commands to the computer as a keyboard. This means you can't introduce files from the Ducky, you can't download files from the computer to the Duck directly, and you can't do some crazy stuff like run a VM from the Ducky to attack the host computer.
These limitations are addressed by downloading components off the internet or appropriating existing Windows, macOS (OS X), or Linux services. Rather than try to drop in some crazy custom malware, simply knowing how to use services via Windows commands in terminal will allow you to accomplish what you want the "official" way but at lightning speed.
Just Kidding — You Can Do That with Firmware
One of the core concepts of hacking is taking something meant for one purpose and giving it new life, and firmware hacking is a key component of that. Firmware is the system that runs below the operating system of any computer and controls the low-level behavior of the device. This can be changed, unlocking the device to do basically anything the hardware will allow. Many people "root" their phones by modifying this firmware to give it new life.
Most manufacturers don't allow this, as they want to ensure product quality and consistency. Most manufacturers also aren't Hak5, who create some of the most intresting and widely accessible pen-testing tools on the market, such as our beloved USB Rubber Ducky.
The USB Rubber Ducky's firmware has always been open to the community, and it wasn't long until custom firmware versions began to emerge. The Twin Duck, allowing for the USB storage to be mounted, and the Detour Duck, allowing for staged payloads to be triggered depending on certain variables, were among the first to be widely used.
This variety in behavior has greatly enhanced the USB Rubber Ducky's practicality as an attack vector, and in my subsequent articles, I'll introduce payloads utilizing each main firmware type.
Ducky Flasher
The Ducky Flasher, originally written by kmichael500 to flash different popular firmware forks to the USB Rubber Ducky. Written in Python, it works on Windows, macOS (OS X), and our Kali Linux Raspberry Pi! This makes the Pi a perfect place to write payloads and firmware to a Ducky on the go, giving the flexibility of changing both device behavior and payloads in a matter of seconds. This increased flexibility, coupled with the attention from cameos in major TV shows, has lead to the development of many new and interesting Ducky scripts. To take advantage of these, let's get familiar with Ducky Flasher.
What You Need
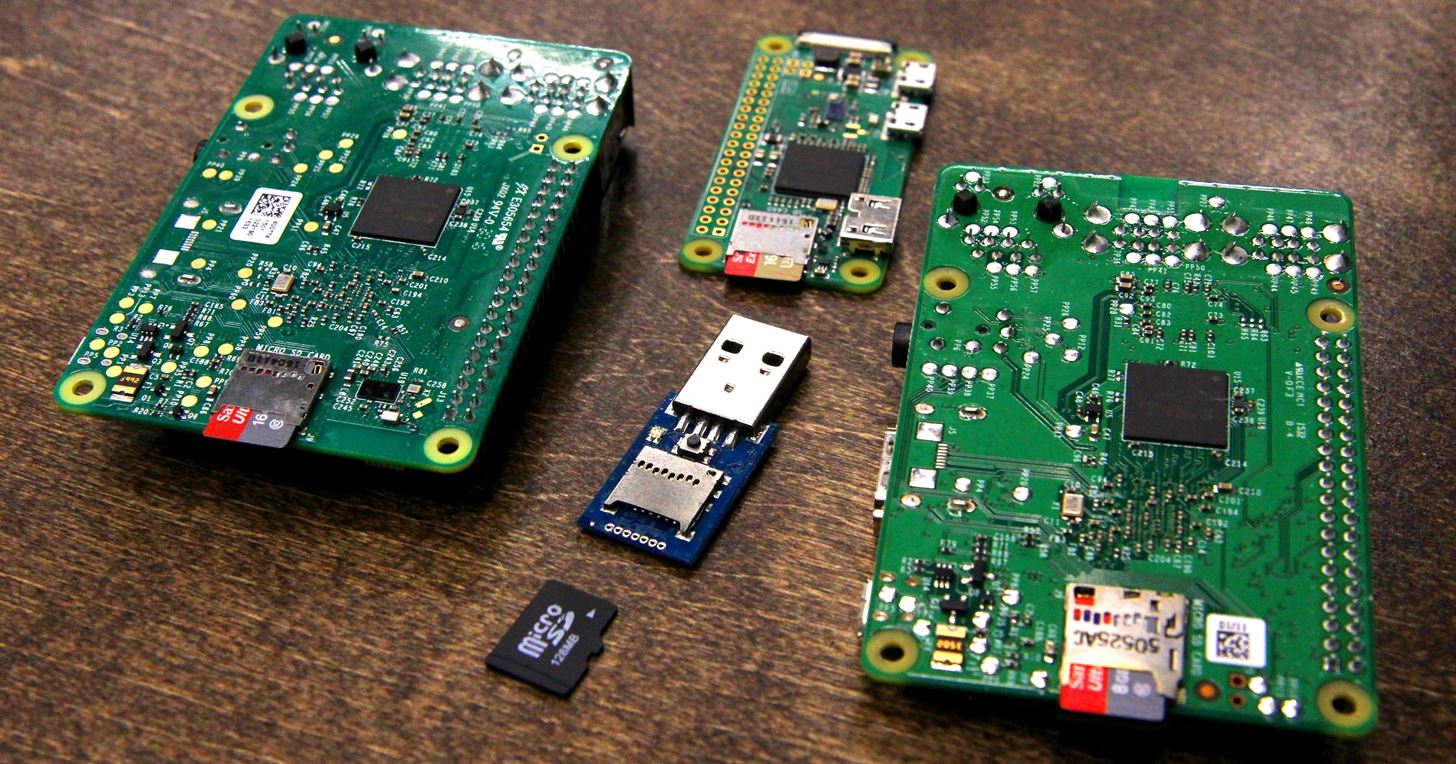
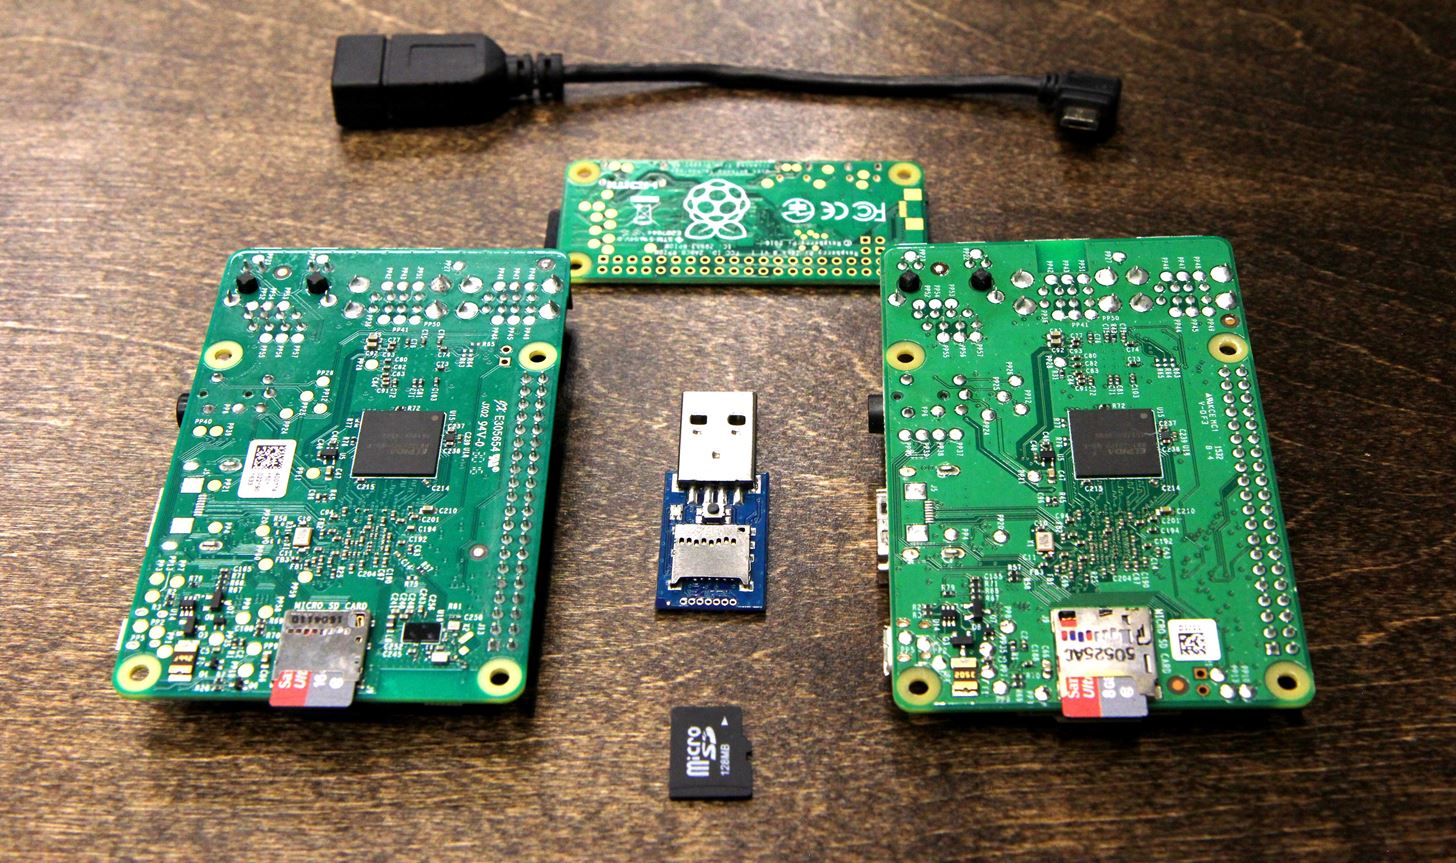
- USB Rubber Ducky
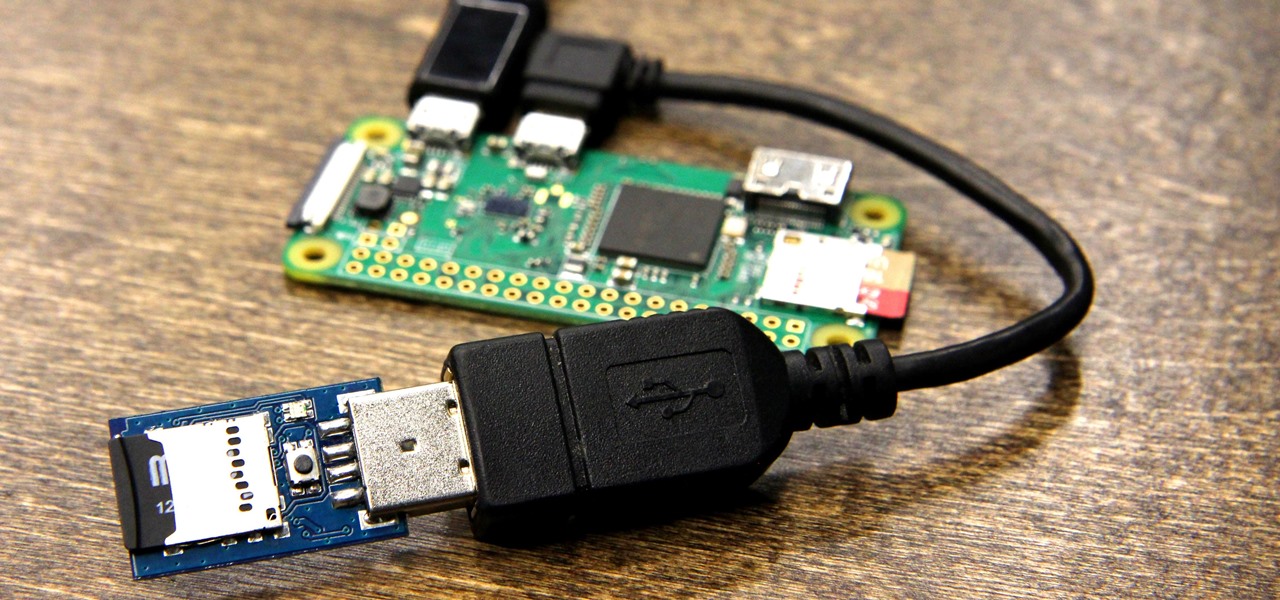
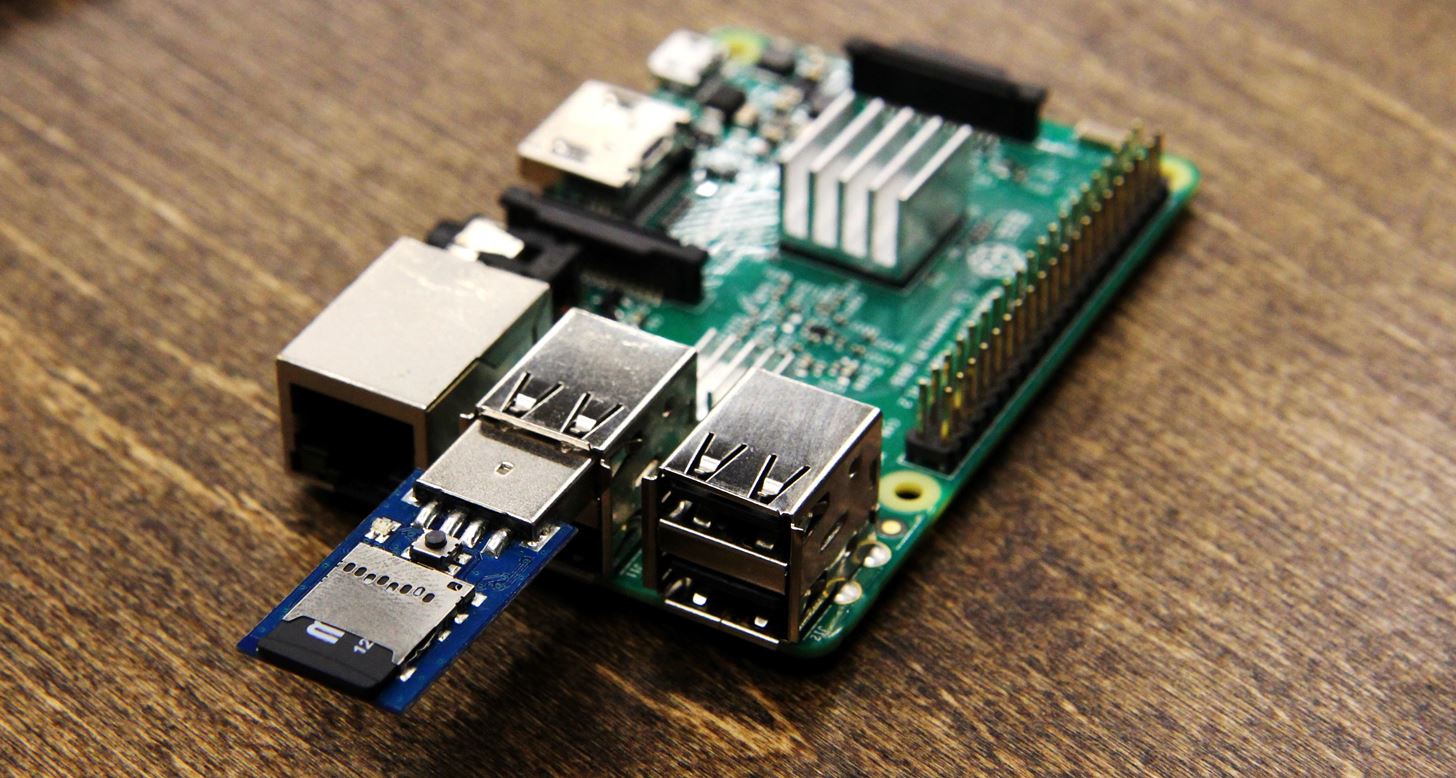
- microSD to USB adapter
- computer (try a Kali Pi — Null Byte's Kali Linux build for the Raspberry Pi)
- DFU Programmer
- Ducky Flasher
Step 1: Installing Dependencies & Fetching Ducky Flasher
To mess with firmware, we'll need to put our USB Rubber Ducky in DFU programming mode. This is done by holding down the small button on the USB Rubber Ducky as you plug it into the computer's USB port. This will allow us to write to the Ducky and modify the firmware. To prepare our computer for this, we'll need to install DFU programmer.
In Kali Linux, this command is:
sudo apt-get install dfu-programmer
Once this is complete, you can download Ducky Flasher by running:
wget https://github.com/hak5darren/USB-Rubber-Ducky/raw/master/Flash/ducky-flasher1.0.zip
When the .zip file has downloaded, unzip it with:
unzip ducky-flasher1.0.zip
Now we're ready to install Ducky Flasher!
Step 2: Installing Ducky Flasher
To install Ducky Flasher, we'll change directory into the newly unzipped folder, run the setup configuration file, and then run the Ducky Flasher as sudo. For this to work, you should plug in your Ducky in DFU mode. If you want to just test it and flash later, you can skip this for now.
In terminal, run:
cd ducky-flasher1.0
sudo python setup.py
sudo ducky-flasher
If you run into any problems, make sure you have Python installed.
Step 3: Running Ducky Flasher & Flashing Your First Firmware
To begin, hold down the small button on the USB Rubber Ducky as you insert it into the USB port of the computer you are running Ducky Flasher on. Make sure you've changed directory to the one Ducky Script is in, and then run:
sudo ducky-flasher
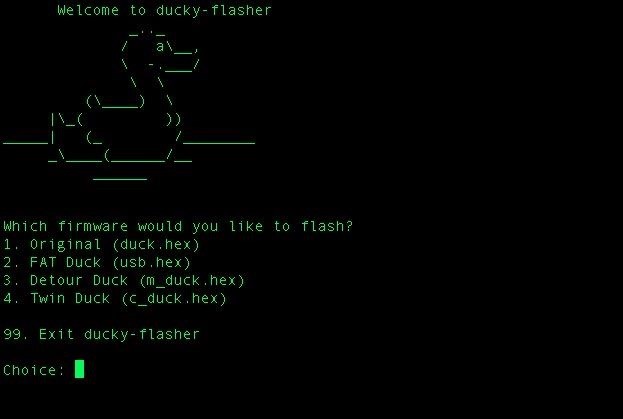
If you've broken your Ducky with custom firmware, now you can fix it. Select 1 to restore the original firmware.

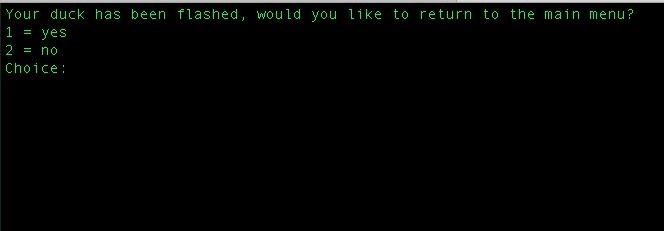
It's as simple as that. If your Ducky was in DFU mode, you should see the following.
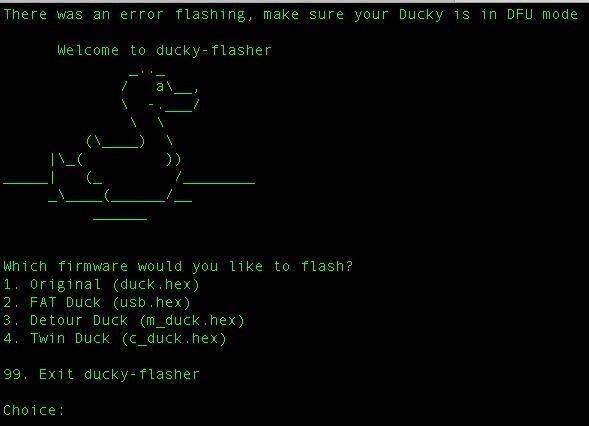
If your Duck isn't in DFU mode, you'll see the following screenshot. If this happens, try again or contact Hak5 if the Ducky simply will not switch to DFU mode.
Firmware Flavors
Now you'll be able to explore the various flavors of firmware the Ducky can run and experiment with different ways each gives you unique control over the interaction with the target computer. To demonstrate a proof of concept for this, I developed a payload for Null Byte to grab a specific file off of macOS using the Twin Duck custom firmware, which I'll cover in my next article.
Stay tuned for more articles on the USB Rubber Ducky. You can ask me questions here or @sadmin2001 on Twitter or Instagram.
Just updated your iPhone? You'll find new emoji, enhanced security, podcast transcripts, Apple Cash virtual numbers, and other useful features. There are even new additions hidden within Safari. Find out what's new and changed on your iPhone with the iOS 17.4 update.


Be the First to Comment
Share Your Thoughts