
Hello, Null Byte! Mkilic here. I doubt anyone knows I even exist on Null Byte, so hopefully this post will allow me to become more involved in the community and also help me learn even more.
This project is somewhat similar to OTW's article here, and pry0cc's here, in which both utilize the Raspberry Pi as a hacking tool. Both are great how-tos and are definitely better than mine. Nevertheless, I would like to go step by step through what I have created. Hopefully, you will learn some things, and hopefully, from your comments and discussions, I will as well.
Introduction
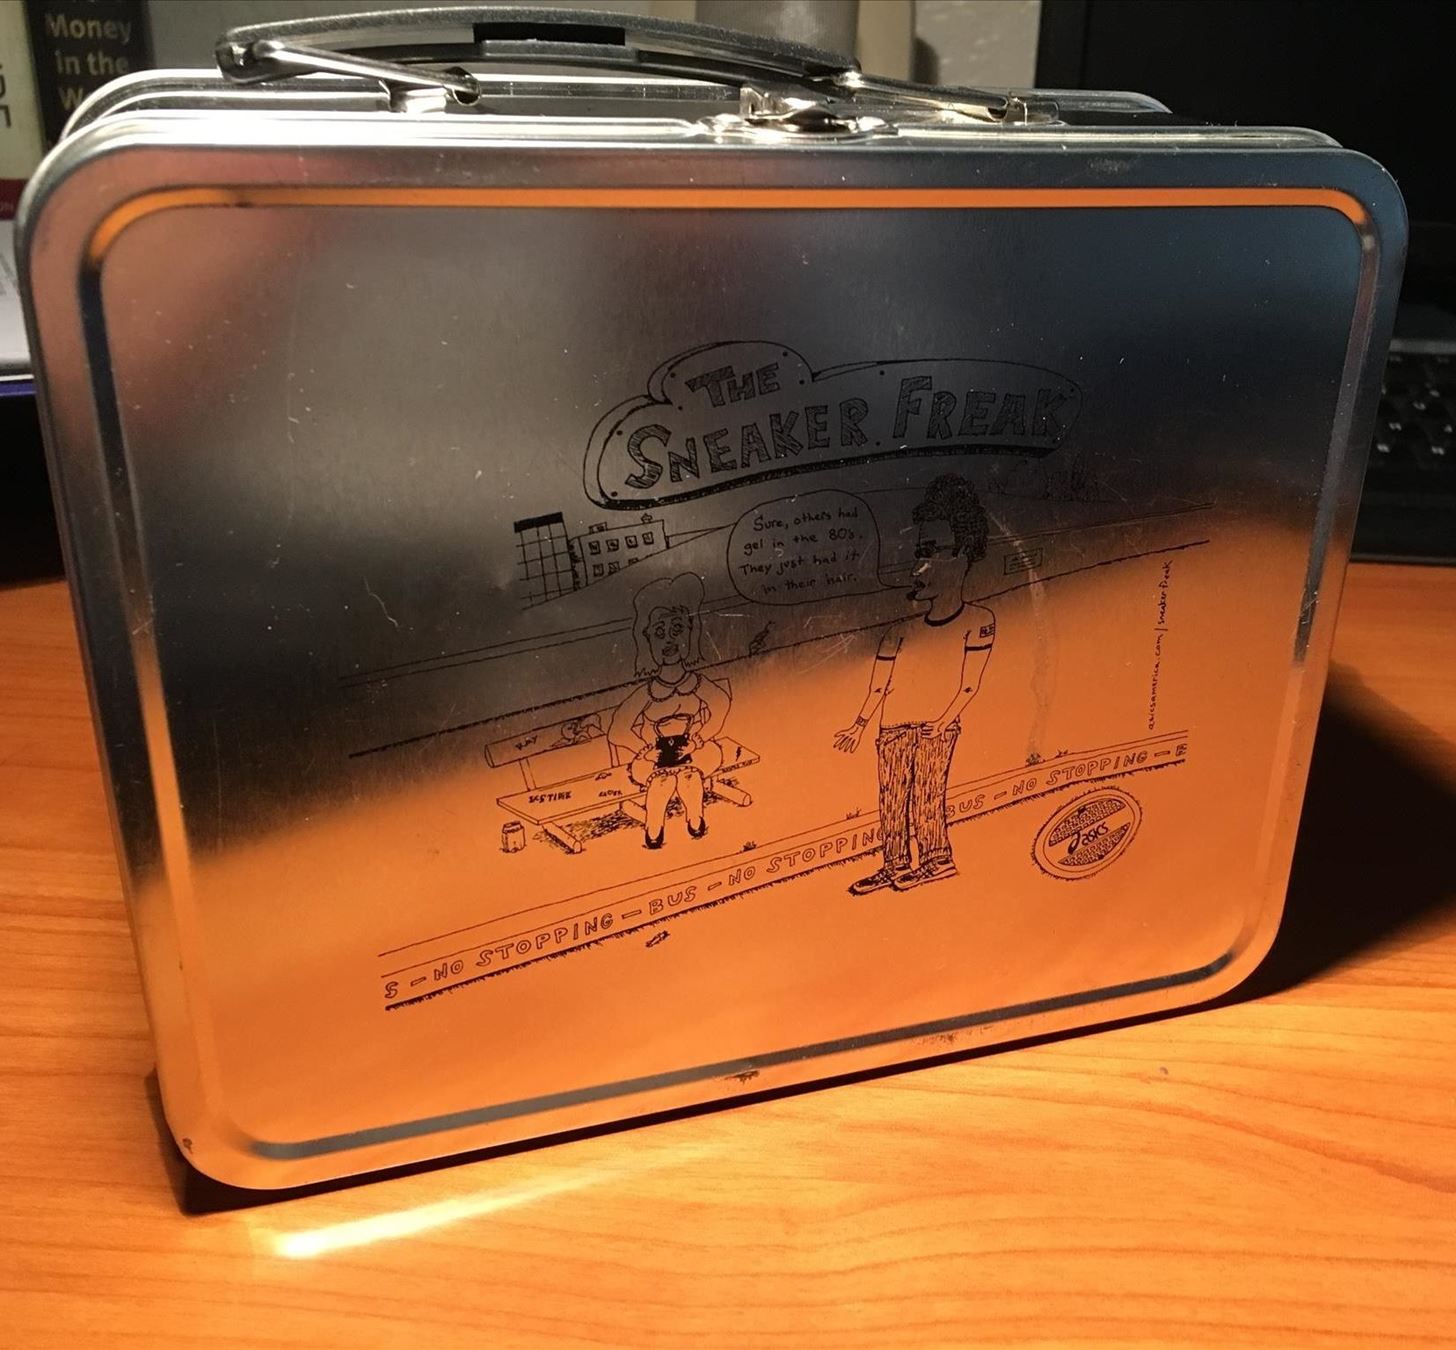
In my project, I will be making a Portable Pen-Testing Pi Box that costs around $100 or less. Essentially, the goal is to create an effective portable PC that can be inconspicuously used (remotely or physically) and even disposed of if necessary. This project relies heavily on the ultra small form factor of the Raspberry Pi. As expected, the Raspberry Pi can fit into almost anything. In our case we will be putting it into a rather unique lunchbox. So let's get started!
Step 1: Gathering the Materials
To put together a sub $100 Pen-Testing PC, we need to find the best parts for the best price. In the below picture, we have all of the necessary electronics to make this work.
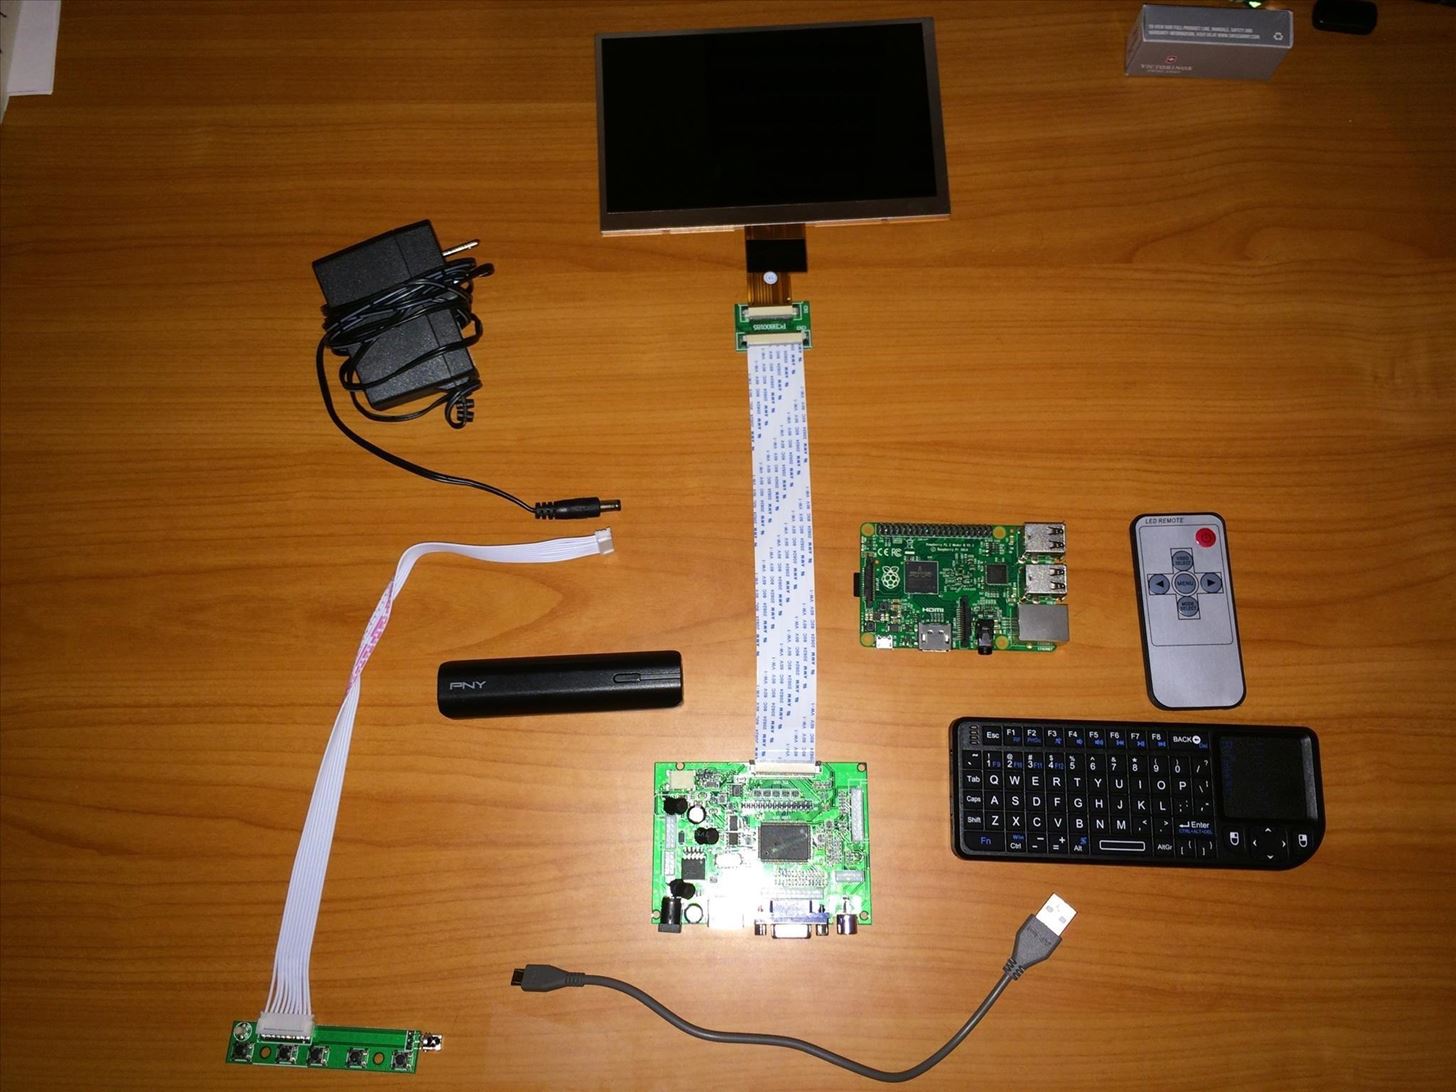
I bought almost all parts from Amazon.
- Raspberry Pi
- Makerfire 7" LCD screen
- Rii mini wireless keyboard and mouse
- PNY battery pack
- MicroSD card
- 12V 2A DC power adapter (the power supply for the screen came from a old Netgear Router box I had never used)
- HDMI cable (excluded from this picture, as that is essentially a household item these days)
To make this project even cheaper, you could swap out the Raspberry Pi for a $5 Raspberry Pi Zero, or even the new CHIP by Next Thing Co. for $9, which drastically drops the price point down.
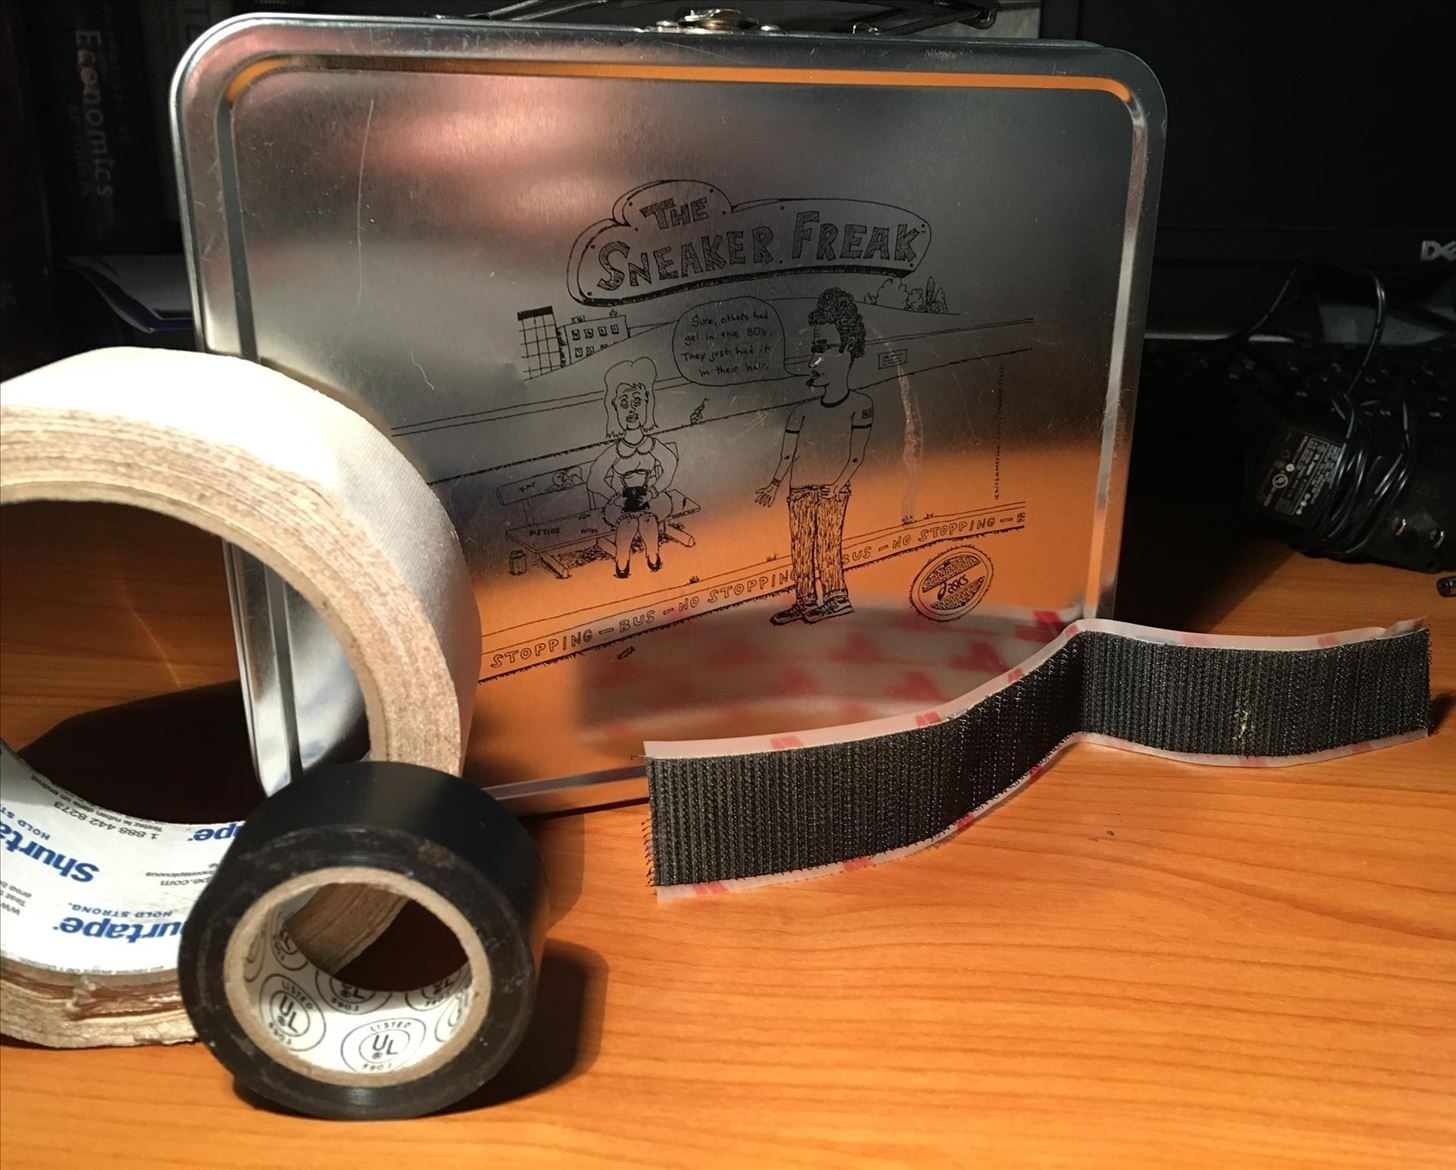
Of the non-electrical components, all we need is Velcro, tape, and the lunchbox to house everything, as shown below. (Side note: I later added a 3D printed case for the Pi as it helps in the placement of the Pi within the lunchbox.)
Step 2: Preparing the Raspberry Pi
To create the perfect hacking Pi Box, we should get the perfect hacking OS onto our SD card. Kali Linux has all of the programs and tools we need and more to make the Raspberry Pi an effective hacking tool.
To do that, we need to download the Kali Linux image for our Raspberry Pi from here. After downloading the file, unzip it using Win32 Disk Imager, 7Zip, or any other unzipping utility. Following the steps here should get us on the right track.
Once the image is on the SD card, try it with the Pi and see if it boots up properly. If all goes well, continue to Step 3. If you still run into problems, try the step-by-step explanation that can be found here.
Step 3: Putting It All Together
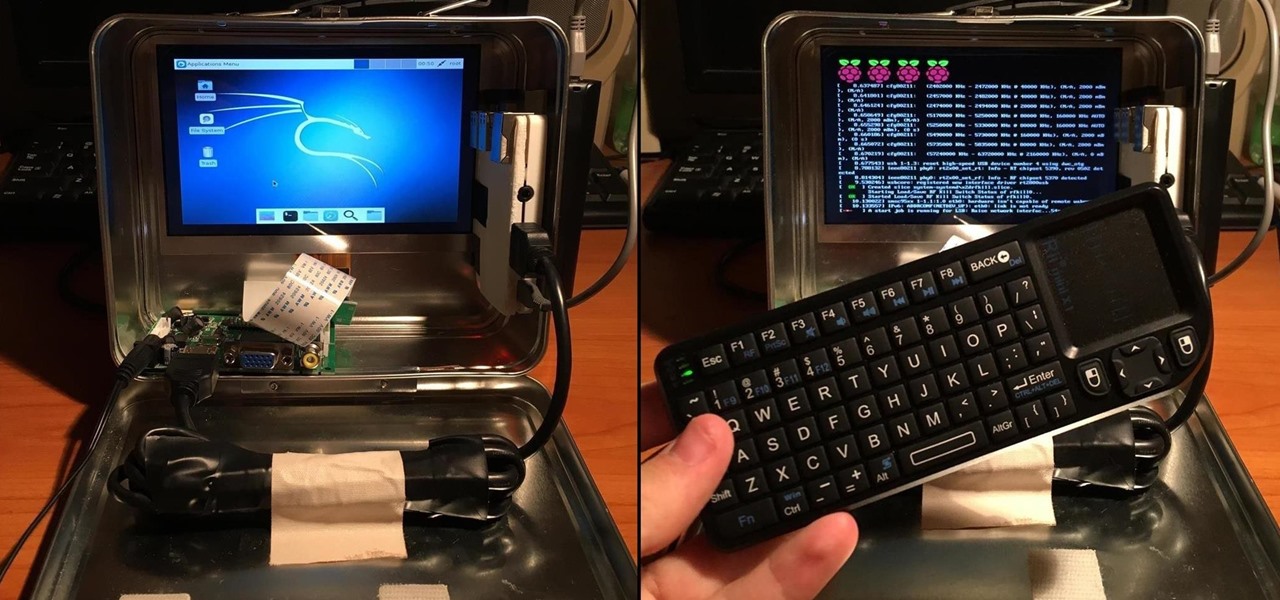
Once the Pi is ready with Kali Linux, it is time to put everything together. In my case, I structured it so that all but the battery pack was on the outside of the lunchbox, as seen below. However, this project can be completely different and unique to your liking. You may notice I added a 3D printed case for the Raspberry Pi. This allows me to easily pull the Pi and battery out without a struggle.
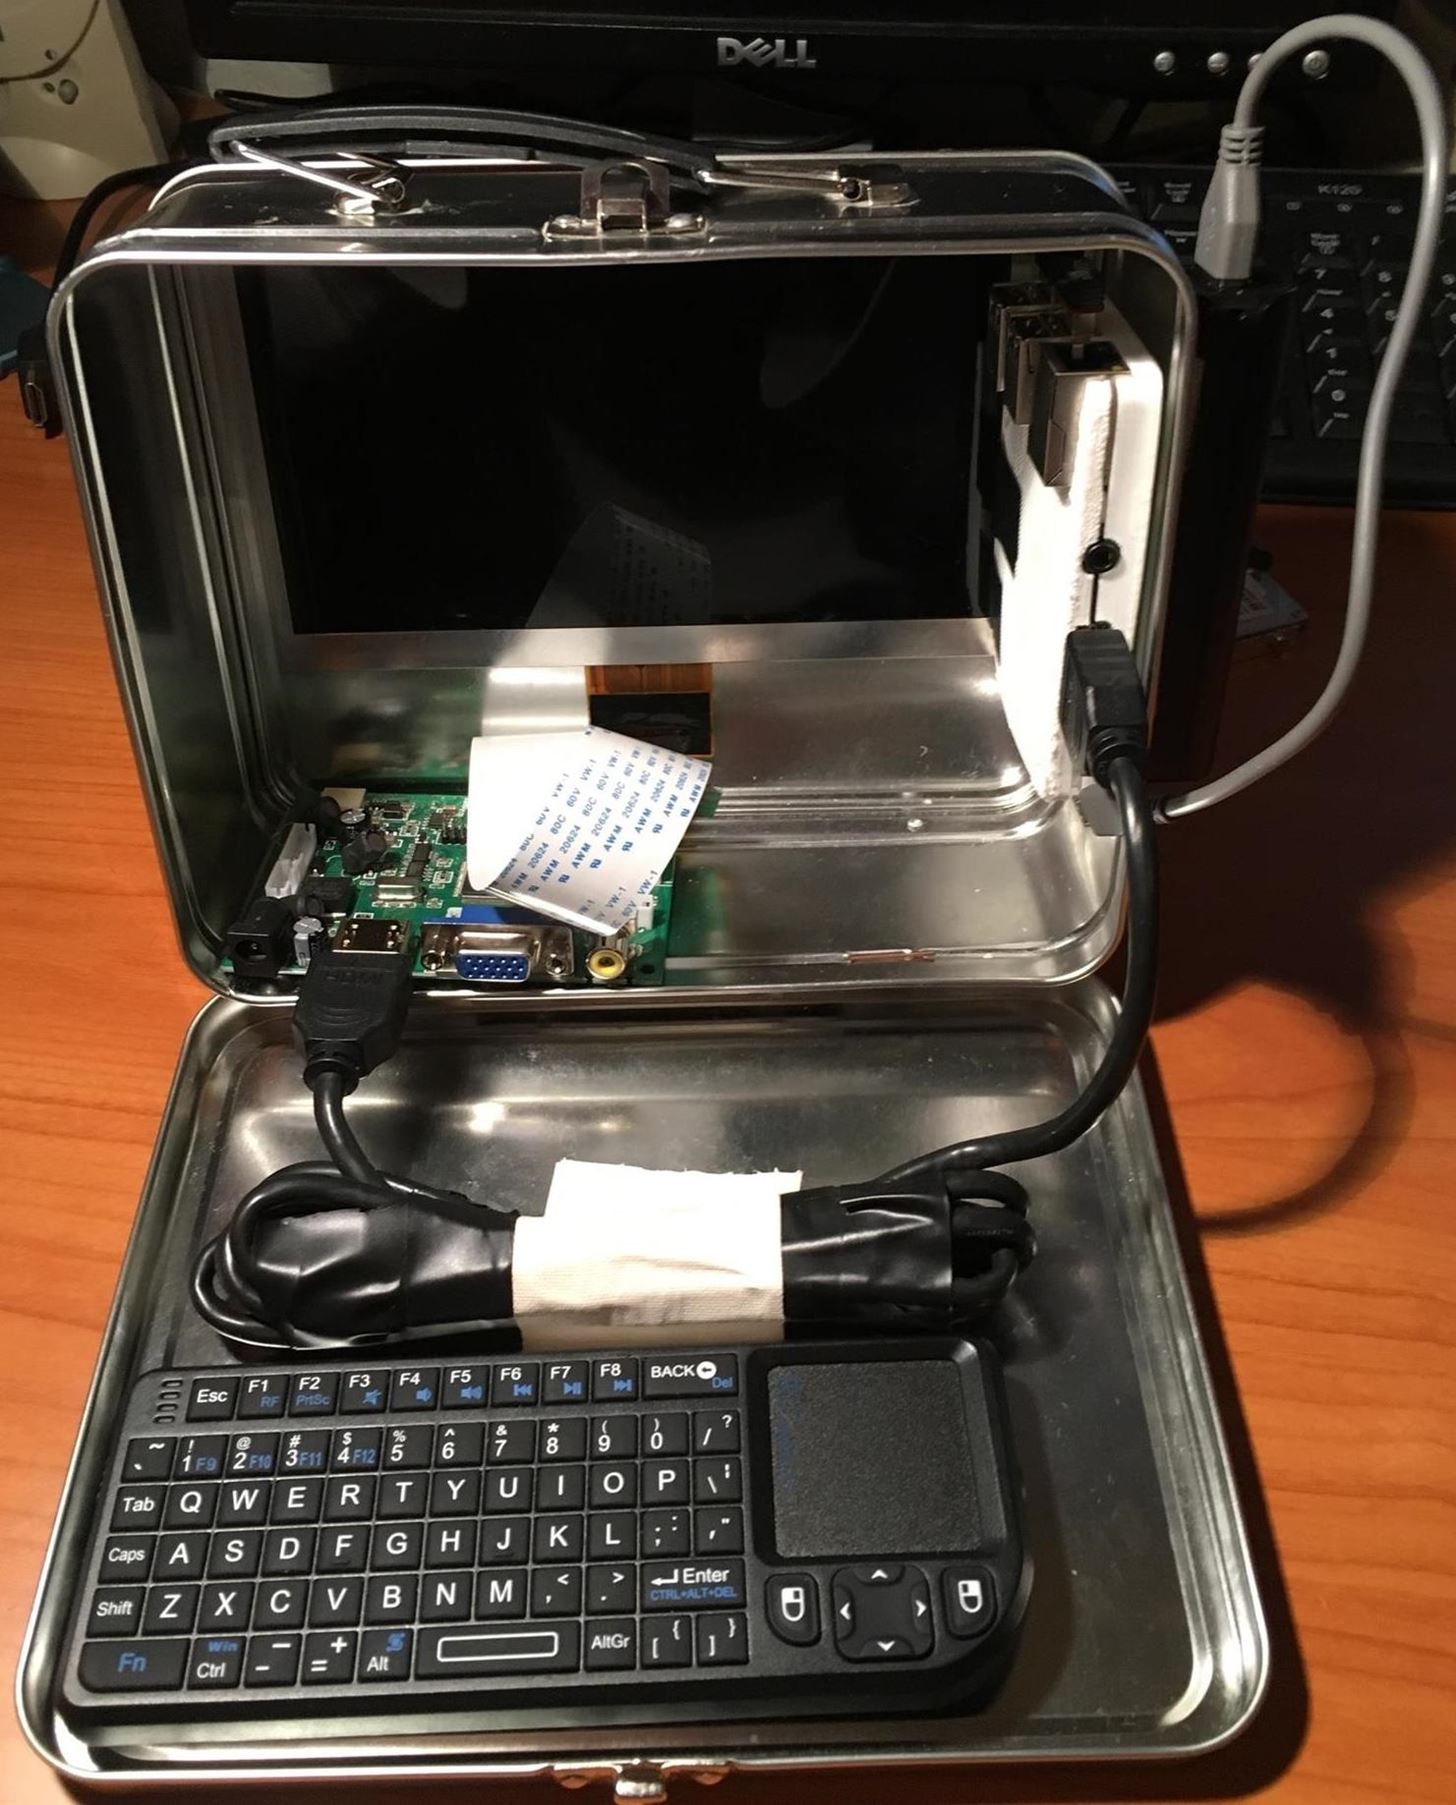
The screen and screen controller are held together with strong tape. The keyboard is meant to be detachable so that it can be used effectively. It takes a few seconds to plug in all the cables and then the Pi Box boots up. Putting everything back together takes the same amount of time and everything can fit inside the lunchbox.
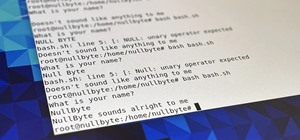
Step 4: Working with Kali on the Pi
Once everything is plugged in and it all functions correctly, you can then start working with the Pi Box. By default, an SSH server should be enabled on the Raspberry Pi with Kali Linux. From another PC or smartphone using an SSH client like Putty (Windows) or just the terminal in Linux, you should be able to login with the default username and password (root, toor) and begin to remotely use the Pi Box.
You can go further along to install any other program that you need to perform a hack. Keep in mind the limitations of the hardware as the Pi Box can't run every program. I like to use the Pi Box as a simple testing device; I can perform some active recon using Nmap or crack some passwords with John, and even inspect some traffic using Wireshark. There are plenty of tools that you can use to make this a very useful device.
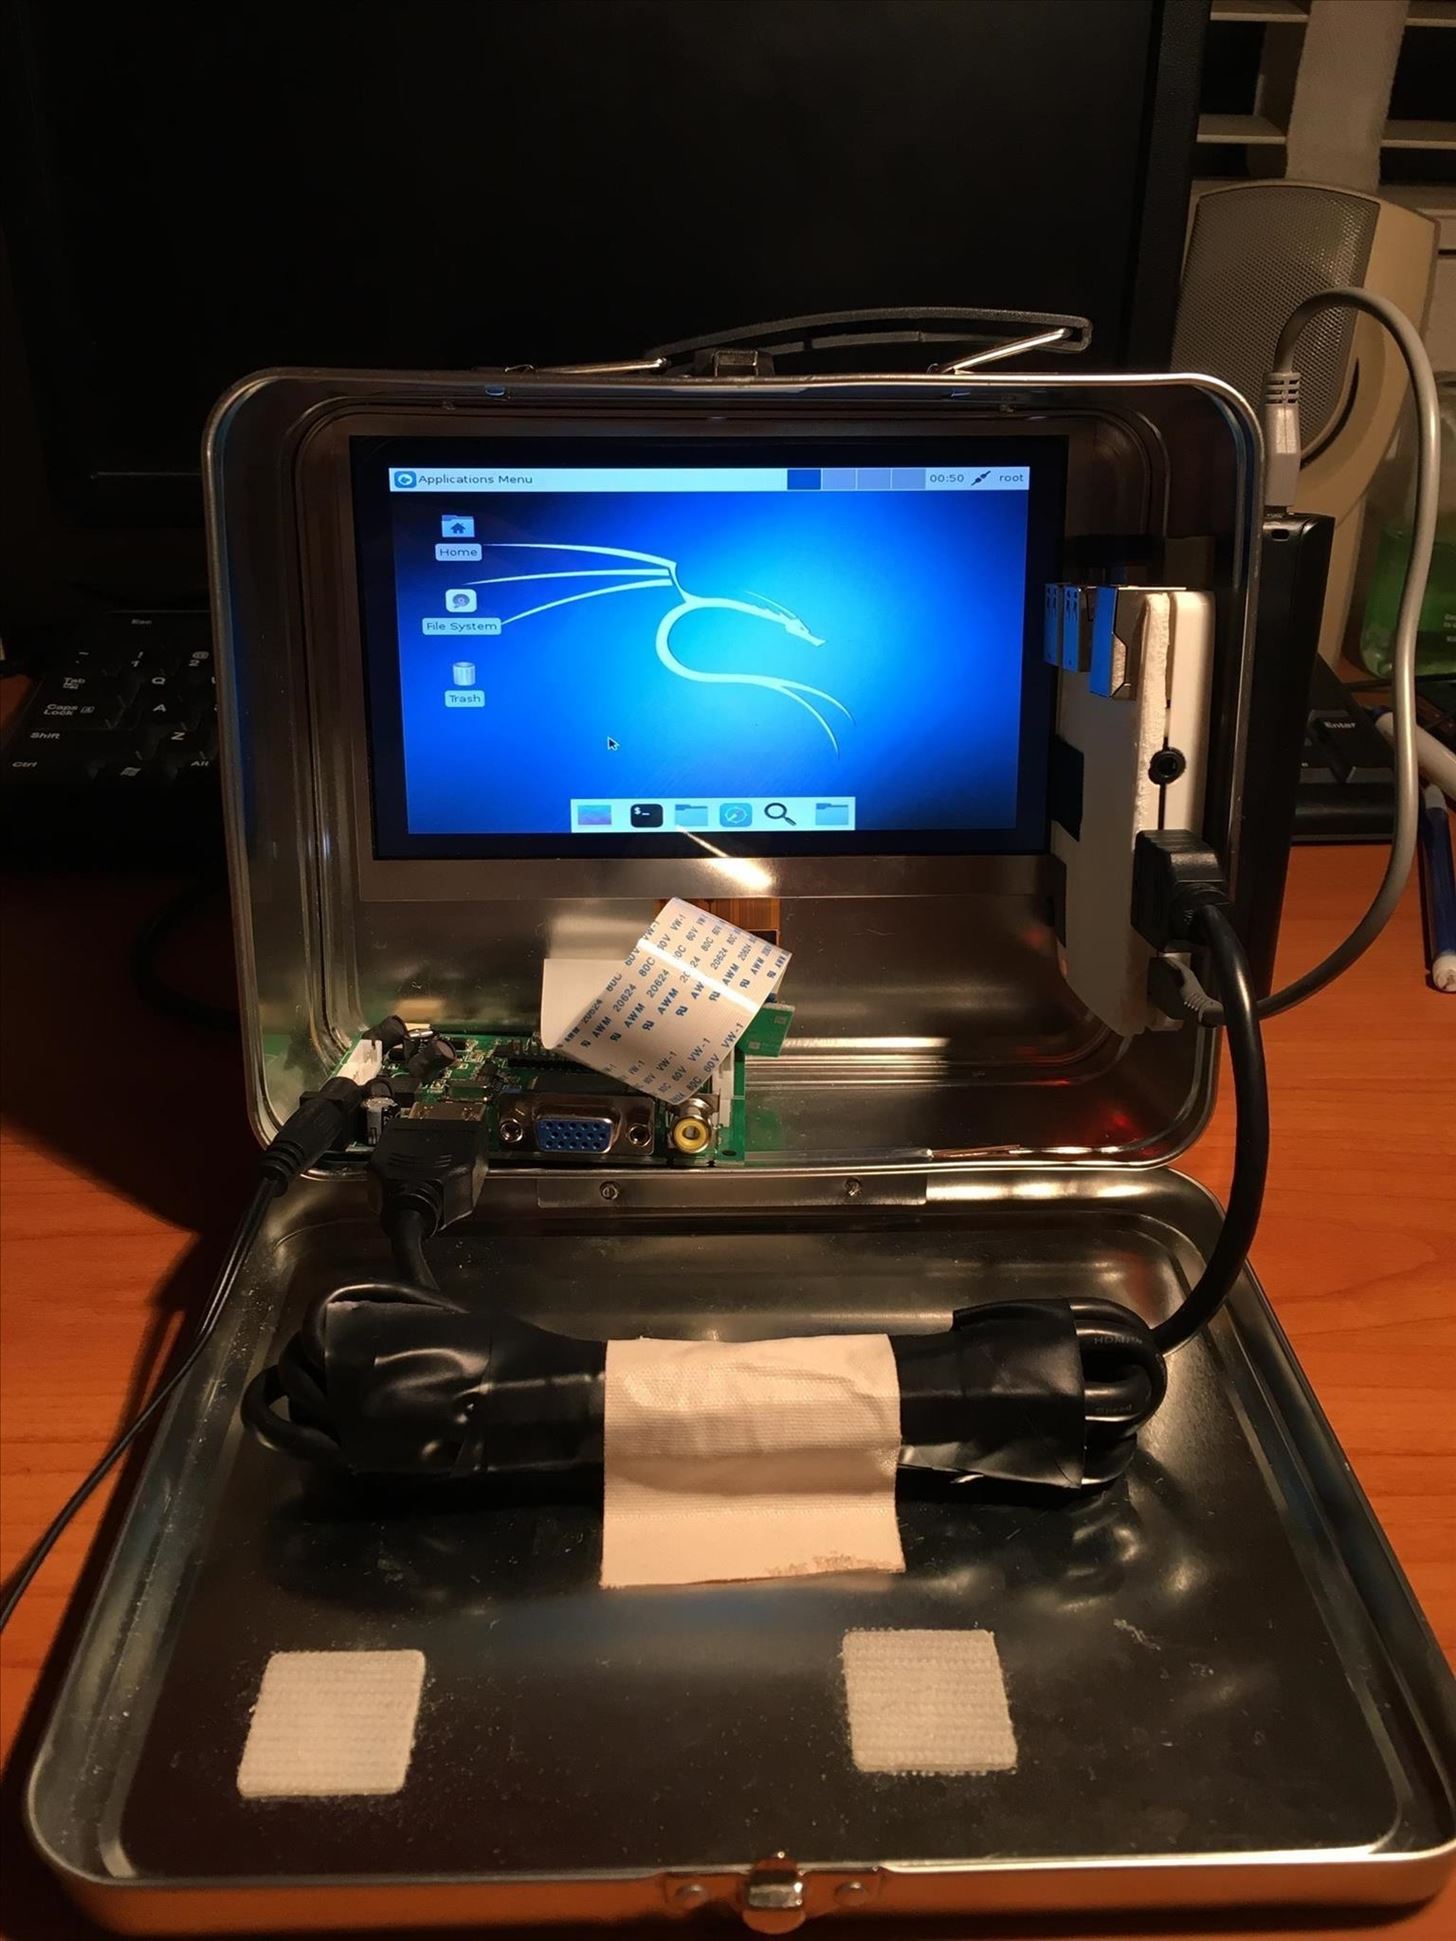
Here is a finished picture of the project with Kali Linux running:
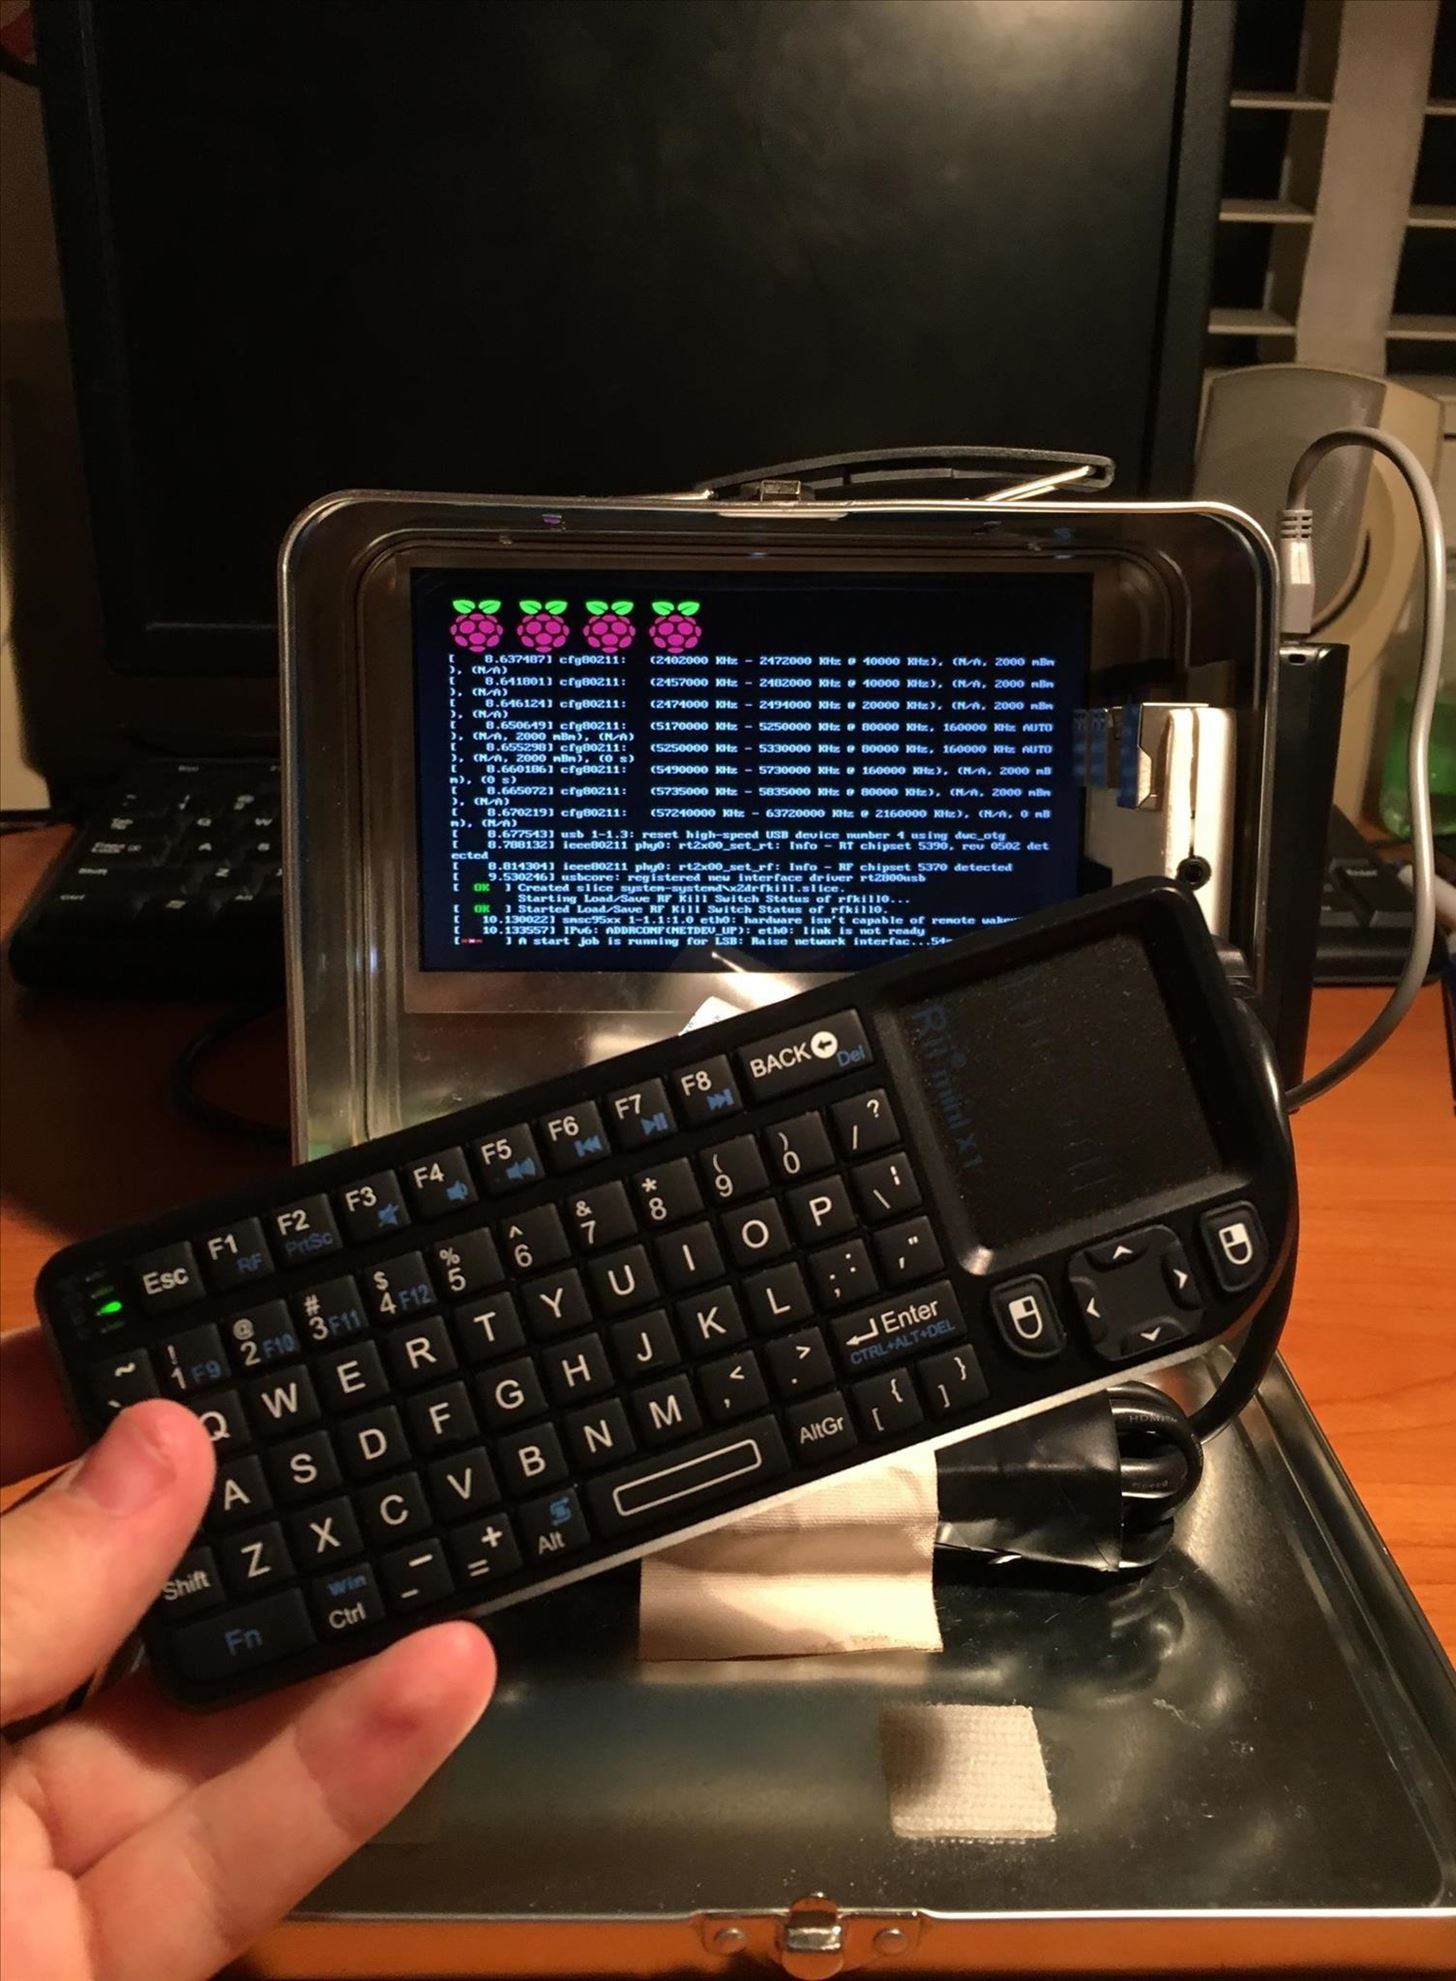
Booting Up the Pi Box featuring the removable keyboard and mouse:
Step 5: Conclusion & Revisions
In summary, this is a great project if you are interested in learning more about how the Raspberry Pi can be used as a hacking tool. It is also fun to build and can be useful as a testing device in your hacking lab.
As I mentioned before, this project can be fully customized. All the parts can be switched out for cheaper or more expensive parts, depending on your preference.
(At the moment, I realize that it is not fully portable if we were to use the screen, as it needs a power supply from a wall. However, with the addition of another power pack, this problem could be eliminated.)
Thank You!
Thanks for reading my first post. I hope you all found it interesting! Let me know if you have any questions, comments, or if I messed up on anything. Thank you once again, and happy hacking!
Just updated your iPhone? You'll find new emoji, enhanced security, podcast transcripts, Apple Cash virtual numbers, and other useful features. There are even new additions hidden within Safari. Find out what's new and changed on your iPhone with the iOS 17.4 update.


16 Comments
Awesome tutorial...I look forward to seeing more from you.
Great Setup!
Thank you for the support, i'll try to come up with new and exciting things as I learn more!
I don't know why this doesn't have more kudos.
This is absolutely excellent. Everything from pictures, to clear instructions, is in my presence. Bravo, Mkilic.
Thank You Cameron Glass! I am thrilled that you liked my tutorial. Hopefully I can make more as I learn more from NullByte!
Great tutorial Mkilic.
I got some questions for you though:
1: For how long does the battery pack keep the Pi up and running?
2: What are the specifc voltages needed for the LCD? Maybe you can try using multiple battery packs for both the screen and the PI.
3: Wouldnt it be more wise to use everything inside of the lunch box to make it waterproof so that you e.g. can hook it up externally to a buildings wifi by just placing it relatively close to it?
-nahhh
Thanks Nah Nah! To answer your questions.
Thanks for your feedback it means a lot!
Wonderful setup, great post, and neat suggestions from Nah Nah. But I'd like to comment on the third point. By enclosing the Pi in an all-metal container, it will interfere with its wireless capabilities.
A good idea would be to do what Nah Nah suggested, but find a different lunchbox, possibly made from plastic or some other material that will cause less disruption to the wireless signals.
TRT
Thank You TRT, I realize my mistake with the enclosure. I will for sure try to find a better alternative to keeping all the parts secure and eliminate the wireless capability interference. Thanks for the help!
I'm pretty sure I just creamed.
This is a great post, very helpful and above all original!
Thank You
cool little project, i like it. I'm wondering if you rig a flexible wireless antennae on that and drill a small hole in the lunch box so the antennae comes out on the bottom, or have it come out on the top and underneath the handle? You could then use black electric tape to make it less conspicuous.
That sounds quite good, I think I may try it if I have the time! Thank You!
Hi,
Love this post. I've built this for myself but there is one part I can't find anywhere...
Where in the world did you get that LCD ribbon cable extension from?!
The stock cable with the Makefire screen is so short as to be nearly useless. Where can I find one like yours?
Thanks.
I think this set should be added to the wifi adapter card.
Most Popular Kali Linux Chipsets.
Atheros AR9271
Ralink RT3070
Ralink RT3572
Ralink RT5572
Realtek RTL8812AU
Ralink RT5370N
Share Your Thoughts