

In the first part of my containers series, we learned how to install Docker on our local machine, pull down "hello-world" and Ubuntu containers, SSH into containers, and install software when in a container. Now, we're going to work on building, customizing, and storing our refined hacking Ubuntu container. Before we dive right in, though, let's make sure we still have a functional Docker installation.
Step 1: Test Docker Real Quick
To make sure that Docker is still running on our system, let's start it.
sudo service docker start
Then, grab "hello-world" again and run it to make sure everything's working.
docker pull hello-world
docker run hello-world

Did you see the "Hello from Docker" message? Great. If you ran into any errors, make sure to walk through part one of this series, then hit me up in the comments below if you're still having issues.
Step 2: Create a Script to Simplify Software Installs
Now, let's think about how we installed software the last time around. It was pretty simple, but not very convenient. Who wants to use Docker to grab your OS, then wade through all of the software installs individually? Nobody. That's why we're going to simplify it with a script.
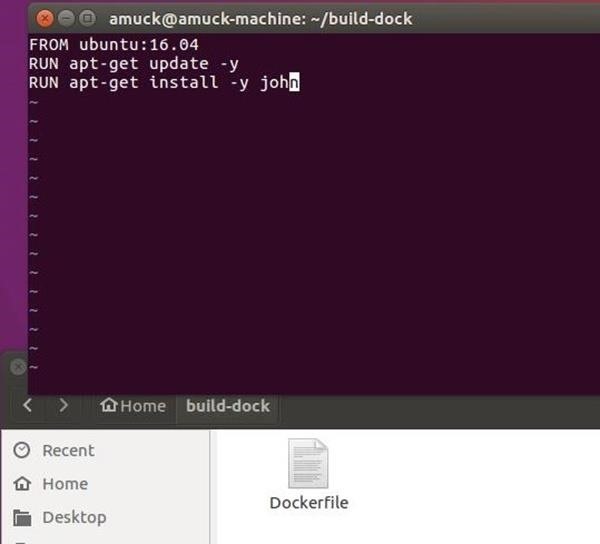
In Docker, the initial set-up script is called a Dockerfile. It basically says to take Ubuntu, install the following software while pulling it down, and be ready to go. A simple Dockerfile that would let you stand up Ubuntu 16.04 with John the Ripper already installed looks like this:
FROM ubuntu:16.04
RUN apt-get update -y
RUN apt-get install -y john
Just copy/paste the above three lines into a new file, name this file "Dockerfile," and place it at your user home level or in a new directory at your user home level (because of permissions we addressed earlier). If you have more hacking tools that you want to install, you'll want to add those as new lines as well, just like the format for installing John the Ripper.
Also, in the next step, we'll use a slightly different command to pull down Ubuntu than we did in part one—the build command. So, I've made a directory in my home called "build-dock," saved my Dockerfile there, and I'm working from that location. (I used the Vi editor for creating the file... maybe you need a refresher?)
Step 3: Run the Script
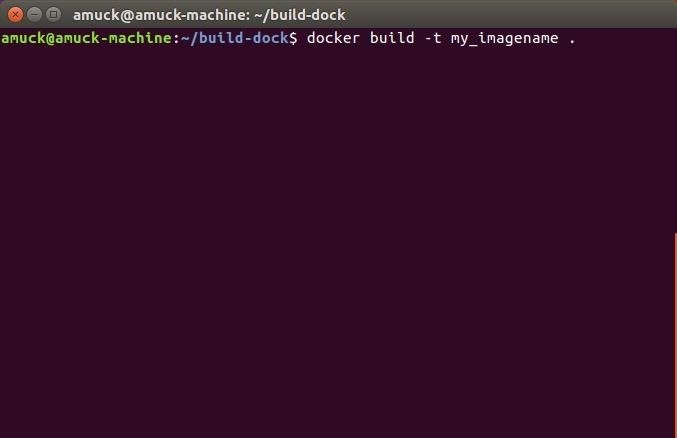
Now that we're armed with the Dockerfile, we have to stipulate a few more things before getting our Ubuntu container. As mentioned briefly above, we cannot "pull" Ubuntu down this time, we have to "build" it, and we have to come up with a good name. From my build-dock directory, which is on my home level, I type the following:
docker build -t my_imagename .
That means, build (don't just pull the base Ubuntu), "tag" it with a better name than a string of characters (my_imagename) because this will come in handy later, and do it from this directory because that's where the Dockerfile lives. And don't forget the period (.) at the end... that needs to be there.
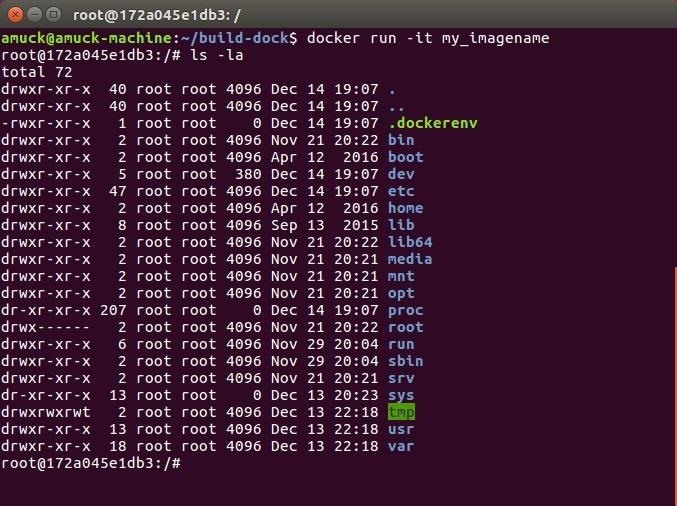
After you run the above command and watch it complete, you can SSH into it the new container (obviously, switch out my_imagename with whatever you used):
docker run -it my_imagename
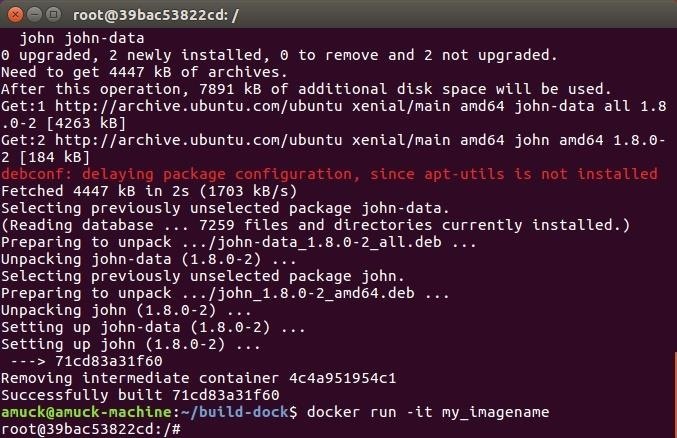
Nice. There's an Ubuntu container with software already installed, ready to go. And if necessary, you should already know how to delete it. Maybe you're in a hurry to remove evidence? Remember this one:
docker rmi -f $(docker images -q)
That means Docker removes all images forcefully, without complaint.
Step 4: Save the Work
You may have noticed one thing about Docker, which I brought up in my previous guide. When you return to a container you've already pulled down, none of your changes are in there. That's not good for our purposes, even though we know how to build upon a containerized OS with a Dockerfile. We need to save all the work we've done.
To reiterate from Step 3 above, let's build our container just the way we want it.
And then SSH into the container to take a look around.
But now, if we want to save the container so that all our work—and all of the software we've installed—will be retained, we need to use the Docker commit command:
docker commit container_ID image_name
This means Docker commit (or save) this container with those changes. Remember the nonsense files? Those are changes you've made to containers. All this command does is package everything up and save it. It will save to localhost, since that's what we're saying here.
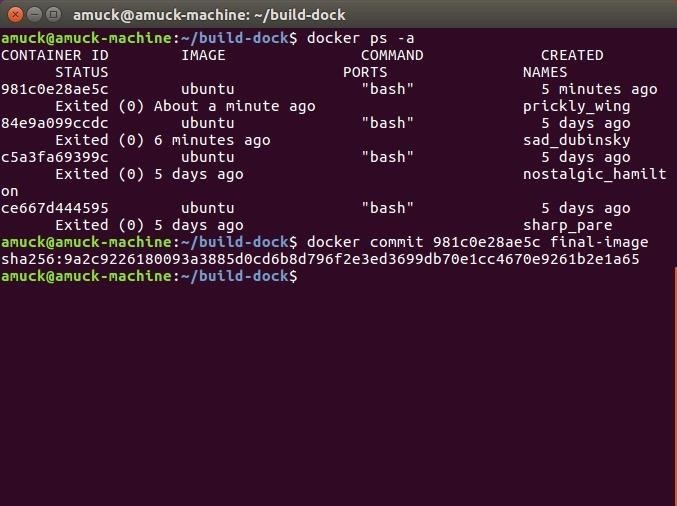
To find the right information for a command, you should first run docker ps -a, then look at your most recent container ID (the "minutes ago" is a good clue). My recent container ID was 981c0e28ae5c, so the command I had to run on my machine was docker commit 981c0e28ae5c final-image. It will be different on your machine.
First, look for your container ID:
docker ps -a
Then, use this command to commit your container, replacing the container_ID and image_name with your own unique information:
docker commit container_ID image_name
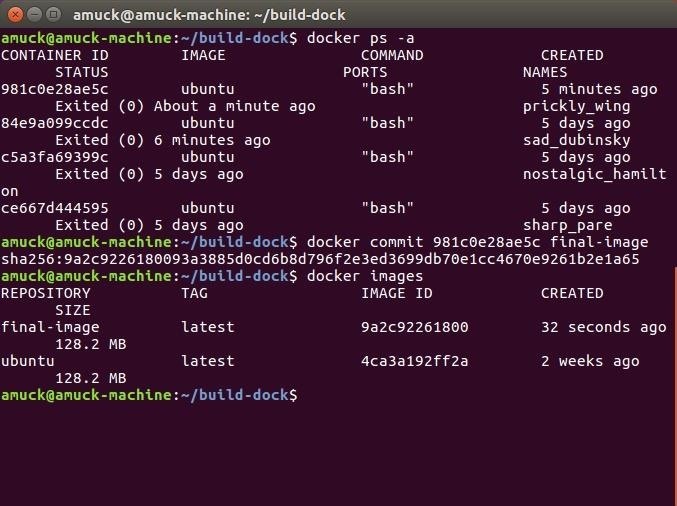
After you run the commit command with your container ID, and the image name that you want to generate, docker images will show you the image you created. See how I ran my commit command, and I now have a "final-image" listed?
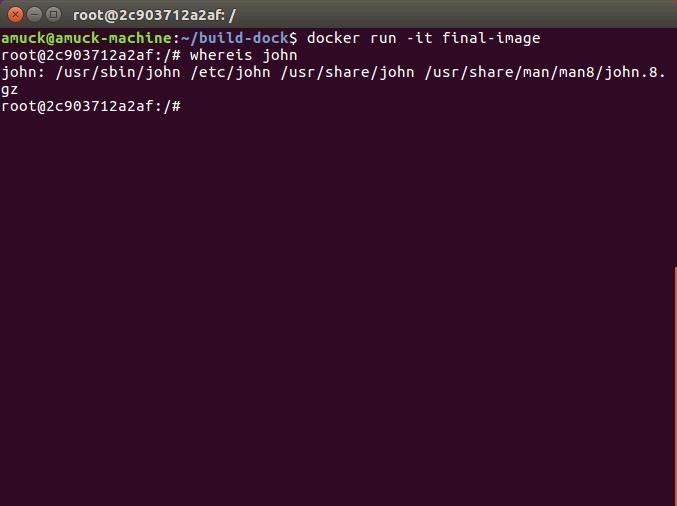
You can still access your container with the run command. In my case, I used:
docker run -it final-image
I can see that the software, John the Ripper, that I installed earlier is still there!
And that's it for this part. You know how to use Docker, how to install software and automate software installs to Docker containers, and how to save the containers you create so there's less work to do to continue using them. Next time, we'll learn how to store these saved containers remotely, and pull them down instead of pulling down a basic Ubuntu image.
Just updated your iPhone? You'll find new emoji, enhanced security, podcast transcripts, Apple Cash virtual numbers, and other useful features. There are even new additions hidden within Safari. Find out what's new and changed on your iPhone with the iOS 17.4 update.


2 Comments
how do i install an editor and use it or how can i create a file in user home ..
help me, as there is no editor install in the container
Can you try:
RUN apt-get install -y vim
Share Your Thoughts