
Welcome back, my tenderfoot hackers!
In continuing my series on digital forensics using Kali, I want to introduce you to two complementary tools, both built right into Kali Linux. These are Brian Carrier's tools Autopsy and Sleuth Kit.
Carrier is one of the leading authorities on operating system file systems. His book, "File System Forensic Analysis", is a must-have classic for any serious student of digital forensics. He has built his open-source suite of tools, Sleuth Kit, to leverage his knowledge and understanding of file system forensics.
Autopsy was built to sit on top of the Sleuth Kit to offer an intuitive, GUI-based forensic suite that utilizes the strength of Sleuth Kit, while at the same time offering the basics of a case management tool.
Step 1: Fire Up Kali & Open Autopsy
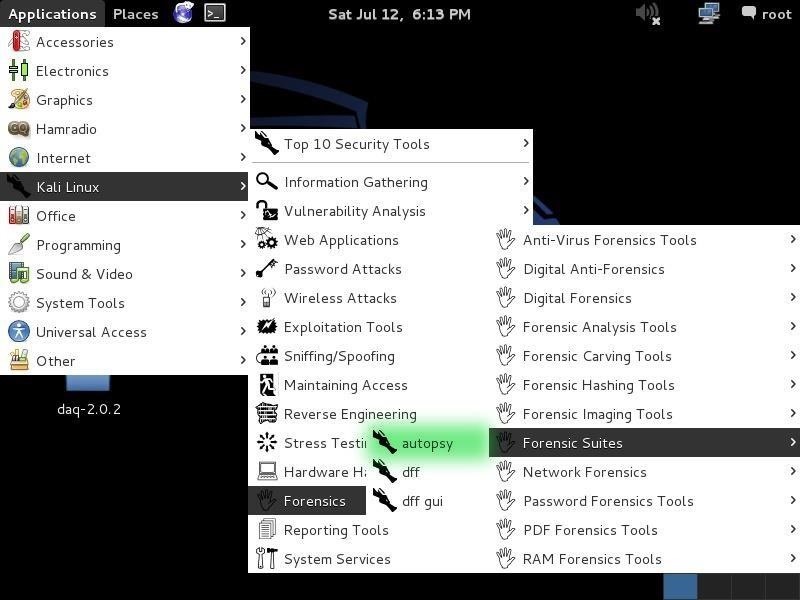
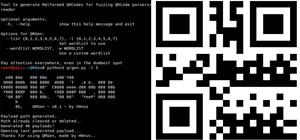
Let's fire up Kali and then go to Applications -> Kali Linux -> Forensic Suites and select autopsy from the list.
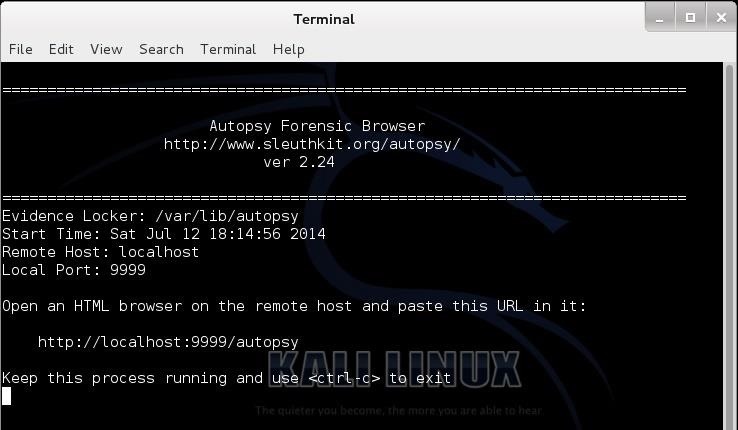
When you do so, you will open a screen that looks like that below. Notice that it asks you to open up a browser at http://localhost:9999/autopsy .
Step 2: Open a Web Browser
Now, let's open any browser and navigate to the address above. This will simply take us to the local web server on our system (localhost) and access port 9999 where Autopsy is running. I am using the default browser in Kali, IceWeasel. When I navigate to that address, I get a webpage like that below.
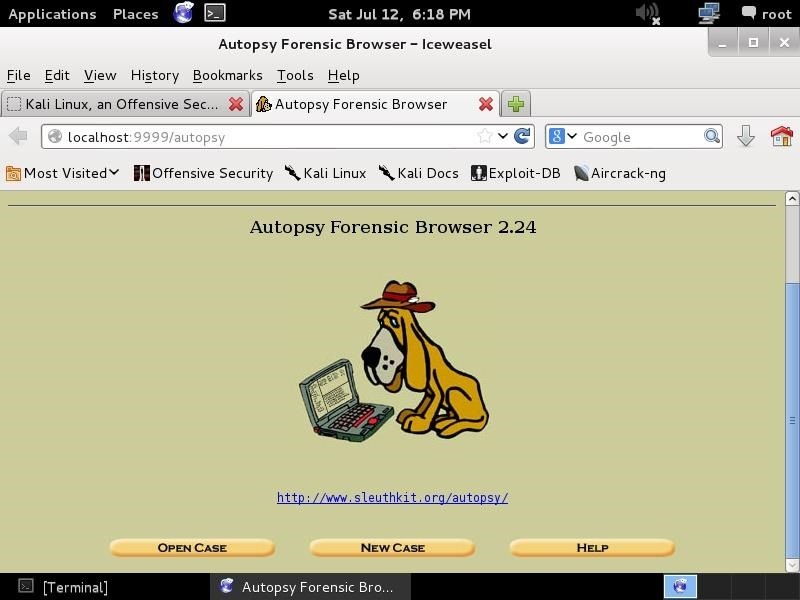
As I mentioned earlier, autopsy is just a GUI overlay on top of Brian Carrier's excellent suite of forensic tools, Sleuth Kit. Since Sleuth Kit only uses command line instructions, Autopsy makes working with it much simpler and more intuitive.
Step 3: Create a New Case
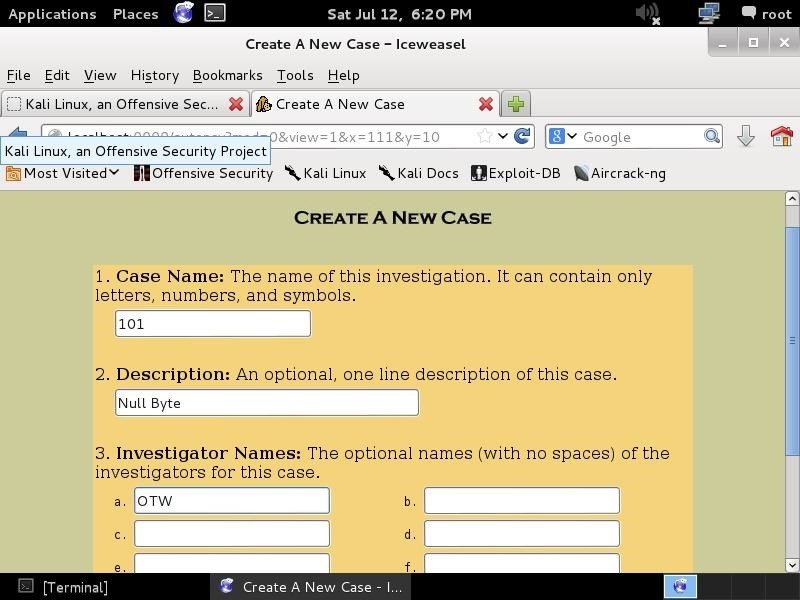
As in any real forensic investigation, you will need to create a case and organize all of your evidence and information. In this regard, autopsy requires that you start a case to get started.
Here, I have given this case a numerical case name (101) and a description of "Null Byte", and I have provided my name as the investigator (OTW). Please note that I can provide up to six (6) investigator names. In a real forensic investigation, you will seldom be working alone.
After hitting the "NEXT" button in the previous screen, I will be greeted with a screen like below.
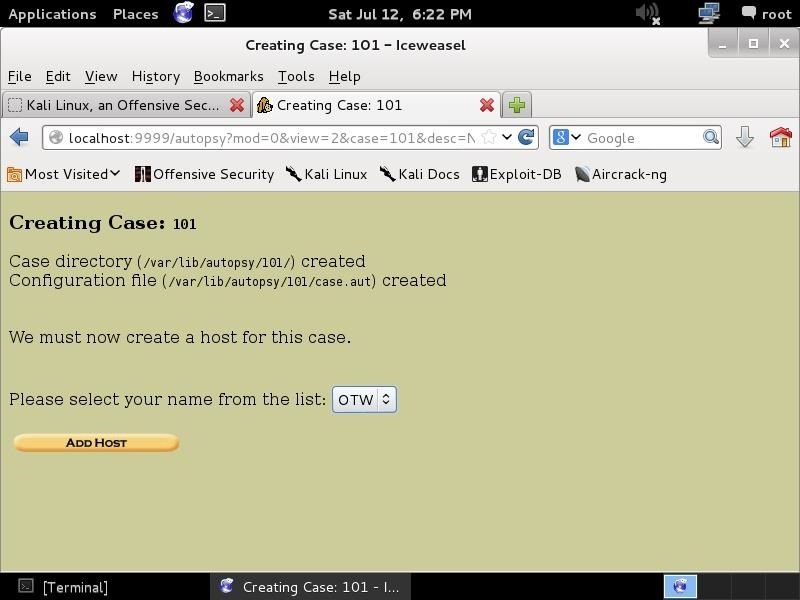
This screen simply gives us the name of the case, where the case will be stored (/var/lib/autopsy/101), and where its configuration file will be stored (/var/lib/autopsy/101/case.aut). Our next step to add a host.
Step 4: Add a New Host
Click on the "Add Host" button below the line where you can select your name. When we click on that, it takes us to another screen where we can add information about our host like that below.
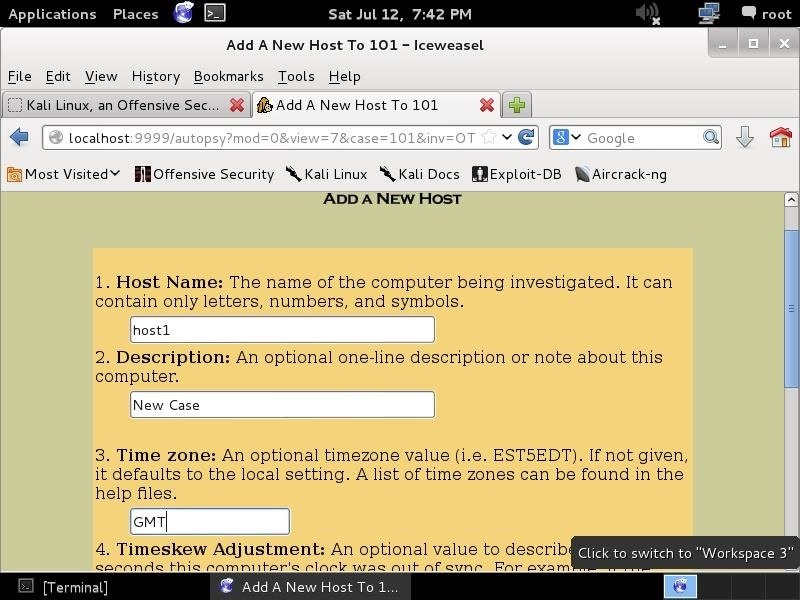
Here we can add the host name (host1), a description (new case), and the time zone (GMT) we are working in. Of course, you can add your own host name, description, and time zone, as appropriate.
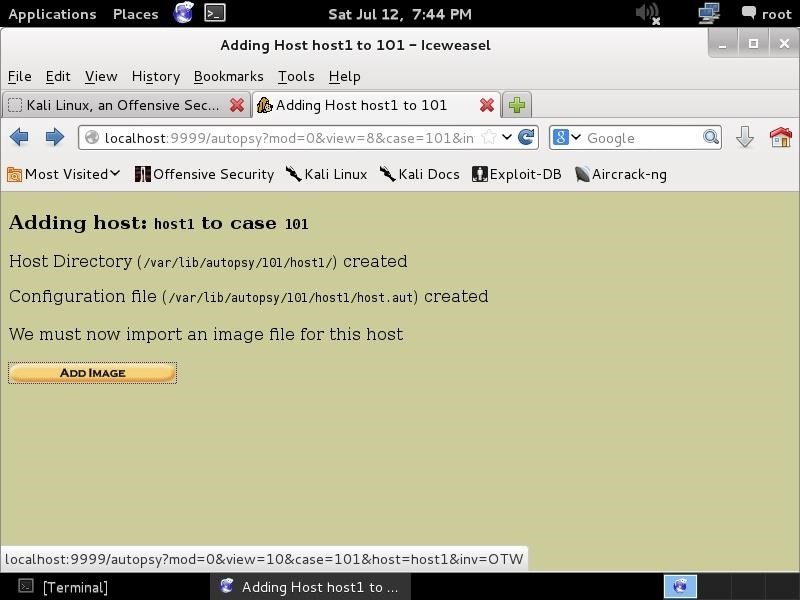
Step 5: Add an Image File
Next, we need to import an image file. An image file is a bit-by-bit copy of the storage device that we captured for evidence when we arrived at the crime scene. For instructions on making a forensically sound image, check out my previous guide on creating a forensic image of a hard drive.
Below, I have captured a new image file using dcfldd of the hard drive sda (the first SATA or SCSI hard drive), and written it to a file /media/nullbyte with a block size of 512 bytes.

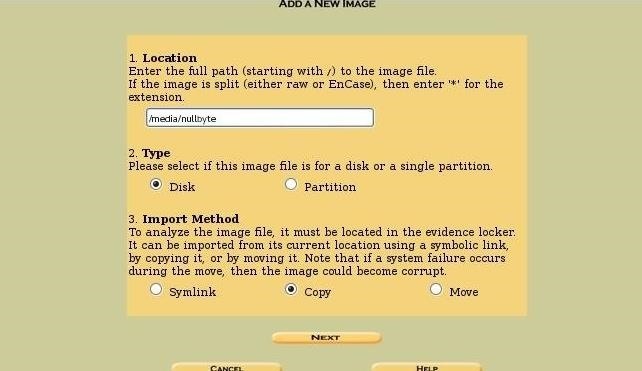
Now, I can import that image to Autopsy by giving it the location where I saved the image (/media/nullbyte), tell autopsy what type of image (disk), and the import method (copy).
Step 6: Data Integrity
Whenever we are creating an image or saving an image that might be used in any legal proceeding, it is critical to make certain that we can maintain the integrity of the image. This means that we can prove that the image has not been tampered with from the time that the image was captured until the time of the trial.
We can do that by creating a hash of the image.
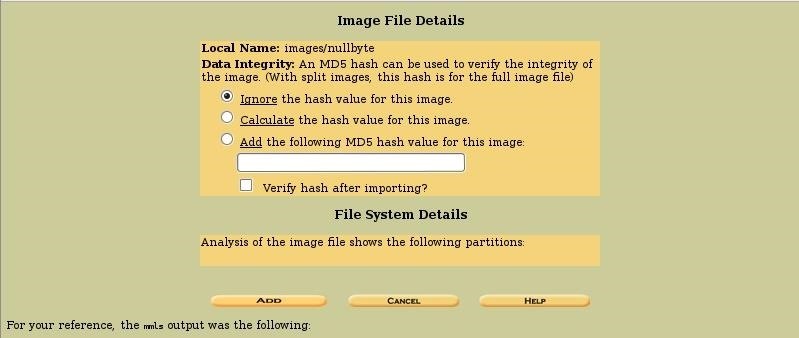
In this screen, Autopsy asks us whether we want to:
- Ignore the hash value for this image,
- Calculate the hash value for this image, or
- Add the following MD5 hash value for this image.
If you did not calculate the hash value when you captured the image (best practice), now is the time to do that. If you have created a hash value when you created the image, you can attach it to the image file here.
Stay Tuned for More on Autopsy & Sleuth Kit
In my next tutorial, we will use Autopsy and the Sleuth Kit tools to analyze the image we saved here for artifacts that can lead us to reconstruct the events of the crime, so keep coming back, my greenhorn hackers!
Just updated your iPhone? You'll find new emoji, enhanced security, podcast transcripts, Apple Cash virtual numbers, and other useful features. There are even new additions hidden within Safari. Find out what's new and changed on your iPhone with the iOS 17.4 update.


16 Comments
Great write up thank you very much for your time!
these are excellent and important missives you're writing here. it's a shame that those who will need them most seem to be more interested in reading about wpa cracking.
Great article... I am really looking forward the next one!
Do you think that you are going to write more on this tut? I am looking forward to it. Love your work keep it up.
Kristopher:
I'll be expanding this series in 2015 so keep coming back.
nice one once again
OTW
Very Nice Set of Tutorials....Please Keep Up The Good Work!
Phoenix
The first three in this series have been very helpful - but just enough to whet my appetite. I'm only finding these 10 months later, but a note from 4 months ago makes me think you may add more. I hope that you do - but even if you don't, thank you for what you've shared so far. It is appreciated.
Love this series, looking forward to more. Thanks OTW.
Nice beginning ! Eager to read the following ! :-)
When is part 4 coming? Looking forward to it
will there be a part 4 at all?
Thanks for the uploads! Really like your posts!
Really love this series. Hope to see future tutorials soon.
I'm entering in this Digital Forensics competition through school and your tutorials are really helping out. The whole process must be treated as the real thing, so recording every single step is important. Thank you.
Thanks for your kind words.
Hey OTW, I enjoy your articles. Deadpool loves to make a scene of his work and crimes. But Deadpool wants to go stealth mode now ;)... Thanks for the tutorials!!
-Dpo0L
great series of articles, would love to see more
Share Your Thoughts