
This is the very first article in my series on setting up a Mac for hacking. In this series, I will be operating under the assumption that you have a clean install of macOS (previously OS X). If you aren't starting with a clean installation, there may be a few differences, but nothing we can't help you out with.
The first step in setting up any hacking environment is full disk encryption (FDE), which gives us a solid backline defense against anyone who might have an interest in our bits. It's also just good standard practice for hackers and non-hackers alike. With the widespread availability of strong disk encryption, there's no excuse for anyone to be operating unencrypted.
We will be using FileVault, the built-in FDE included with your Mac operating system, which encrypts the entire disk using XTS-AES 128-bit encryption. This encryption scheme is recommended by the National Institute of Standards and Technology (NIST) and is signed off as FIPS-compliant for use in regulated industries such as government and healthcare. So it's a good solid encryption scheme.
Step 1: Getting to FileVault
Open your System Preferences how you normally would and select the Security & Privacy option in the first row. Alternatively, you could use the following command (just copy and paste into Terminal and press enter). The -b (bundle identifier) tells it to open up the Security prefPane file with System Preferences.
- open -b com.apple.systempreferences /System/Library/PreferencePanes/Security.prefPane

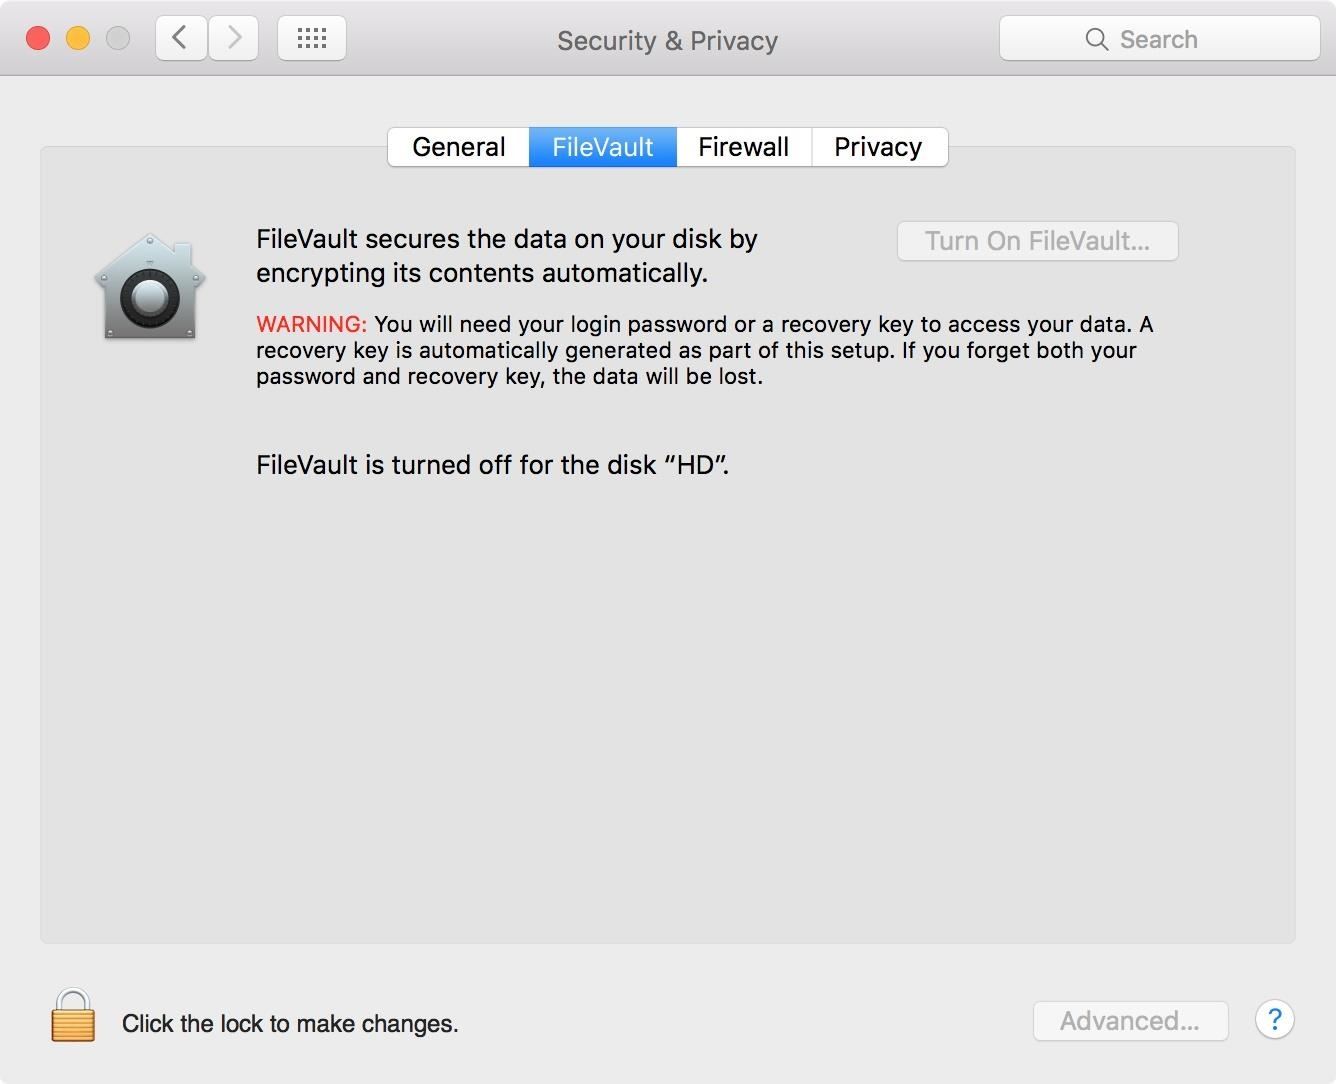
Next, select the FileVault tab within Security & Privacy. You will need to click on the lock on the lower left-hand side of the window and enter your admin username and password in the popup to make changes.
Step 2: Turn On FileVault
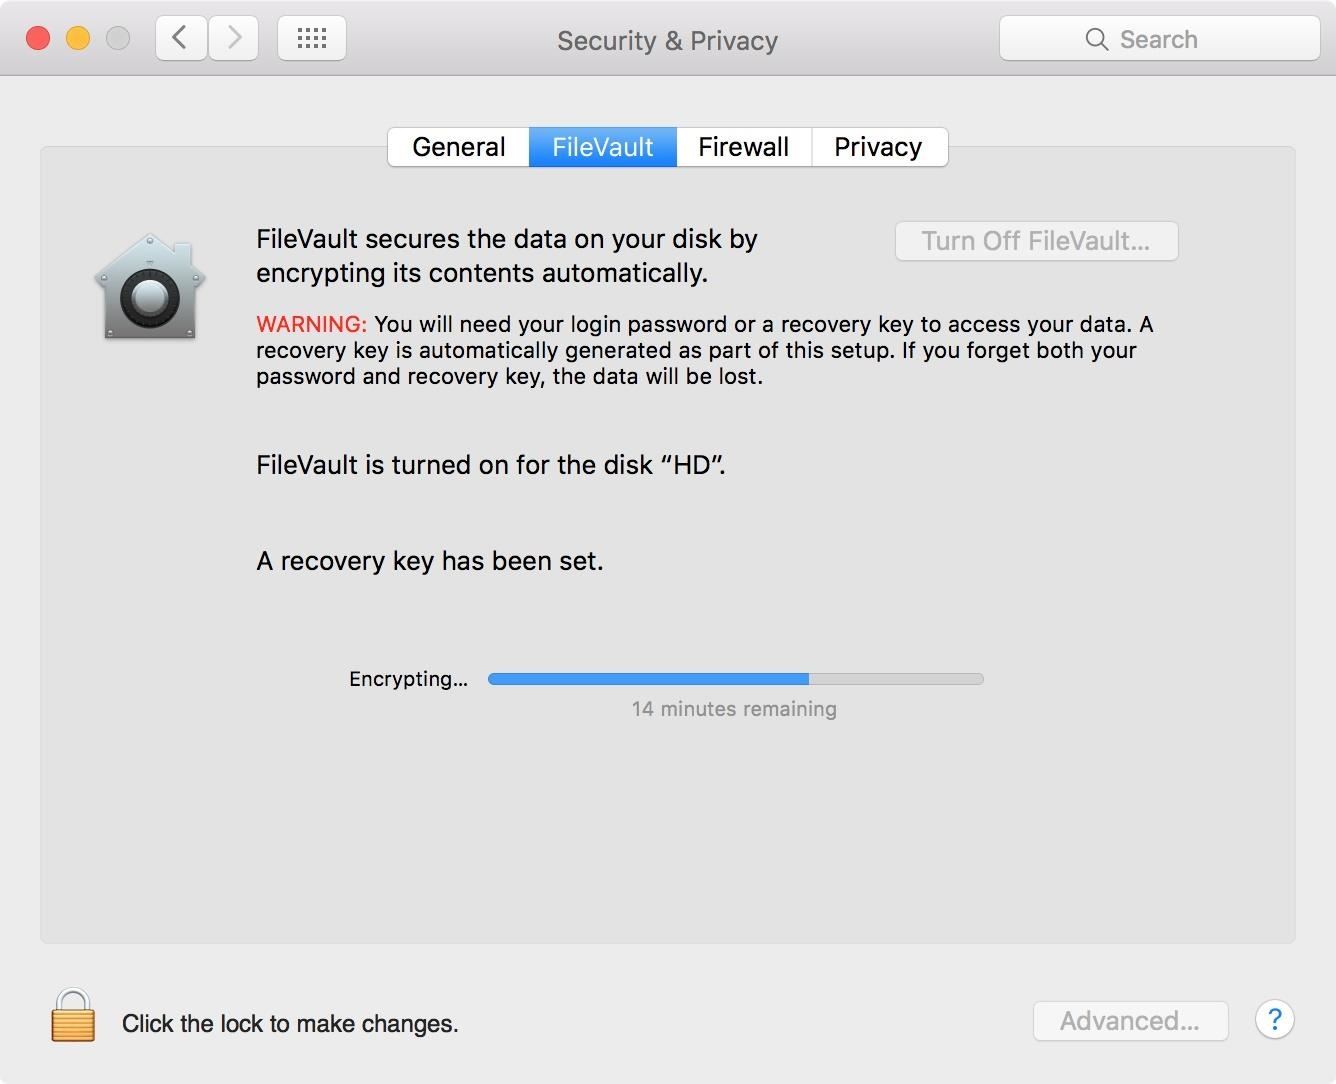
Before you click on the "Turn On FileVault" button, ensure you have read the warning displayed.
WARNING: You will need your login password or a recovery key to access your data. A recovery key is automatically generated as part of this setup. If you forget both your password and recovery key, the data will be lost.
Now, reread that. It's very important, because if you forget both your password and recovery key, you might as well have just erased all your data—because that's what you'll have to do in order to make your Mac usable again.
When ready, click the "Turn On FileVault" button.
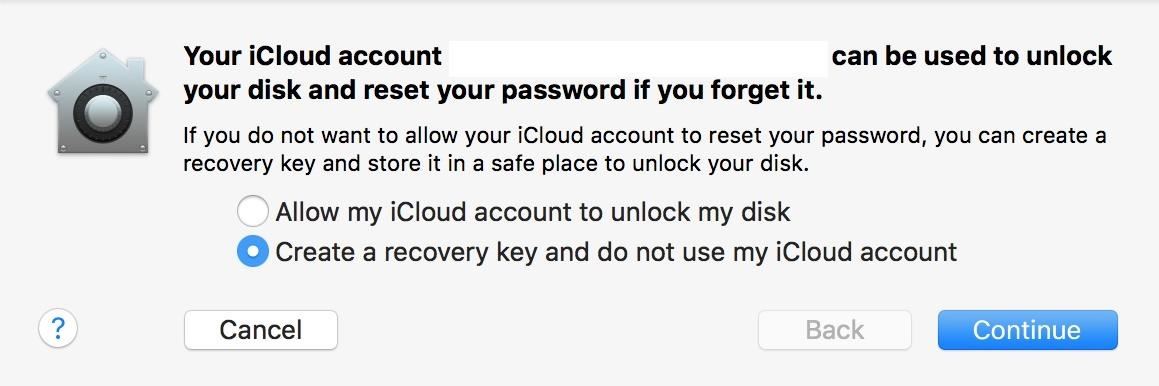
Depending on whether you are signed in with iCloud or not (for Yosemite and higher), you will be greeted with a dialog box asking if you'd like to use your iCloud account or a recovery key to reset your password if you somehow forget it. I prefer to keep a hard copy of my key somewhere safe since the cloud is basically just someone else's computer. (If you are not signed into iCloud, you may see the recovery key right away.)
After you have decided how you want to manage your recovery key, click Continue.
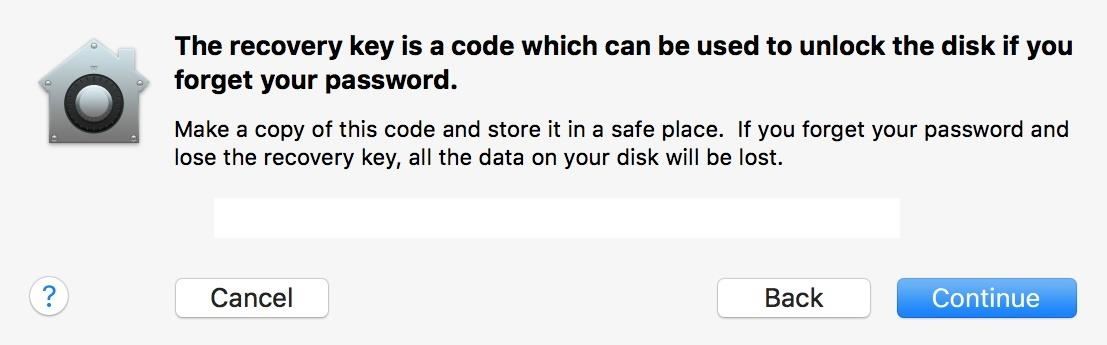
In order to keep my key secure and accessible, I'm going to copy the text to a document and print it before I continue. Then I will store it somewhere safe. Do not store this key on your machine. If you forget your password, you will have no access to your key and will not be able to unlock the machine.
When you are satisfied that you have stored the key properly, click Continue again.
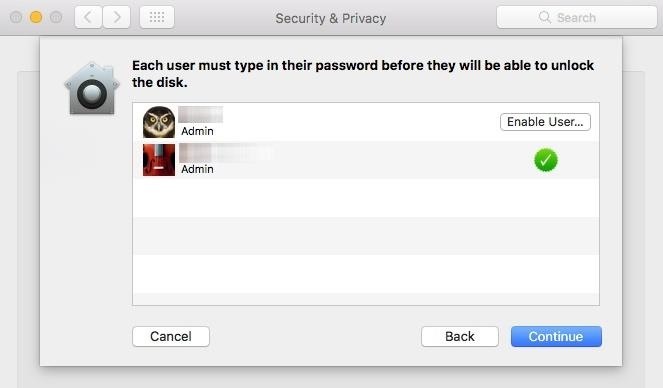
If you have other users on your system, a dialog box will appear asking you to "Enable" each user (by entering their password) before you can unlock the disk. You will obviously have to enable your admin account, but all others are optional—it all depends on whether you want to give them access to decrypt the disk or not. Click on Continue to move on.
Step 3: Restart Your Machine
You will be prompted to restart. Save and close anything else you have been working on, then restart.
Upon rebooting, FileVault will begin encrypting your disk in the background, which may slow down your machine significantly until it's finished. The amount of time it takes to encrypt depends on the size of your disk. You can check the progress at the FileVault screen in your System Preferences.
Note: If you have a modern machine with a SSD, your machine will encrypt and decrypt significantly faster than a spinning HDD. So keep that in mind if future startup times are any concern to you—for a hacker, you need to play it safe and encrypt no matter what.
Step 4: Validate Your Key!
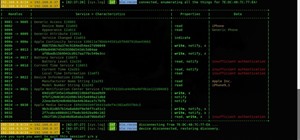
The last step is to validate your key to make sure you can actually decrypt your Mac when needed (only applies to Mavericks and higher). For this, we're going to use the terminal, so open up the Terminal app—it can be found in Utilities in your Applications folder.
In the terminal window, type the following and press enter:
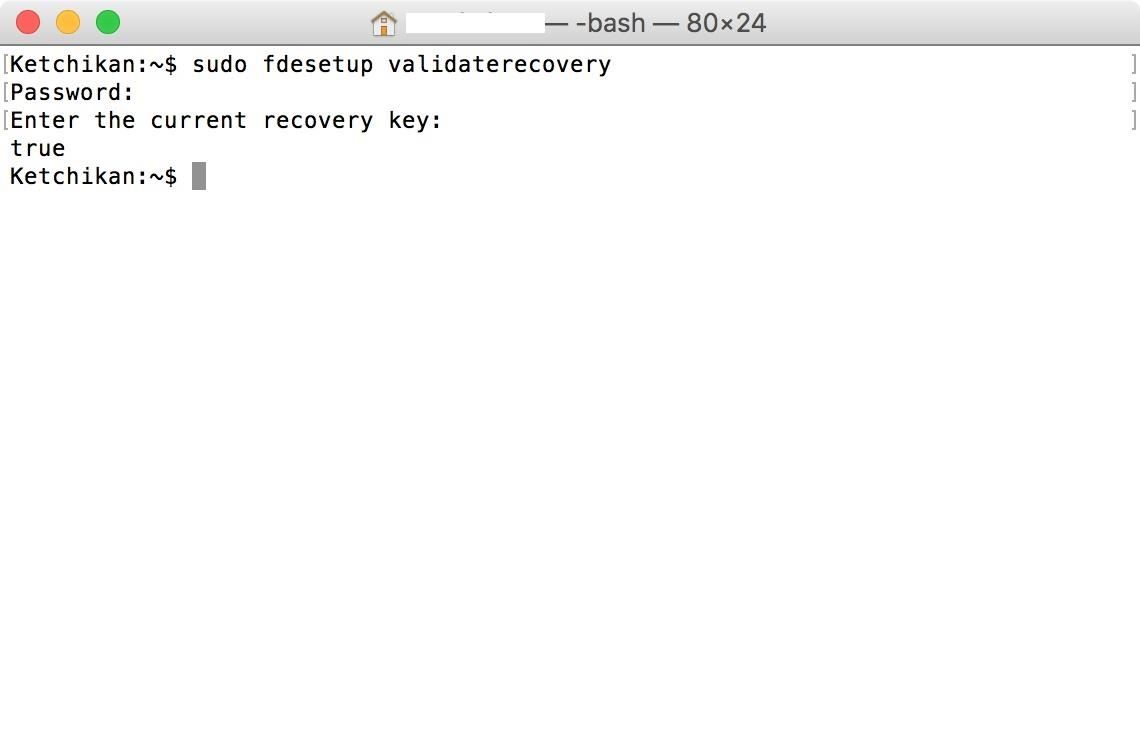
- sudo fdesetup validaterecovery
You will be prompted for your admin password. You will not be able to see it as you enter it, but rest assured that you are actually typing it in. Press enter to continue.
It will then ask you for your recovery key, which should be in the xxxx-xxxx-xxxx-xxxx-xxxx-xxxx format. Just like the admin password, you won't be able to see the recovery key as you type. So go slowly, or type it out in a text document, copy it, then paste it into the terminal and hit enter.
If the key is valid, the shell will return true.
If it is false, you either typed it in wrong, copied it down wrong, or it got corrupted somehow. If you tried again and are sure you are typing in the right key, you'll have to go back to the File Vault screen in System Preferences, turn off FileVault, then repeat this guide starting from Step 2 above.
Your Disk Is Now Ready for Hacking
With all that complete, your disk is now encrypted. Just don't forget that FDE only protects data at rest.
Famous Silk Road operator Ross Ulbricht used FDE to secure his laptop, but was very sloppy at following OPSEC rules. The FBI waited until he logged into his machine so that the disk was unencrypted before they grabbed him, and he didn't even have a chance to close the lid.
Ulbricht was sentenced to life in prison. Don't make that kind of mistake!
Stay Tuned for Future Parts
With FDE all set up, you've knocked down the first step in setting up your Mac for hacking. In my next articles, we'll cover encrypting disk images, as well as using KeePass, Terminal, and more.
Just updated your iPhone? You'll find new emoji, enhanced security, podcast transcripts, Apple Cash virtual numbers, and other useful features. There are even new additions hidden within Safari. Find out what's new and changed on your iPhone with the iOS 17.4 update.


4 Comments
Awesome article, look forward to reading more! Now are the rest of you articles going to be Linux VM on a Mac, or will you set up your own suite of tools for macOS.
I will be setting up my own suite of tools on macOS. I'm going to cover a Linux VM since it's part of a pentesting set up on macOS, but I intend to focus mostly on macOS and hacking with it directly.
Given how much of a threat device's like the USB Rubber Ducky is, I am surprised people don't write a Bash script, which if a USB device is plugged in without pre-authorisation (requiring root password) the USB device does nothing and sudo poweroff (so SIGKILL). This would be for highly sensitive work, exclusively. SysAdmin seem like they could benefit from this.
Went in and did this command center say sudo command isn't found what do I do now
Share Your Thoughts