

If you have never heard of a Virtual Machine (VM) before you might think it to be some new kind of gamers virtual reality system, and that would be incorrect. A virtual machine is a Virtually a real computer that exists inside of your own computer. You can run Kali inside of a Windows environment via your VM. Not quite the same as an actor portraying an actor on TV. A virtual machine will have it's own IP address and you have the ability to network to it from your Real (Host) computer and back and forth. So by setting up a VM you now have multiple computers running at the same time. Yes you can run more than one virtual machine at a time.
So now that you understand the basic idea of a VM and want to set one up how do you do it? There are many programs out there for running Virtual Machines Click Here to see.
The most popular are (Not in order):
Microsoft Hyper-V (microsoft has this built into windows 8 and up - just activate it)
Virtual Box
VMware Player
Some of the Advantages of running a Virtual Machine are:
While you can run multiple instances of a VM player you cannot run Different versions at the same time.
If you need a 32bit system you can run a 32 bit system inside of your 64 bit.
It is easier to save you work in a virtual machine that it is a live CD.
You can test exploits in real world environment before taking them into the real world.
You can feel free to play with it all you want and just make another one if you mess something up.
While you can run Kali inside of your windows environment you can also run windows (not just Wine) inside of Linux.
YOU WILL NEED AN EXTERNAL HARD DRIVE
Step 1: Download and Install Your Platform
Now that we have an understanding of what a Virtual Machine is and what it can do lets get into setting one up. BUT before you start you need to know that you will need an external hard Drive for the Virtual Machine.
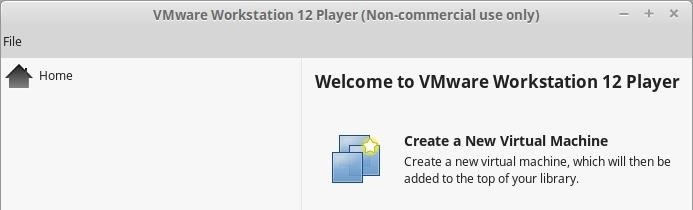
I will use VMware Player for this but you will find that they are all very similar.
First download the VMware Player
Free VMware Player
In Linux VMware Player is a script file so you have to do the following instructions:
> sudo su
> cd Downloads
> sh VMware-Player-12.0.1-3160714.x86_64.bundle
Of course accept the terms and updates as you go is recommended and the feedback is up to you.
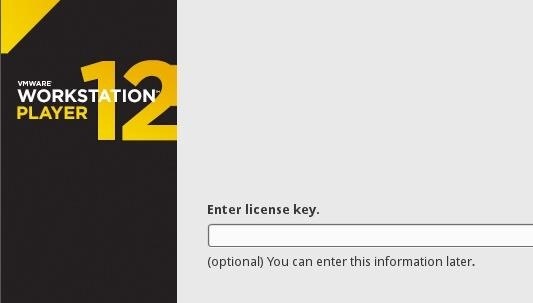
Once you get to the software key page you need to notice that it is Optional so click Next.
and then wait for it to finish installing.
Step 2: Get You ISO
You have to have your ISO of the operating system you want to run so if you do not have an ISO of Kali Linux you can get it here.
Official Kali Linux Downloads | Kali Linux
![]() Official Kali Linux Downloads
Official Kali Linux Downloads
Step 3: Lets Set Up a New Machine
start up your VMware player.
We Are going to create a new machine
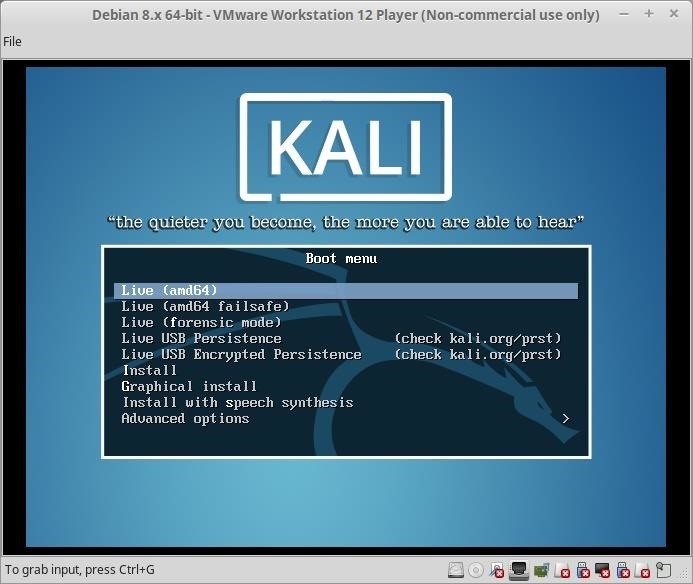
You have your ISO so now you can leave the circle marked that indicated USE ISO image and brouse to your kali.ISO
and click Next
Leave on Linux
and the version should be Debian 8.x 64-bit
..... If you are specifically setting up a 32bit machine this would be where to select that option.
on the next screen you will see that it default names you machine Debian 8.x 64-bit - you can change this to whatever you want
also you need to set the Location to your External Hard Drive because this is where it's going to create the new system.
When you click next here you are going to be asked about the Maximum disk size and it defaults to 20.000 GB
This should be enough but I set mine for 40 - 60 if I plan on using them for a while.
Also here it asks you if you want to keep the whole thing together on the disk or if it's ok for it to be broken up. ( I usually keep it together so single file)
Step 4: C
Step 5: Customizing Hardware
Click the tab that says Customize Hardware

Now go through the tabs and set it up how you want it to behave.
1 - How much Ram should it have?
2 - How many cores should it have?
3- New CD
4 - Network Adaptor
Network Adaptor
Here I am going to set it up to NOT connect at power up.
The reason I do this is I want Kali to use the my USB WIFI device to my computers.
5 - and so on.
now Click Finish
Step 6: Install Operating System
Now that you clicked finish you have to install the operating system
- to get your curser out of the Virtual environment press {Cntrl}+{Alt}
So you are setting this up as an Install so scroll down to install and press enter.
Now follow the steps just as you would a new computer install.
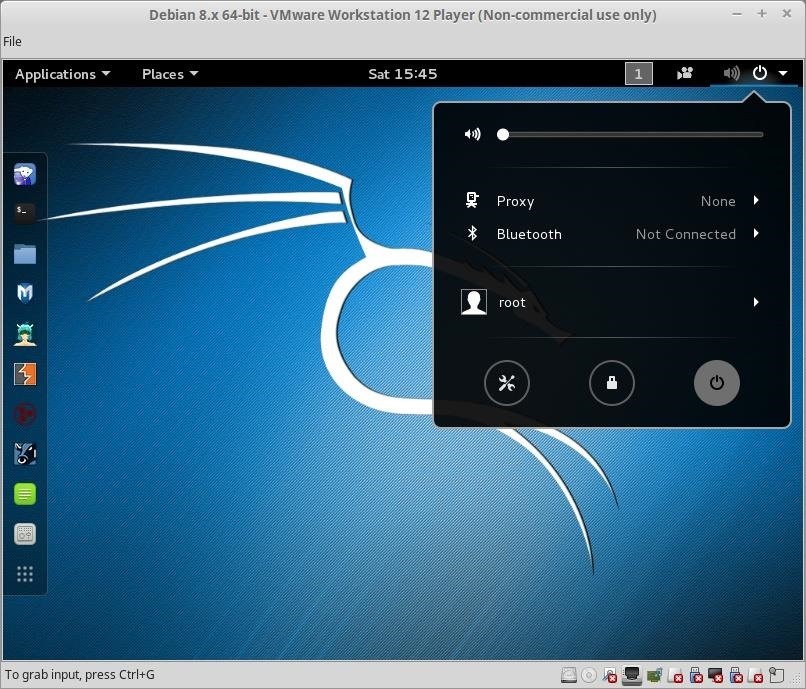
Since this is a Virtual computer you need to remember to shut it down properly as well. this is done by utilizing the operating systems power button
Now go play =)
Just updated your iPhone? You'll find new emoji, enhanced security, podcast transcripts, Apple Cash virtual numbers, and other useful features. There are even new additions hidden within Safari. Find out what's new and changed on your iPhone with the iOS 17.4 update.


3 Comments
Thanks for the guide and all, but why would I "need" an external Hard Drive? I have multiple VMs on internal HDDs and they're running just fine.
Yes you can do it with your internal hard drive BUT it works it harder because it's doing the work for 2 computers in essence.
In school settings you will run several workstations and servers on one external but they are a cheaper to replace that that of your laptop. WHEN your computer dies you still have it - you can also copy your VM to another location so you have restore points
I thought I could add this link to explain the reasons for using an external Hard Drive (since he did a much better job than I did)
http://blog.codinghorror.com/the-single-most-important-virtual-machine-performance-tip/
Share Your Thoughts