
Why we need wireless Adapter
Wireless adapter is very important for wifi hacking activities. Because for wifi hacking, you need to put your network interface in monitor mode. The built in wireless adapter of laptop does not work well for monitor mode. Besides many of us use Kali Linux as virtual machine. In virtual machine, network is shown as cable connected network and it cannot go to monitor mode. So for both of the above causes, we need external wirelss adapter to run in monitor mode.
In this article I am going to tell you simple steps for installing wireless adapter in virtual box.
Let's start
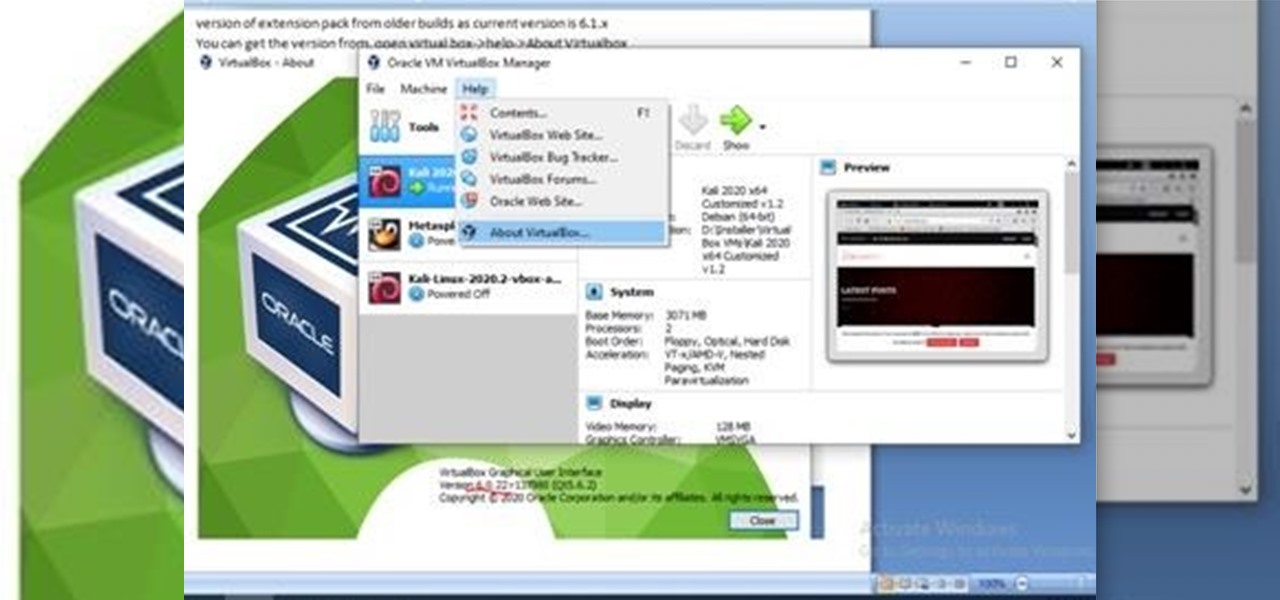
Download virtual box extension pack and install it. Remember, version of virtual box and extension pack must be same. My virtual box version is 6.0.22, so I have downloaded same version of extension pack from older builds as current version is 6.1.x
You can get the version from, open virtual box->help->About Virtualbox
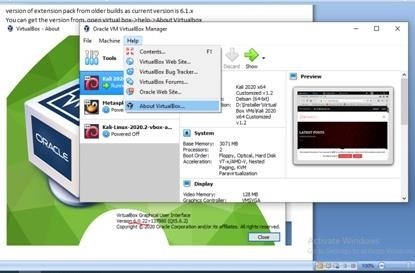
You can see the version at the bottom right corner.

Now download extension pack and install it. if your version is little bit older then you can download from here
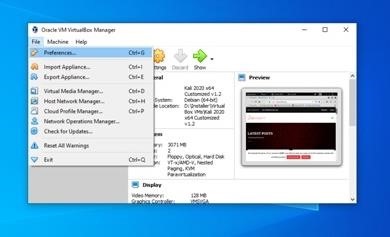
For installing it, open virtualbox and go to File->Preferences
Then click on Entensions
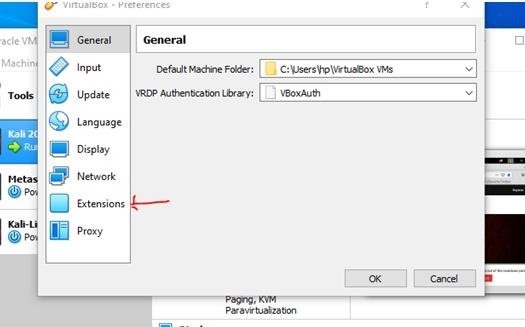
You will see the following screen. I have already installed that's why it is showing one, otherwise it will be empty
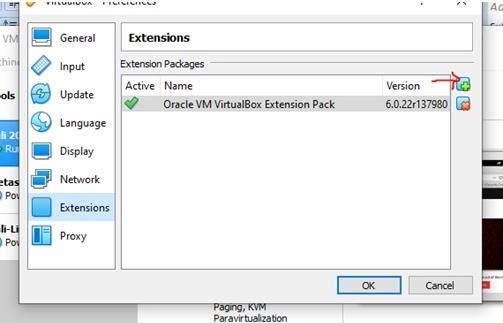
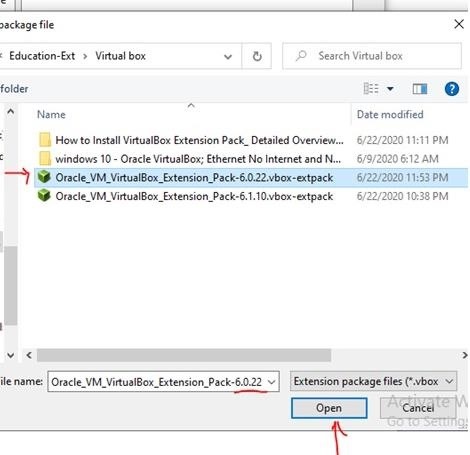
For new installation of extension pack, click on the + sign, following screen will appear. Browse the file from the location.
Then it will ask to confirm License Agreement, and then press install. Finally it will show successful message. After installing extension pack, you can enable USB 2.0 or 3.0.
Now attach the wireless WIFI adapter with virtual box
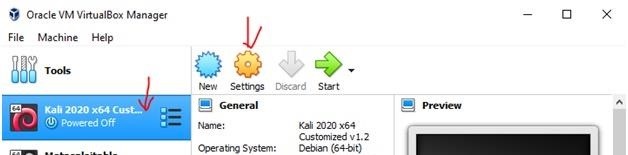
Open virtual box(guest OS Kali Linux should be powered off), select the machine (in our case it is Kali Linux) in which we want to attach wifi adapter, then click on Settings.
Then click on USB from the left pane of opened window.
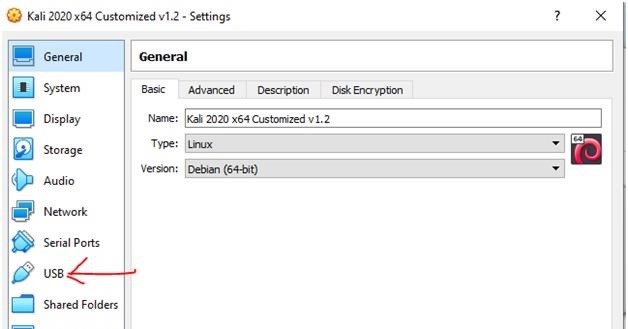
(here I already installed one that's why showing one, otherwise this window will be empty)
Select USB 2.0, then click on + sign.
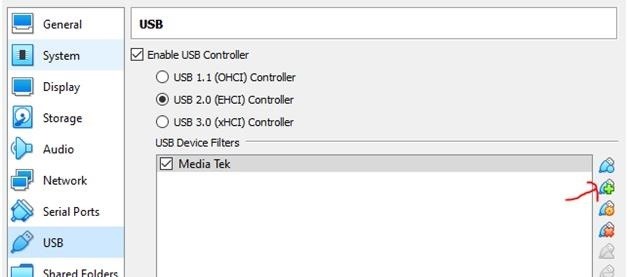
See our wireless adapter (Media Tek 802.11 n WLAN) is showing here because we have physically connected the device with host machine USB port. Click on it.
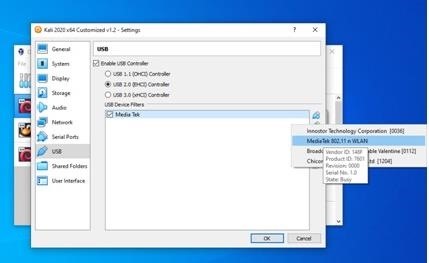
Then wireless adapter will be attached to it.

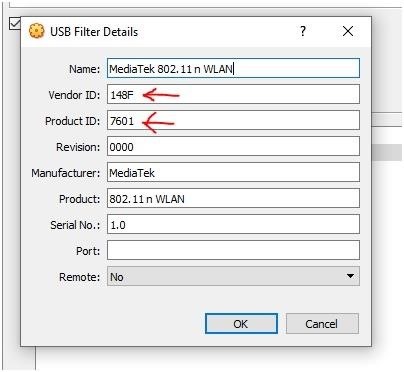
Now double click on newly added device. Note the Vendor ID and Product ID. We will create manually this adapter. Because in many cases, if we add it automatically like this way it does not work. Now cancel this.
Click X sign to remove the selected device.
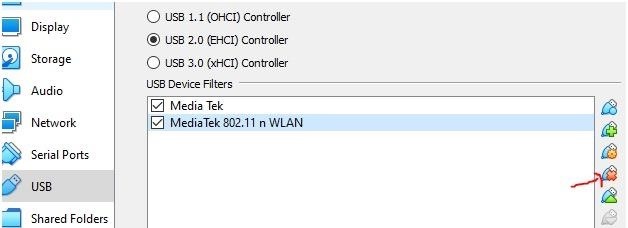
Now click on USB icon to add a device. A new device "New filter 1" will be created.
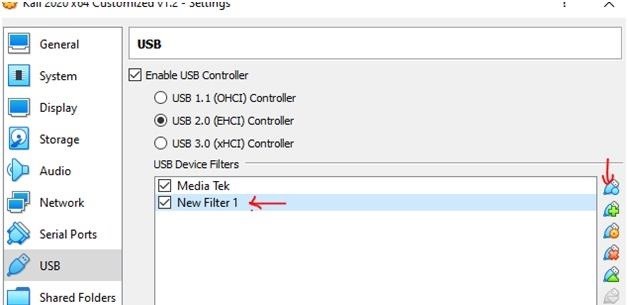
Double click on it. Put name (name does not matter, you can put anything), vendor ID and product ID (which you have noted in previous step). Then click Ok->Ok

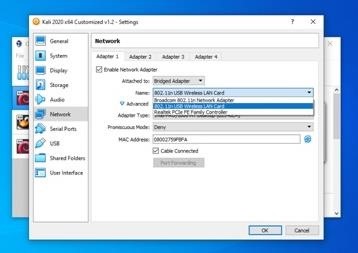
Now go to Setting->Network. Select tab Adapter 1. Then in the "Attached to" dropdown box, select Bridge adapter, "Name" dropdown box select wireless adapter(in this case Media tek which you have created just now), go to advance option, leave adapter type default, set promiscuous mode "Deny" and check the Cable connected box. (yes, though it is wireless adapter, we have to check it). Then Ok.
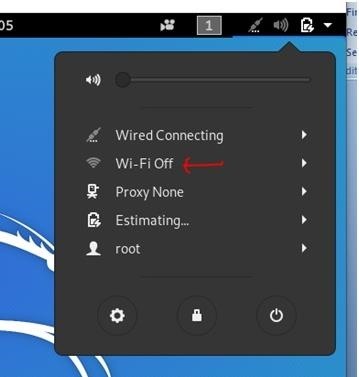
Now remove the wireless adapter physically from your host machine port. Run the virtual machine (Kali Linux). After running Kali, insert wireless adapter in the port of physical machine and see it is showing WiFi interface.
Connect it and in terminal, type "ifconfig" command. There will be wireless network interface wlan0.
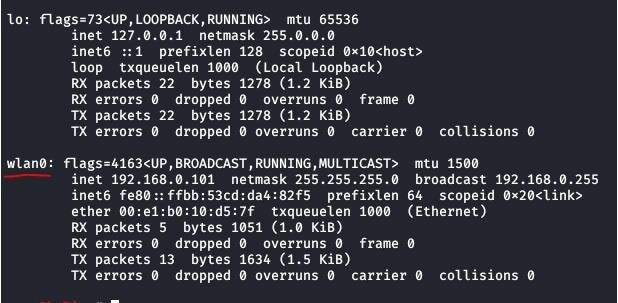
You are done. Now you can go forward with wifi hacking activities.
Remember if you remove the wireless adapter physically from your host and after that run Kali linux, it will prompt you a message that Network adapter (Media Tek) is not found. Don't worry if go to next then Kali will run and remove the current network setting. Then it will get back to default setting with eth0.
And if you again need wireless adapter then just set the network as we set everything in previous step and go.


Be the First to Respond
Share Your Thoughts