
It's no secret that devices leak data, but sometimes they do so in ways you may not expect. Your phone, laptop, printer, and IOT devices leak Wi-Fi information that can (and is) used to track you.
Today, we'll make a Wi-Fi probe logger with Probemon.py to track nearby devices by MAC address, signal strength, and APs they have recently connected to. We will explore tying this data to home or work locations with a database correlation attack to locate the owner of a tracked device.
Passive Surveillance of Wireless Devices
In cellular-based surveillance devices like the infamous DRTBOX, the device forces all cell phones in range to connect and give up their location and unique ID. This, combined with GPS, is enough to know who you are and where you are as long as your phone is on, without ever knowing you've been tracked. Using wireless probe frames instead, there is a much less complicated way to track users by their devices.
Most Wi-Fi devices leak identifying information through the process they use to probe for wireless networks nearby. We'll use a Python-based probe logger to record the information from these probes to fingerprint and determine what kind of devices are nearby, and where those devices have been. For small, discreet tracking, Probemon works well on the Kali Pi.
Probing the Probes (To Probe While You Probe)
I've been fascinated with the concept of a "blind" security camera that detects presence without using a traditional lens setup. Now that most people carry wireless devices, you don't really need to see in the classical sense to detect a person or device being present.
Traditionally, we have ultrasonic motion sensors, passive infrared sensors, and other people-sensors for monitoring if a person is approaching and triggering things like sounding an alarm or opening a door. Now that humans have evolved to clutch wireless close to them at nearly all times, you can usually assume a smartphone signature represents a person, and a person represents at least one laptop or smartphone with a wireless card.
Wireless devices are always searching for Wi-Fi networks while the wireless cards are left enabled, sending out these identifying, unencrypted probe frames. Users typically leave Wi-Fi on, but even if they don't, several "smart switching" modes also send the same probes. I was excited to learn that Nik Harris had taken my musings of a way to track people by their device to a new level by creating Probemon, a Python program that uses a wireless card to detect, classify, and log these probe frames to track these devices.
How Probemon Tracks You
Phones and other wireless devices find Wi-Fi around them in two ways, by probing for any AP (a broadcast probe) or probing for the last AP or several APs the device has successfully connected to. These probes can be sniffed, logged, and the device MAC address fingerprinted to prove that a particular person's phone was at a certain place at a certain time.
Probemon creates a CSV or text output file of all the wireless devices logged in range nearby and was originally created to catch a graffiti artist by correlating the wireless network probe request from his smartphone to his home address. Several years ago, phones actually included the MAC address of the last AP they connected to, which allowed for easy lookup of the location of the AP as well as the manufacturer.
In addition to fingerprinting the device, Probemon also allows us to see the last network the phone or laptop connected to. We can use Wigle.net to look up the geolocation and build a profile of a user in a very short amount of time.
The iPhone Makes an Attempt
This technique has poorer effectiveness against the iPhone due to the way the iPhone searches for Wi-Fi. It does so by sending out a "broadcast" ping or "to anyone" ping requesting for any nearby access points to reply rather than any specific one. Therefore, we will not see an iPhone asking for any specific APs. Tracking an iPhone is also somewhat harder (up until iOS 10) due to the fact that it also randomizes its MAC address when making these requests.
In iOS 10, an Apple-specific element was added to the way iPhones probe for networks, allowing them to be effectively tracked again. Despite still being trackable, researchers described the technique used in the iPhone's probe requests as "closest to being pretty good."
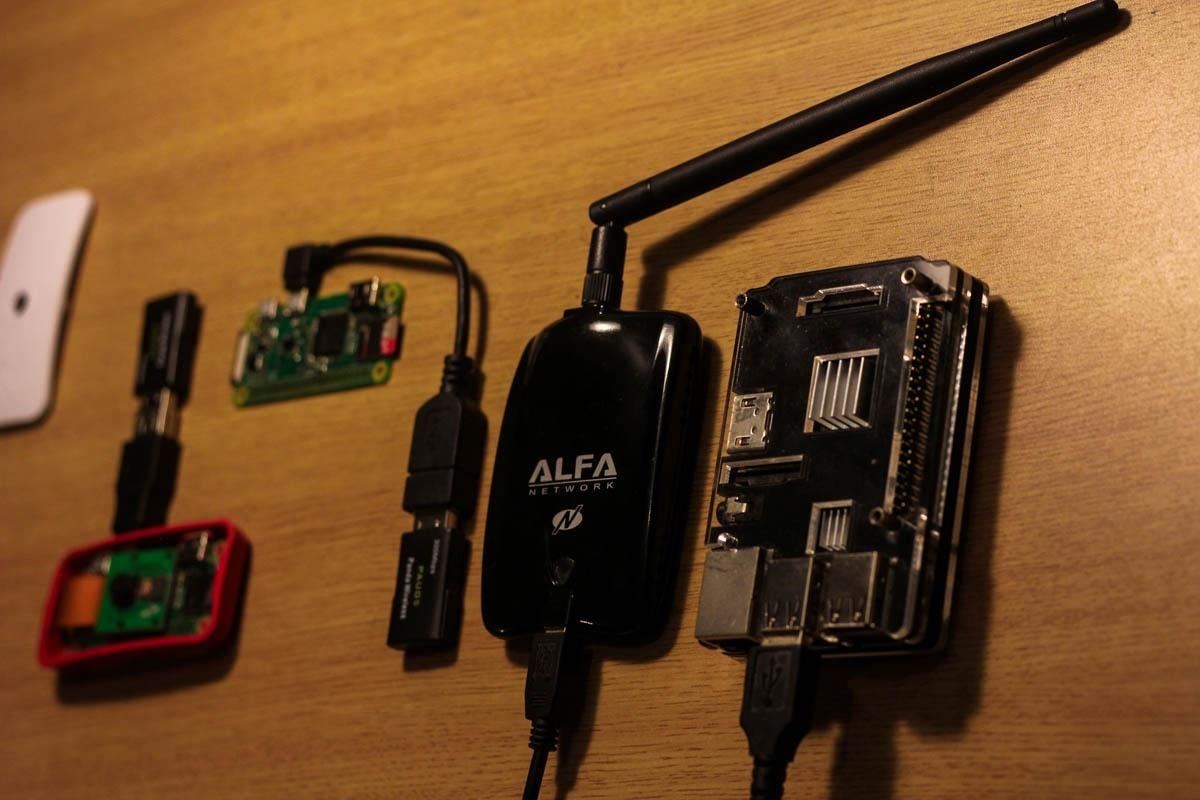
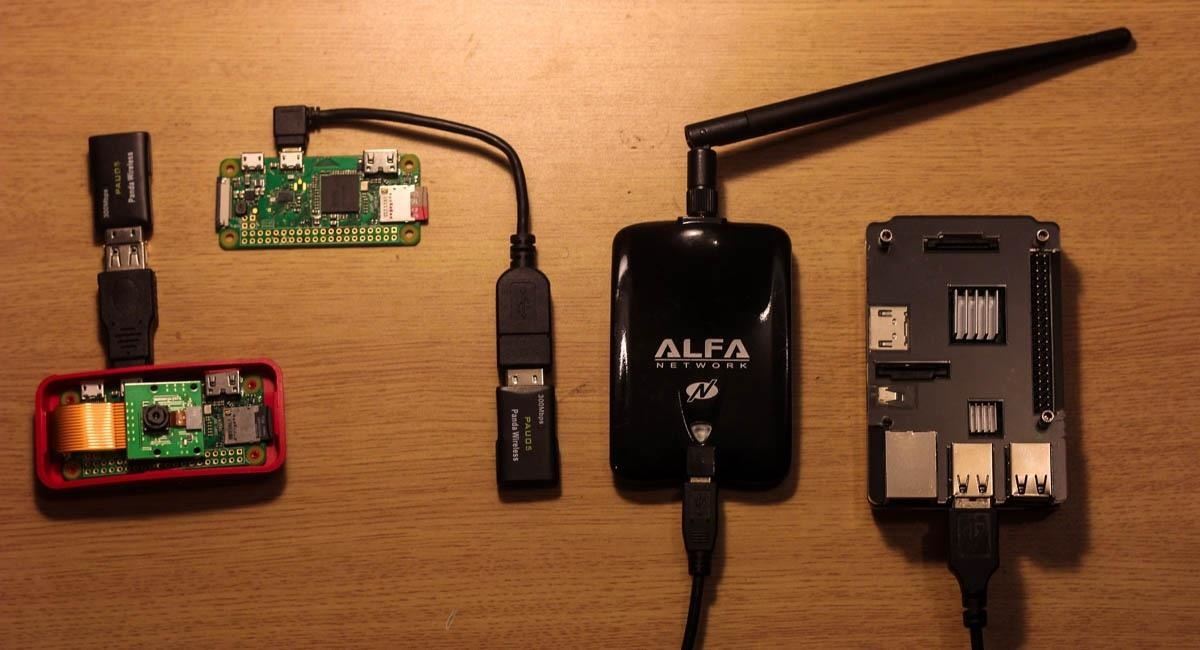
What You'll Need for a Probe Logger
Probemon is a Python program, which allows it to run on a flexible range of devices. Generally, Probemon performs quite well and is easy to install on Kali Linux. To use it, you'll need:
- a fully updated version of Kali Rolling
- a wireless network adapter
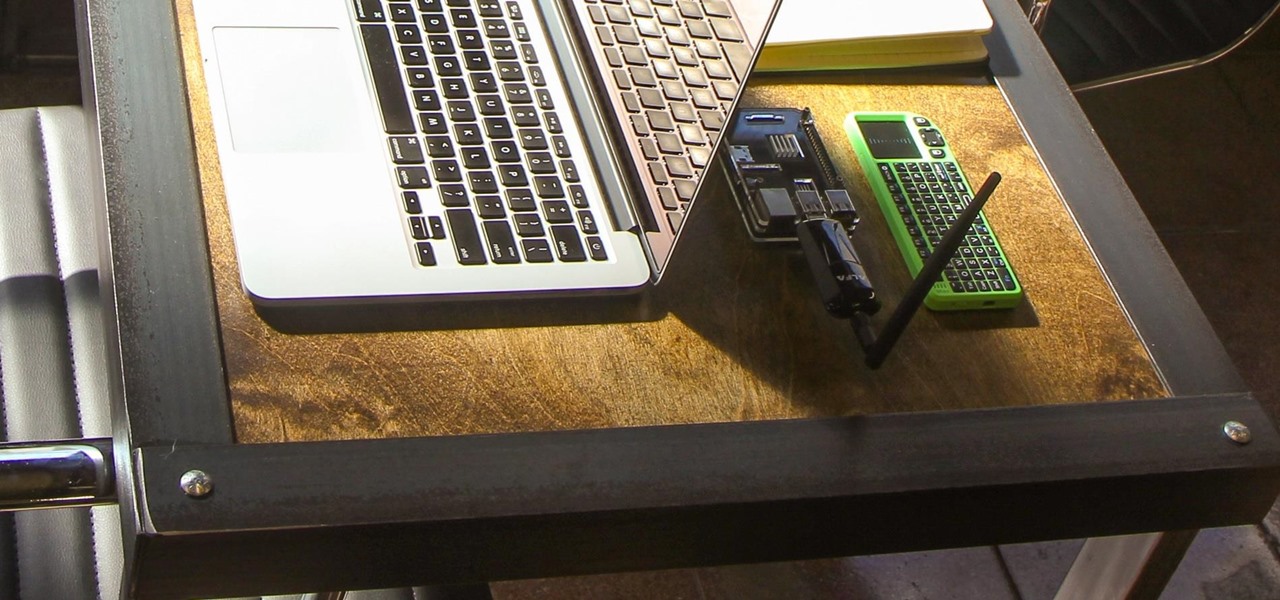
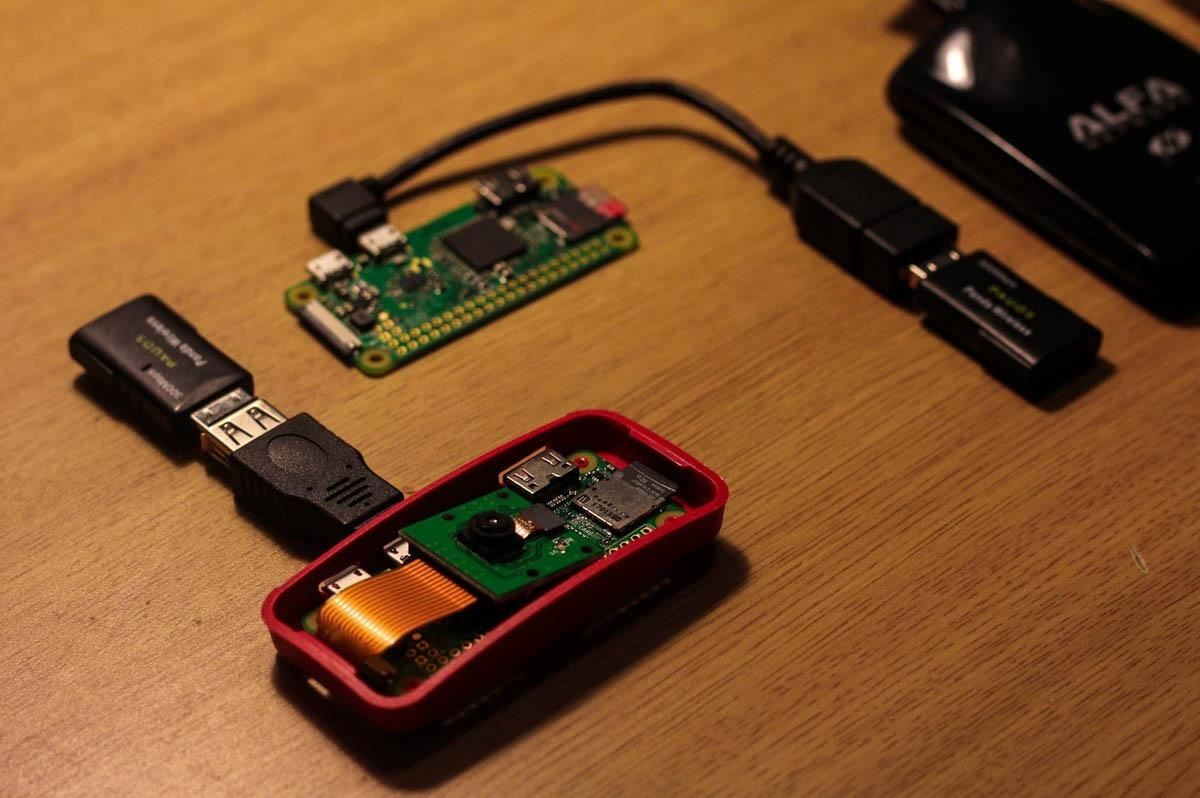
- preferably a portable setup like a Raspberry Pi 3
Step 1: Installing Dependencies
First, let's set up some dependencies. After updating Kali, you'll need Python, Netaddr, and Libdnet to make this work. Kali Linux typically includes Python, but if not you can run:
apt-get install python
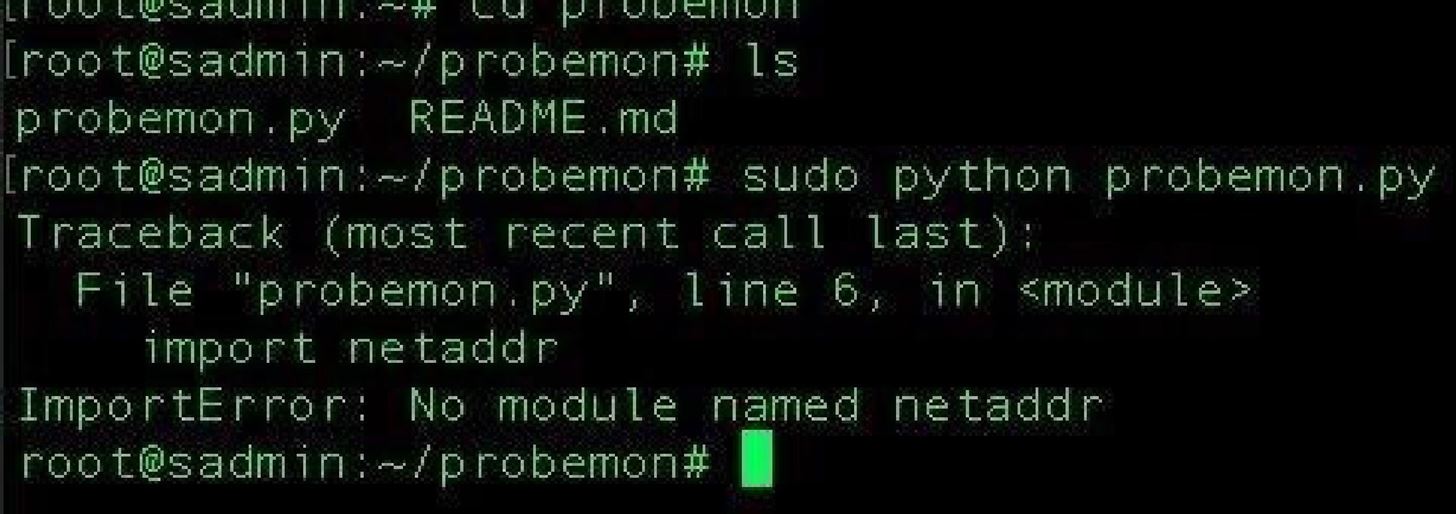
If you try to run Probemon before installing the dependencies, it'll complain about whatever is missing.
git clone https://github.com/drkjam/netaddr
cd netaddr
sudo python setup.py install
cd
git clone https://github.com/secdev/scapy.git
cd scapy
sudo python setup.py install
Great! Let's get Probemon and run it for the first time.
git clone https://github.com/nikharris0/probemon.git
cd probemon
sudo python probemon.py
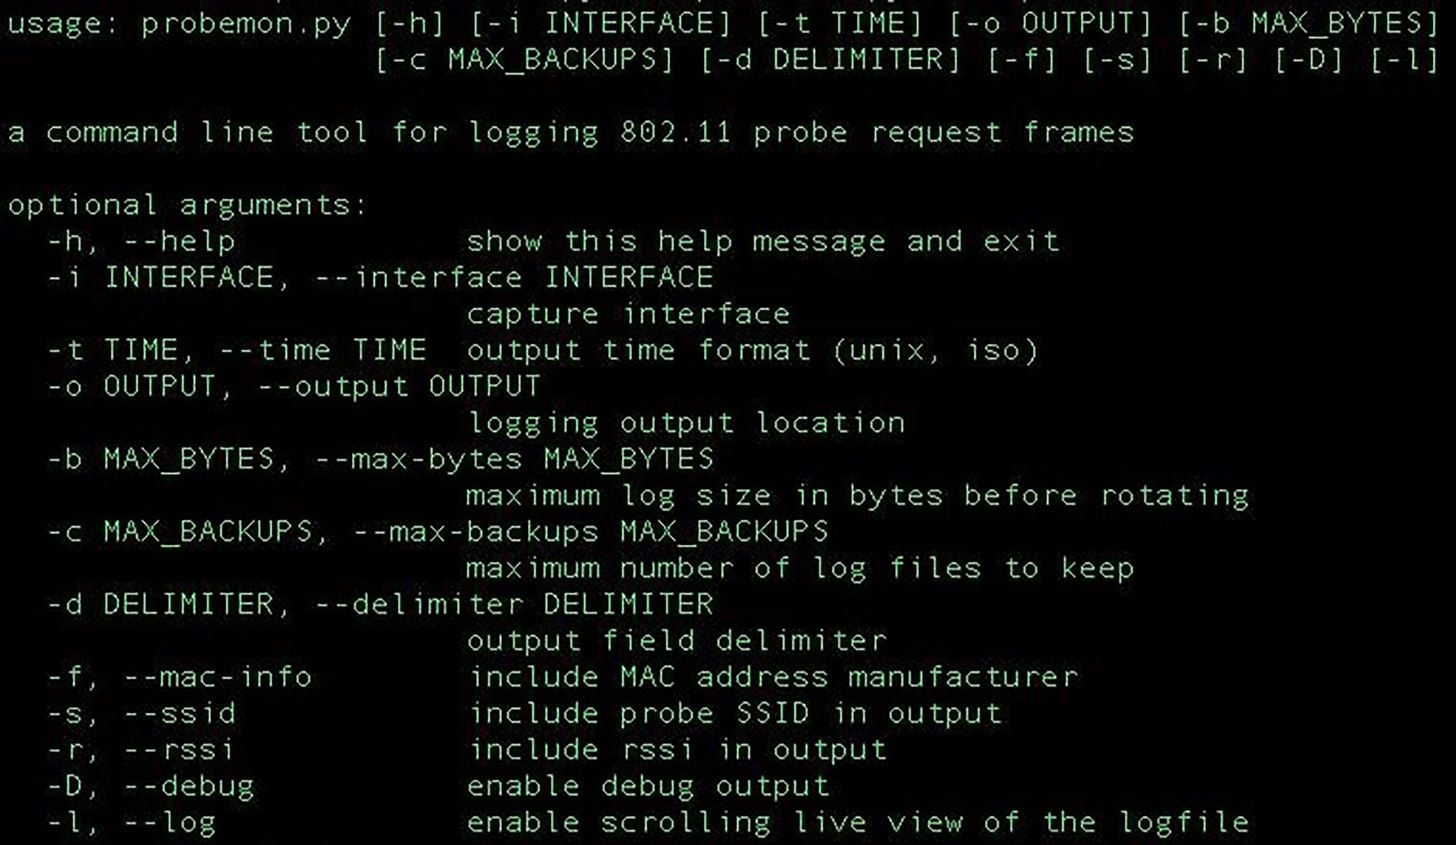
If you see something like the following, than the script is ready to run.

If it complains about a dependency or module being missing, odds are you'll need to find it on GitHub and install it like Scapy and Netaddr. I noted in my first build on a Mac, I needed Libdnet, but I didn't seem to need when installing on Kali.
Step 2: Running Probemon to Intercept Wireless Probe Frames
Probemon comes with a full suite of arguments to help you find and refine wireless probe frames.
First, you'll need to put your antenna into monitor mode. Run ifconfig to find your antenna. Assuming it's wlan1, type the following into terminal.
airmon-ng start wlan1
Once that's started, we can start to capture data. To begin, run Probemon with:
python probemon.py -i wlan1mon -t unix -o ~/WonderHowTo -f -s -r -l
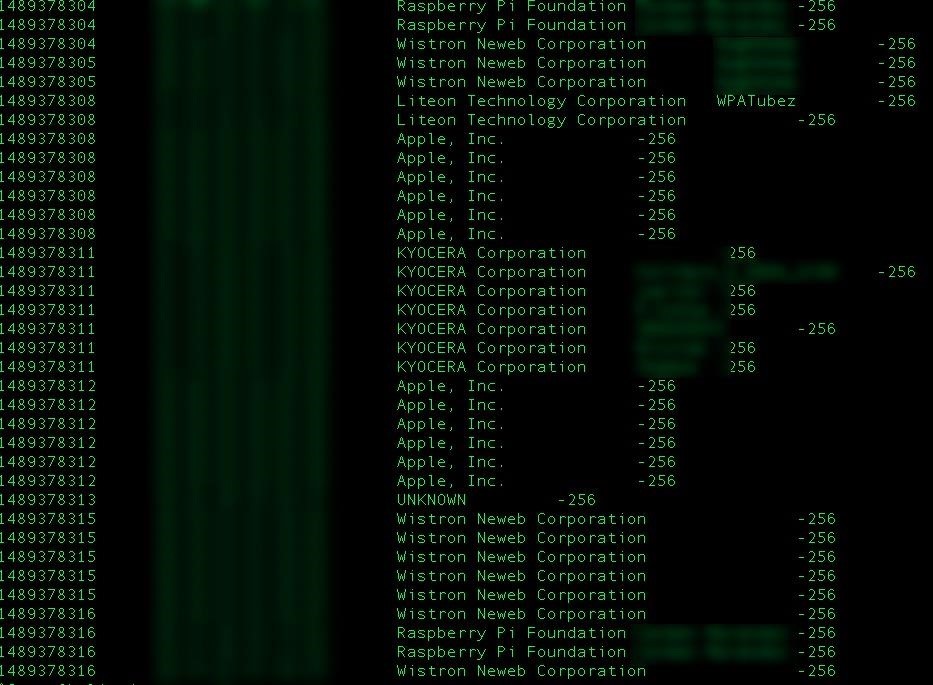
This script logs the results to a file called "WonderHowTo" and displays the results on the screen as they come in live. You will notice MAC addresses, the manufacturer, and wireless networks that device is looking for along with the signal strength. I've removed the MAC addresses in the following screenshot.
Step 3: Interpreting the Data — What Does It Mean?
What have you created? It depends on what you want to measure. Probemon can be run remotely by a discreetly placed device to detect when a particular device, and user, are nearby. It can be used as a "who's home" board. For mobile devices, this is a fingerprinting and tracking ability that lets you identify and track mobile devices, and figure out where they're likely to be in the future. But how can we use this data to dig deeper into the history of the device and user?
In our dataset above, there is a probe from a Liteon Technology device that is trying to connect to a network called "WPATubez." How unique can the name (ESSID) of this network be? Using local filters, there is often only one result.
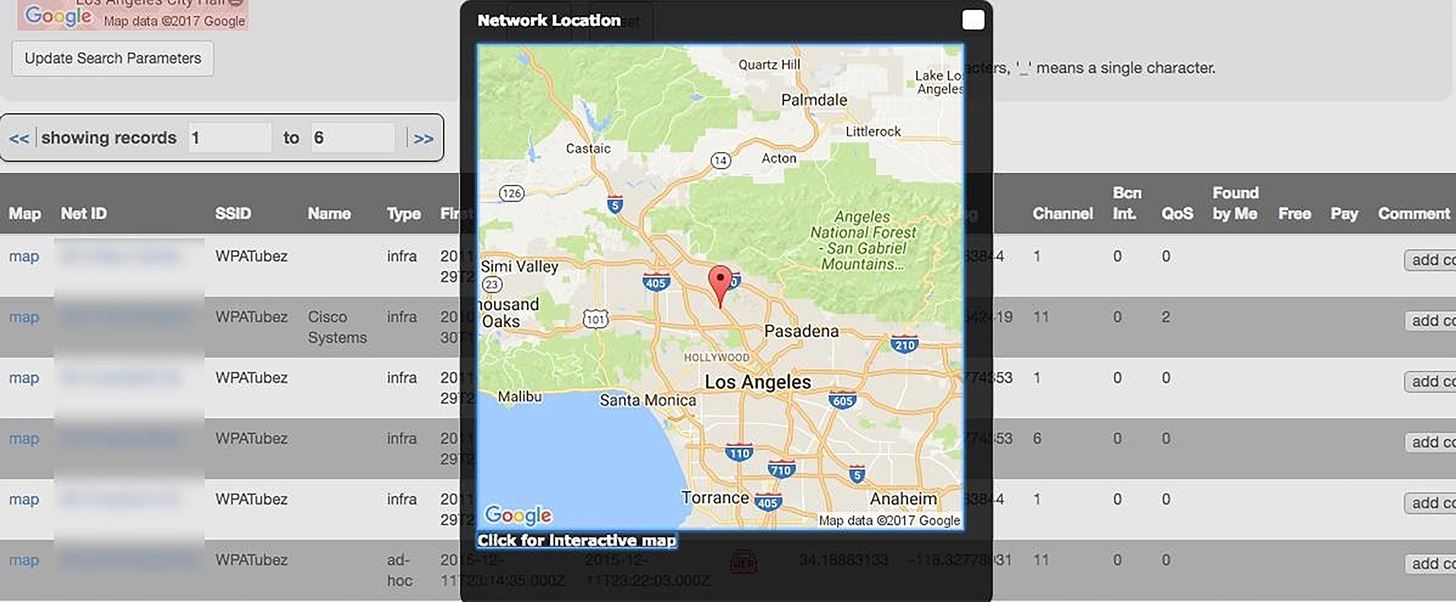
With a local filter applied on a Wigle.net database search, it is often trivial to find the address at which the AP in question is located. In this search example, only one AP with that name has been sighted within the last three years and is located in Burbank. We also discover that it is an open Wi-Fi network, allowing us to potentially launch a Karma attack against the user's device.
How is this useful? By creating an open wireless network, we can convince the device to join our network and scan it more intensively. We can also track when this device is nearby and monitor distance by signal strength, or go to a suspected home location and scan for the device when we expect the user carrying it to be present. Swapping the size of the antenna can also limit or expand the range depending on the requirements.
Step 4: Defeating MAC Address Surveillance
For one, turning off your wireless card when not in use and disabling "smart switch" mode will prevent your phone from giving away its MAC address when in "disassociated" mode (not connected to Wi-Fi).
A program like Macchanger can change your MAC address to something spooky that would make someone want to stop monitoring you. On boot, I like to have my Raspberry Pi assume the MAC address range of a particularly scary government defense contractor's computers. I don't really advise that, so instead, I'll show you how to randomize your MAC address.
First, take the interface to be camouflaged down with:
ifconfig interfacename down
Then, change the MAC address with:
macchanger -r interfacename
ifconfig interfacename up
This should change the MAC address your wireless card leaks to the world. You can confirm this is working with:
macchanger –show interfacename
In Practice: How to Use SIGINT in Recon
In our real world example, we'll use probe logging as a form of signals intelligence to find information on a target passively. In a hypothetical scenario, we want to audit the employees of an office building for ways to get into company accounts and devices.
During an opportune visit to the office posing as a customer, we activate a Raspberry Pi probe logger for the duration of our tour of the building. We record probes created by printers, laptops, smartphones, and other wireless devices in proximity and mine the data for attack vectors.
Types of data we're looking for include:
- The MAC address of printers and other wireless devices in the office, along with any networks they are searching for, associated with, or have no/weak passwords.
- The MAC address of smartphones and laptops belonging to users to create a "hot" list for confirming an employee is in range.
- Any wireless network a personal device is attempting to connect to which is GPS locatable, unsecured, or that reveals a home or work location.
- The manufacturers of the devices found and whether they are vulnerable.
The best part about this kind of recon is that it is very hard to detect. It is completely passive and relies on capturing the emissions from the devices around you. Despite its low profile, creativity in tying data together can yield impressive results with this technique.
Thanks for reading, and make sure to keep an eye on Null Byte for more hacking tutorials. You can ask me questions here or @sadmin2001 on Twitter or Instagram.
Just updated your iPhone? You'll find new emoji, enhanced security, podcast transcripts, Apple Cash virtual numbers, and other useful features. There are even new additions hidden within Safari. Find out what's new and changed on your iPhone with the iOS 17.4 update.


6 Comments
It says network down when I run the command, airodump-ng works fine though..
Any help?
(running on kali pi)
Great article !
I have forked probemon.py to fit my work flow and requirements:
Logging to a sqlite3 db and produce a plot of mac addresses presence over time and get statistics from the db. Look at that repo
Here is a preview of the plot it can make
Holy shit this is really cool
Can't get airmon-ng to be recognized as a command. Kind of sounds like I need aircrack-ng installed to use that command. Is that correct? Can I do this without aircrack-ng?
Great article. How would I go about adding the column names to the log. Such as EventID: 1526537963 MAC: 00:00:00:00:00:00 and so on?
Hi
I'm getting an error when i try to run
python probemon.py -i wlan1mon -t unix -o ~/WonderHowTo -f -s -r -l
i get
TypeError: ord() expected a character, but string of length 0 found
Any help greatly appreciated
Share Your Thoughts