
If you're worried about the security of your Mac, there are easy measures to prevent the most dangerous attacks. Named after the tactic of accessing an unattended computer in a hotel room, we can thwart "evil maid" attacks with Do Not Disturb and LuLu, free macOS tools by Objective-See that keep an eye on unattended computers and flag suspicious network connections that indicate a malware infection.
Evil Maid Attacks Are a Real Problem
An evil maid attack involves someone gaining access to your computer when you're not present, allowing them to do whatever they want to it. An example might be a company executive at a business dinner in China with their laptop full of company secrets tucked securely in their hotel safe. A motivated attacker could take advantage of this unattended device by accessing the hotel safe, inserting a USB thumb drive into the laptop, and booting from the drive to get around any passwords securing the device.
These attacks are commonplace in some countries where valuable intellectual property on laptops make business travelers vulnerable to having unattended electronics tampered with. The frightening thing about these attacks is that it's often impossible to know if someone has accessed your device while you're away, preventing you from knowing what, if anything, has been done to your laptop since you last accessed it.
Malware & Remote Connections
If an evil maid attack succeeds at putting malware on a computer, it typically needs to connect to a command-and-control server to receive orders and upload stolen data. This trait isn't exclusive to evil maid attacks, as any malware will need to connect to a remote device to be useful. While there are many different kinds of malware for macOS computers, the common trait of needing to connect to a remote server can allow us to identify malware on our system trying to dial out.
A few other details can also distinguish the difference between a regular program attempting to do something like check for updates and malware trying to download instructions. Applications which aren't appropriately signed, have processes flagged by VirusTotal, or include connections to suspicious URLs are all ways we can potentially detect malware.
Detecting Threats by Their Behavior with LuLu & Do Not Disturb
Written by former NSA hacker Patrick Wardle, LuLu and Do Not Disturb are tools for macOS that allow a user who wants to keep a close eye on security. Do Not Disturb keeps an eye out for evil maid attacks, allowing the user to receive an alert and photo from the webcam any time their macOS device opens to an iOS app. When enabled, Do Not Disturb keeps a log of every time the device is accessed and what the user did after opening it, allowing you to play back every time your computer was accessed while you were away.
To watch for malware connecting to a remote command-and-control server, LuLu is a firewall that generates alerts for outgoing network connections and gives the user the final say on what is allowed to connect out from their machine. After setting up a whitelist of programs that are allowed to connect, LuLu will remember the user's preferences and only flag new outbound connections for review. If malware installs on the device, LuLu will flag the connection attempt as it tries to connect to upload stolen files or get further instructions.
What You'll Need
To install LuLu and Do Not Disturb, you'll need a fully updated macOS device and a network connection. We'll be downloading them from the product page of Objective-See's website, which you can check out to find more awesome free security tools for macOS.
One thing to note about these tools is that they can generate a fair amount of alerts. LuLu will at first need to be told explicitly what programs can connect and which can't, so before you set the whitelist, this can get a bit annoying. Worse, if you ignore these alerts, they stop being useful, so make sure that you strike the right balance between transparency and alarm fatigue that comes with these security tools.
Step 1: Download LuLu
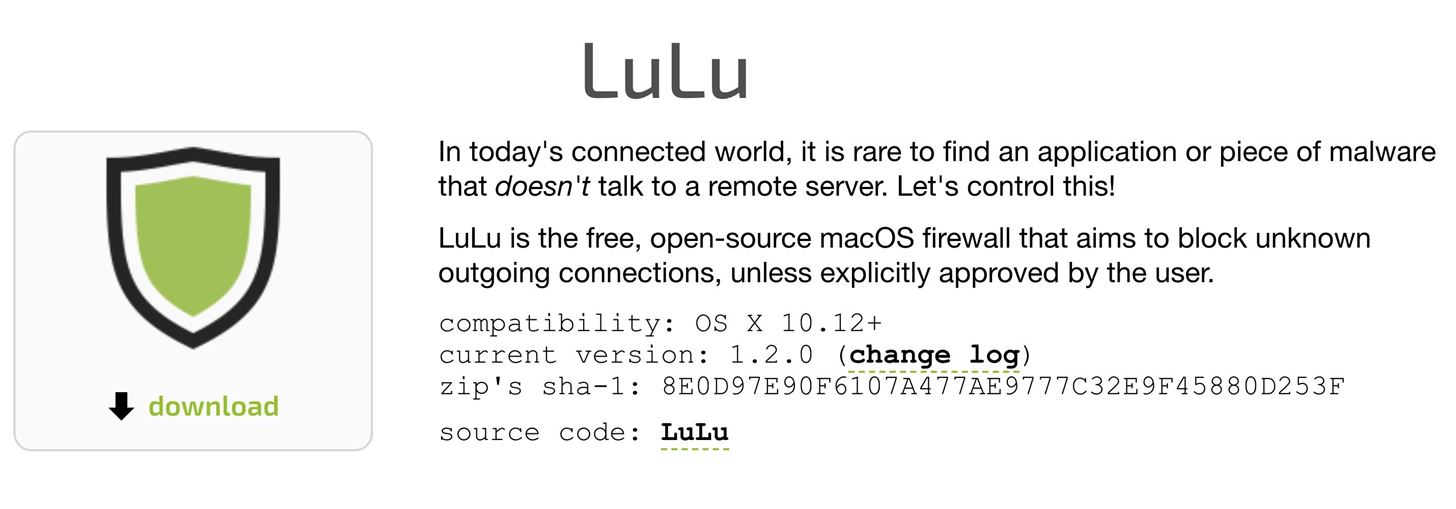
First, we'll navigate to Objective-See's download page for LuLu. Here, we can see the download link under the LuLu icon in the top left. Click that to download the installer.
Once the installer is in your "Downloads" folder, double-click on the "LuLu Installer.app" file to open the installation menu, and enter your password to give the program permission to install.
Step 2: Install & Configure LuLu
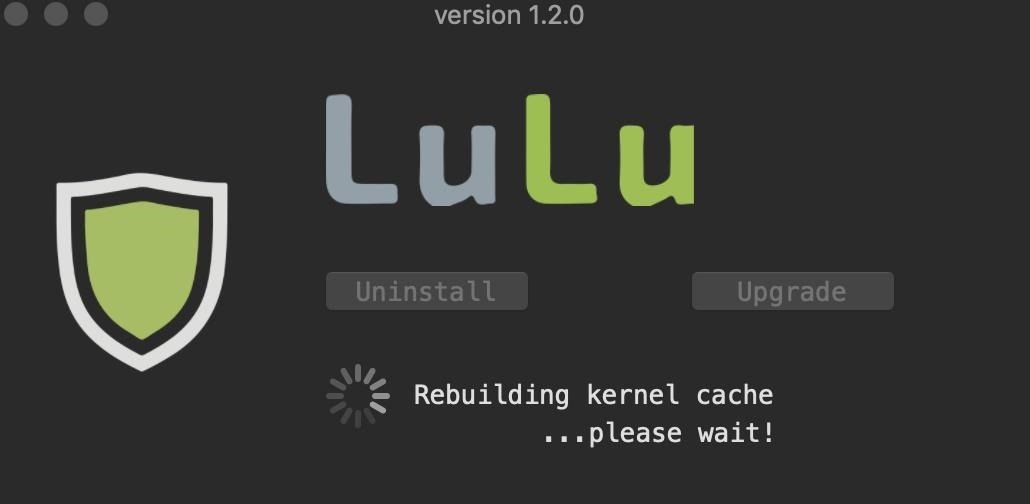
In the LuLu installer, click on "Install" to run the installation process.
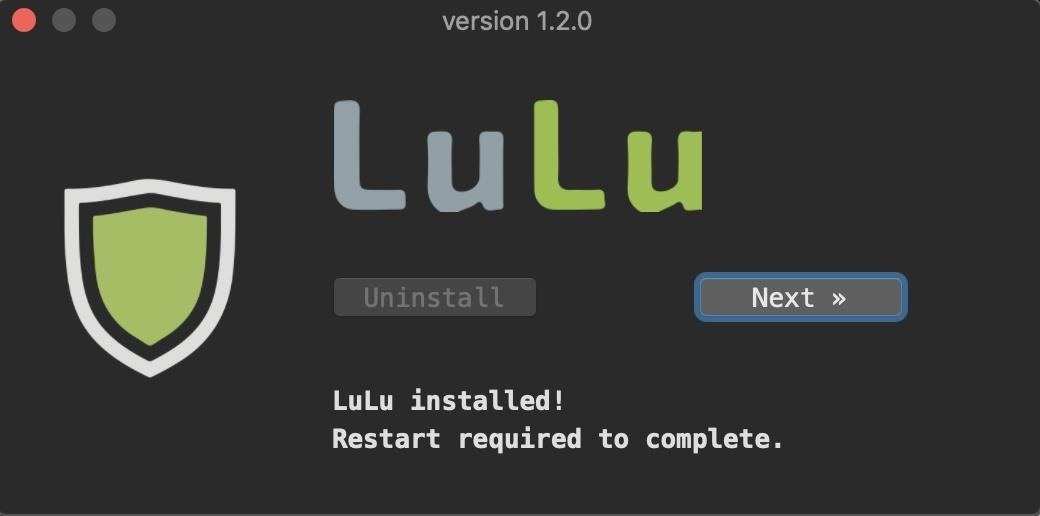
After the process completes, you'll see a message that says a restart is required to finish the installation. So restart your device, and you should be ready to get started using LuLu!
Step 3: Set Rules for Network Connections
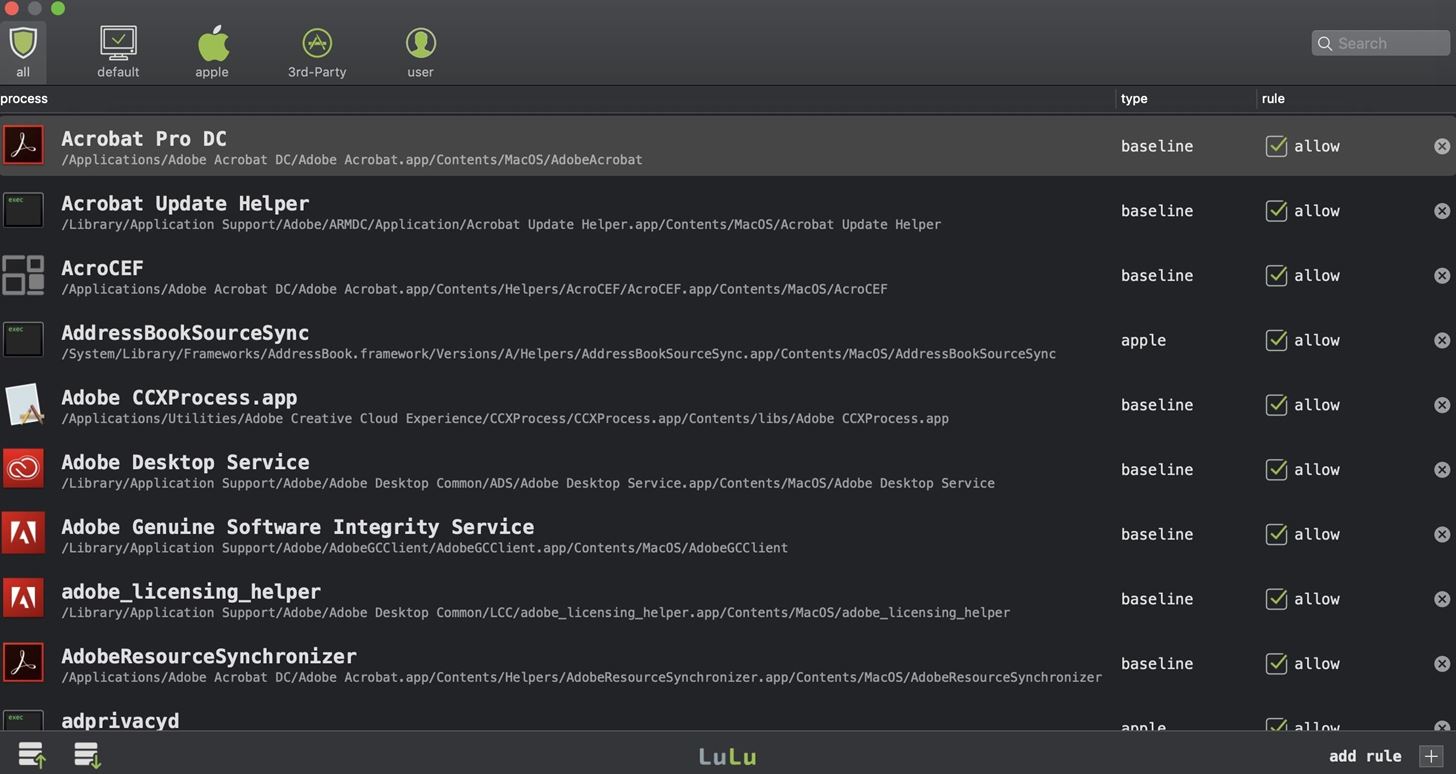
When your macOS device has restarted, open the LuLu app to the list of network rules. Applications are divided into several categories, like Apple apps, third-party apps, and user-installed apps. From this menu, you can revoke permission or change whether or not an app is allowed to connect.
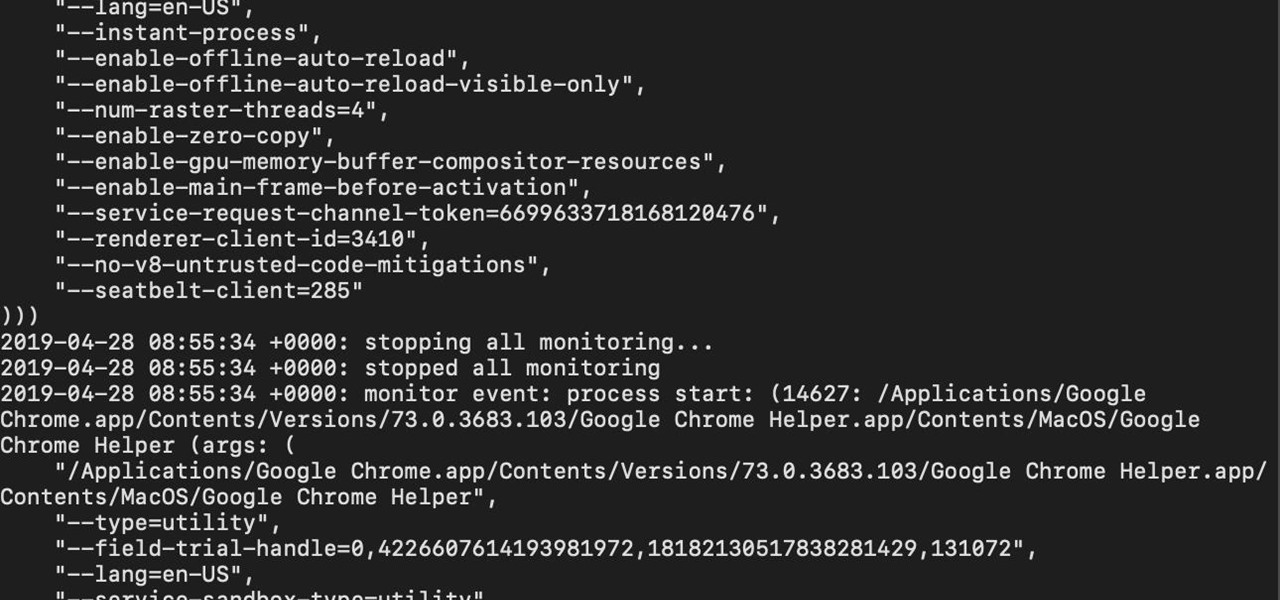
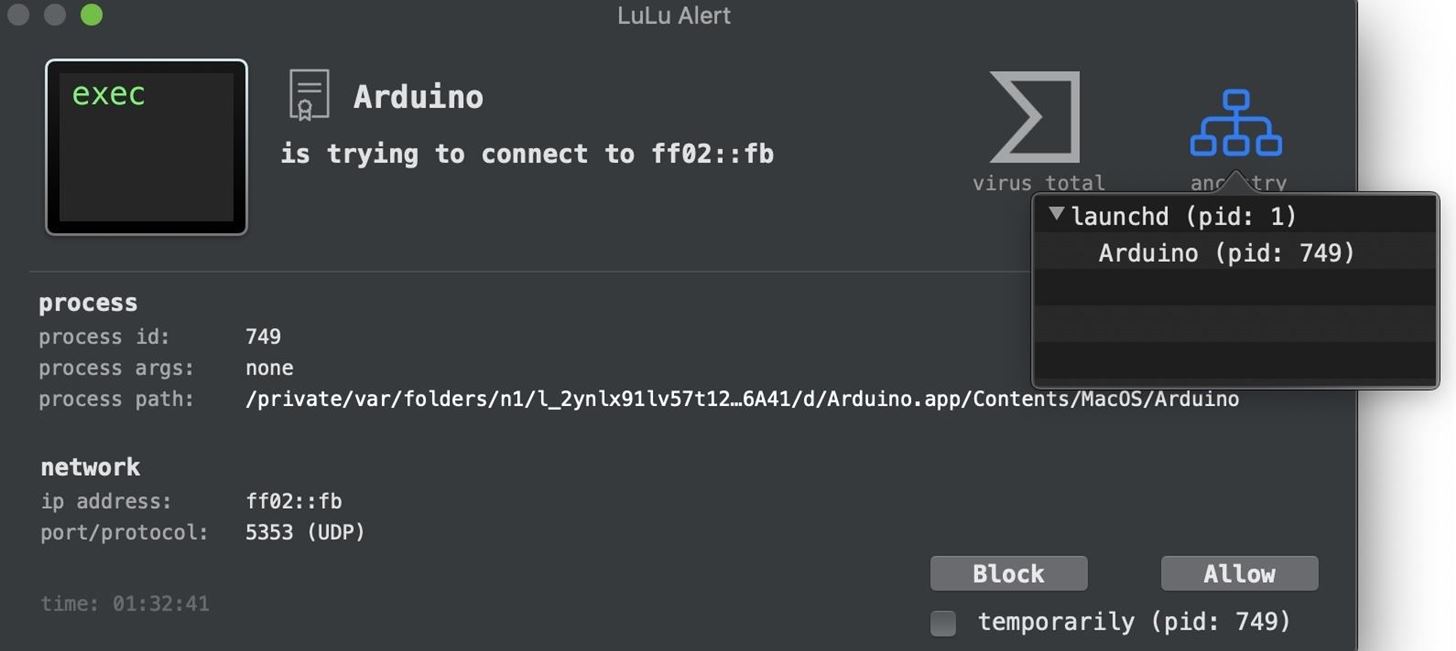
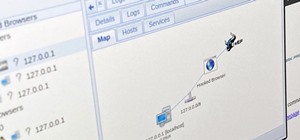
Whenever a program tries to connect, LuLu will try to find a rule that says whether or not it is allowed. If it can't find a rule, it will prompt you to create one with a window like below. To see the history of the request, you can click on the "ancestry" icon to see the process that made the attempt.
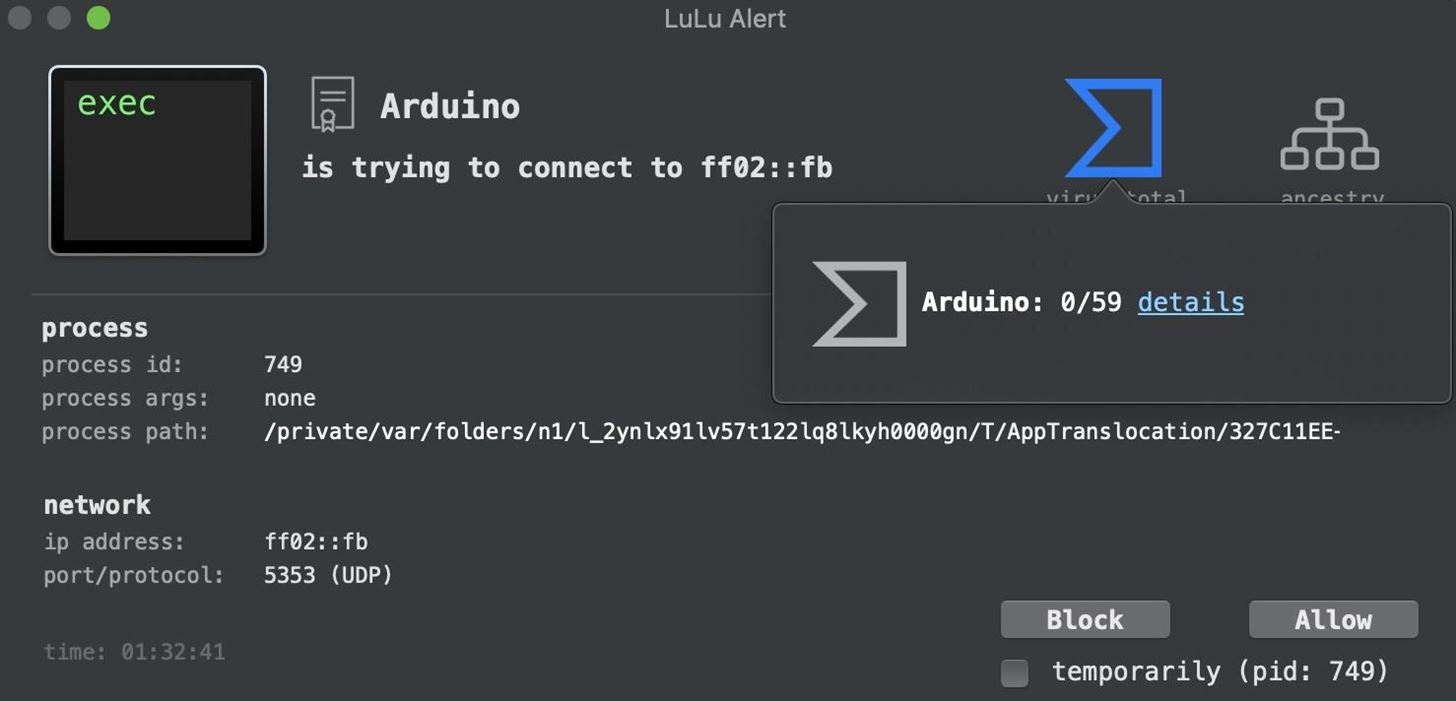
If you're suspicious of a request, check out the VirusTotal score. Click on the VirusTotal icon to see if it's been flagged as suspicious.
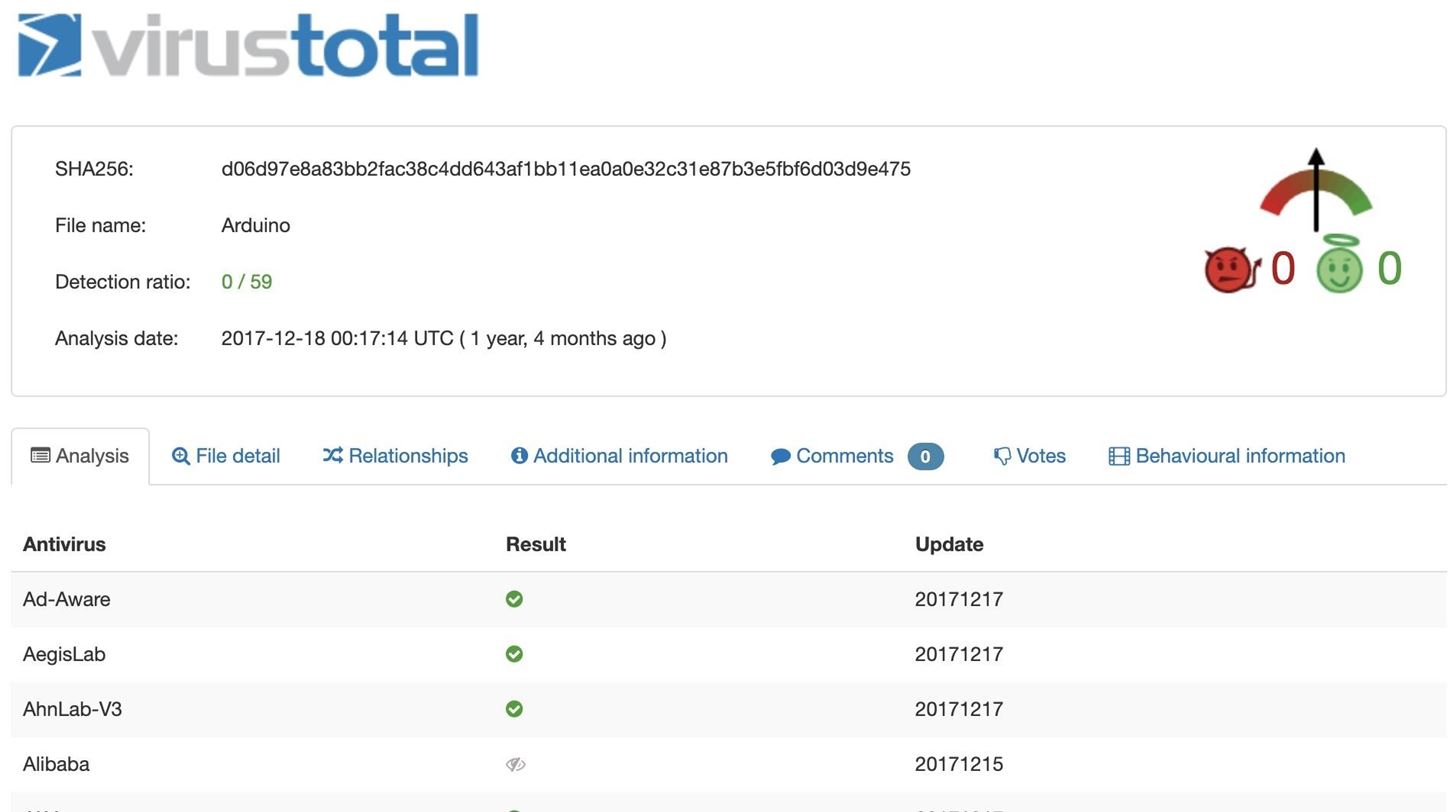
By clicking on the "details" link, you can see the full VirusTotal report on the file.
There you go! LuLu is set up and monitoring your network connections.
Step 4: Download Do Not Disturb
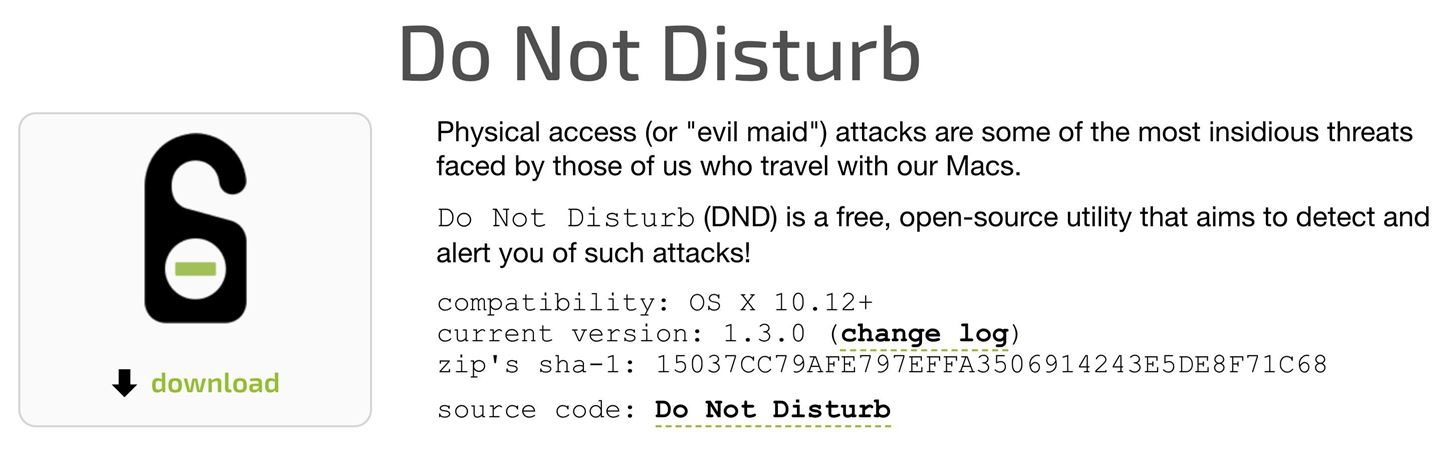
Next, we'll lock down our MacBook, iMac, Mac Pro, or whatever macOS computer it may be against evil maid attacks. Navigate to Objective-See's download page for Do Not Disturb. Under the DoNotDisturb icon in the top left, click the "download" link to download the installer.
Step 5: Install & Link to iOS Device
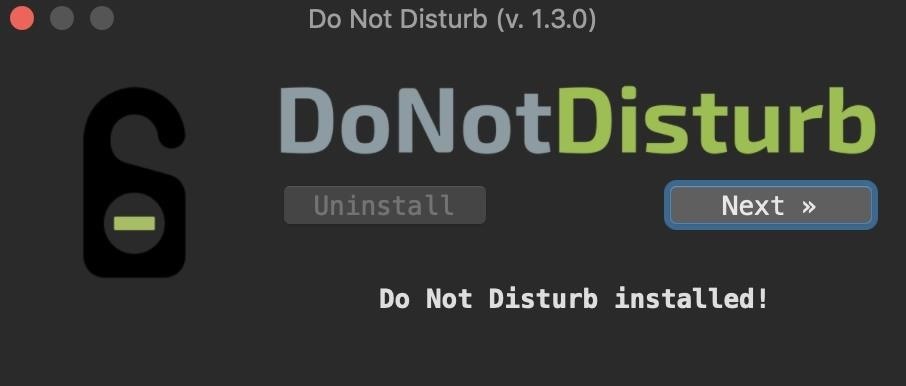
After it's fully downloaded, click on the "DoNotDisturb.app" installer in the "Downloads" folder to begin the installation. Enter your password when prompted, and then click "Install" to finish setting up Do Not Disturb. When it's done, click "Next" to close the installer.
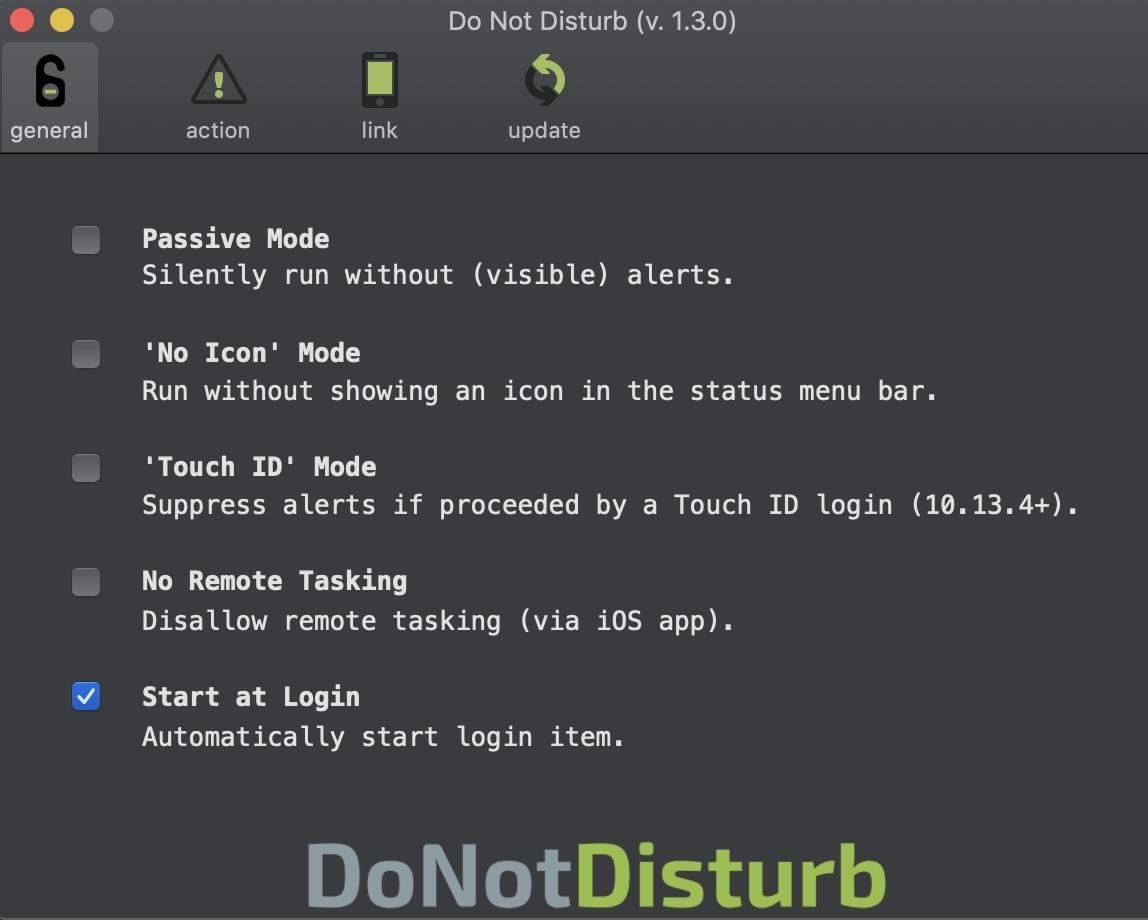
In the menu bar of your macOS device, you should now see the Do Not Disturb logo. Click on it, and then click "Preferences" to open the configuration menu. In this menu, you can select whether you want to display alerts, disable the icon in the menu bar, or suppress the alerts when you log in with a fingerprint. You can also disable the remote feature if you don't have an iOS device to connect.
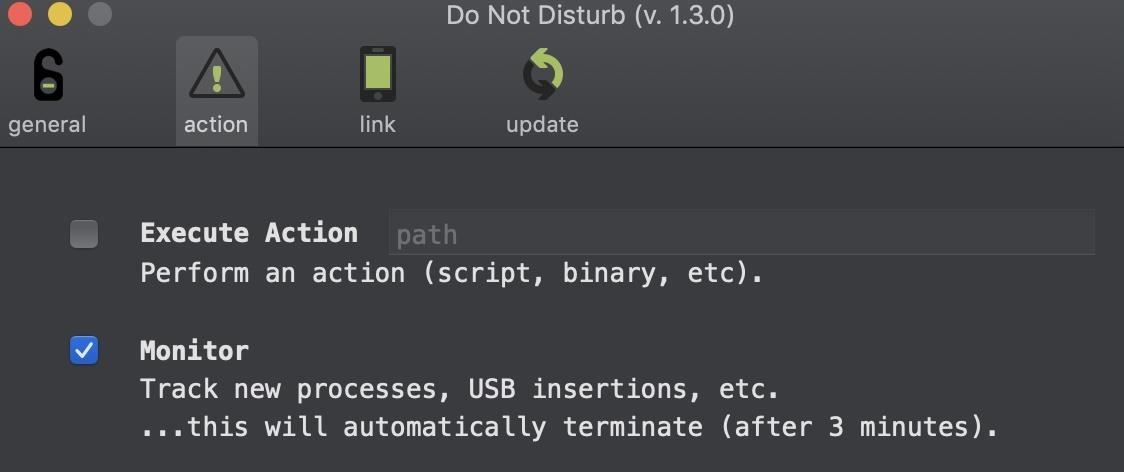
In the next section, you can define an action to execute when the device opens. If you want to do something like request a Canary Token or Grabify URL, you can snag the IP address every time the device opens. You can also select to monitor suspicious behavior like USB insertions for the first three minutes after the computer opens.
Finally, you can link to the Do Not Disturb Companion mobile application, developed by partner Digita Security, which can allow you to get alerts on your iPhone or iPad instantly when your computer opens. You can even trigger a hard shutdown to enable disk encryption. To link the app, click on the "Link" icon, and then "Generate QR Code" to generate a scannable QR code.
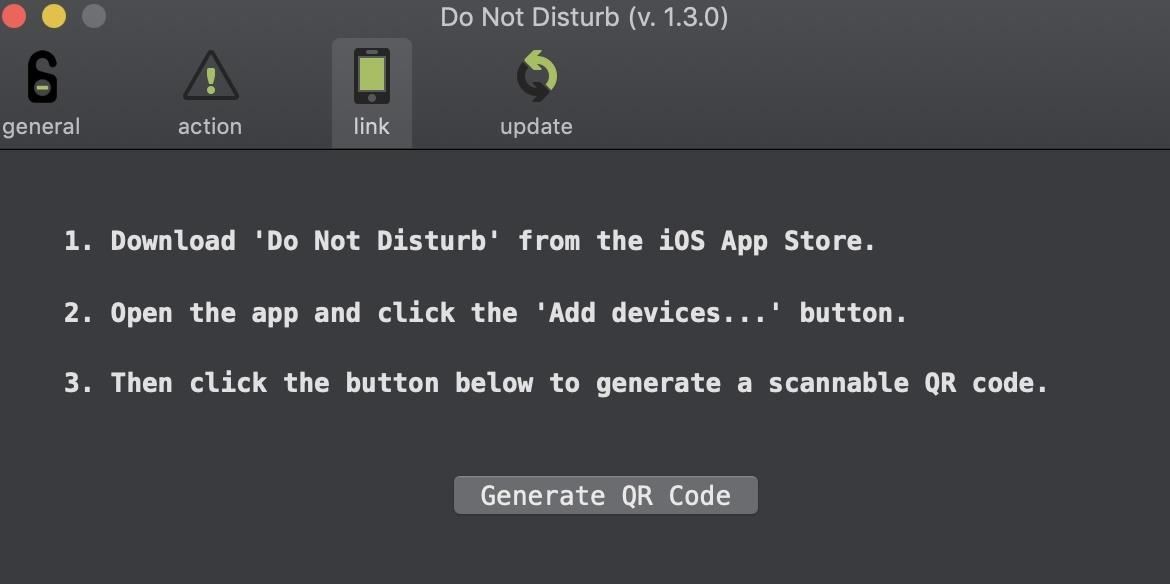
Scan the QR code in the Do Not Disturb Companion app for iOS, and you should be good to go! The mobile app is free for the first week, but afterward, you'll need to subscribe in-app to either a monthly $0.99 or yearly $9.99 recurring charge. If you don't want to subscribe or don't have an iOS device, you can review logs on the device instead. The iOS app is entirely optional.
Step 6: Review Logs
If you'd rather review access logs locally, you can do so by clicking on the icon in the menu bar, then clicking on "View Log." A console window will open with a complete list of when your device was accessed and what was done immediately after. You can review this to check for any logins you don't recognize or any events like a USB insertion that you don't remember doing yourself.
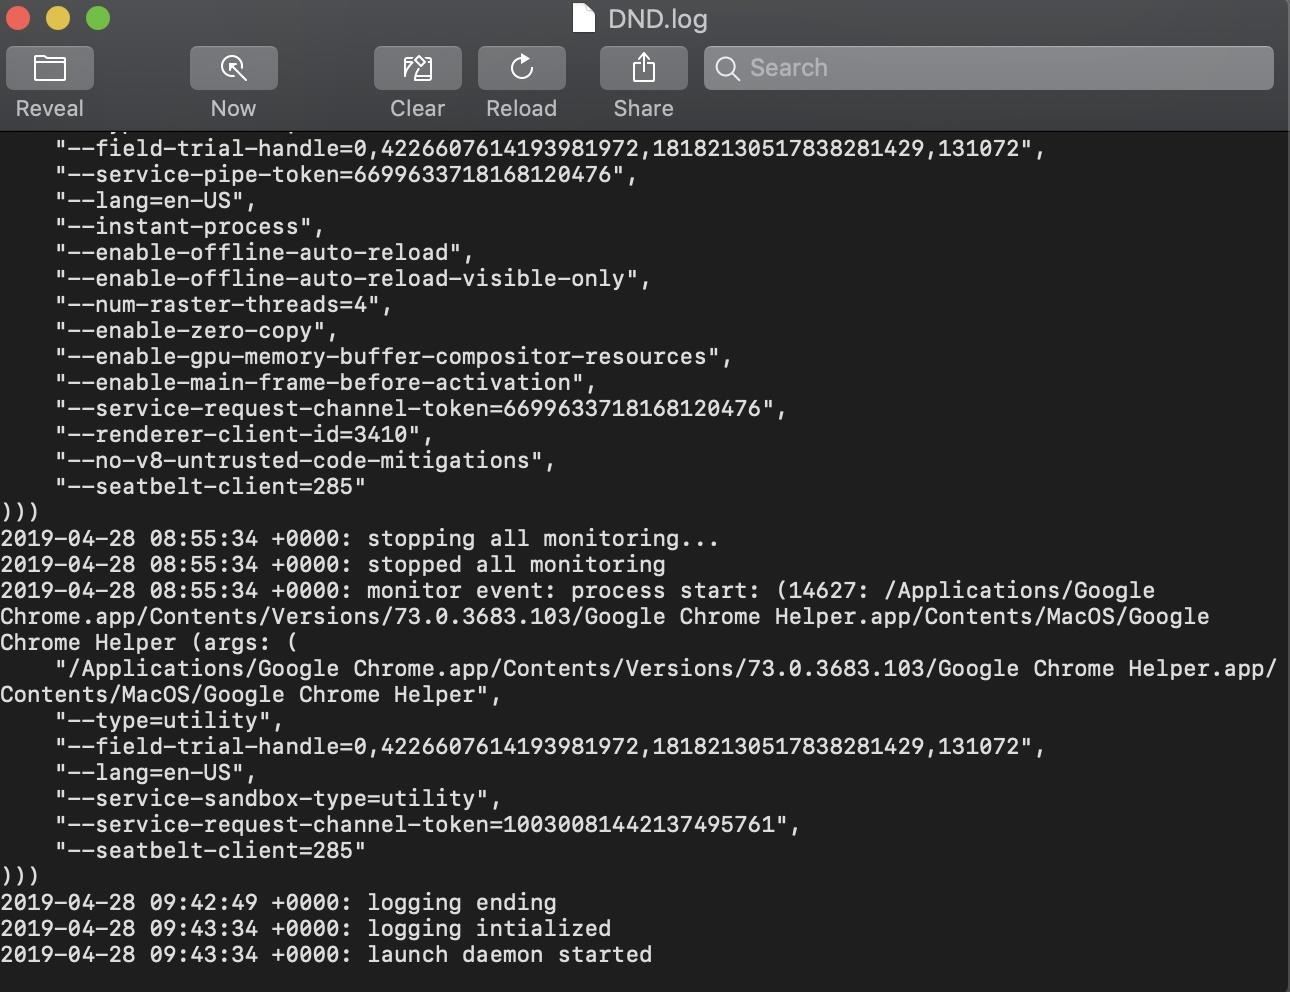
Now you can monitor past access to catch if your device is opened while it's unattended!
Objective-See Keeps Your Mac Safe from Evil Maid Attacks
With its slick iOS app and simple-to-use interface, Do Not Disturb makes it easy to keep an eye on your Mac even when it's out of your physical control. LuLu provides a second line of defense against malware, keeping watch over any connections that might indicate malware is present on the system.
These tools are not a silver bullet against malware, as they are relatively simple to bypass if an attacker wants to disable them specifically. They do, however, make users much safer and more aware of what's happening on their macOS device and are definitely worth installing for any Mac user that's serious about security.
I hope you enjoyed this guide to detecting malware on your Mac with LuLu and Do Not Disturb! If you have any questions about this tutorial on securing macOS, please ask below, and if you have a comment or idea for a future episode, feel free to reach me on Twitter @KodyKinzie.
Just updated your iPhone? You'll find new emoji, enhanced security, podcast transcripts, Apple Cash virtual numbers, and other useful features. There are even new additions hidden within Safari. Find out what's new and changed on your iPhone with the iOS 17.4 update.


Be the First to Comment
Share Your Thoughts