

In five short years, three generations of ultra-low-cost Raspberry Pi devices have challenged the boundaries of what a person can do with a $35 computer — especially with Kali Linux.
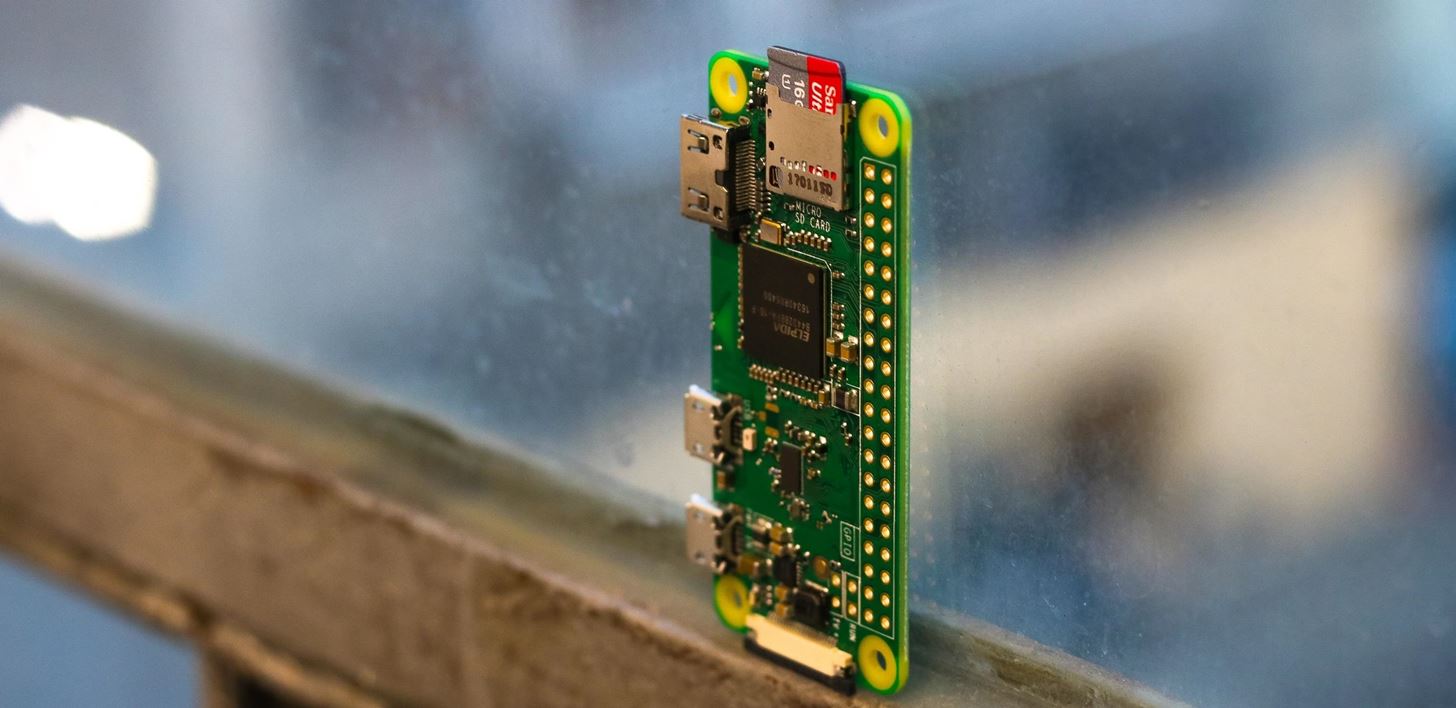
With each Pi more powerful and cheaper than the last, the addition of the Pi Zero in 2015 took the same Broadcom BCM2835 processor from the original Pi and put it on a tiny 1.18-inch board. This tiny form factor has powered attacks like PoisonTap and even drones, but the one thing lacking has been the connectivity of the Pi 3.
The Pi Zero has proved incredibly popular as a seriously low-cost $5 computer, and in February of 2017, the updated Raspberry Pi Zero W was released.
The addition of Wi-Fi and Bluetooth to the Pi Zero W make it one of the cheapest and most widely available Wi-Fi-connected Kali Linux platforms available to hackers all over the world. If you don't have a powerful pen-testing laptop, but you want to follow along with these tutorials and work with Kali Linux, the Pi Zero W can be a great start for a ridiculously low price point.
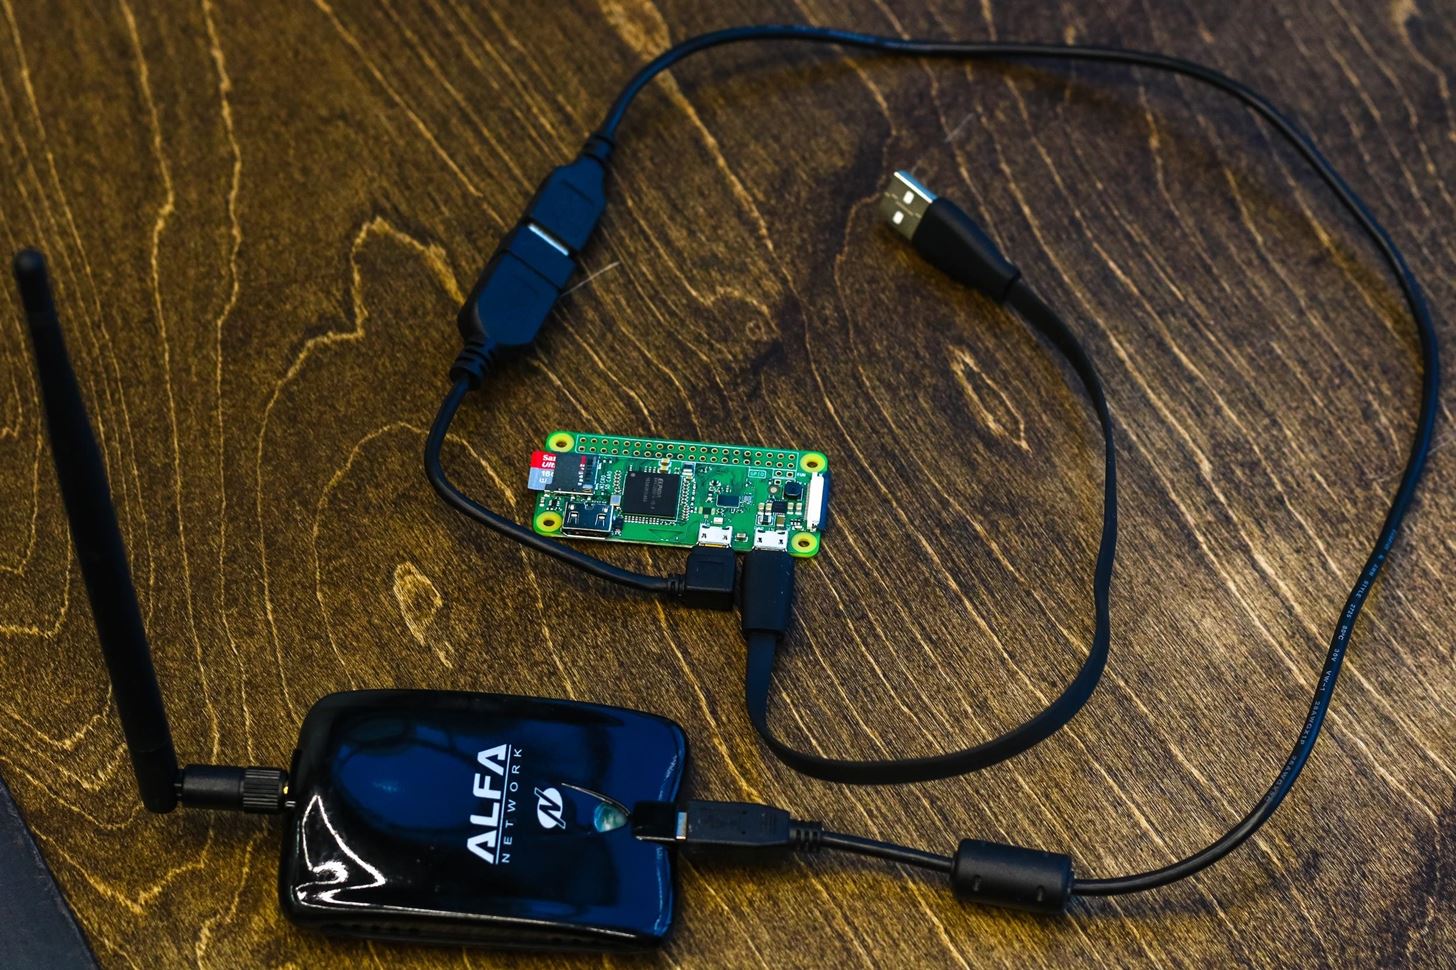
With Wi-Fi on board, the Pi Zero W can boot with SSH enabled, allowing you to command and control it from any device you have available like a laptop or phone. While both the Bluetooth and Wi-Fi interfaces require some configuration before working, they enable native wireless connectivity in useful ways. It's worth noting that the onboard wireless card does not support monitor mode or packet injection, requiring an attack antenna to be added for most Kali-based attacks.
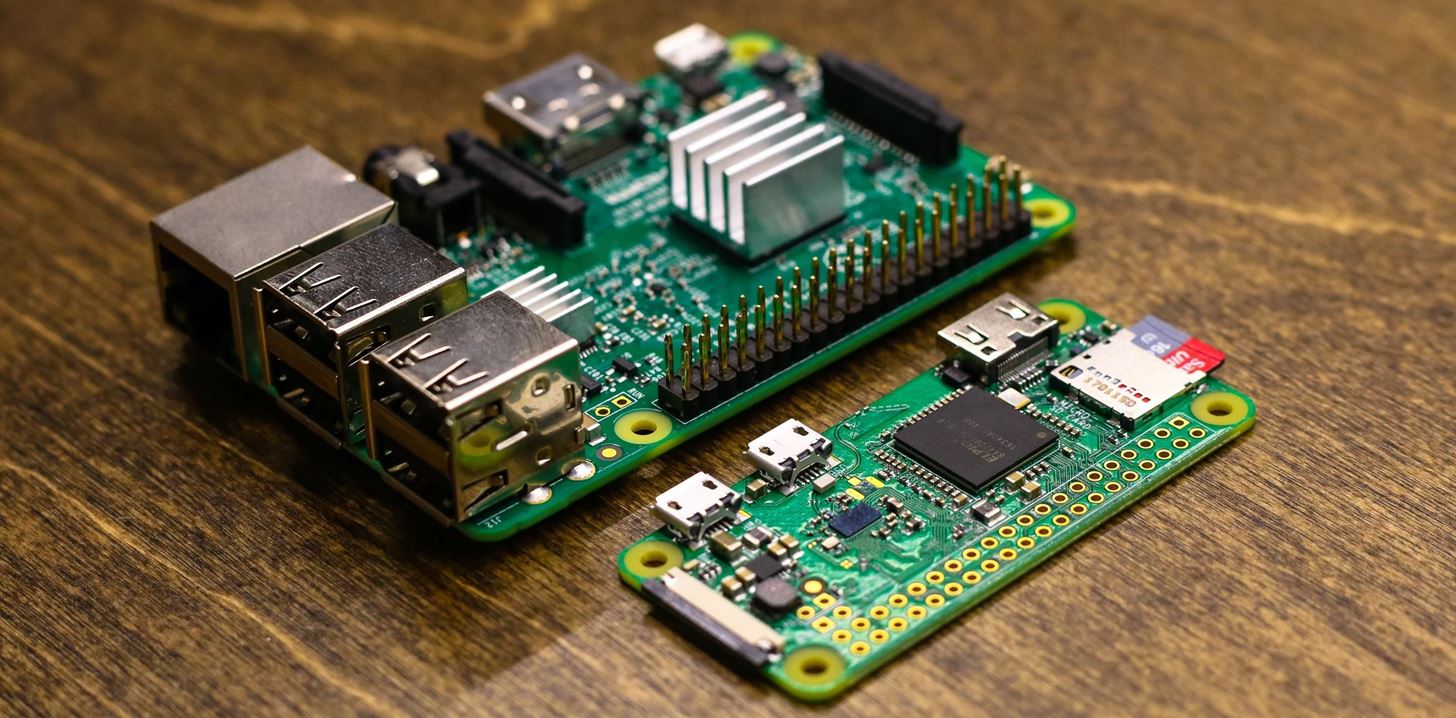
The Pi Zero W Compared to Pi 3
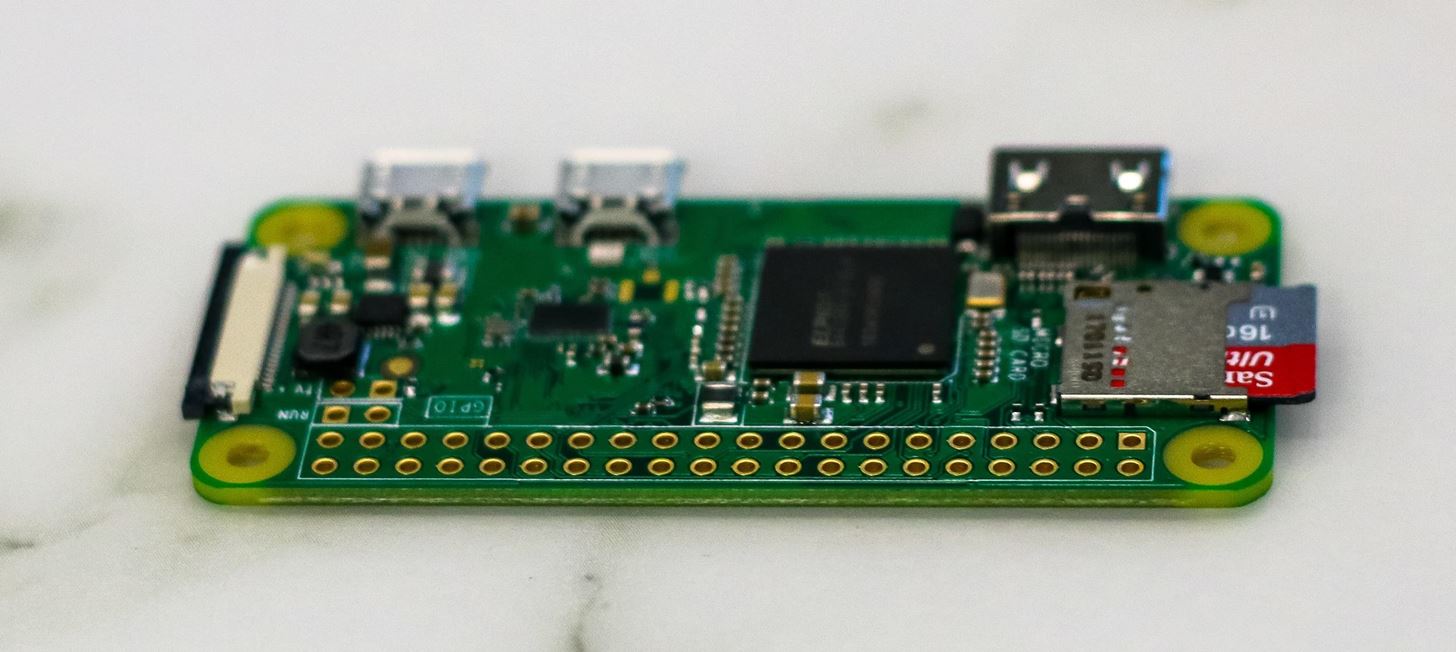
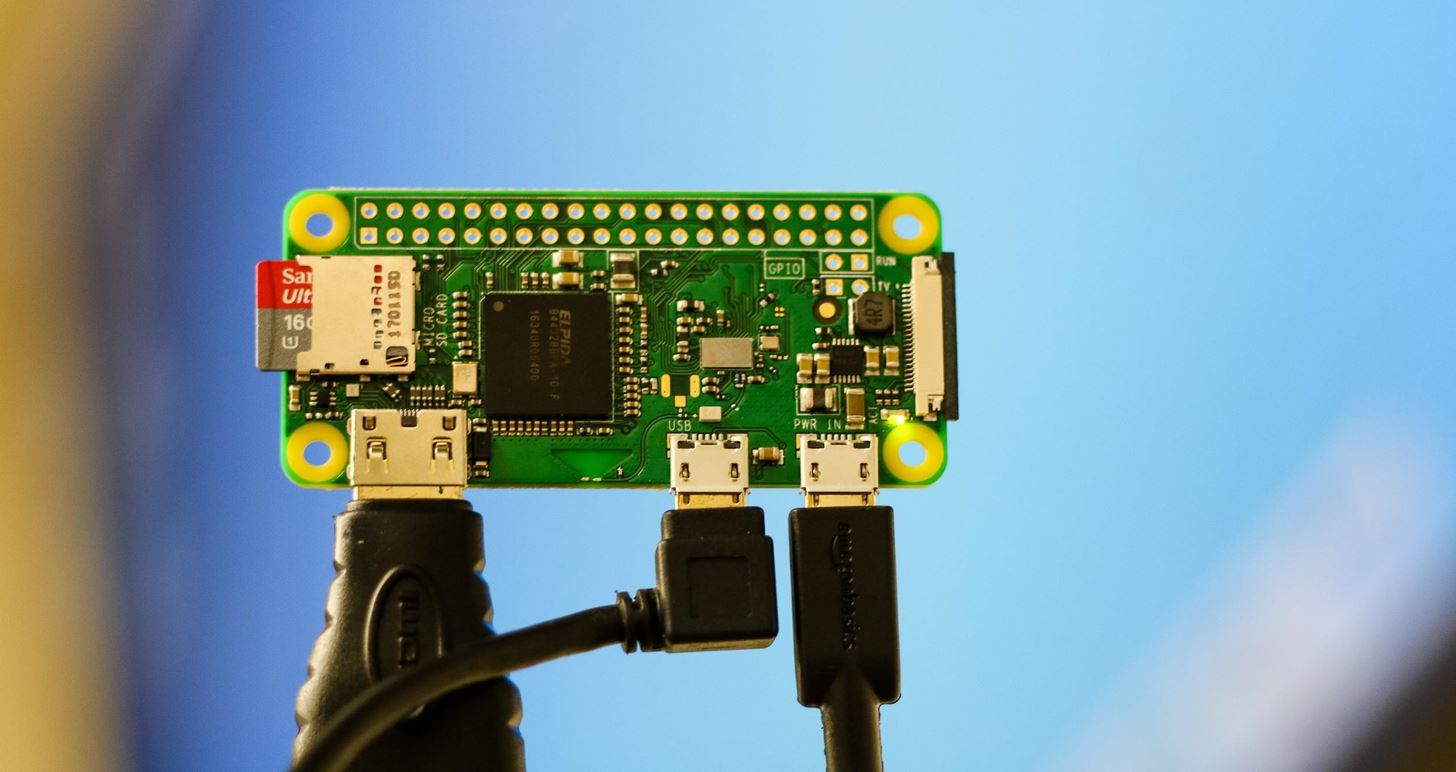
Compared to the Raspberry Pi 3, the Pi Zero W lacks an Ethernet port, analog audio in and out, LCD panel connection, and has only one Mini HDMI and two Micro-USB OTG in place of the Pi 3's HDMI and four USB ports.
With 512 MB of RAM and a 1 GHz processor, the Pi Zero W is much less powerful than the 1 GB of RAM and 1.2 GHz processor the Pi 3 was upgraded with. The system on a chip the Pi Zero W uses is actually the same BCM2835 as the original Pi uses, meaning any project built for the original Pi would also be likely easily adapted to the Zero W. All versions of the Pi have exposed GPIO pins for all kinds of DYI fun, although the ones on the Zero W have not yet been soldered to the board.
So Why a Pi Zero W & Not a Full-Sized Pi?
The Pi Zero W makes the full-sized Raspberry Pi's physical size look comparatively bloated. While it's certainly easier to hide the full-sized Pi than a laptop or desktop computer, it's still much too large to be concealed in many everyday objects, in places that are well-organized, or where a new object would be noticed.
Getting Physical with the Vanishing Raspberry Pi Zero W
Weaponized versions of the Pi Zero W typically leverage the small size to get a hacking box in locations where it has not previously been possible to conceal or operate a Kali Linux computer undetected before. Evil objects the size of a pack of gum that can jam nearby Wi-Fi? Only possible with the Zero W.
Some attacks, like PoisonTap, are specialized and take advantage of physical access similar to keystroke injection attacks like the USB Rubber Ducky. In fact, a Duckberry Pi tool exists to copy USB Rubber Ducky scripts directly to a Raspberry Pi model as an injection vector, although there have been reports of it being unreliable.
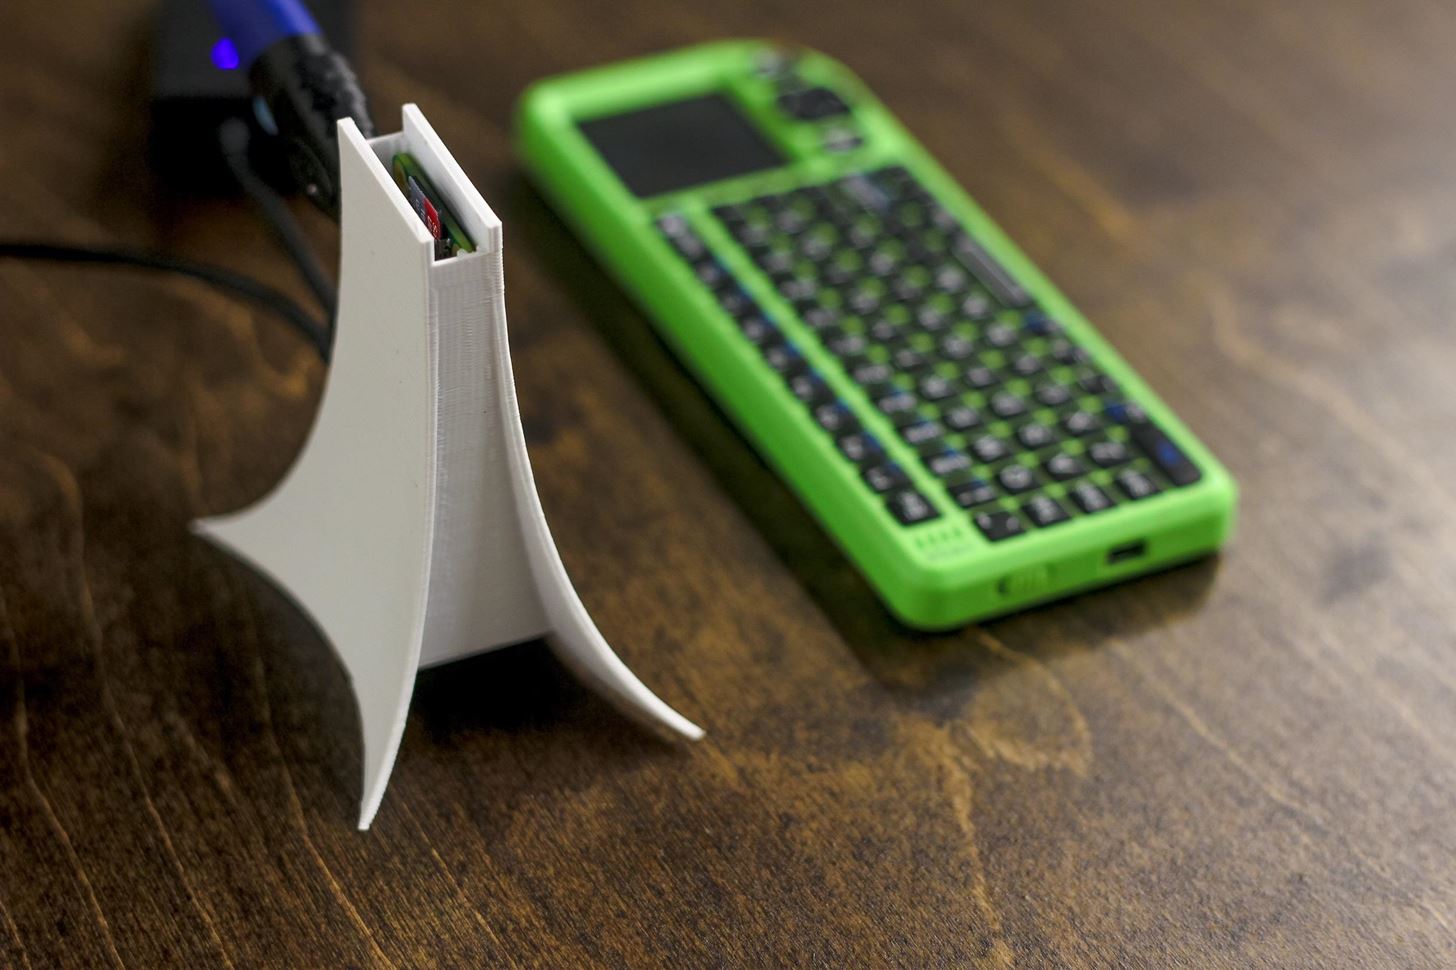
Wireless attack suites can be easily run from a well-hidden Pi Zero W remotely controlled by a laptop or cell phone, allowing a new frontier of places you couldn't discreetly hack before. With 3D printing, this tiny board can hide in empty space inside 3D printed objects to allow long-endurance backdoors to be left behind.
The Pi Zero W as a Tiny Airborne Electronic Weapons Module
Weighing in at 9.5 grams with an SD card inserted, the Pi Zero W is also a cheap, flexible electronic warfare module capable of being mounted on even very small drones. The Skyjack attack mounts a full-sized Pi on a medium-sized attack drone to actually disable or hijack other drones via Wi-Fi.
The reduction in size and weight of the Pi Zero W allows a compact, lighter Skyjack module to be added to small and inexpensive drones. While the attack is a proof of concept, it opens the door to a suite of air-to-air electronic warfare attacks that allow a small, light drone to take down or capture much larger drones.
The Pi Zero W can also be configured as a fire-and-forget electronic attack against fixed ground targets, being dropped from a drone, thrown, launched, or otherwise deposited close to a target to scoop up data or cause chaos on a network.
When the battery is low and the Pi Zero W senses the end is near, it can trigger a "self-destruct" mechanism to destroy the SD card after transmitting any exfiltrated data. With the ability to broadcast on Wi-Fi, Bluetooth, and FM radio (with a few hacks), the Pi Zero W is connected, smart, and cheap enough to throw a few at a target without breaking the bank. We can begin to think of the Raspberry Pi Zero W as one of the first affordable smart munitions in a growing arsenal of cyberweapons.

Starting with Kali Linux
While there is a dizzying array of applications for the Pi Zero W, today we're focusing on installing the Kali Linux OS and configuring a few basic options. This guide will be based off my previous tutorial on installing Kali Linux on the Raspberry Pi 3, but the process is not the same.
While flashing the card is similar, the new PI Zero W includes Bluetooth and a Wi-Fi card that doesn't work correctly in stock Kali Linux. Further, the same procedure to install stock Kali firmware on the Pi 3 will cause nothing but a rainbow screen to appear.

The solution is to use the custom Re4son-Kernel provided by one of my favorite security researchers, Re4son. The new kernel supports the Pi Zero W's card. By downloading and flashing the custom image (and some troubleshooting), we can get Kali Linux running on the RPI Zero W and SSH into the device for remote control.
Requirements
To set up Kali on the Pi Zero W, you will need the following hardware. The "Raspberry Pi Zero W (Wireless) Starter Kit" from CanaKit takes care of every requirement except a USB hub, keyboard, and attack antenna. Out of the suppliers I tried, CanaKit was the most responsive and replaced a defective HDMI adapter while I was still waiting for other online retailers to restock the Pi Zero W.
- Pi Zero W
- Micro-USB cable and power source
- HDMI adapter
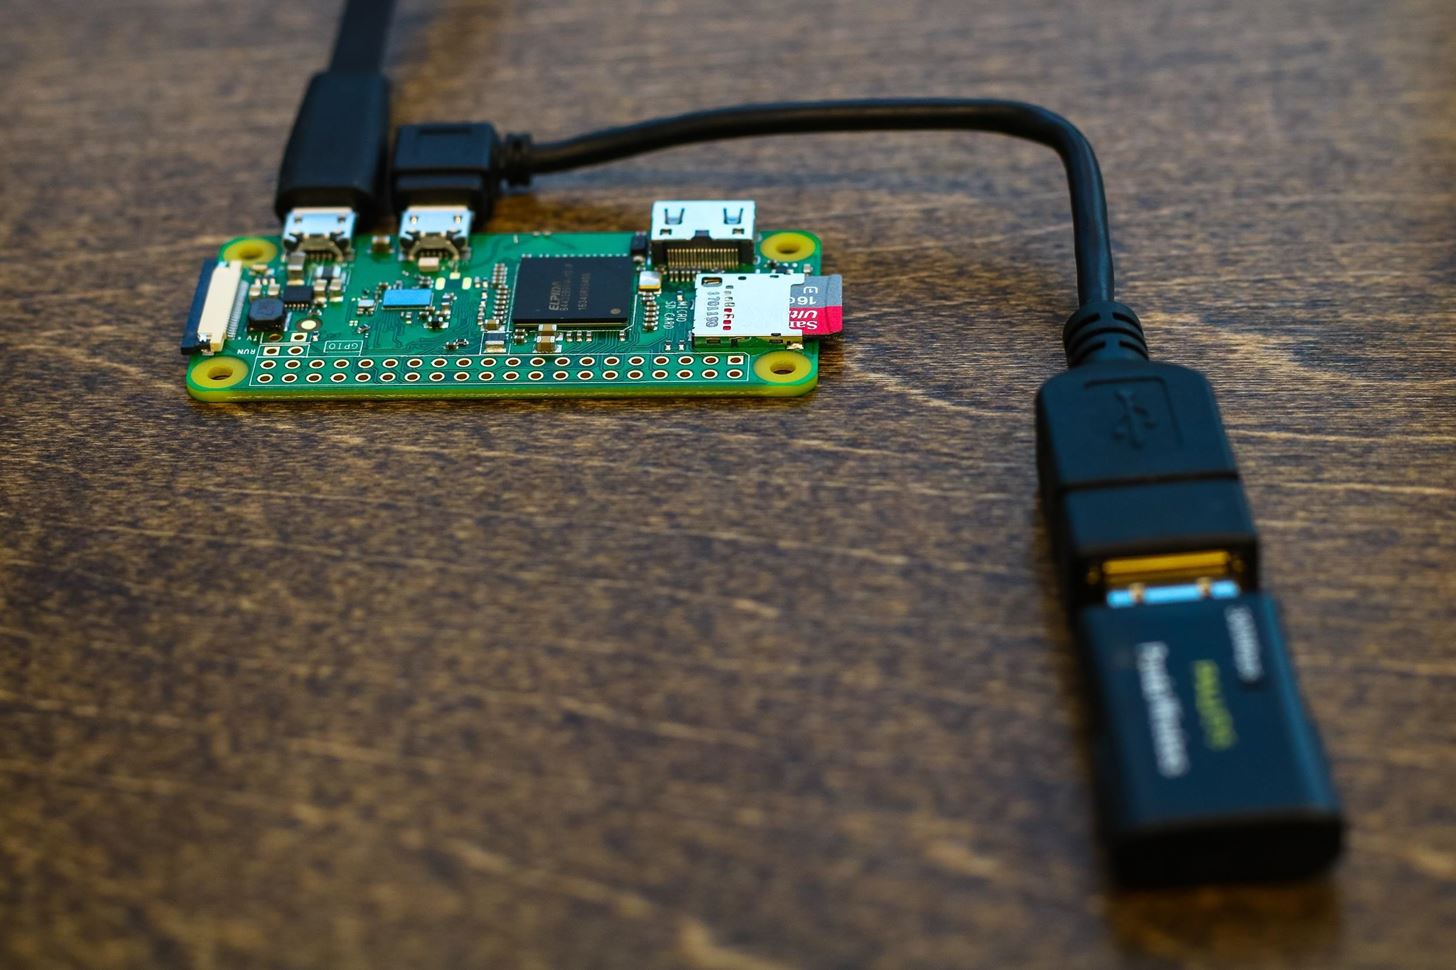
- OTG USB adapter
- keyboard and mouse or input device
- long-range or short-range attack antenna
- case for the Pi
Setting It All Up
To set up, you will need access to an HDMI display to plug the Pi into, as well as an open wireless network to connect the Pi Zero W to and get the internal wireless card completely working (try using your phone's hotspot).
Step 1: Download an Image That Won't Show You Rainbows
First, download the Re4son-Kernel for Raspberry Pi image from Re4son's blog; It's a custom image for the PI Zero W that won't give you a rainbow screen. It also works with the Raspberry Pi Zero, 1, 2, 3 Model B, and 3 Model B+ models.
- Download: Re4son-Pi-Kernel (download the "current stable" version and reference its checksum)
Step 2: Flash the Image to Your SD Card
This part will be the same as in my last tutorial. If you use Windows, you can use Win32 Disk Imager to put your image on the card. On a Mac, you can use a tool like ApplePiBaker or Etcher to load your Kali image onto your SD card. If this causes errors for you, the preferred way of writing a bootable SD image is via a terminal.
On a Mac, before plugging in your SD card, run the following in a terminal:
df -hThis will display a list of all the disks attached to your system. Attach your SD card and run the command again, and note the filesystem name of your SD card (it's the one that wasn't there before). It should look like "/dev/disk2s1," and you should be very careful not to mix this up in the next steps since doing so could overwrite your hard drive.
Now we'll use the dd command to load the Kali image onto the card. First, let's unmount the partition so you can write to it with the following command, with "x" being the correct disk number:
sudo diskutil unmount /dev/diskXNext, run the following command to load the image onto the SD card. If there is an "s" after the initial disk number (like rdisk2s1), do not include the "s" or following number. So, "rdisk2s1" should look like "rdisk2." Here's what it should look like all together:
sudo dd bs=1m if=LocationOfKaliImage of=/dev/rdiskXPress enter to begin the process and note that dd does not provide any on-screen information unless there is an error or it finishes. To view the progress during the transfer, you can hit Control T. Wait for the process to complete. You'll know the process is complete when you see a readout of bytes transferred over the time the process ran.
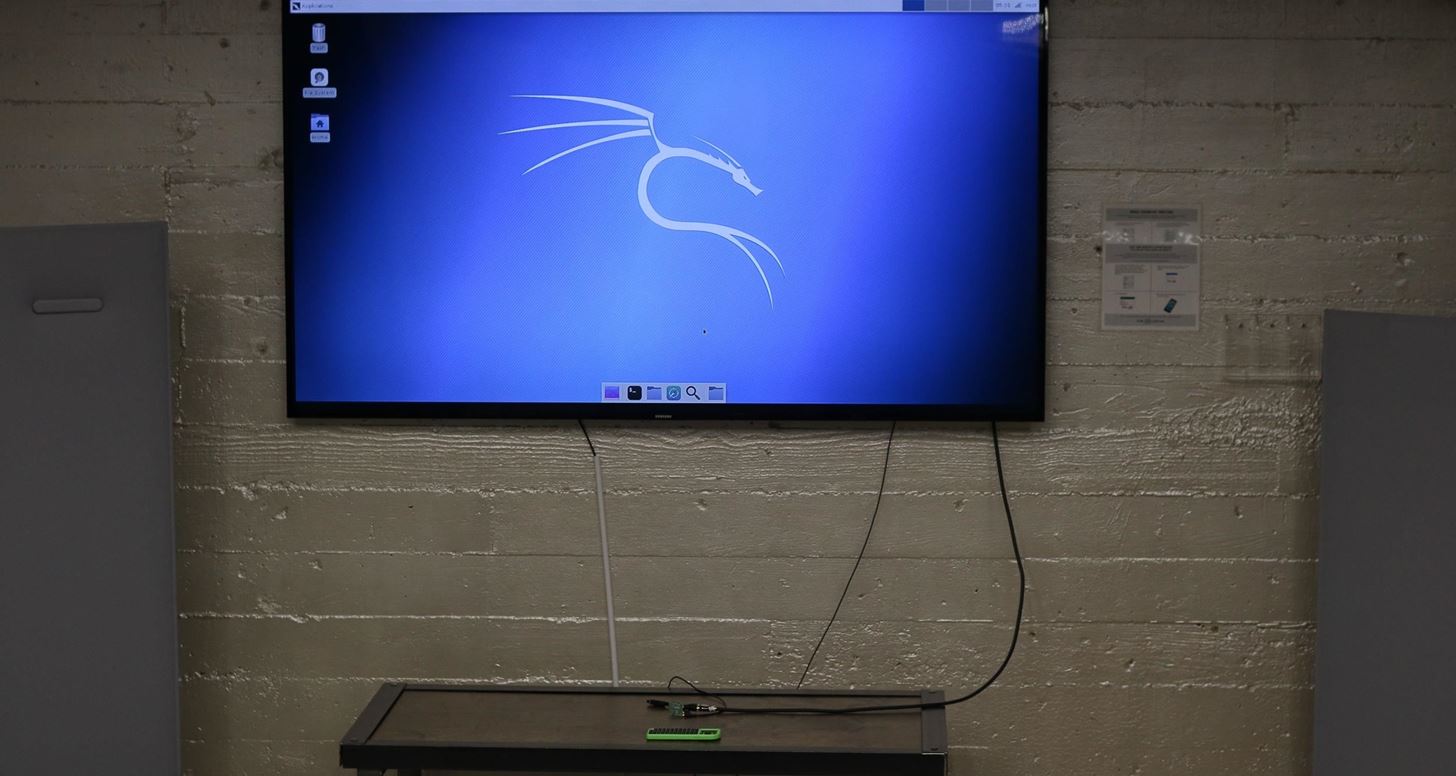
Step 3: Boot into Kali
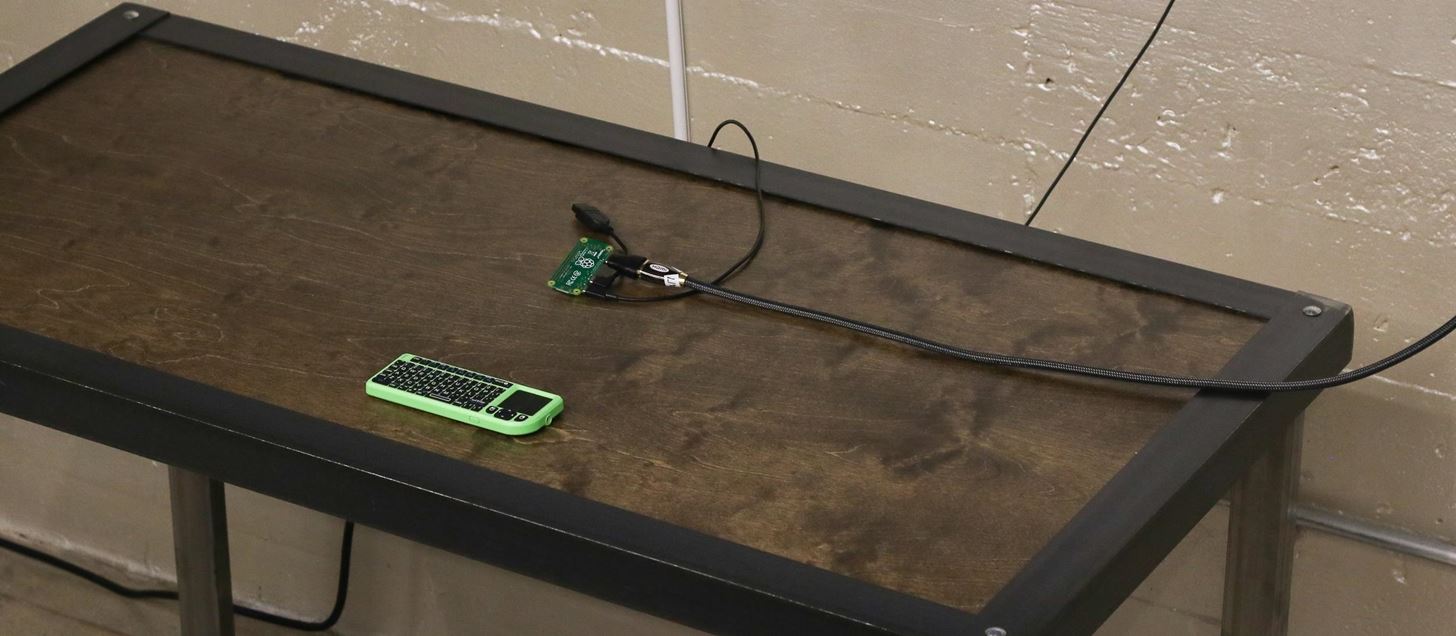
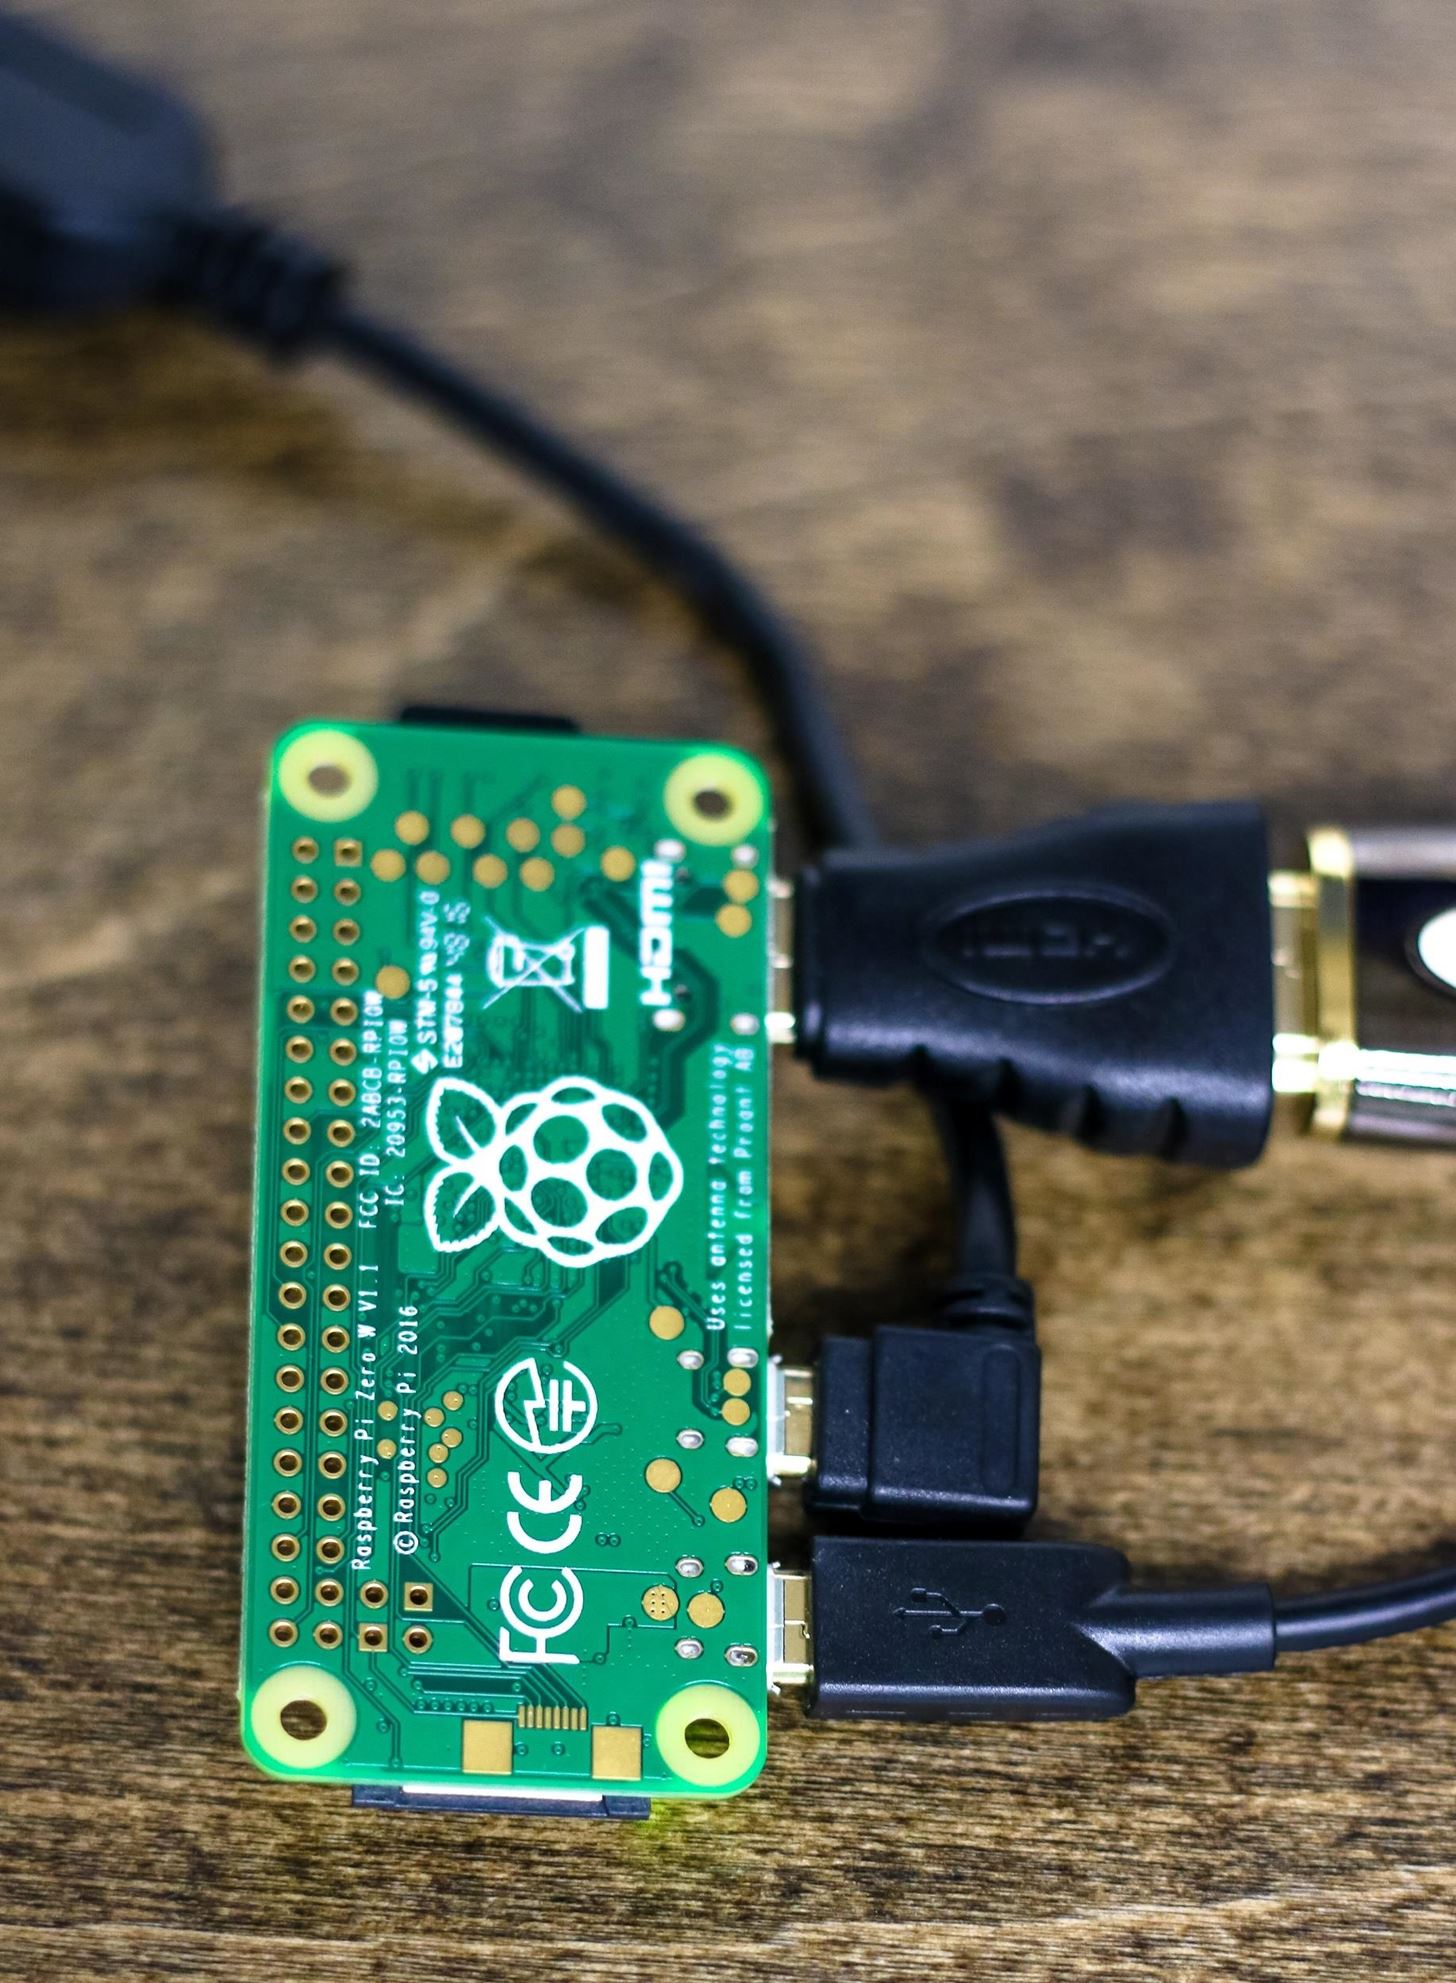
Thanks to Re4son, we have SSH already set up and a lot of other nice options already configured. Plug in the HDMI adapter to a display, attach the OTG hub adapter, Bluetooth keyboard/mouse, attack antenna, and power source. Insert the SD card and plug in the power to boot the Pi Zero W.
There are is a Micro-USB port for power and another for adding a USB adapter. You should have the power plugged into the Micro-USB connector towards the outside of the board as in my photo example.
Upon booting into Kali Linux, enter the username root and the password toor. You'll need to update and upgrade the distro in order to get full functionality, so don't get mad yet if the image is acting a little weird.
Step 4: Troubleshoot the Update Process
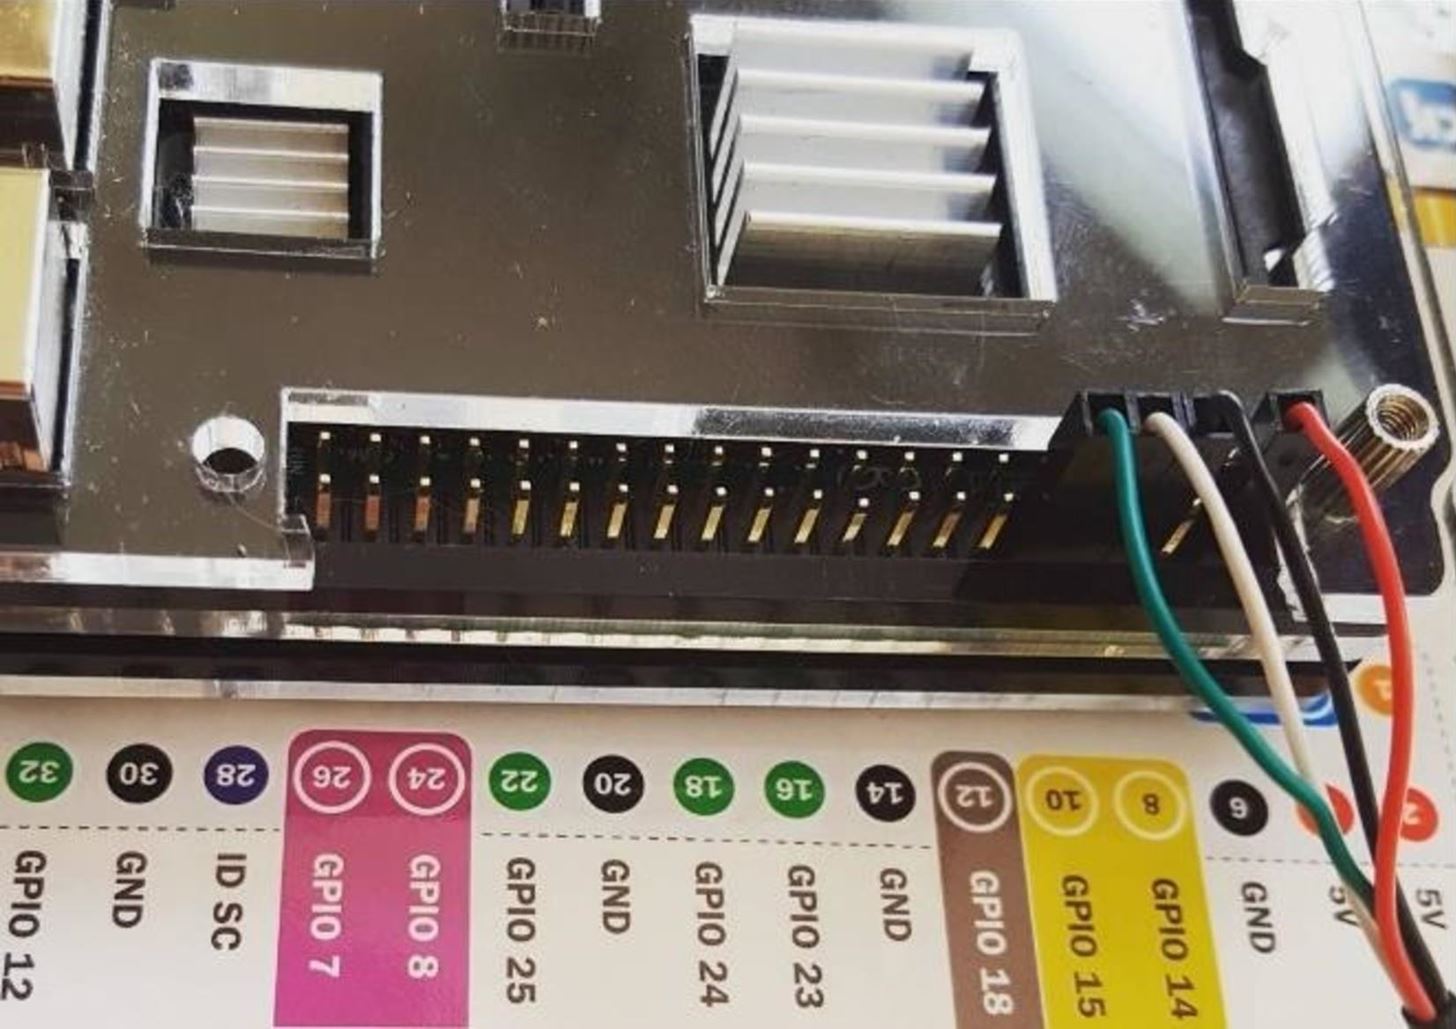
After much troubleshooting, I was able to connect only to unsecured networks, so I simply created one on my phone as an unsecured wireless hotspot for the Pi to connect to. I have also heard of soldering the GPIO pins needed to connect a USB-to-TTL serial cable to power and boot the Pi Zero W at first, but haven't tried it myself (though, it does work on the full-sized Pi).
Once Kali Linux boots, locate the Wi-Fi icon towards the top right of the screen in Kali Linux. Click on it to display the available networks and connect to your open wireless network, using your phone's hotspot if needed. Once the Pi is connected, we'll run an update in the terminal with:
sudo apt update && sudo apt full-upgradeSince Bluetooth services are disabled by default, you can run the following to enable them.
sudo systemctl enable bluetooth && sudo systemctl enable hciuartStep 5: Housecleaning & Setup
We'll need to change the default SSH keys, which can be done by running:
cd /etc/ssh/
mkdir insecure_old
mv ssh_host* insecure_old/
dpkg-reconfigure openssh-server
Also, to ensure you're not using the default password, go ahead and change the root user password by typing:
passwdStep 6: Enabling Autologin
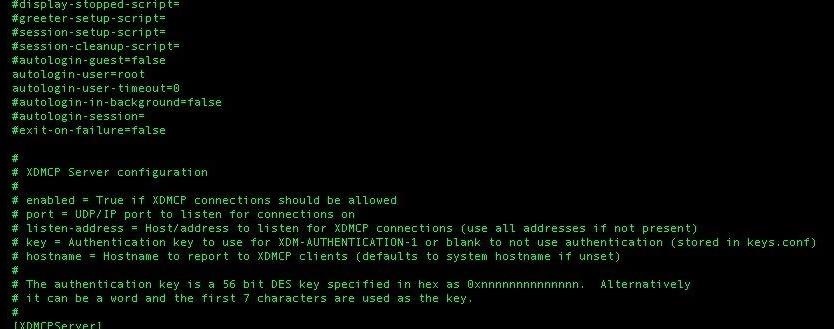
Our image comes pre-configured with SSH, but to use it we'll need to enable autologin. To do so, we'll need to change some configuration options. First, in your terminal, run:
nano /etc/lightdm/lightdm.confRemove the tabs in front of the following lines:
pam-autologin-service = PAM service to use for autologin

autologin-user=root
autologin-user-timeout=0
Make sure the autologin part looks as it does in the screenshot below.
Save and exit with Control X, then type:
nano /etc/pam.d/lightdm-autologinAnd you'll need to change this, starting on line 11:
# Allow access without authentication
auth required pam_succeed_if.so user != root quiet_success
auth required pam_permit.so
To this:
# Allow access without authentication
###auth required pam_succeed_if.so user != root quiet_success
auth required pam_permit.so
Save and close nano. You should now be configured for autologin. Reboot to see if the autologin feature works. If so, you're ready to login via SSH on your phone or laptop. If you're having problems, cd into the /etc/pam.d/ directory, then delete "lightdm-autologin" and run the following command.
wget https://raw.githubusercontent.com/sadmin2001/fixes/master/lightdm-autologinStep 7: Test SSH & Autologin
Connect your Pi Zero W to a nearby Wi-Fi with a password to ensure sure the Wi-Fi card is working properly, and then run ifconfig to get the IP address on the Pi Zero W's internal wireless card, wlan0.
From a computer or phone connected to the same wireless network, connect to the Pi Zero W by typing in a terminal:
ssh root@ Pi-IP-AddressAnd entering the password you changed in step 5. If you see the message of the day, you know everything's working! To create your own MOTD screen, type the following after logging in on your Pi Zero W:
Nano /etc/motdDelete the contents and paste whatever you want to show up each time you log in.
Thanks for reading, and make sure to keep an eye on Null Byte for more Pi-based tutorials. You can ask me questions here or @sadmin2001 on Twitter or Instagram.
Just updated your iPhone? You'll find new emoji, enhanced security, podcast transcripts, Apple Cash virtual numbers, and other useful features. There are even new additions hidden within Safari. Find out what's new and changed on your iPhone with the iOS 17.4 update.


13 Comments
I bought the Pi Zero the day before the W came out. :(
Stick a wireless dongle on it. As noted below, the on board card can't do packet injection anyway
Is the Pi 3 onboard wireless card able to be put on monitor mode or do packet injection?
Based on a reddit thread:
Screenshot from above thread
Can someone confirm if we cannot also put the Pi 3 monitor mode or do packet injection?
Can confirm broadcom does not work for monitor mode or packet injection, you need (any) compatible antenna. You will likely need the on board wireless card to communicate with the Pi anyway, so putting it into monitor mode will immediately boot you. It doesn't work on the pi 3 either.
Thanks. Sad. I thought that was another thing that set them apart (being able to have a built in monitor mode from the wireless card)
So PI 3 in essence becomes more if you need a smaller PC while being mobile while PI Zero W is more of the actual attack that you can leave behind? -- though both would need a separate wireless adapter to do injections or run fluxion.
Correct, the Pi 3 is my workhorse, pi zero w is the more focused option that's cheap and very easy to hide or leave behind. This is how I use them:
Pi Zero W attacks persistently on all channels and goes after targets of opportunity for long periods of time unattended
Pi 3 runs 2 different antennas, attacks on 2 different channels, and runs 2 different attack scripts at the same time while shifting channels in response to whichever have the most networks.
That image boots into text mode, there seems to be no GUI installed?
how do you connect to wlan0? ive already installed the kernel but having a hard time trying to update and is there no gui?
could you possibly make a video for this?
I'm having a problem with the disk image. It keeps saving as a XZ file, rather than a disk image. This prevents me from writing to the sd card. Does anybody have a solution?
Note : If you buy a RPI-0W to install KALI (and hack Wifi ) , be aware that your Power Supply (or Power bank , Power box) should have the output capacity of 2.0A otherwise it wont power the Wifi adapter.
P.S Correct me if i am wrong.
-TheUnborn
i am having a bit of trouble getting the image to get onto the sd card it says in ends up there cant accesses the card without formatting it tried to boot the pi on it and it wont any help would be appreciated or a zip would be appreciated
Edit: i needed to unzip the image file then flash i am all good now
there is no img file within the download. only what looks like the contents of a OS
Share Your Thoughts