
Many guides on Null Byte require using the Secure Shell (SSH) to connect to a remote server. Unfortunately for beginners, learning to use SSH can become a confusing mix of third-party programs and native OS support. For Chrome OS users, using SSH is even more difficult. We'll fix this by using the Chrome Secure Shell to establish an SSH connection from any device that can run a Chrome browser.
The Secure Shell Chrome extension and app provide PuTTy-like functionality for those that are familiar with the third-party Windows software. The extension and app are xterm-compatible terminal emulators and standalone SSH clients for Chrome. They work by combining the SSH command ported to the Google Native Client with the hterm terminal emulator, which allows the app to provide a Secure Shell client within the browser without relying on external proxies.
In just a few minutes, you'll be able to establish an SSH connection from your Chrome browser. For obvious reasons, you're going to need to install the Chrome browser, so make sure to download Chrome if you don't already have it installed.
Step 1: Install the Chrome Secure Shell
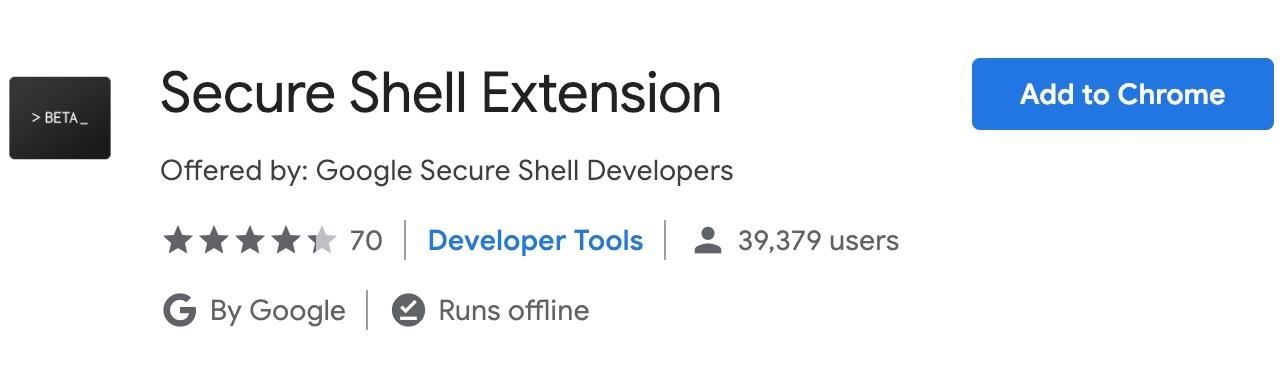
To begin, you need to download the Secure Shell extension or app from the Chrome Web Store, depending on what device you're using. If you're using a Chrome OS device, you'll want the app. All other devices should use the extension. After opening one of the links below in your Chrome browser, click on the "Add To Chrome" button in the top right-hand corner of the pop-up window.
- Chrome Web Store Link: Secure Shell Extension
- Chrome Web Store Link: Secure Shell App
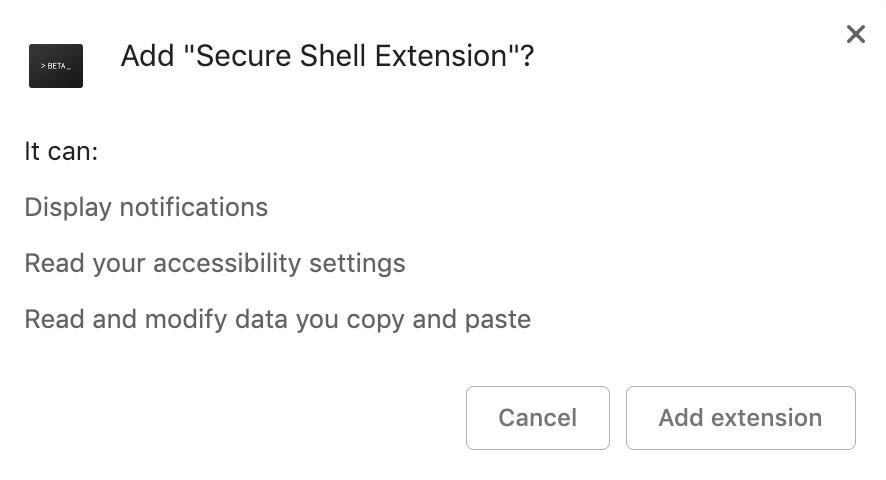
Following that, a dialog window will appear asking you to confirm that you want to add the extension or app. Click on "Add extension" or "Add app" to install. If you chose the extension, it's available to use immediately. For the app version, it shouldn't take more than a few seconds to finish installing.
Step 2: Open the Chrome Secure Shell
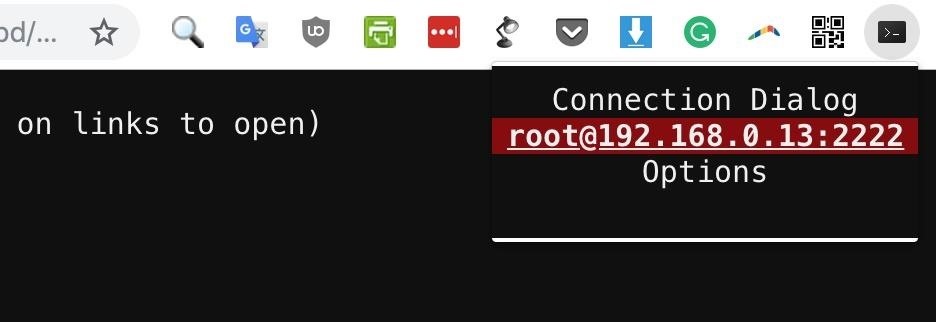
You can access the Secure Shell Extension in Chrome by clicking the extension's icon in the toolbar, then "Connection Dialog," or by typing ssh in the address bar and hitting the Tab or Spacebar key followed by Enter. The icon will open in a new window while the address bar shortcut will be in the tab you're currently in.
For the Secure Shell App, you can click on "Launch App" from its Web Store page. In addition, you can use chrome://apps in the address bar or click on "Apps" in the far-left of Chrome in the bookmarks bar, then select "Secure Shell." It's also possible to open it in a Chrome tab using the ssh trick in the address bar like with the extension.

Step 3: Save a New Connection
Now that we have the Secure Shell extension or app open and running, it's simple to establish an SSH connection. In the SSH screen, there will be a pane with several settings available. Look at the first setting, and ensure that "New Connection" is selected by clicking on it so that it looks like the image below. If you've never used Secure Shell before, it will be selected automatically.
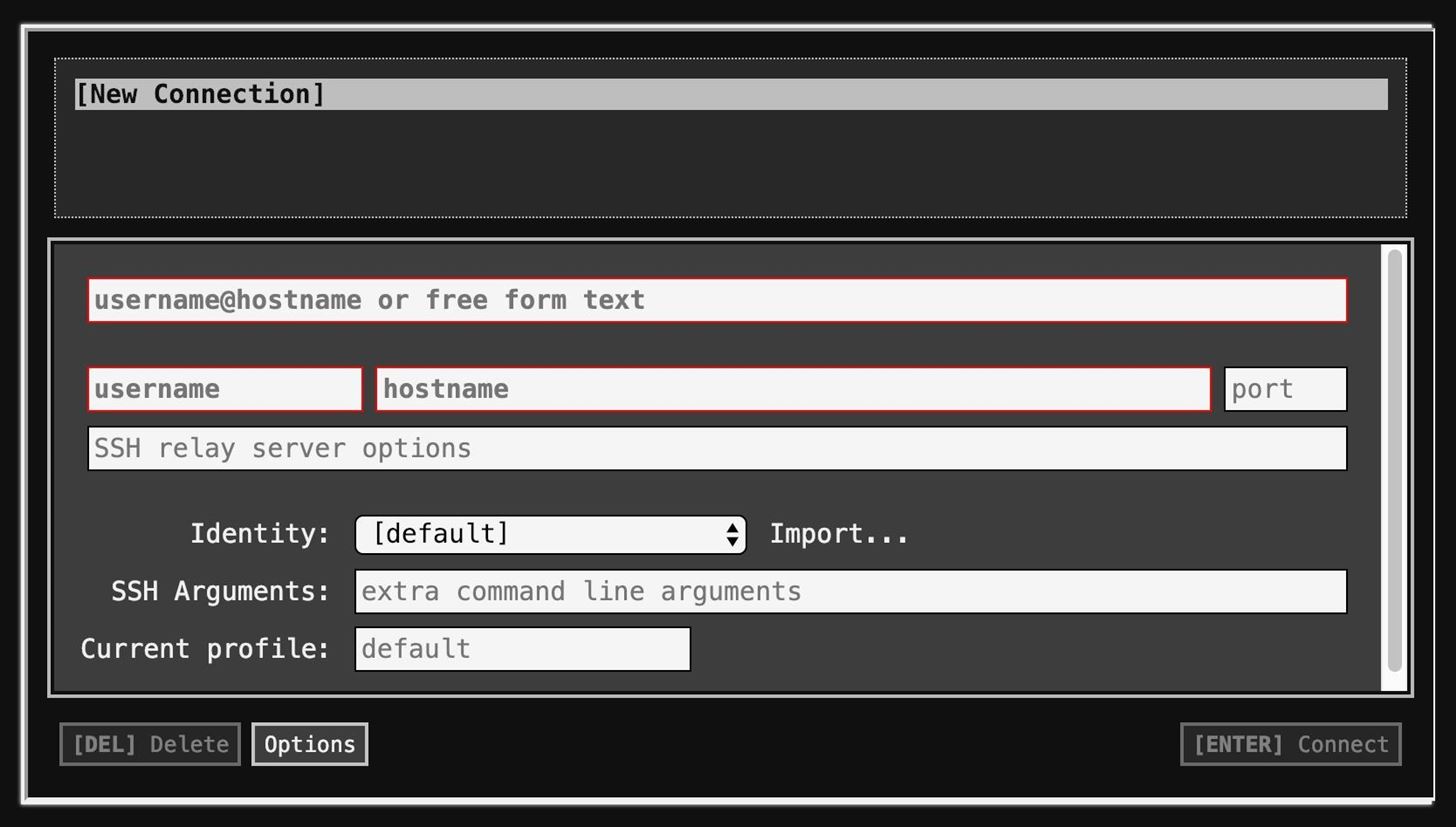
Next, type a name for your new connection in the top text box which says "username@hostname or free form text." The name can be anything, so try to pick the most accurate name that will help you remember which connection goes to which device. For example, you might use "retroPie" or "Basement media server," as even a somewhat specific name like "Raspberry Pi" can become confusing when you have more than one Pi.
Alternatively, you can simply begin typing the connection into the name bar as I did, and it will automatically fill in the proper boxes below. Otherwise, you will need to fill each box in manually.
- In the "username" box, you should put the username for the server you're connecting to. Some common default usernames are root and pi.
- The hostname should be the web domain or IP address of the server you wish to connect to. In my case, I'm connecting to my Android phone, which is on my local Wi-Fi network. Because this is the case, I'll be using use my Android phone's local IP address of 192.168.0.13.
- After that, a port needs to be selected. The default port number for SSH connections is 22, but this can be easily changed, so your server may use a different port. For instance, I'll be using port 2222, which is what the SSHDroid app uses on my Android phone.

Once all of the required information has been entered, click the "Connect" button at the bottom of the pane or press Enter. Skip down to Step 6 below to see what to do next, or check out Step 5 to see how you would access your new saved connection later.
Step 4: Start Your Saved Connection
After you first make the connection, you'll only need to select the name of the connection in the box to connect again, not "New Connection," as the app will remember all of the login details.
Perhaps the most exciting feature to use with the Secure Shell is it allows you to establish an SSH connection in a matter of seconds by simply typing in the search bar at the top of the browser. To do this, you can use the following format, which is the same as you might use in a macOS or Linux terminal window. Don't foget to hit Tap or Spacebar before entering the connection info.
ssh username@host:portEven faster, if you have the extension installed, you can click on the extension's icon in the toolbar, then select your connection's name. A new window will appear with the connection being made.
Step 5: Log in to Your Remote Server
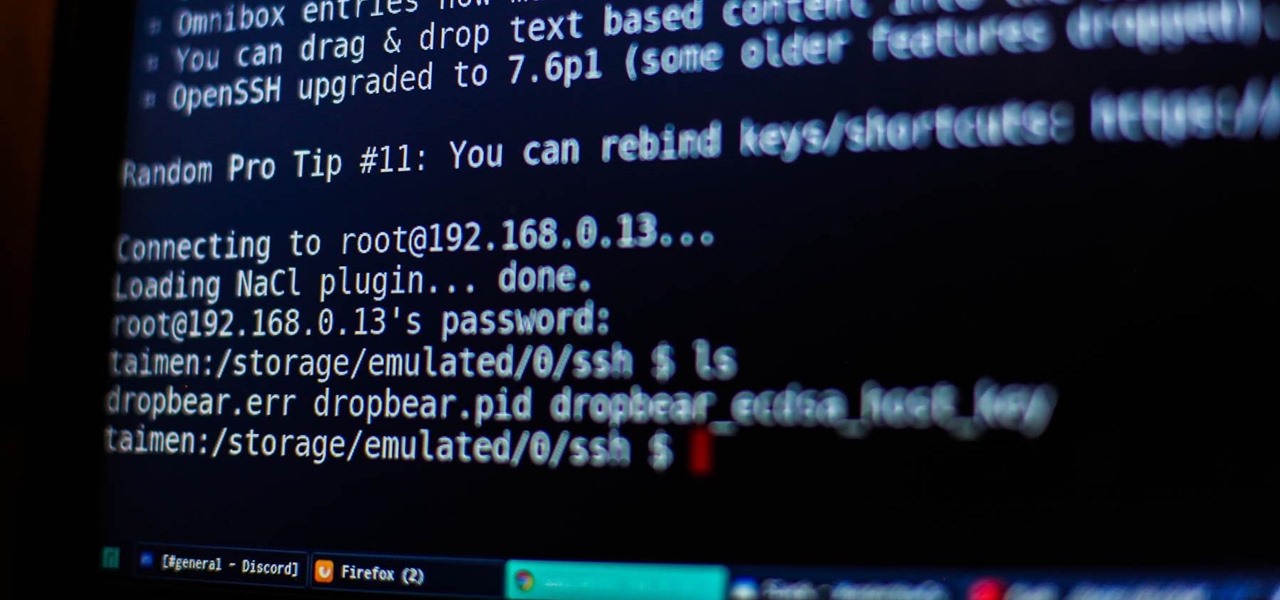
Upon a successful connection, you will see the always-familiar terminal window appear in the window or tab. The first time you connect to a server, you will be provided with a key fingerprint that you need to accept. This fingerprint is used for easy identification and verification that the server you are connecting to is legitimate.
Connecting to root@192.168.0.13...
The authenticity of host '[192.168.0.13]:2222 ([192.168.0.13]:2222)' can't be established.
RSA key fingerprint is SHA256:fvQg9YFJSoQ5PyyaKDx4tAUOHPkSTxs0TRWiJnIEIMM.
Are you sure you want to continue connecting (yes/no)?
The fingerprint should be the same every time you log in to the same system. If you ever get a message that the fingerprint has changed, it's a warning sign that someone is interfering with the connection. After accepting the fingerprint, you'll be prompted to enter your credentials, just like any other SSH connection.
Connecting to root@192.168.0.13...
The authenticity of host '[192.168.0.13]:2222 ([192.168.0.13]:2222)' can't be established.
RSA key fingerprint is SHA256:fvQg9YFJSoQ5PyyaKDx4tAUOHPkSTxs0TRWiJnIEIMM.
Are you sure you want to continue connecting (yes/no)? yes
Warning: Permanently added '[192.168.113.113]:2222' (RSA) to the list of known hosts.
SSHDroid
Use 'root' as username
Default password is 'admin'
root@192.168.113.113's password:
:/data/data/berserker.android.apps.sshdroid/home $ c
That's it! You've successfully used your Chrome browser to establish a SSH connection to your remote device.
Step 6: Enable Key-Based Authentication
Passwords aren't the only way to authenticate an SSH connection. The other most common method is called public key authentication. This method uses a cryptographic key pair, one public and one private, in place of a password. The public key is configured on the server to authorize server access to those users with a copy of the private key.
Using key-based authentication adds an extra layer of convenience when a human is connecting by eliminating the requirement to input a password. The key exchange is considered to be the password instead. Key authentication is also the de-facto way to set up an automated SSH connection, such as automated file transfers.
Secure Shell includes the ability to employ key-based authentication, which it calls "identity files." To import identity files from the connection screen, click on "Import" under the connection info, and select your public and private keys.

The private key should not have a file extension, while the public key should have the PUB extension. For example, you might have "id_rsa" as your private key and "id_rsa.pub" as your public key.
If the key pair is stored in a PEM file, you must split it into two files before importing. This can be by opening the PEM file in a text editor and copy and pasting each key into a new document. Without doing this, the app will not accept it. The PEM file will look something like this:
-----BEGIN RSA PRIVATE KEY-----
[[KEY HERE]]
-----END RSA PRIVATE KEY-----

-----BEGIN PUBLIC KEY-----
[[KEY HERE]]
-----END PUBLIC KEY-----
Save the new documents under the original filename. For example, "id_rsa.pub" would be the file name for the public key.
If you ever wish to delete any of these keys because they are no longer valid, navigate to the connection screen, and select the identity associated with that key from the menu. Now, press the Delete key. This will remove both the private and public key files from the HTML5 filesystem, as well as the saved connection.
SSH Anywhere That Chrome Can Run
The Secure Shell Chrome app is a wonderful little tool to make the lives of developers, programmers, and hackers easier when connecting to remote devices. The ability to use SSH directly from your Chrome browser is not a groundbreaking feat, but it adds cross-platform convenience to using SSH that cannot be understated. For Chrome OS users, in particular, the Secure Shell app is the best way for you to be able to establish an SSH connection.
Thanks for reading! If you have any questions, you can ask me here in the comments or on Twitter @The_Hoid.
Just updated your iPhone? You'll find new emoji, enhanced security, podcast transcripts, Apple Cash virtual numbers, and other useful features. There are even new additions hidden within Safari. Find out what's new and changed on your iPhone with the iOS 17.4 update.


2 Comments
In order to connect, it's asking me for a password.
How do I find out what my password is for SSH on Windows 10?
Great guide, and I really appreciate it.
I've been trying to use the chrome shell app, and have run into an issue: for whatever reason the app will not upload my key pair. It just remains on default within the identity field.
They Key pair was properly renamed, but for whatever reason I'm not able to upload them. Any idea why and how to resolve this?
Share Your Thoughts