


Welcome back, my aspiring hackers and those who want to catch my aspiring hackers!
As most of you know, this series on digital forensics is inspired by the motivation to keep all of you all out of custody. The more you know about the techniques used by law enforcement and forensic investigators, the better you can evade them.
In this second installment, I want to address the first step that a forensic investigator takes after being brought in to an investigation, namely acquiring evidence in a way that is forensically sound and can be used in a court of law. This step MUST be done correctly if the investigation is to be successful and have any legal standing. If this initial step is done incorrectly, then weeks and months of work that follow will likely all be for naught.

If you have a background as a system or network admin, you have probably done system backups. These are simple copies of the operating system, applications, and data to a hard drive, or sometimes, to tape. Unfortunately, such a copy won't work for us, the forensic investigator.
What we need is a bit-by-bit copy of the hard drive or memory that does not alter a single bit of information. Any software that we might use to transfer the image will alter that image and we can't have that and still present it in a court of law.
The "Dd" Command
Historically, nearly every Linux/UNIX distribution has included a command known as dd (disk-to-disk). Its purpose was to make a bit-by-bit copy of any file, drive, or partition. The basic dd syntax looks something like this:
dd if=
For an example, let's say:
dd if=/dev/sda2 of=/dev/sdb2 bs=512
This would create a bit-by-bit copy of sda2 to sdb2 using a byte size of 512 bytes.
There are many options for dd, but one of the of the most commonly used is noerror. When we use the noerror option, dd will not terminate when it encounters errors, so then our command would look like this:
dd if=/dev/sda2 of=/dev/sdb2 bs=512 noerror
Although most Linux distributions include dd, several variations have been developed and enhanced that make our forensic image acquisition process easier. Nearly every image acquisition tool out there, whether for Windows or Linux, is a variation on dd.
In Kali Linux, we have a version of dd that was developed by the Department of Defense's Digital Computer Forensics Laboratory that is dcfldd (presumably, digital computer forensic laboratory dd).
Hashing
Among the most critical tasks that we need to do when acquiring an image is to ensure its integrity. In essence, we want to be able to prove in a court of law or other venue that the image we used for analysis was not tampered with or in any way changed since we acquired it.
You can only imagine a defense attorney or other representative who will argue that any evidence that you have found on the computer was placed there by law enforcement or the forensic investigator.
Hashing is one-way encryption that creates a unique output (digest) for any input. Hashing is used to assure that nothing changes in the original input. If even a single bit changes in the original input, the hash will change.
You have probably seen or used hashes when you downloaded software. In fact, when you downloaded Kali, Offensive Security provides you the MD5 hash of it so that you can check that the Kali you downloaded has not been corrupted or otherwise altered in any way before it gets to you.
Hashing ensures integrity.
The most popular hashes are MD5, SHA1, SHA256, and SHA512. As we will see, we can use any of these to ensure the integrity of our forensic image when we use dcfldd or other image acquisition tools.
Open Kali & Find "Dcfldd"
Now, let's start by firing up Kali and finding dcfldd. Go to Kali Linux -> Forensics -> Forensic Imaging Tools -> dcfldd. It will be the fifth choice in the menu system as seen below.

Open "Dcfldd"
When we click on the dcfldd, it will open a help screen like that below.
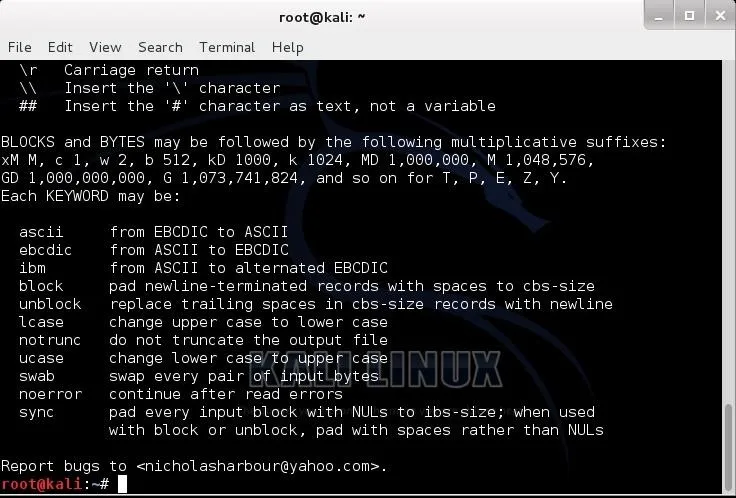
The syntax we use for dcfldd is nearly identical to dd, but with more options suited to forensic acquisition.
Linux Hard Drive Designations
If we were using this dcfldd in a forensic environment, we would likely be using it as a Live CD. We would then likely want to capture an image of the computers hard drive to an external device, probably another hard drive of equal or larger size.
Since I am using Kali as a VM, I am going to capture an image of my virtual hard drive and send it to an external hard drive. To do so, we need to know how Linux designates our hard drives.
You may know that Linux doesn't designate hard drives with single letters like Windows (I really need to do a Linux tutorial on Linux devices). A regular IDE or E-IDE hard drive uses the hd designation, so our first hard drive is hda, our second is hdb, and some on.
Historically, Linux designated SCSI (Small Computer System Interface) hard drives with sd so that the first SCSI hard drive would be sda, the second sdb, and so on. In our modern computers, our hard drives are SATA and Linux sees them as SCSI drives (both have serial connections), so our SATA drives are designated with sda, then sdb, then sdc, etc. If that hard drive is partitioned, then the first partition is sda1, the second partition is sda2, etc.
Capturing the Image
Now, to capture the bit-by-bit image of the hard drive and generate the MD5 of the image, we can type:
dcfldd if=/dev/sda hash=md5 of=/media/diskimage.dd bs=512 noerror
- if=/dev/sda is the input device, in this case /dev/sda.
- hash=md5 tells the command to calculate an MD5 hash of the image that we can use to assure the image integrity.
- of=/media/diskimage.dd is the file that the disk image with go, in this case on an external device mounted at /media.
- bs=512 tells the command we want to transfer the image 512 bytes at a time.
- noerror tells the command that in the case of error continue to do the data transfer, but write zeros where the error occur.

This will create a bit-by-bit identical image of the hard drive and send it to our external drive with a filename of "diskimage.dd", 512 bytes at a time, and write zeros when it encounters an error rather than terminate and provide us with the md5 hash of the image.
This is the first task in the forensic process. Now that we have this forensically sound image and hash, we can begin the process of analysis looking for artifacts and evidence. If this step is done improperly, everything that follows will be a waste of time.
Other Tools for Image Acquisition
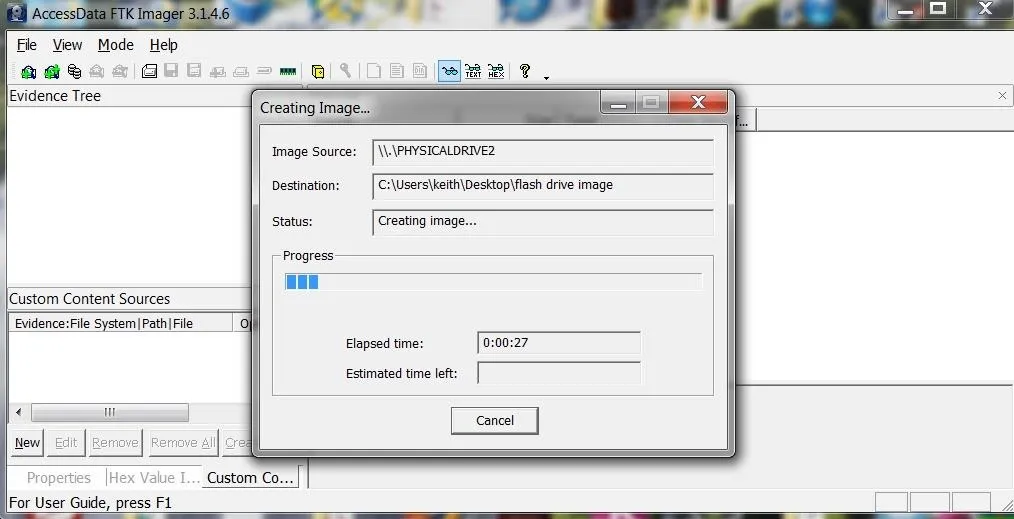
There are multiple other tools in Kali for image acquisition. All work similarly with some different features. Outside of Kali, there are also many commercial tools for image acquisition, but probably the most popular is in the Forensic Tool Kit. Access Data publishes the FTK Suite of Forensic tools, and these excellent tools are widely used among law enforcement. Among their suite of tools is the FTK Imager, which they give away for free.
In the screenshot below, we can seethe GUI of FTK Imager acquiring a bit-by-bit image of a hard drive.
Now that we have successfully acquired a forensically sound hard drive image of the evidence hard drive, we can now proceed to analyze it for artifacts and evidence of the illegal activity.
In my next tutorials, I will be showing how to find artifacts of illegal activity on that hard drive that can lead to the perpetrator and disclose their actions, so keep coming back my aspiring hackers!
Cover image via Shuttestock


Comments
Be the first, drop a comment!