
Welcome back, my tenderfoot hackers!
I recently began a new series on digital forensics to help tenderfoot hackers from being detected and ultimately, incarcerated. In this installment of that series, we will look at recovering deleted files. This is important to hackers because you need to know that even when you delete files on your computer or on the victim's computer, a forensic investigator can usually recover them.
Windows File System's
Since most of the victim's will likely be Windows based systems, let's focus our attention on Windows systems and their file systems. Nearly all modern Windows systems use the NTFS filesystem, but older systems may still use FAT filesystem. In fact, if you are using a flash thumb drive, it is probably formatted with the older FAT file system because that would make it usable on ALL operating systems including Linux and Mac OS X.
NTFS
The NTFS file system was developed for the "new" Windows that was being developed in the late 80's and early 90's, Windows NT (hence, NT File System). Microsoft turned to a group of OS developers formerly with Digital Equipment Company (now part of HP) to develop Windows NT and new robust, reliable and secure file system. This file system eventually superseded other file systems in the Windows family with the arrival of Windows 2000 and now you will only find NTFS on Windows systems.
NTSF has a Master File Table (MFT) that tracks the location of every file on a hard drive. When a file is deleted, the MFT simply marks that area on the hard drive as available to be overwritten. Until that area is actually overwritten, the file remains intact on the hard drive and easily recovered. Even if it is overwritten, there may remain "slack space" if the new file is not as long as the previous file. So, for instance, if you deleted a file that was 4096kb and overwrote it with a file that 3000kb, over 1000kb would be slack space and still recoverable by a forensic investigator.
FAT Filesystem
FAT is a much older and simpler file system. It was the file system of the first PC's developed by IBM in 1981 using Microsoft's DOS. It has come in multiple flavors from FAT8, FAT12, FAT16 and FAT 32. It is a simple file system without all the security and other features of NTFS and Linux's ext2 and ext3. In this tutorial, we will look at recovering a deleted file from a FAT formatted flash drive, but exactly the same tools and process would apply to recovering files from NTFS, ext2, ext3, HFS, HFS+, etc.
Step 1: Create a File
To demonstrate how to recover deleted files, let's create a malicious document. We will call this document "Malicious" and create it with Notepad in Windows.
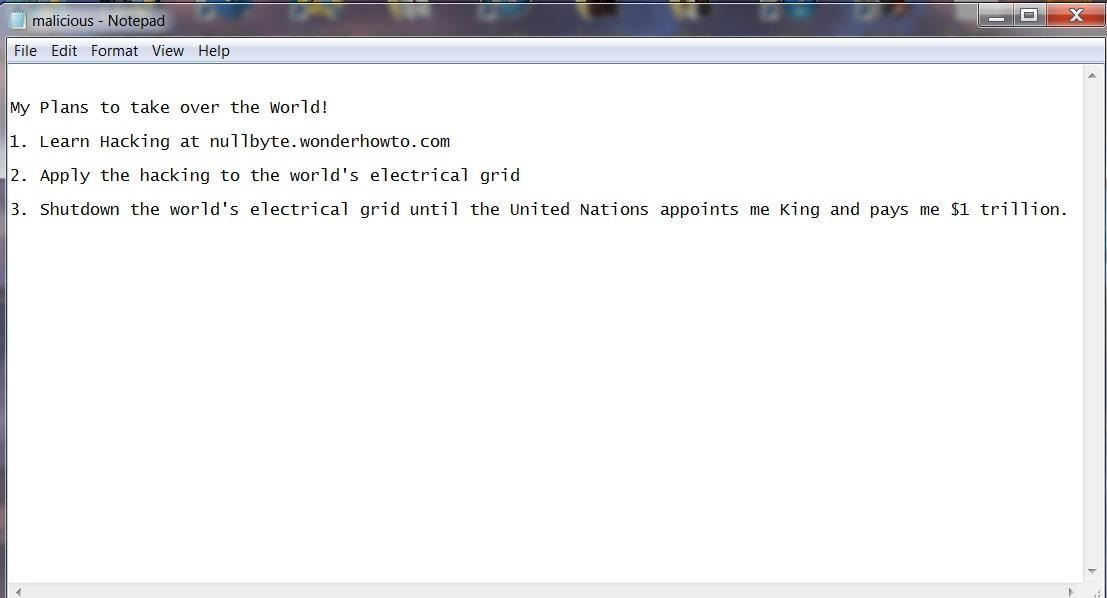
This sounds like a sound, albeit ambitious plan.
Step 2: Delete the File
Next, now that we have completed our plans to take over the world, let's delete the file because we no longer need it and we don't want to leave behind any evidence of our malicious plans.
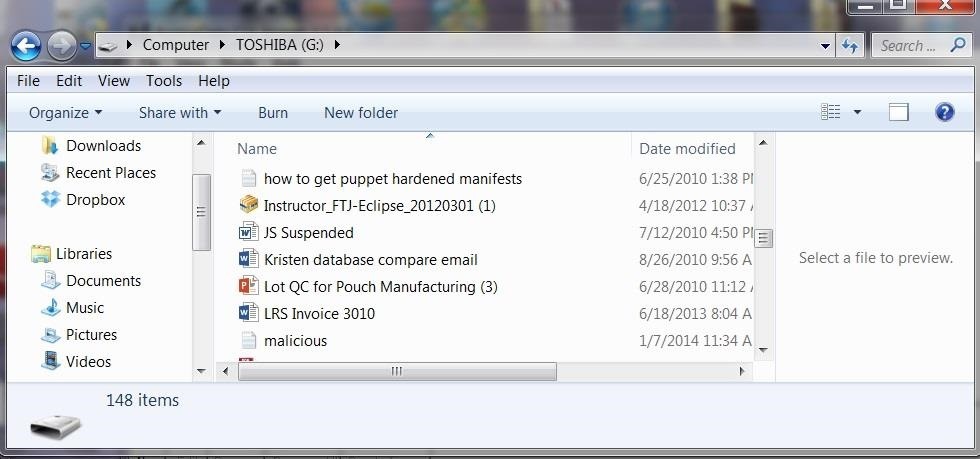
Right click on the malicious file and select delete. If you put the file in the Recycle Bin, you have made it even easier for the forensic investigator to recover. The Recycle Bin is actually simply a folder where the files are moved until you empty the Recycle Bin. Nothing is deleted until you empty the Recycle Bin.
Step 3: Create an Image
The first step a forensic investigator will do when examining your computer is to make bit-by-bit copy of your hard drive or in this case your flash drive. There are numerous tools that can do this and in Linux we have the dd command that does an excellent job of making bit-by-bit copies (its on all Linux distributions including BackTrack). File backups and copies are not forensically sound as they will not copy deleted files and folders and in many cases will actually change the data.
Most forensic investigators use commercial tools. The two most popular being Encase by Guidance Software and Forensic Tool Kit by Access Data.
FTK, as it is commonly known in the industry, has a free imager that creates a bit-by-bit copy of the drive. This imager is probably the most widely used in the industry and its price is right, so let's use it.
- You can download it here.
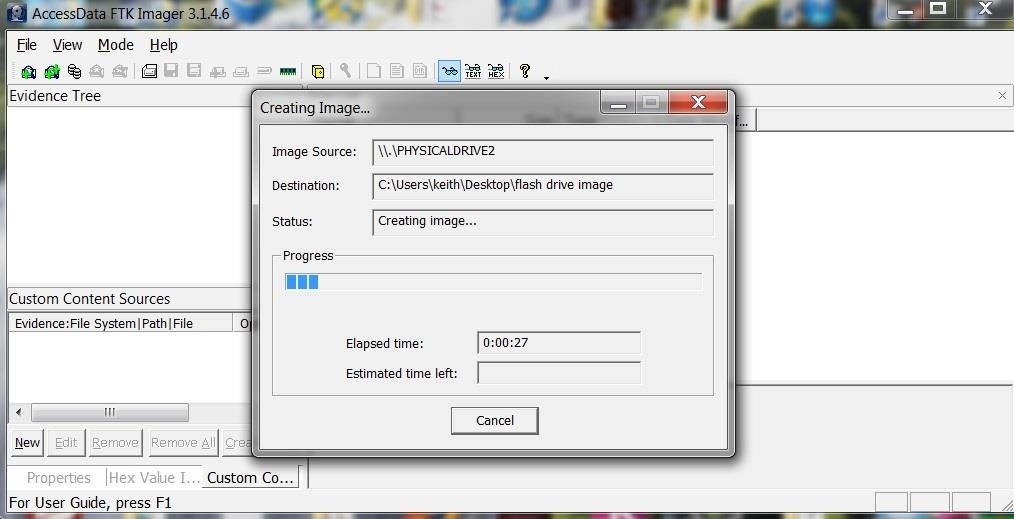
Now that have downloaded the FTK imager, we need to create a bit-by-bit image of the flash drive.
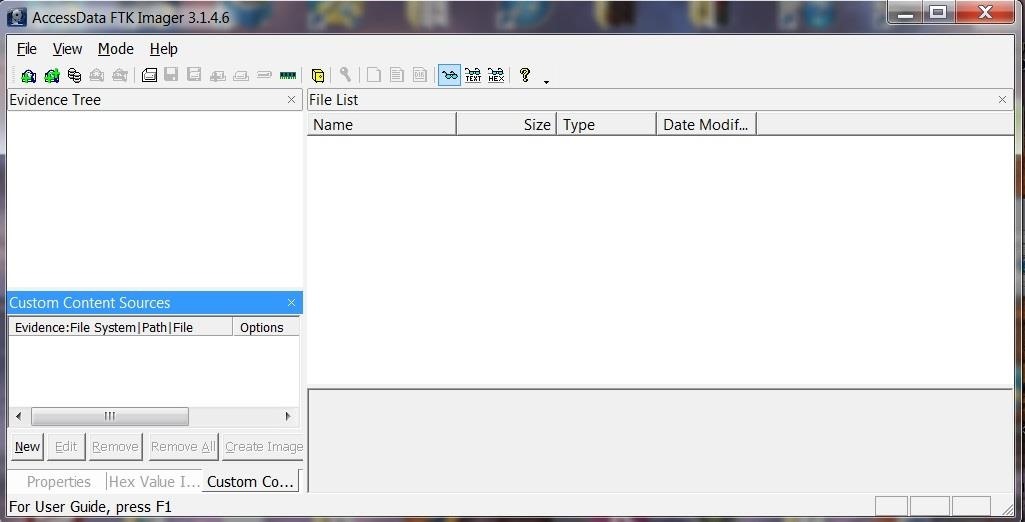
Go to menu at the top of the application and select:
- File -> Create Image
It will open a wizard that will walk you through the process of opening a case and ask you for a case number, evidence number, examiner name, etc. Obviously, this software was designed for law enforcement and all evidence needs to be categorized and labelled.
Finally, it will ask for a location of the physical drive you want to image, a destination directory and a name for the image file. When you are done with all these administrative tasks, FTK Imager will be begin the process of creating a forensically sound bit-by-bit image of your drive.
Now that we've created a image of the flashdrive, we are ready to recover the deleted files.
Step 4: Recover Deleted Files
There are many tools on the market to recover deleted files and all of them are adequate to do the job. Deleted file recovery is probably the simplest of forensic tasks. Here, I will be using a trial version of RecoverMyFiles.
- You can download a trial version here.
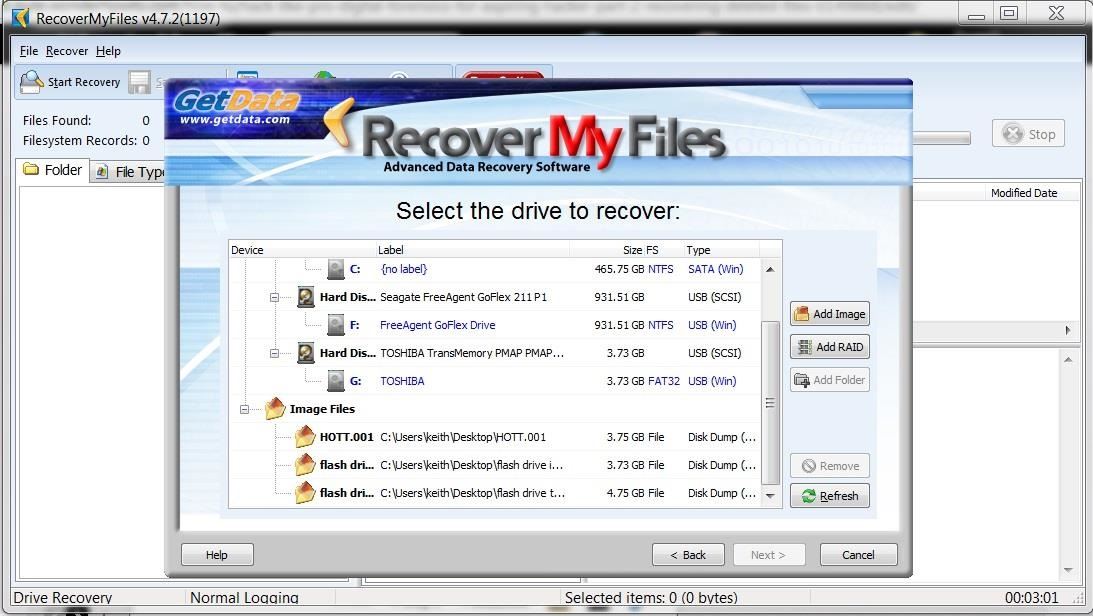
Once you have installed RecoverMyFiles, select the Start Recovery icon in the upper left corner. It will ask you to select either Recover Files or Recover Drive. Select Recover a Drive. It will then search and display all your drives like that in the screenshot below. Since we are using a forensic image, select Add Image button to the right. You will need to provide a path to your image file created with FTK.
Once you select an image file, start the automatic file recovery. When the recovery is completed, you will see a screen similar to the one below.
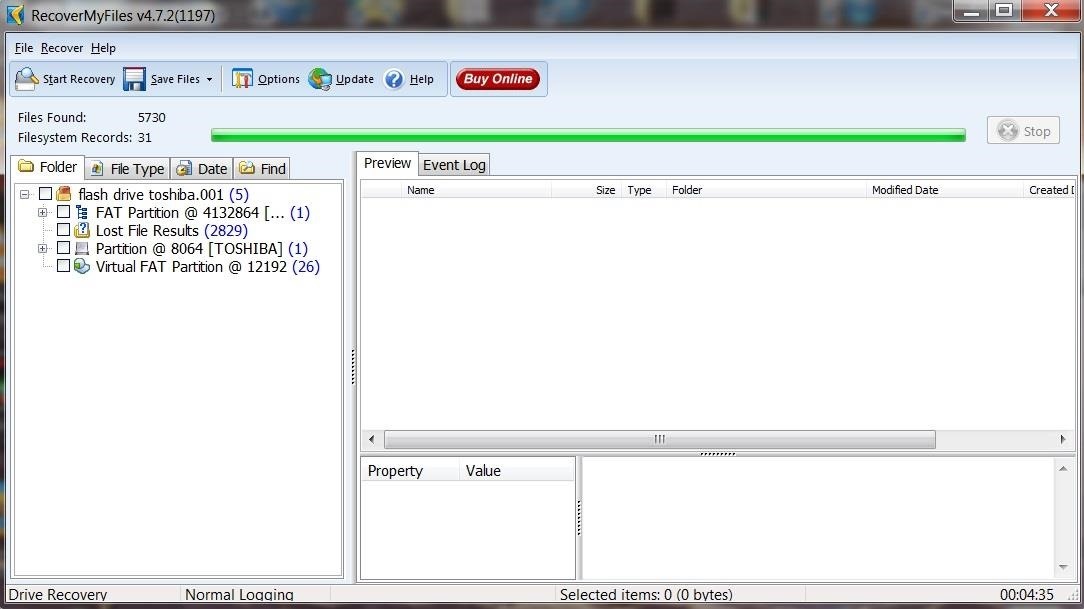
I then selected the File Type tab above the Explorer window to categorize the files by type.
As you can see, there are numerous file types recovered from this flash drive. Since our malicious document was a .txt, I have selected the TXT UTF-16 file type. It then puts all 158 .txt files on display in the upper right window. As you can see, it has recovered our malicious.txt file and everything on it. Busted!

I'm hoping that this tutorial clearly showed you how simple it is for a forensic investigator to recover the files you have deleted. This should be a lesson that you need to be exceedingly cautious and when possible, overwrite any deleted files to remove evidence. In some cases, even that may not be enough to keep your files from a skilled forensic investigator.
Keep coming back my tenderfoot hackers for more adventures in Hackerland!
Just updated your iPhone? You'll find new emoji, enhanced security, podcast transcripts, Apple Cash virtual numbers, and other useful features. There are even new additions hidden within Safari. Find out what's new and changed on your iPhone with the iOS 17.4 update.


10 Comments
Thats a cool article
Thanks and welcome to Null Byte, Boniphace!
This is a generalized overview of HOW it could happen. what the writer doesn't tell you is that you want to mount the flash drive or hard drive on an adapter that supports a write block feature. this insures that your OS doesn't write anything unwanted onto the drive possibly destroying the data you are attempting to recover. Also why are you asking us to use shareware when backtrack/kali has it built in. Also the trial version wont recovery anything more than a few hundred kilobytes.
Excelleent points, Andrew.
The point of this tutorial was to demonstrate to aspiring hackers how easy it is to recover deleted files. Hopefully, this lesson will make them more cautious, but not a forensic investigator.
In the partitioning program in https://null-byte.wonderhowto.com/how-to/install-kali-live-usb-drive-with-persistence-optional-0162253/ tutorial there is an option to replace a partition with all ones, all zeros, or a mix of the both. I was wondering if this would make it impossible to bring back.
No. Recovering deleted files and partitions is dependent upon the fact that they are NOT overwritten. If you overwrite them with ones and zeros, they are no longer recoverable by this method.
Alright thanks!
Nice
Good Tutorial! But this shows how to recover using the same HD to install the software on for the target HD. How can you create an image locally, but without installing the software on the target HD since installing can over write the memory space of the deleted file which would make it impossible to recover. Do you run a live cd and mount the hd and create an image like that or how do you do this effectively without compromising the memory? Thanks
You're starting to look at digital forensics. Kali has some tools for it. Integrity of data is key here. Usually you would do a full disk DD to an image and use that to start putting things together using forensic tools.
Share Your Thoughts