


For anyone wanting to keep information private, plain text is a format of the past. Instead, cheap, powerful encryption is widely available, but often not easy enough to use to attract widespread adoption. An exception to this rule is EncryptPad, an easy to use application that lets you encrypt text, photos, or archives with strong encryption using a password, keyfile, or both.
The Need for Encrypted Information
In the digital world, plain text is an easy target. Keeping anything of importance in plain text means, obviously, that anyone can read it, and while this would have been expected back when processing power was expensive, there are now many free and easy ways of keeping your text in a more secure state. Encryption uses a key you create to scramble the data you're saving, making it easy for you to retrieve but hard or impossible for others to recover.
Think of it this way: if you were to record everything in plain text on your computer and then lose it, whoever found it would be able to read all of the unencrypted contents of your drive. If you were to lose the same laptop but with your files encrypted, there are a few ways you could frustrate someone trying to dig around inside.
Passwords & More for Managing Encryption
First, you could set a password that would need to be broken to retrieve the information, significantly reducing the likelihood that someone could access the files that are now outside your control. Of course, this could still be attacked if you picked a weak or common password or if you reused the password in other places where it could be phished.
- Don't Miss: Use Private Encrypted Messaging Over Tor
A more secure way of doing so is to create a keyfile that is required to unlock sensitive files and then keep a copy accessible over the network. That way, you can revoke access to the file by deleting the key from the network, making it so files are impossible to decrypt until you upload the key again.
EncryptPad is an easy to use application that presents a simple to use GUI similar to other notepad programs. While it is by no means the most powerful word processor, it makes encrypting notes a breeze and allows the same functionality you would expect from any GUI text editor.
Install EncryptPad
To download EncryptPad, the best way to get started is to use the precompiled binaries available on the EncryptPad website. Select the version that matches your operating system, and then install EncryptPad following the on-screen prompts.
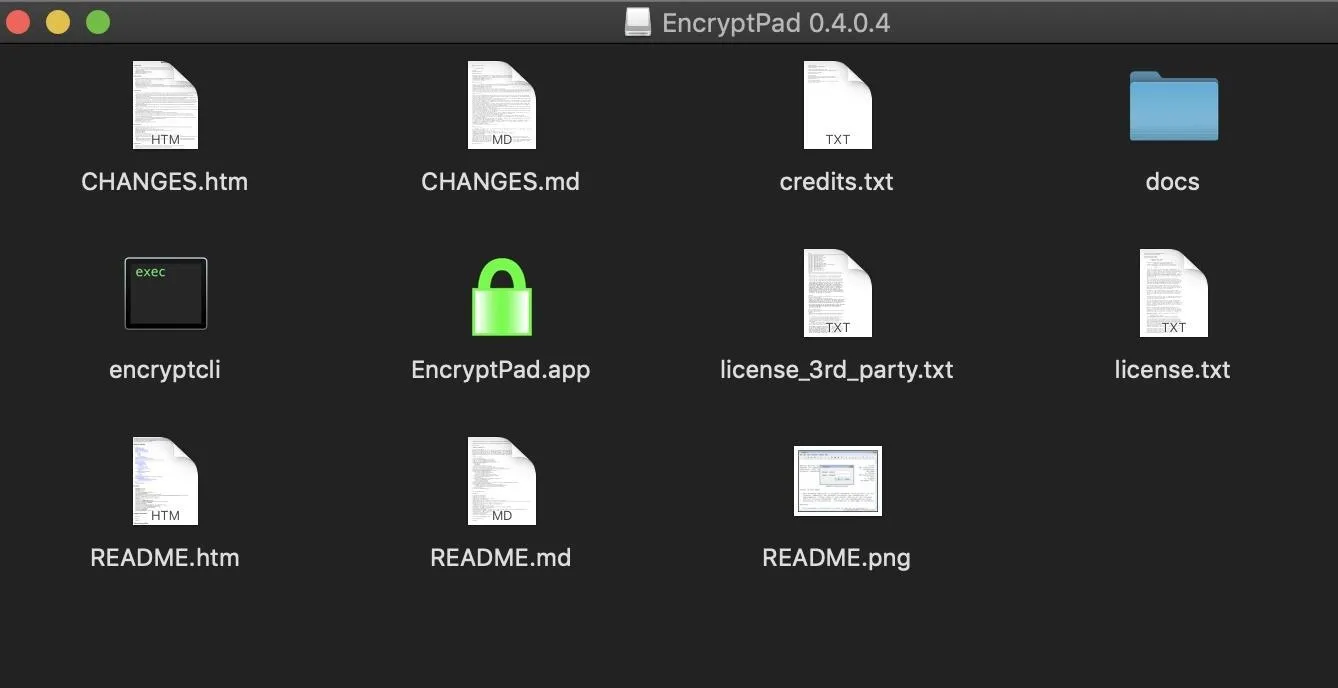
For macOS, simply download the file and open the disk image to find the fully functional encrypted notepad application. You can drag and drop this directly into your "Applications" folder. On other systems, EncryptPad is similarly easy to install.
Open a Text File Using the Text Editor
To open EncryptPad, launch the application by double-clicking the EncryptPad lock icon. This should launch you into an empty "untitled" EncryptPad file. You'll notice the file extension, EPD, is specific to this program.
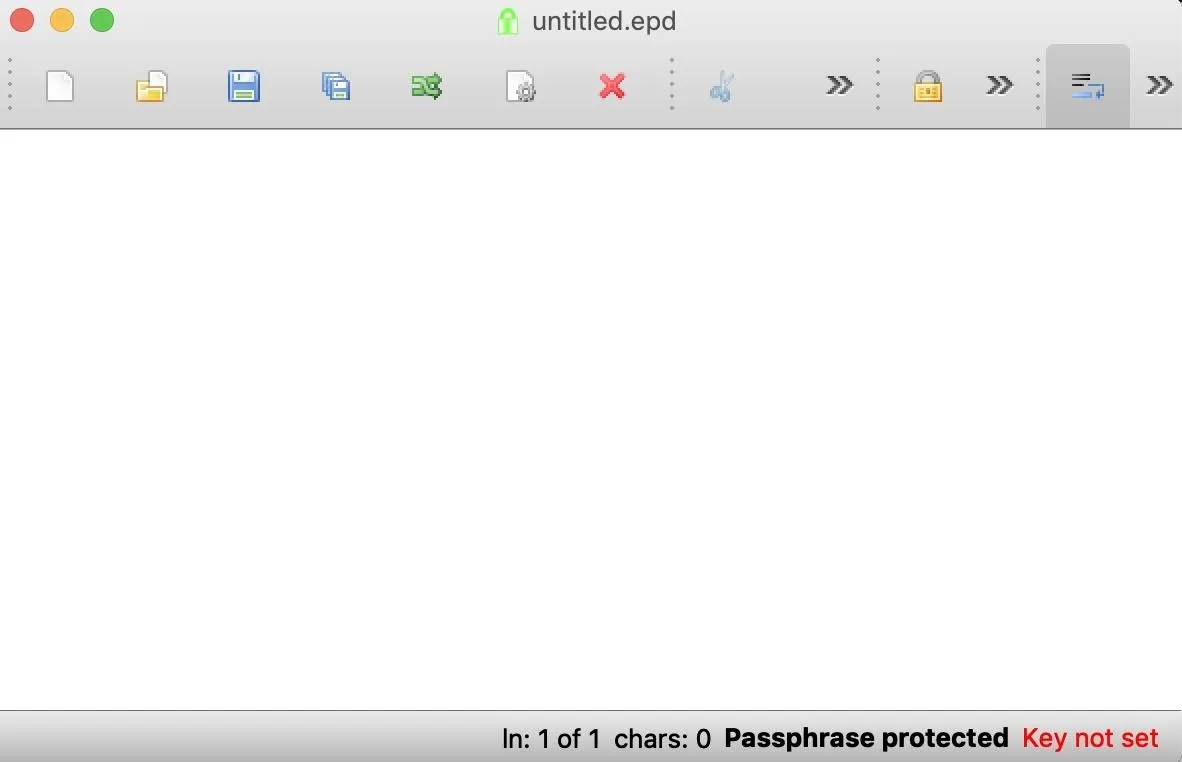
Here, you can see we've got the same kind of basic text editor we'd expect to be installed alongside an operating system. While there aren't many formatting options, the magic really comes after you lock down the contents with a password or keyfile.
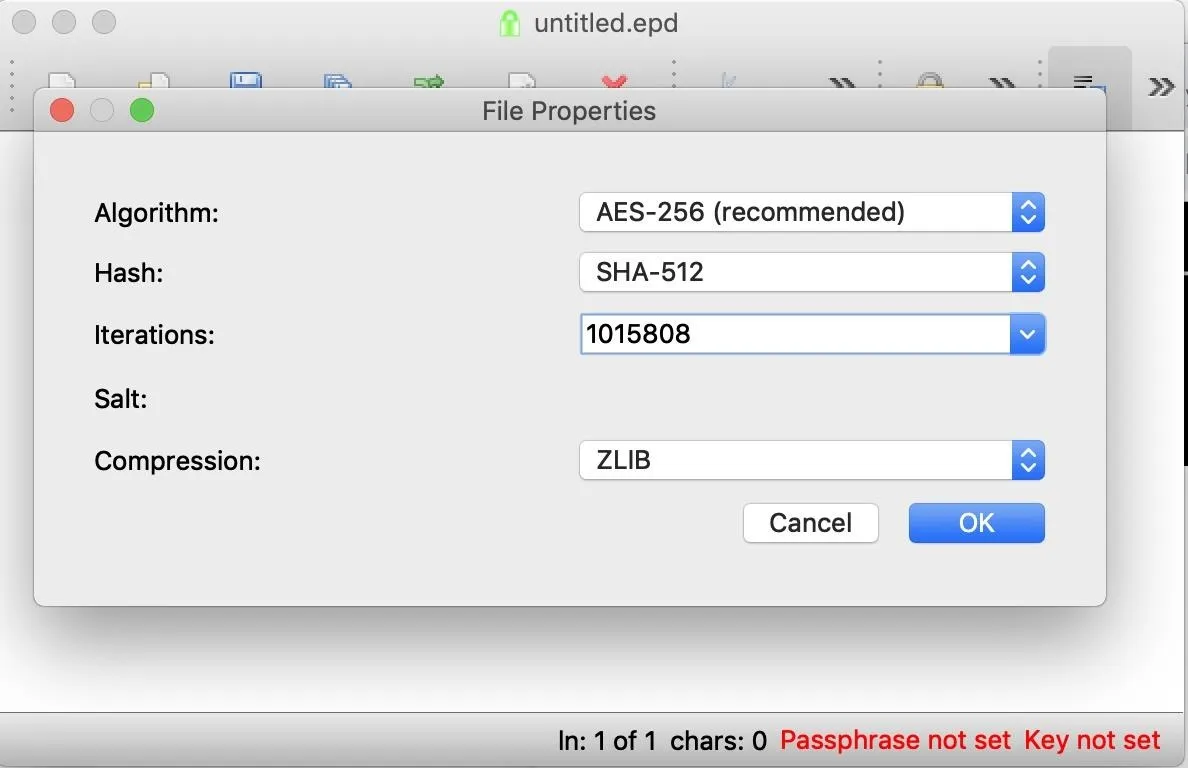
Click on the gear icon to show the encryption options for EncryptPad. Here, you can see the type of symmetric encryption you can select. If you'd like to bump up the power of the hashing function to SHA-512 from SHA-256, you can do so here.
Once these options are set, we can move on to locking down our file so only we can see it. Let's add some text, and then move on to encrypting it.
Protect Your File with a Password
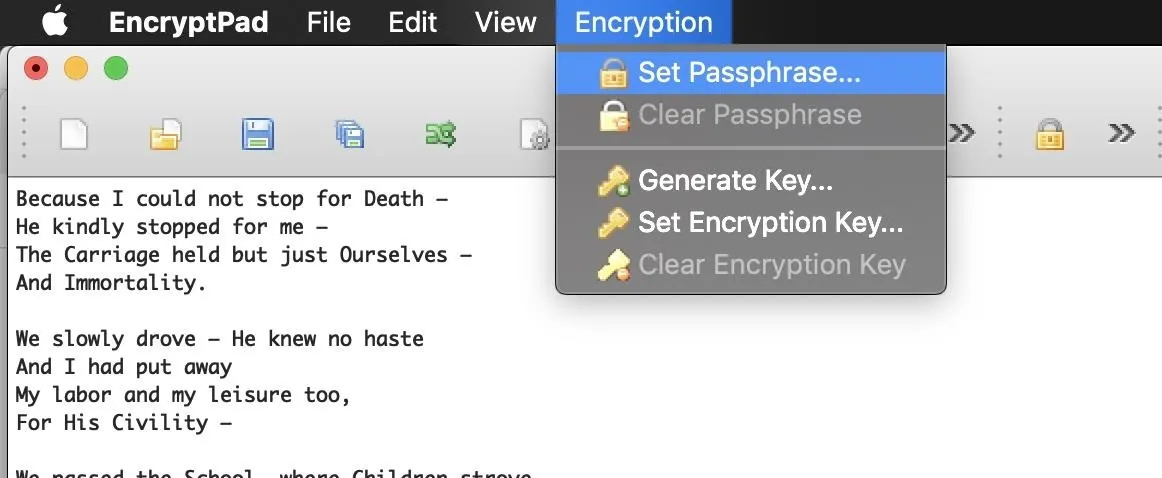
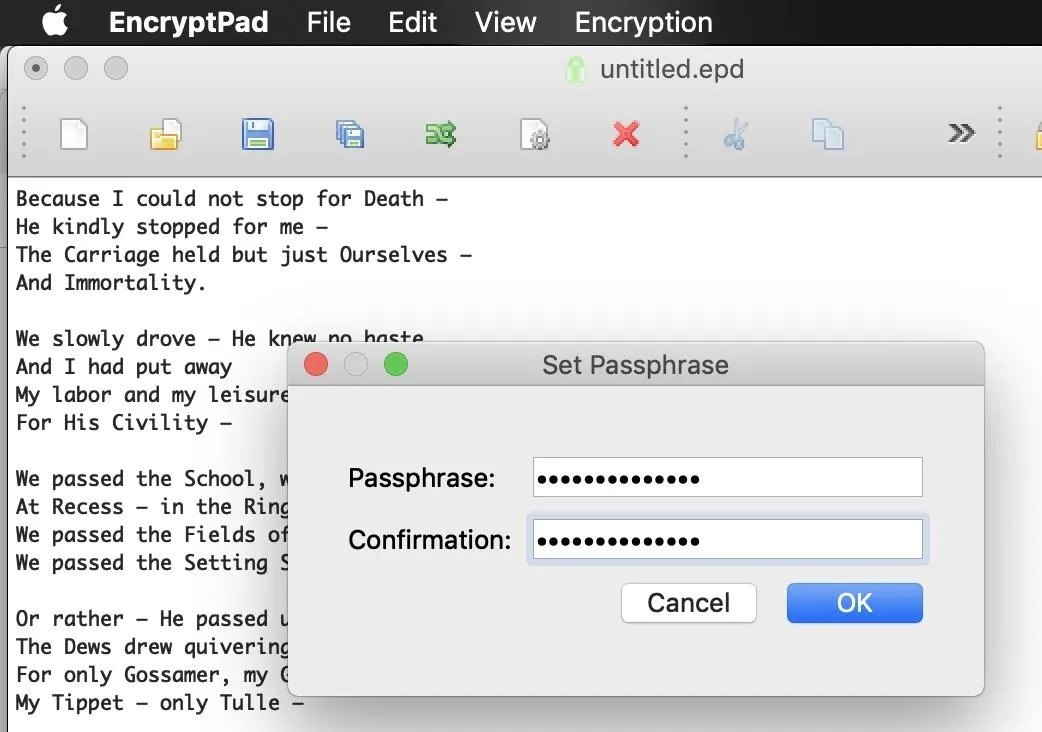
Once you've set the encryption to your liking, click on "Encryption," and then "Set Passphrase" to set a password on the file. You can also see the "Clear Passphrase" options, which you can use to clear away a password if you'd like the file to be accessible without a passphrase.
In the popup window, type and then confirm a strong password. Do not put a weak password like password123 here, as doing so completely defeats the point of encrypting this information in the first place.
After setting the password, you can now save the file and be confident that without the passphrase, an attacker wouldn't be able to open it. That being said, over time, a determined attacker could still break in by brute-forcing the password, if they gained possession of the files.
So what else can we do besides adding a password to keep people out of our files?
Generate a Key File
One of the strongest and most flexible ways of securing your document is with a keyfile. A keyfile is stronger than a password and easier to manage in some ways, as you're able to use EncryptPad to rely on keys shared over a network. This means a keyfile can be removed later to deny access to information stored in EncryptPad files.
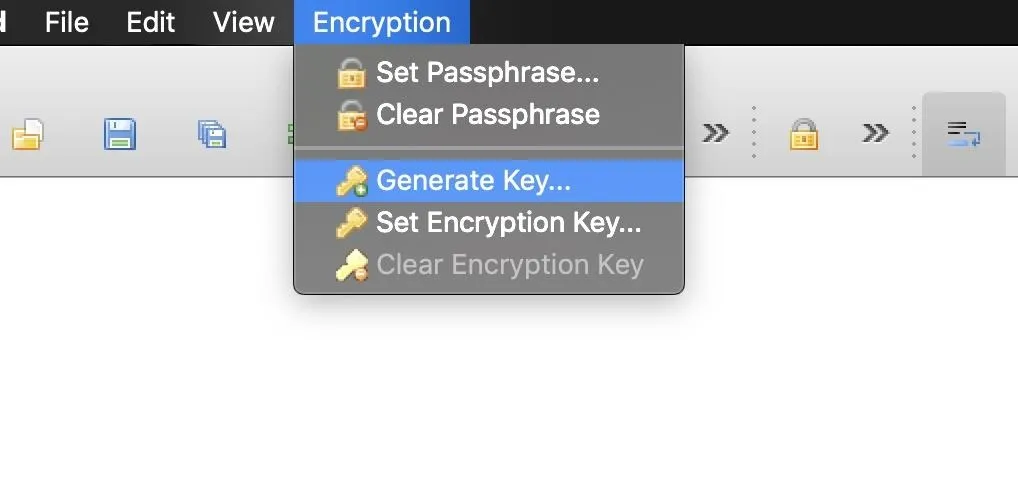
Setting a keyfile is easy, but the first step is generating one. Under the "Encryption" tab, select "Generate Key."
Next, select the location you'd like to save the key file. The key will also be password protected, so make sure to have a good password ready to secure the key.
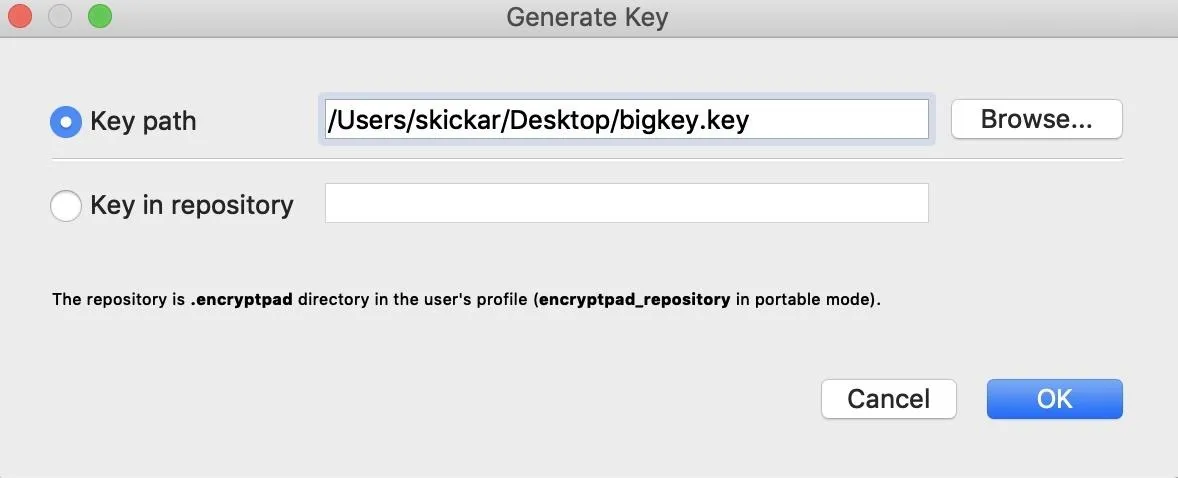
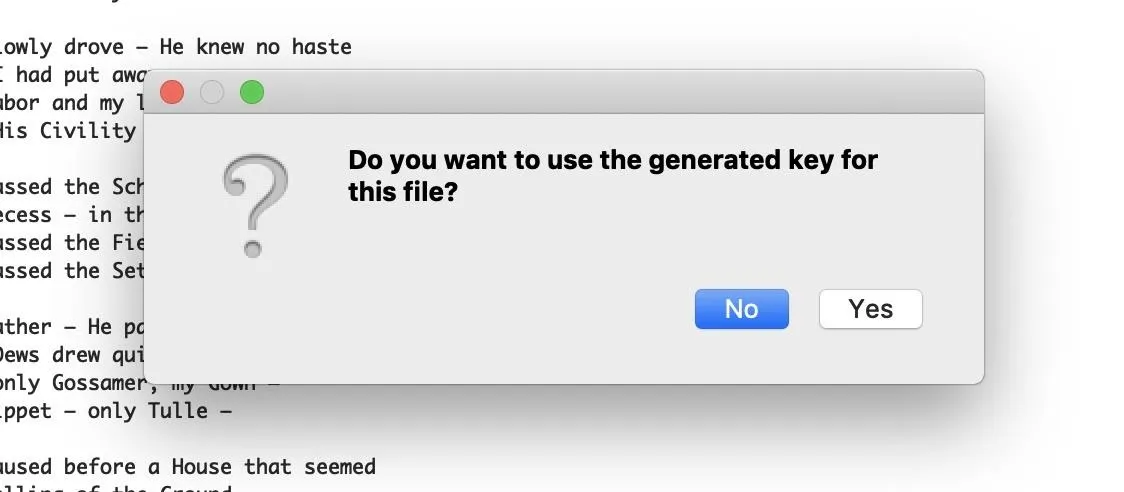
Enter a passphrase to protect the key in the next field, and you'll have a .key file waiting for you wherever you've chosen to save it. Finally, you'll get a prompt asking if you want to use the generated key for this file. For now, select "No" to continue.
Protect Your Data with a Key File
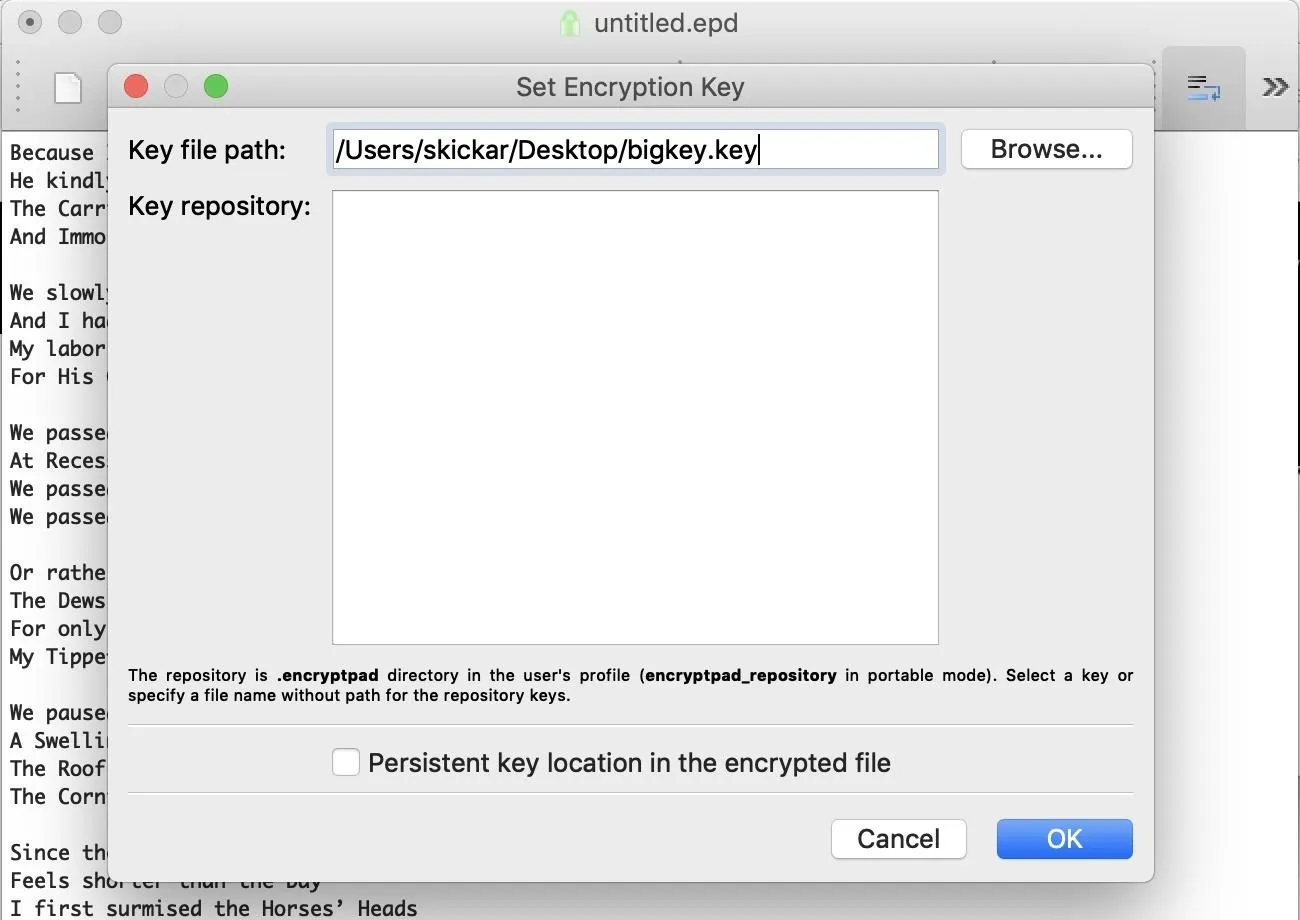
Now, let's encrypt our file with the key we just created or any other key for that matter. Click "Encryption" again, and then select "Set Encryption Key." In the pop-up that opens, select a path to the key file you want to use to encrypt the file. Here, you can also specify a remote key, like one stored on a server you control.
An important setting here is "Persist key location in the encrypted file." This means that the location of your keyfile will be saved in your encrypted file, making it easier for a remote encrypted key to be used. If you select this option, this key file will be linked to your encrypted document until you remove it.
Once this is set, click "OK," and set a password for the keyfile. Your document should now report that it is secured by both a password and encryption key.
- Don't Miss: The Easy Way to Use PGP for Encrypting Emails
Encrypt an Image or File
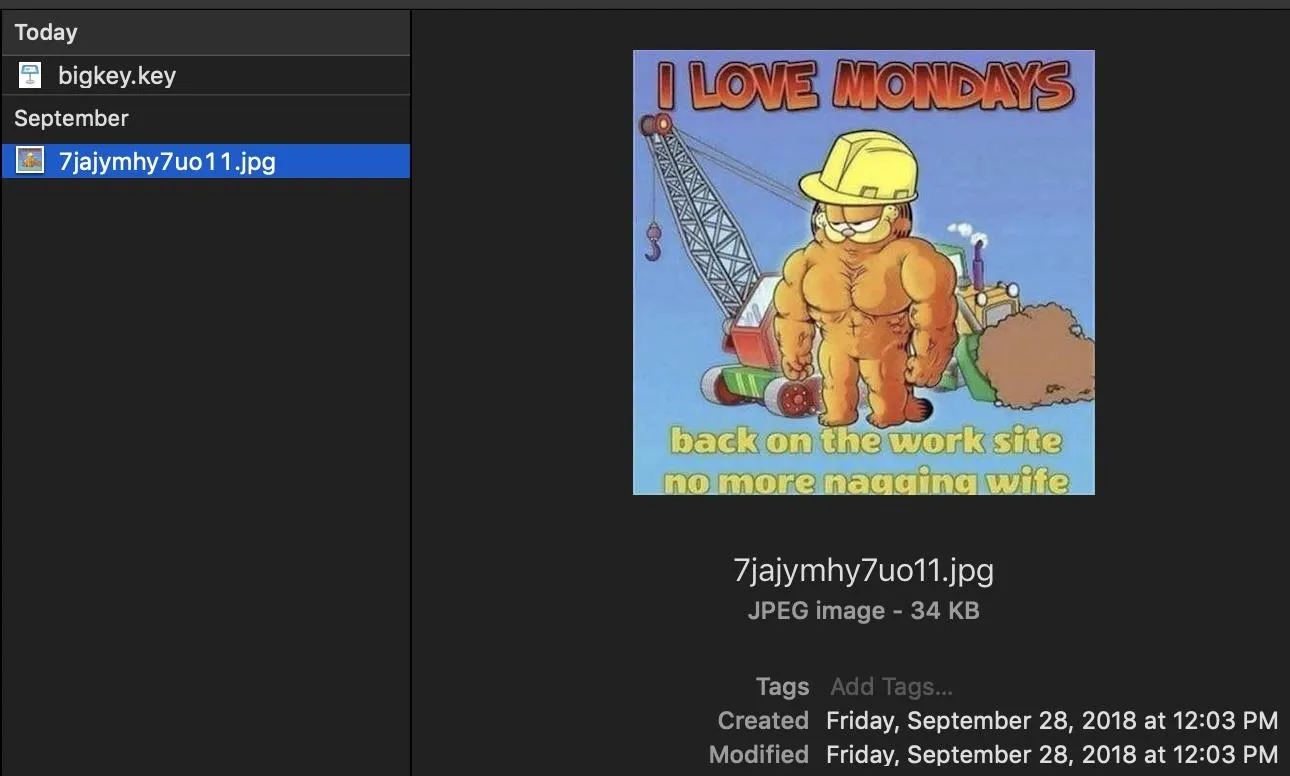
EncryptPad doesn't just stop at encrypting text; it can also encrypt archives and images too. We'll demonstrate this by creating an encrypted version of a horrible Garfield meme using the keyfile we generated before.
First, we'll start with an image we want to encrypt. Click on "Encryption," and you'll see the following dialog box.
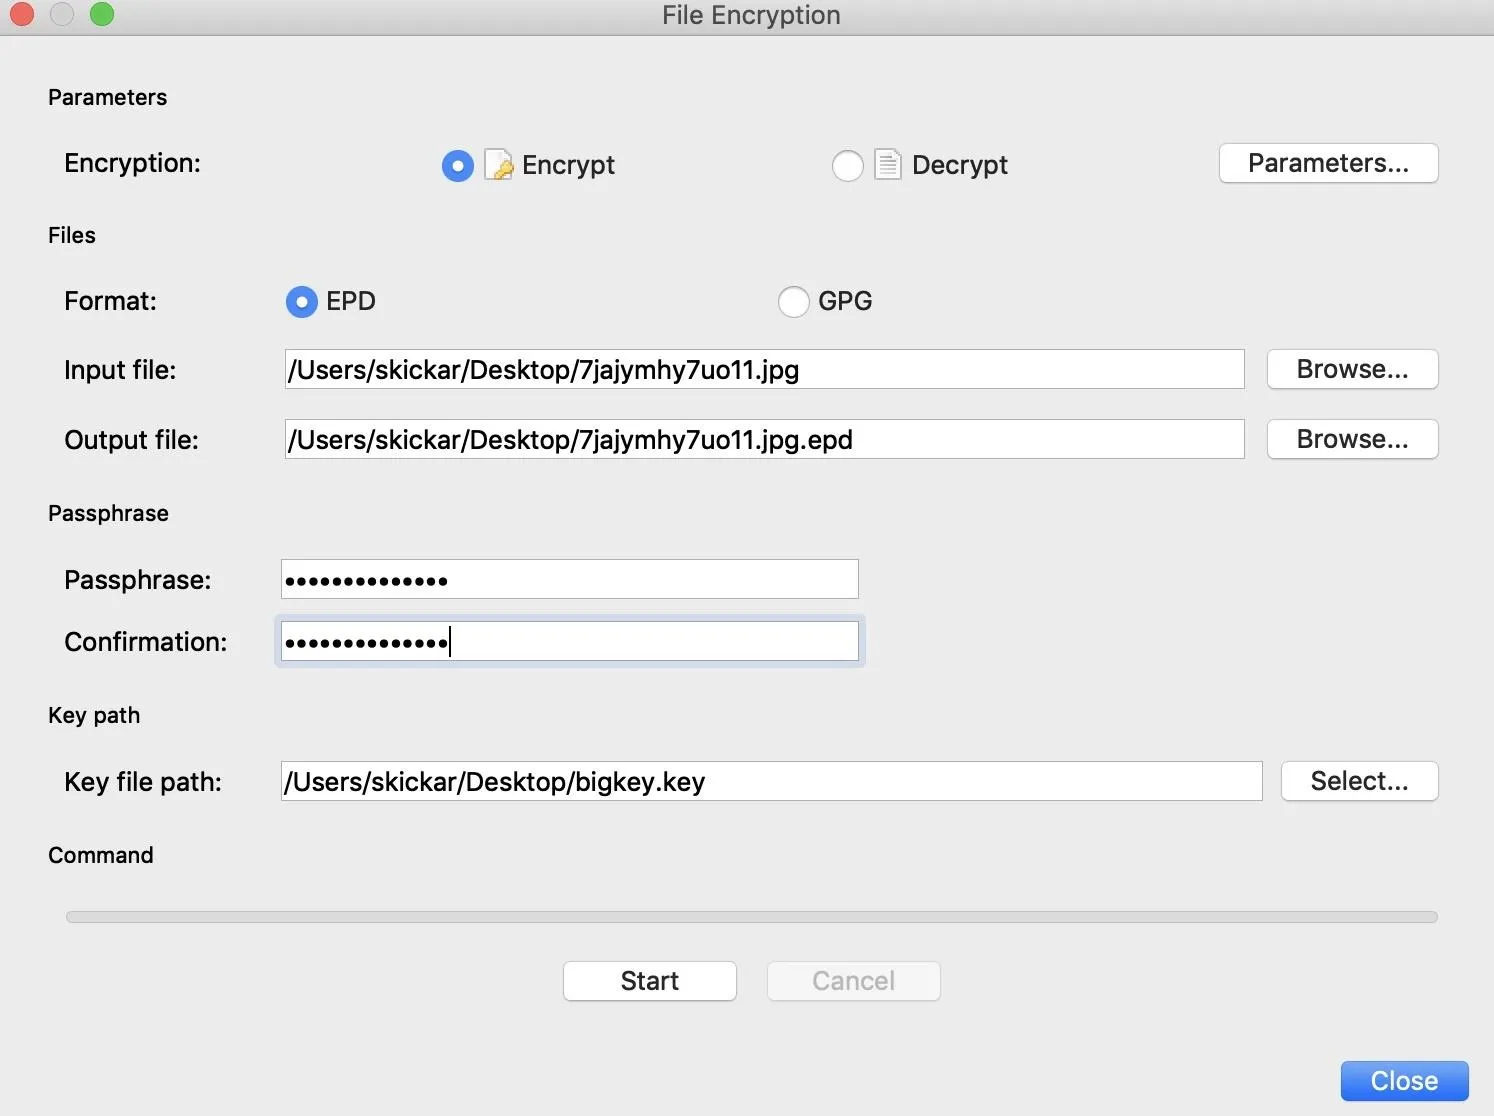
In this box, you'll input the file you want to encrypt in the "Input file" file, and where you want the encrypted file to be saved in the "Output file" field. Make sure you have the "Encrypt" option selected, and then you can select either EPD or GPG as the file format.
Type a passphrase to encrypt the file with, and then select the key file you created before in the "Key file path" field. When this is all selected, click "Start" and enter the password you set with the key file.
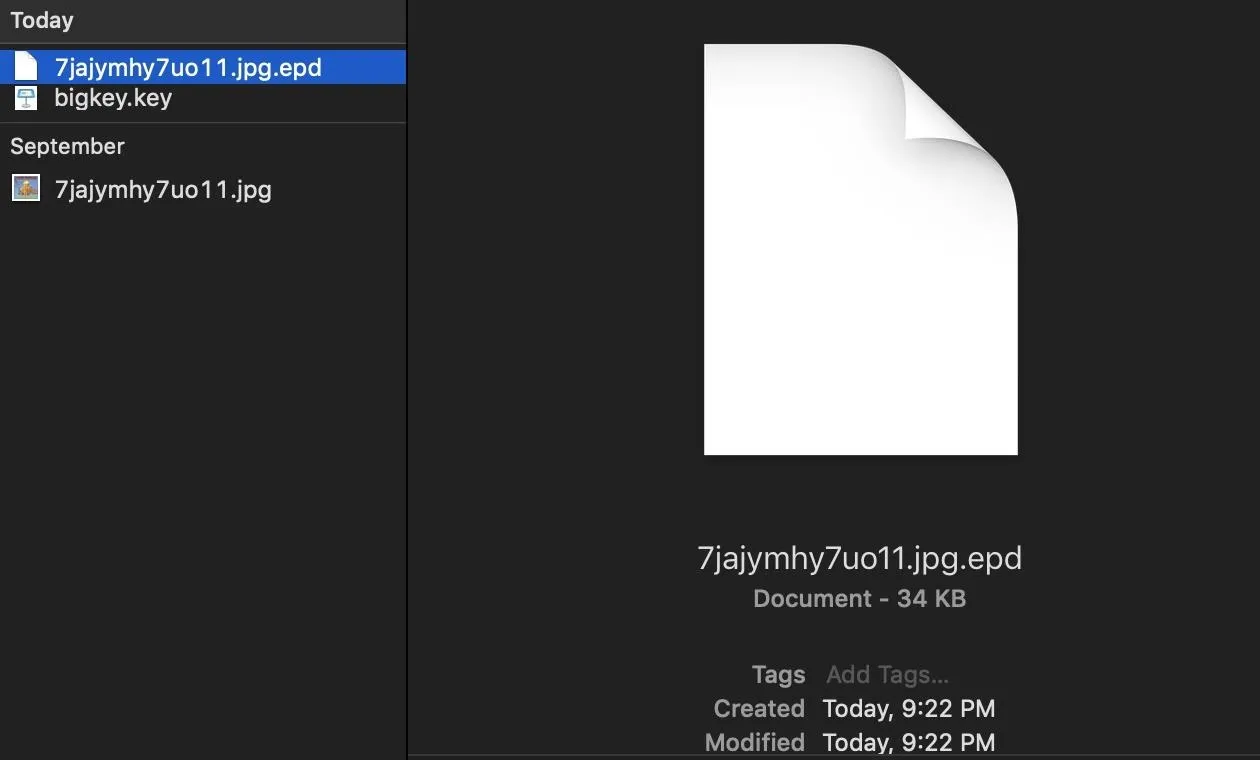
Perfect, when we go back to the folder we saved the file to, we can see an encrypted version is now saved there. Using this process, we can encrypt anything we want on our system.
Decrypt an Encrypted File with a Key & Password
Finally, the most important part is knowing how to decrypt a file with a key and password. To do so, click on the "Encryption" option again, and we'll find ourselves doing the reverse of what we did to encrypt the file.
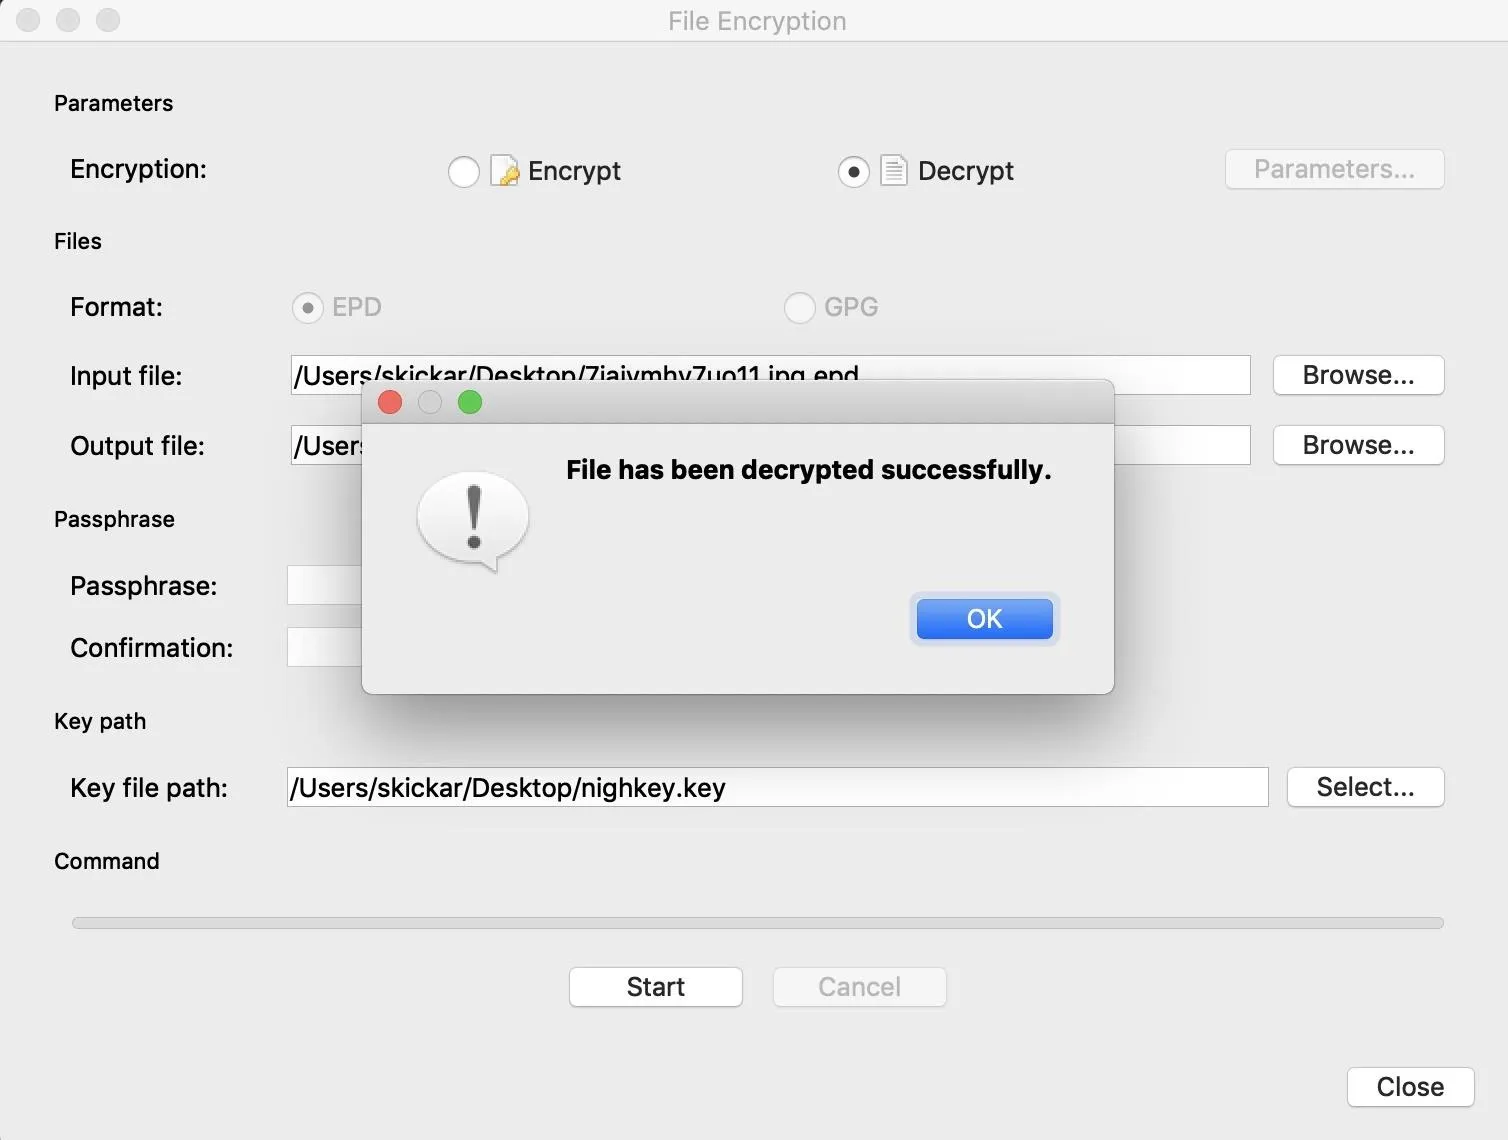
Select the "Decrypt" option at the top of the menu, then enter the file you want to decrypt in the "Input file" field. Enter the path and file name you want the decrypted file to use in the "Output file" field, and then enter the path to the keyfile you encrypted the file within the "Key file path" field. Once these are filled out, click the "Start" button.
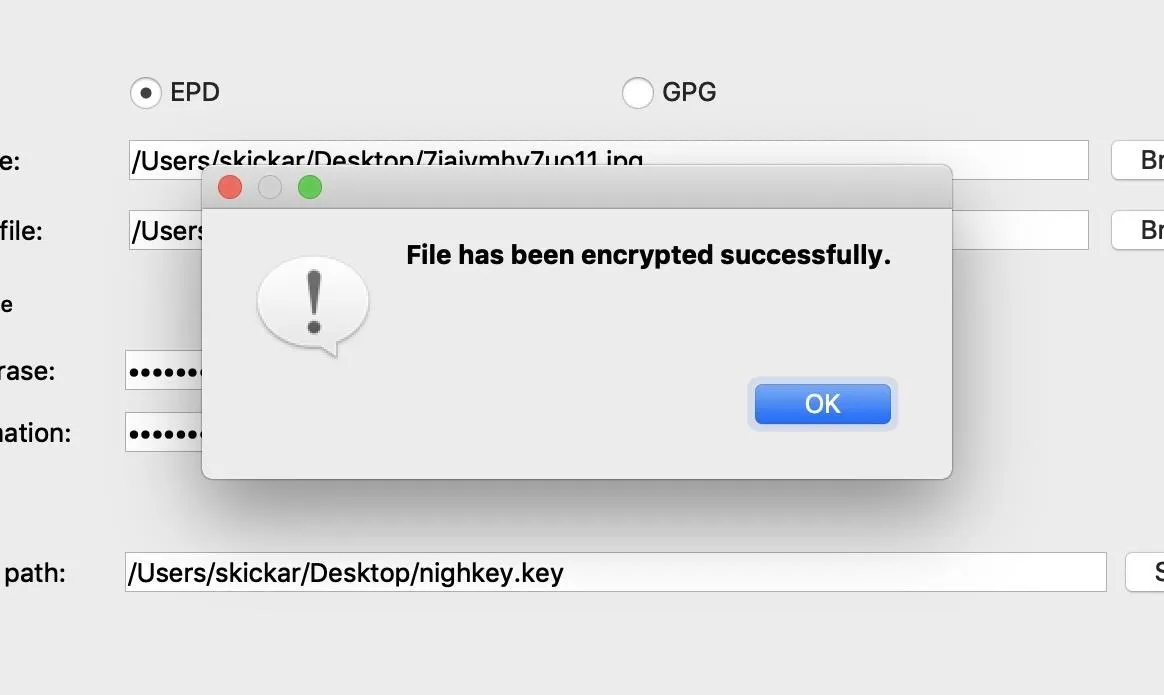
When prompted, enter the password associated with the file and the keyfile you're using. Upon successfully decrypting the file, you should see the confirmation box below.
To open an encrypted text file, you can simply open the file in EncryptPad by clicking "File," "Open," and then supplying the password to access the file when prompted.
File Encryption Is Powerful, Private, & Easy to Use
One thing to keep in mind with encryption is that it can work both ways. If you set a password so strong that you can't remember it, or if you set a keyfile and then proceed to lose it, you will not be getting your data back. The point of encryption is that there are no backdoors and that it is incredibly difficult to recover data that you don't have the key or password to. As such, you should make backups of any keyfiles you use, because you may need them if for some reason your primary copy is destroyed.
If you manage your keys well and keep your sensitive files encrypted, you should be safe from prying eyes decrypting the files you want to keep secure. With tools like EncryptPad, storing text in a secure way doesn't have to be difficult or complicated.
I hope you enjoyed this guide to using EncryptPad to encrypt text and information! If you have any questions about this tutorial on encryption or you have a comment, feel free to write it below in the comments or reach me on Twitter @KodyKinzie.
- Follow Null Byte on Twitter, Flipboard, and YouTube
- Sign up for Null Byte's weekly newsletter
- Follow WonderHowTo on Facebook, Twitter, Pinterest, and Flipboard
Cover photo and screenshots by Kody/Null Byte


Comments
Be the first, drop a comment!