


Developing GUI apps in python is really cool. I ask those who understand the language to help convert some of the command-line or console programs or apps ( I mean programs that are useful to a hacker ) to GUI. I know GUI makes us lazy and not wanna learn but we should all know its fast. Today's tutorial is on p2p chat app I developed last week and decided to share it with the community since its kinda cool.
Not to waste much time. Lets design the UI ( User Interface )
STEP 1: Designing The User Interface
If you followed tutorial Developing A PyGeoIP Gui - Linux, I walked you through the installation of the necessary tools needed to develop GUI apps in python using PyQt.
- Fire Up Qt Designer
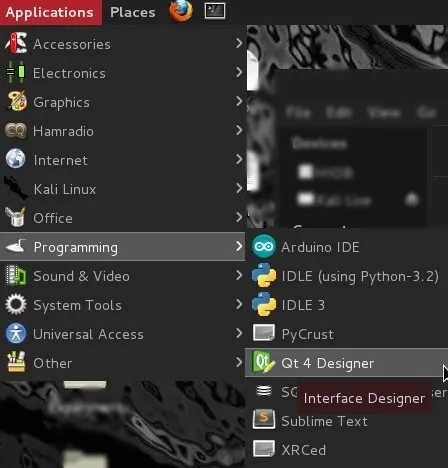
- Create a MainWindow
Having that opened, You should be presented with a startup dialog ( Unless you disable it, It will show up always ). Click on the MainWindow and create a new form.
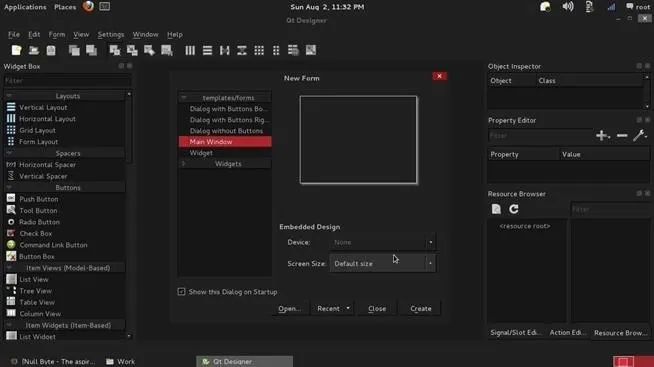
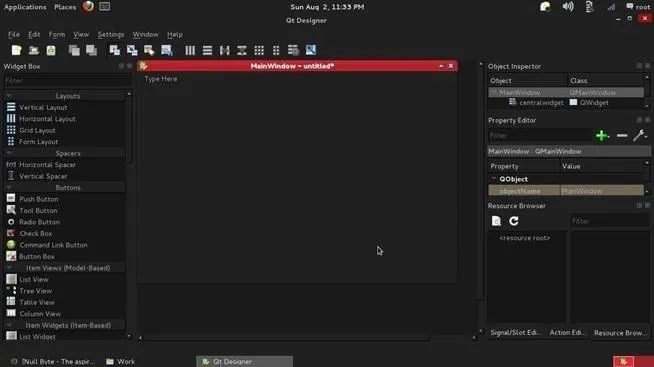
- Main Form
We should now be presented with a blank form.
- Adding Widgets or Objects

- 3 Frames ( frame )
- 2 Labels ( label)
- 2 Textboxes ( lineEdit )
- 2 Buttons ( Send Message and Clear Logs )
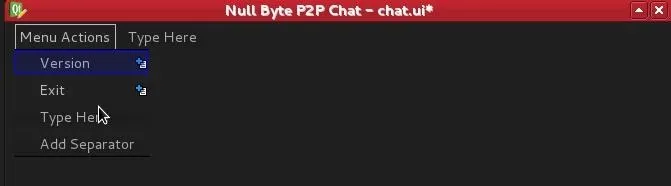
- A Menu Bar with the text: Menu Actions
- Has A Sub item labelled: Version
- Has A Sub item labelled: Exit
- Arranging The Widgets
- MENU BAR: Click on the menu bar, You should see Type Here. Click on it and type Menu Actions and press enter ( Return Key ). Now to add the subitems, Simply click on the Menu Actions, A dropdown list will appear with another Type Here, Write Version and press enter ( Return Key ). Once again, Click on Menu Actions and below the Version subitem, Write Exit in the Type Here field and press enter key.
- FRAME 1: Drag a frame onto the form from the left toolbox, Drag 2 labels, 2 lineEdits ( TextBox ).
Name the first label as IP Address: and the second Nick: .
Align the first textEdit ( TextBox ) to the first label ( "IP Address: ") and the second textEdit ( TextBOox ) to the second label ("IP Address: ").

- FRAME 2: Drag another frame below the first frame. Make the width of the second frame half the width of the MainWindow so that we can add a third frame. Now drag a textEdit ( Rich Text Box ) onto the second frame from the left toolbox. Make space between the end of the textEdit and the bottom of the second frame so that we can put the buttons there. Add two PushButtons ( Button ) to the frame. The first button will be labelled Send Message and the second Clear Logs.

- FRAME 3: Drag a third frame onto the form beside the second frame, remember we made a space for it. Drag a listWidget onto the third frame.

Making a mistake will lead to code displacement or misplacement.
UPDATE: I made a mistake myself, change the objectName of the Send Message button to pushButton_3 and that of the Clear Logs button to pushButton_4. To change the objectName, click on the button, Look at the right side of the Qt Framework, You should see a property box. It has some keys and values. Usually, the objectName is the first.
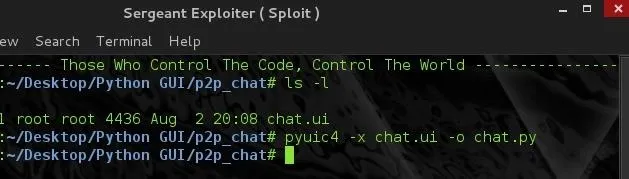
STEP 2: Compiling
Save the project <Ctrl> + <S>. I saved mine as chat.ui. After we compile it into a .py file. Don't close the Designer, we are gonna need it.
- #> pyuic4 -x chat.ui -o chat.py
STEP 3: Inserting Our Code
Open your chat.py and you should know there are gonna be a lot of codes in there so don't freak out yet. We only need to edit some specific parts and be out of here.

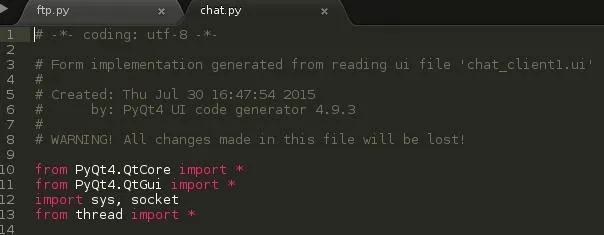
- Modify The Import Statements
Change the import statements to these.
- Creating A BackGround Server Process
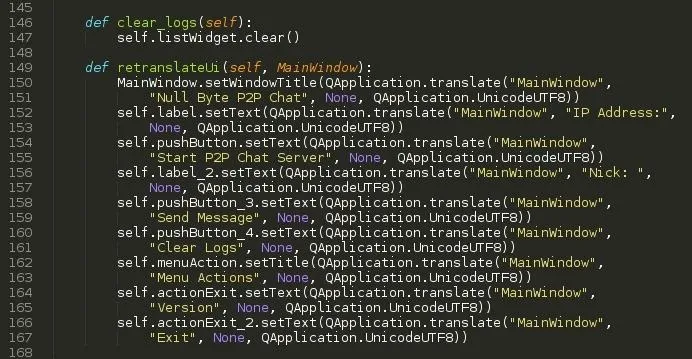
When we look at the codes, we will see or note a function inside the generated codes. retranslateUI, Just search if you can't find it. Now, define the function in the image below under the retranslateUI function. As if it was part of the generated codes.

It calls a function called server_socket and passes the parameter self to it. self simply allows the receiving function to access widgets or objects within the self which in our case is the form. Now,
Ok, Put this code, below the import statements at the top.
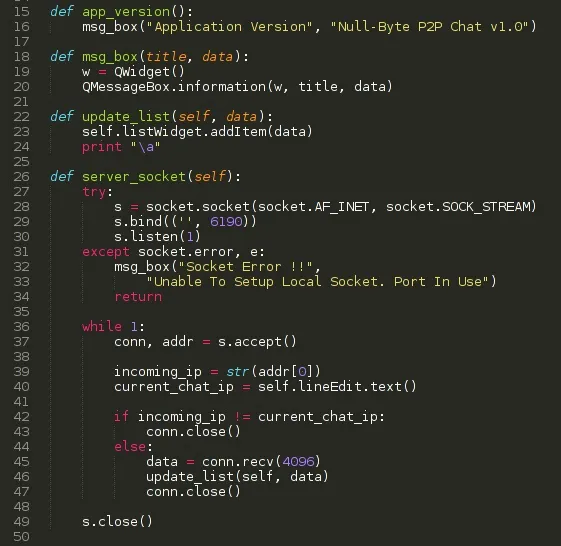
NOTE: Not inside the generated code or under the retranslateUI function, but beneath the import statements at the very top
the server_socket simply sets up the socket, binds, listens and accept incoming messages and connections. If you noticed, I place some sort of authentication in the server accept function. This will prevent others who are not connected to your chat to send you messages. When you receive a message, Your computer will beep. The code is print "\a". Simple and small right.
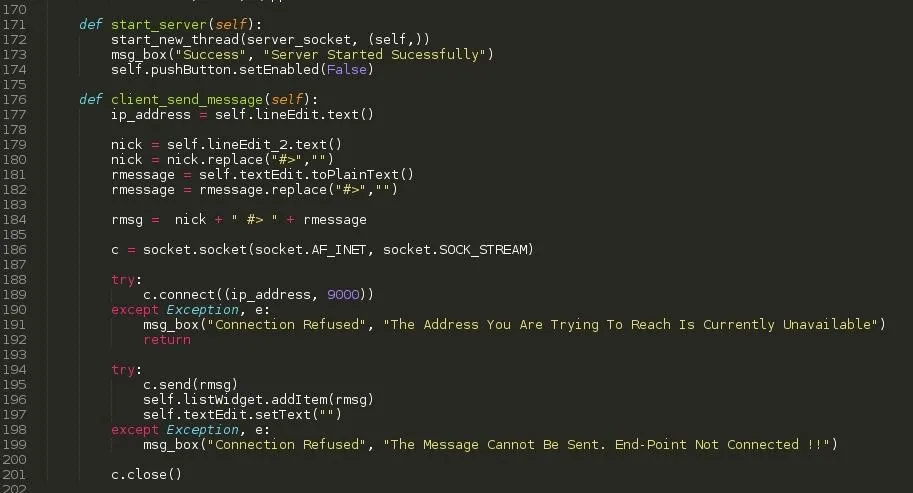
- Making A Client Socket
Define this function client_send_message(self) under the start_server function which is also under the retranslateUI function within the generated function.
NOTE: Please change the client port from 9000 to 6190 ... I was actually experimenting with the app to check if it was working. I am limited in resources right now. A single linux computer.
- Clearing Logs
Write this function clear_logs above or below the retranslateUI function, Anyway you want it.
ERROR: Forgive me, This tutorial is a long one so I am feeling frustrated myself.
- Clear line 154 and line 155 in the image above.
- In the start_server function we defined, clear the last line:
self.pushButton.setEnabled(False)
STEP 3: Calling The Functions
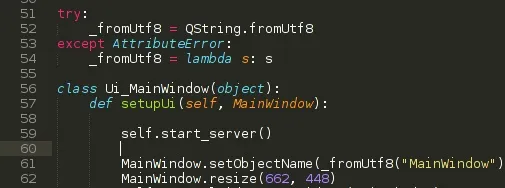
- We call the start_server function on start up of the GUI. We therefore put it on the first line of the generated code, Under setupUI ( Use the search function in your editors to find setupUI(self, ... ). We put self.start_server() on the first line.
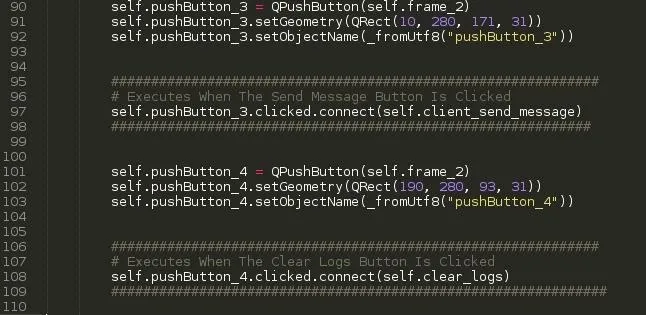
- Look for pushButton_3 and put this code after the last line of the pushButton_3. Do same for pushButton_4.
Write only the codes within the hash tags and also check not to misplace them. I mean write only the codes with the .clicked.connect
- Scroll down and look for actionExit

STEP 4: Executing
Once again, I am running in a limited environment. This application cannot be run twice at the same instance on the same machine.Because the server utilizes the port 6190, another application cannot use the same port. For that, I am gonna create a seperate server to receive the message and another client to send messages.
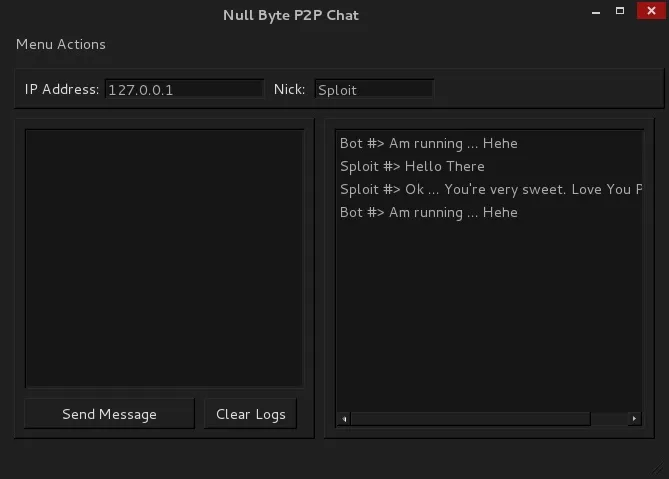
- Our GUI Application
- My Special Server
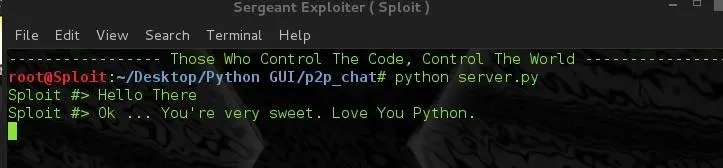
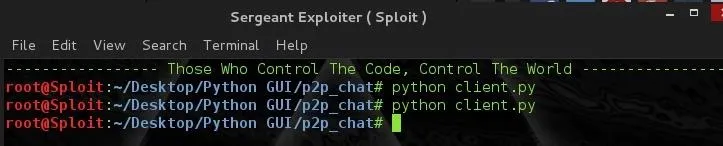
- My Special Client
Step 4: Encryption
Setup your own encryption.
Step 6: Conclusion
You should know the app will run fine if the application is on different machines. Thanks for reading and hope you learnt sometime today. And also: my waist really aches. See you guys later.. Peace
You can copy the code from pastebin. I copied it there for those that had errors since I am sure someone will by all means not get something. If you find an error also, Do post it. Thanks for reading.

# Sergeant


Comments
Be the first, drop a comment!