


Greetings My Fellow Aspiring Hackers,
Its been long since I last posted a tutorial. Its vacation and since I won't be coming home, I've decided to use my day for sharing. I was browsing through old posts and found OTW's article - Hack Like A Pro: How to Find the Exact Location of Any IP Address. Honestly, It was a cool one, EnergyWolf gracefully did us the honor of building an android application. Now, for the desktop GUI, No one wants to do the honor, which is absolutely not fair. Don't worry, I've the whole day in the ICT Lab. No IT Administrators to order me around, Infact, Today seems to be the perfect day. Don't you think ?. Yeah, I know you are pissed off so lemme get to the point. Thanks for reading.
INTRODUCTION TO PYTHON GUI - PYQT
PyQt is a Python binding of the cross-platform GUI toolkit Qt. It is one of Python's options for GUI programming. Popular alternatives are PySide (the Qt binding with official support and a more liberal licence), PyGTK, wxPython, and Tkinter (which is bundled with Python). Like Qt, PyQt is free software. PyQt is implemented as a Python plug-in.
Its python friend in GUI building, Its simple, fun, frustrating and also annoying so unless you promise yourself not to smash your screen when you get an error, close the page and sleep. Am also new to PyQt so I understand the frustrating when an error occurs. Lets see some requirements.
REQUIREMENTS
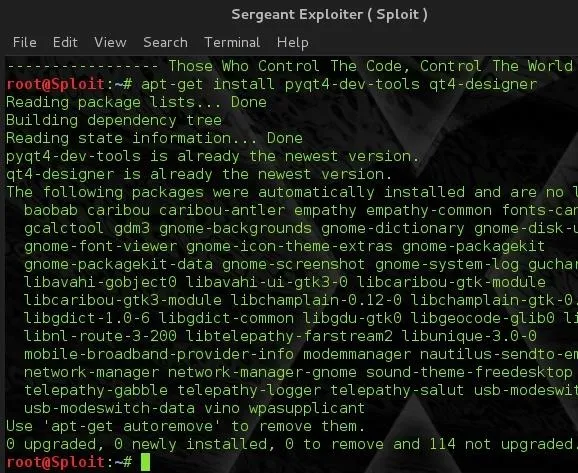
Umm, Windows users are highly exempted, Maybe for now. Sorry, am in a limited environment and I have only linux running so i guess google can be your best friend now for this tutorial if you are using windows. Thanks for bearing with me. You are soo kind. For linux:
- PyQT ( Installed By Default )
- Qt Designer
- Pyuic4
Run the following command:
- apt-get install pyqt4-dev-tools qt4-designer
That should get us started.
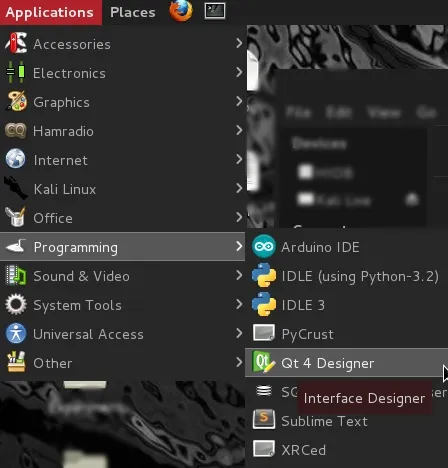
Step 01: User Interface ( UI ) Of Qt Designer
The Qt designer only helps with the GUI Building in our case and doesn't do the coding so we will have to convert the gui file .ui to a python file .py after building the GUI. Lets begin by opening Qt Designer.
When the UI opens, we then create a main window which should then
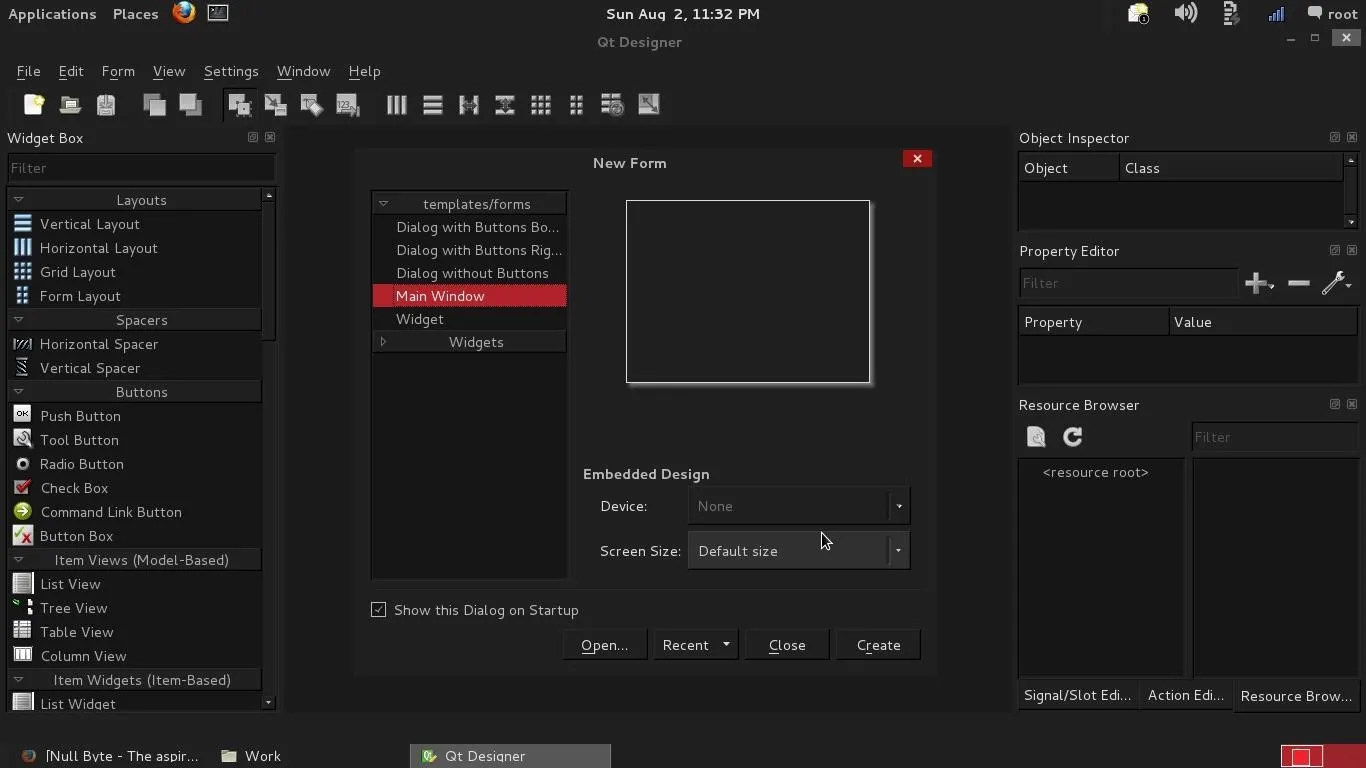
give us a blank form or dialog.
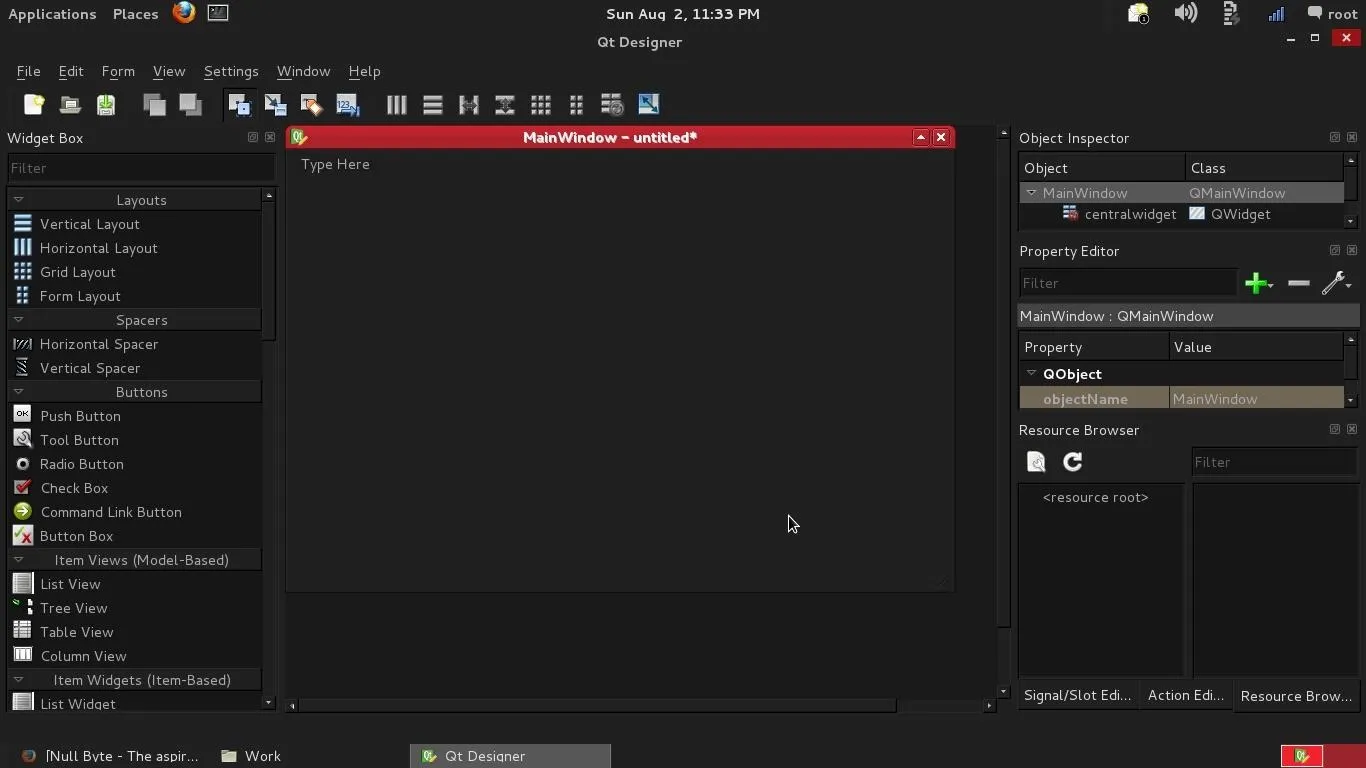
We are officially done with creating the UI, Now lets design or simply put some stuff to make it attractive to the eye.
Step 02: Designing The User Interface
Ok, for this part. We carefully design the interface because a mistake could lead to code displacement. Thank-you.
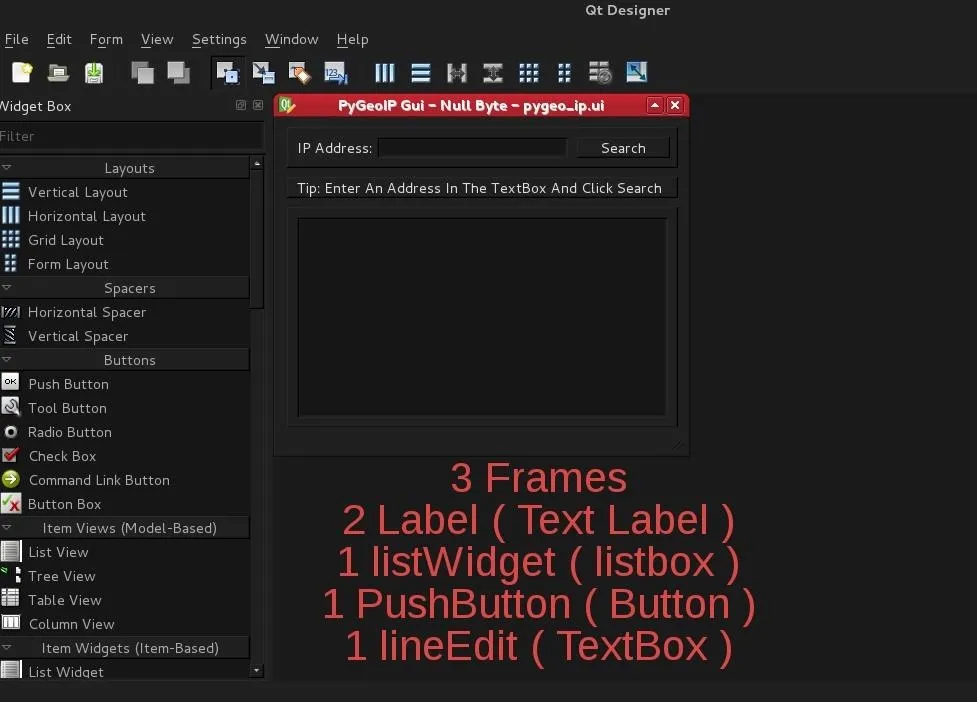
- Frame 1
We drag a frame widget from the left toolbox onto the form. Add the following into the frame.
- 1 label with the description: IP Address:
- 1 PushButton ( A button is called a PushButton in Qt )
- 1 lineEdit ( A textbox is called a lineEdit in Qt )
- Frame 2
We drag another frame onto the form, let it be under or beneath the first frame. Add the following to the second frame
- 1 label with the description: Tip: Enter An IP Address In The TextBox And Click Search
- Frame 3
We finally add the last frame beneath the second frame. We then add the following
- 1 listWidget ( A listbox is called a listWidget in Qt )
NOTE: There is listView and listWidget in the toolbox. Choose the listWidget
A CLOSE VIEW AT THE FINISHED WINDOW
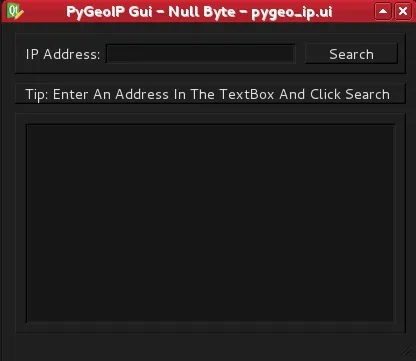
We are done designing the UI, Now click <Ctrl> + S ( Control Save ) to save the project. I saved mine as pygeo_ip.ui. That wasn't hard.
Before we move on to the code, We need to make some changes to the objectNames of the items dragged onto the form. Do the following:
- Click ( Not double Click, Just A Click ) the ip address label you created, Look at the right side of the Qt designer, you will see a property box with the properties of the object selected which in this case is the ip address label. Look for objectName and change the value from label to ip_label
- Click the textbox, change the objectName to ip_textbox
- Click the button search and change the objectName to search_btn
- Click the Tip: Enter An IP ... label and change the objectName to info_bar
- Click the listWidget ( listbox ) and change the objectName to search_list
- Finally, Click on the main form or main window and change the objectName to PyGeoIP_Window
Step 03: Compiling
Now we have our <filename>.ui, We need to convert it to a python file .py as I stated earlier. Pyuic4 to the rescue. Lets see its help menu.*
- Sploit #> pyuic4 --help
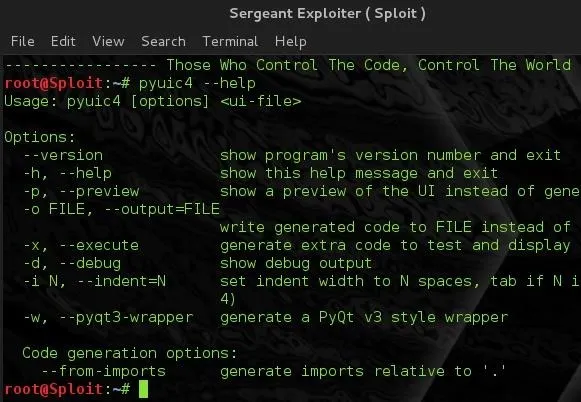
- Sploit #> pyuic4 -x <filename>.ui -o <filename>.py

Step 04: The Code
Now lets open our newly created file in our text editors. I am using sublime and its really cool. If you want it, Download it from google, I am waiting for you.
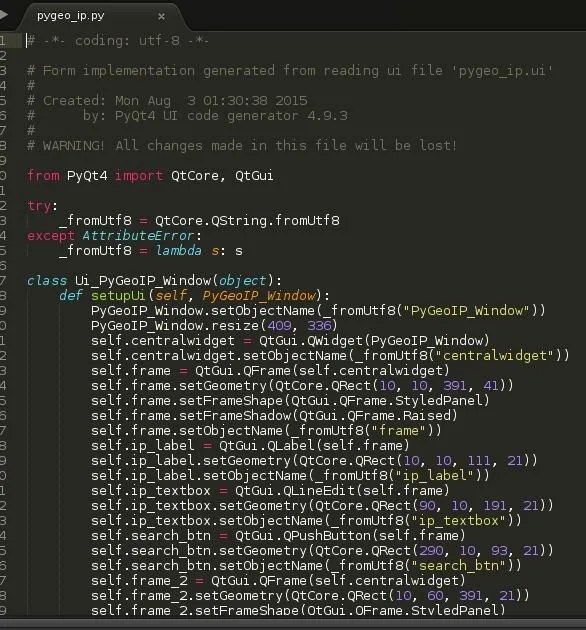
When we open the .py file, we can clearly see a lot of codes have been generated, Don't panic , we only need to know the position of the search button ( search_btn ).
There it is, line 34 to line 36. self.search_btn.set = QtGui.Qt ... We then place a code between line 36 and 37. We put this line between them.
- self.search_btn.clicked.connect(self.search)

What this simply does is: When the search_btn is clicked, connect to the function search().
When a self. is appended to something, It simply means that object or function can be found in the same class as the self, When there is no self, the function or object can be found outside the class.
Now lets write the search() function under def retranslateUi(self, PyGeoIP_Window):. It can be located on line 69, After the retranslateUI function(), write this code:

Remember, The search() function should be placed after the retranslateUI function.
Step 05: Last Two Functions
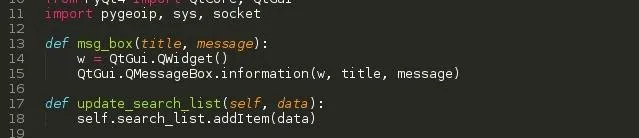
First, Add import pygeoip, sys, socket after from PyQt4 import QtCore, QtGui on line 10. Then add the msg_box function and update_search_list(self, data)
Step 06: Bringing It All Together
Save it. Lets now move our python file into the PyGeoIP Folder that was created in OTW's tutorial where we executed python geoip file in step 4.
My path is: /Desktop/Experiment/IP_Location/pygeoip-0.1.3. Now, open a shell in the same directory and execute: python <filename>.py where <filename> is the filename we converted our .ui file to.

Step 07: Execution
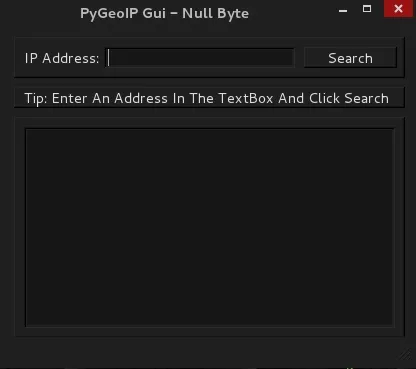
- The User Interface
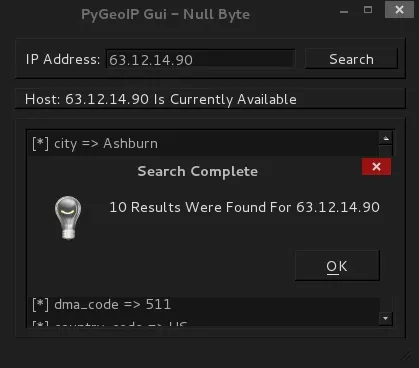
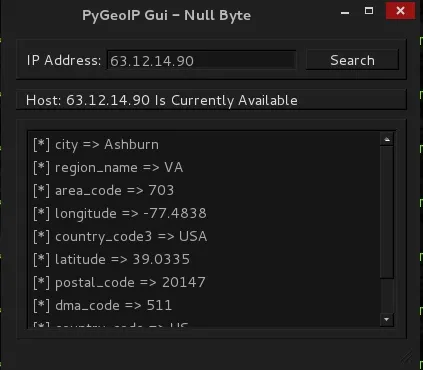
- Lets Enter Some Input: 63.12.14.90
- Executing Using Console
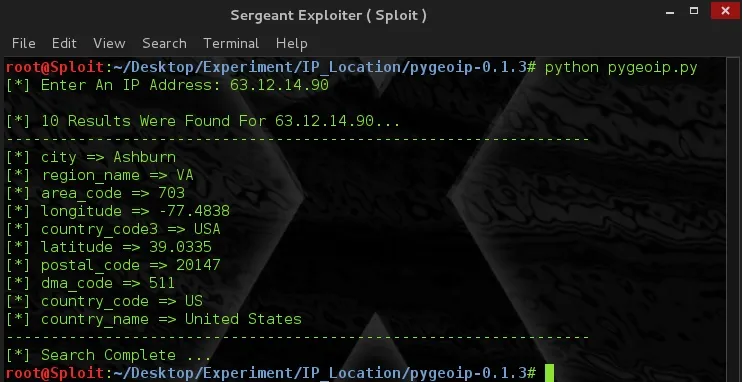
We didn't miss anything.
Step 08: Conclusion
Hope someday had fun. Thanks for reading and its late. I've got to sleep now. Bye bye. See you in the morning.

# Sergeant


Comments
Be the first, drop a comment!