


While the USB Rubber Ducky is well known by hackers as a tool for quick in-person keystroke injection attacks, one of the original uses for it was automation. In this guide, I'll be going the latter, explaining how we can use it to automate Wi-Fi handshake harvesting on the Raspberry Pi without using a screen or any other input.
I'll explain how to write in Ducky Script, prepare a binary file, inject it, and see the results. Our goal will be to make a payload that starts the besside-ng process to gather wireless handshakes in a screen session, which will allow us to connect to it later via laptop or phone.
The Duck for Offense & Defense
The USB Rubber Ducky can be plugged into nearly any computer to control it as a human interface device (HID) keyboard. This is useful for crafting payloads that remotely execute commands on a subject's computer, allowing you to automate complex tasks into a single payload.
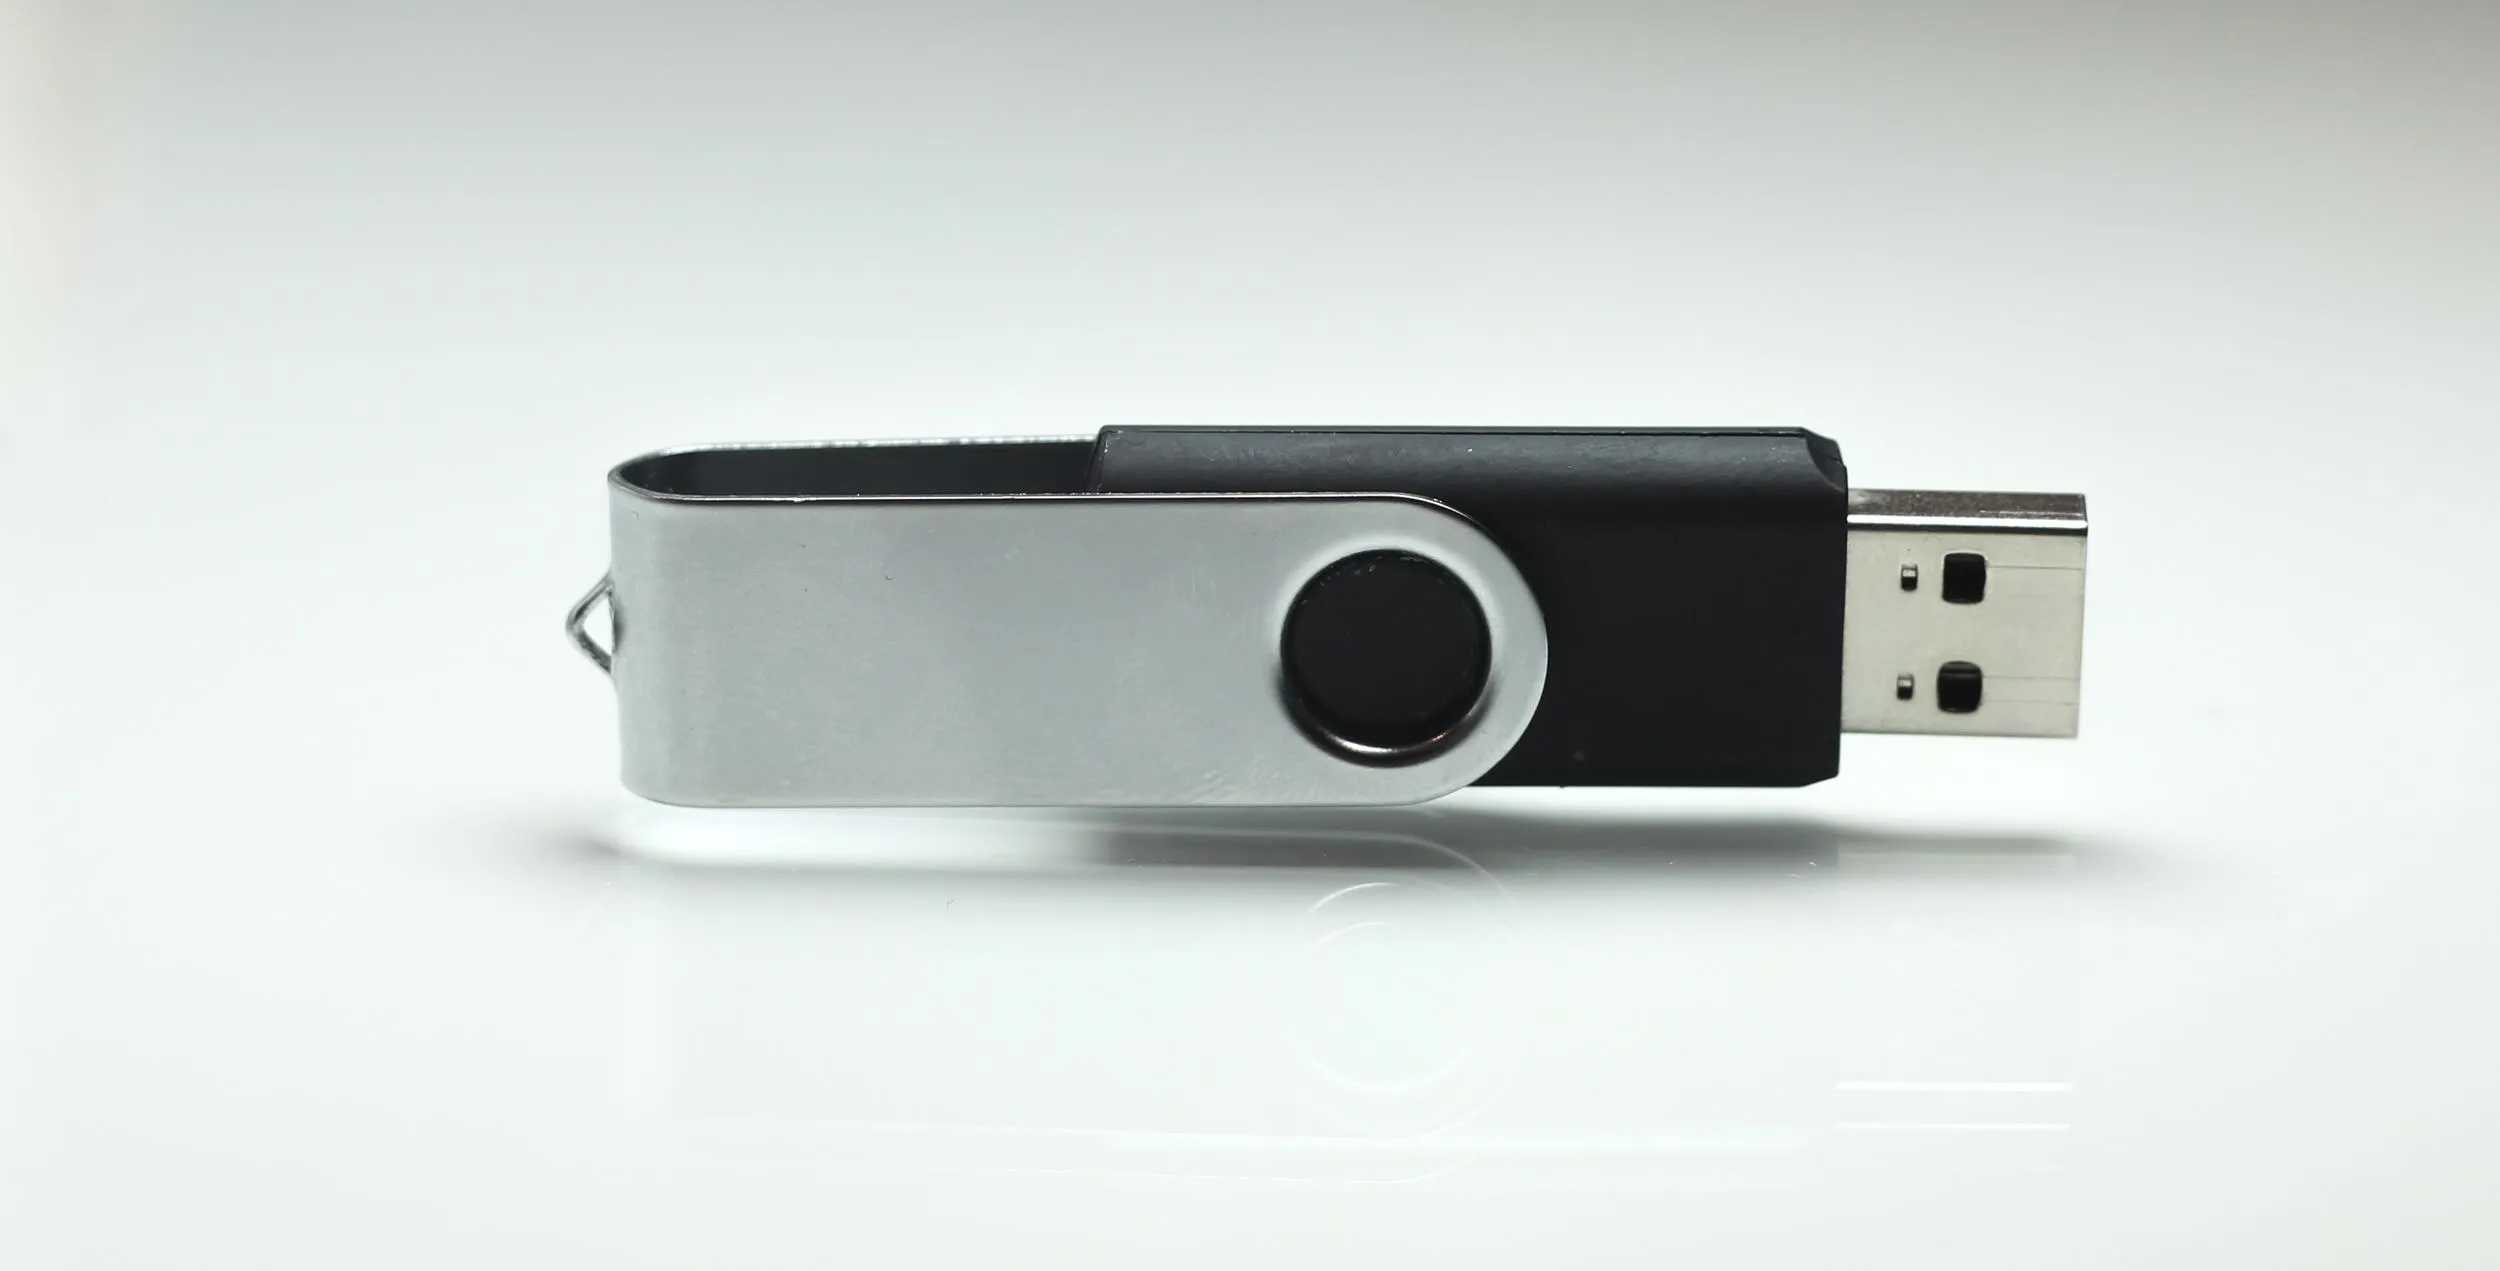
It may look like a USB stick, but it's not.
You can turn your thirty seconds of access to a target's computer into a persistent backdoor, a ransomware attack, or a custom payload such as scheduling threatening emails to Dick Cheney to be sent from the target's email address each midnight.
But the USB Rubber Ducky isn't a completely offensive tool; The same ability to rapidly replay commands can come in use as a method of automating certain pen-testing stages on our Raspberry Pi running Kali Linux.
Let the Duck Do the Work
Automation on the USB Rubber Ducky, of course, depends on the target you're intending to drop the payload on. In this case, we will be using the Ducky to automate processes on our own device, so we'll be targeting Kali Linux running on the Raspberry Pi. Though we'll be using the Ducky for quickly setting up a process rather than attacking, the process for writing the script, encoding it, and loading the payload will be the same as though we were launching an attack.
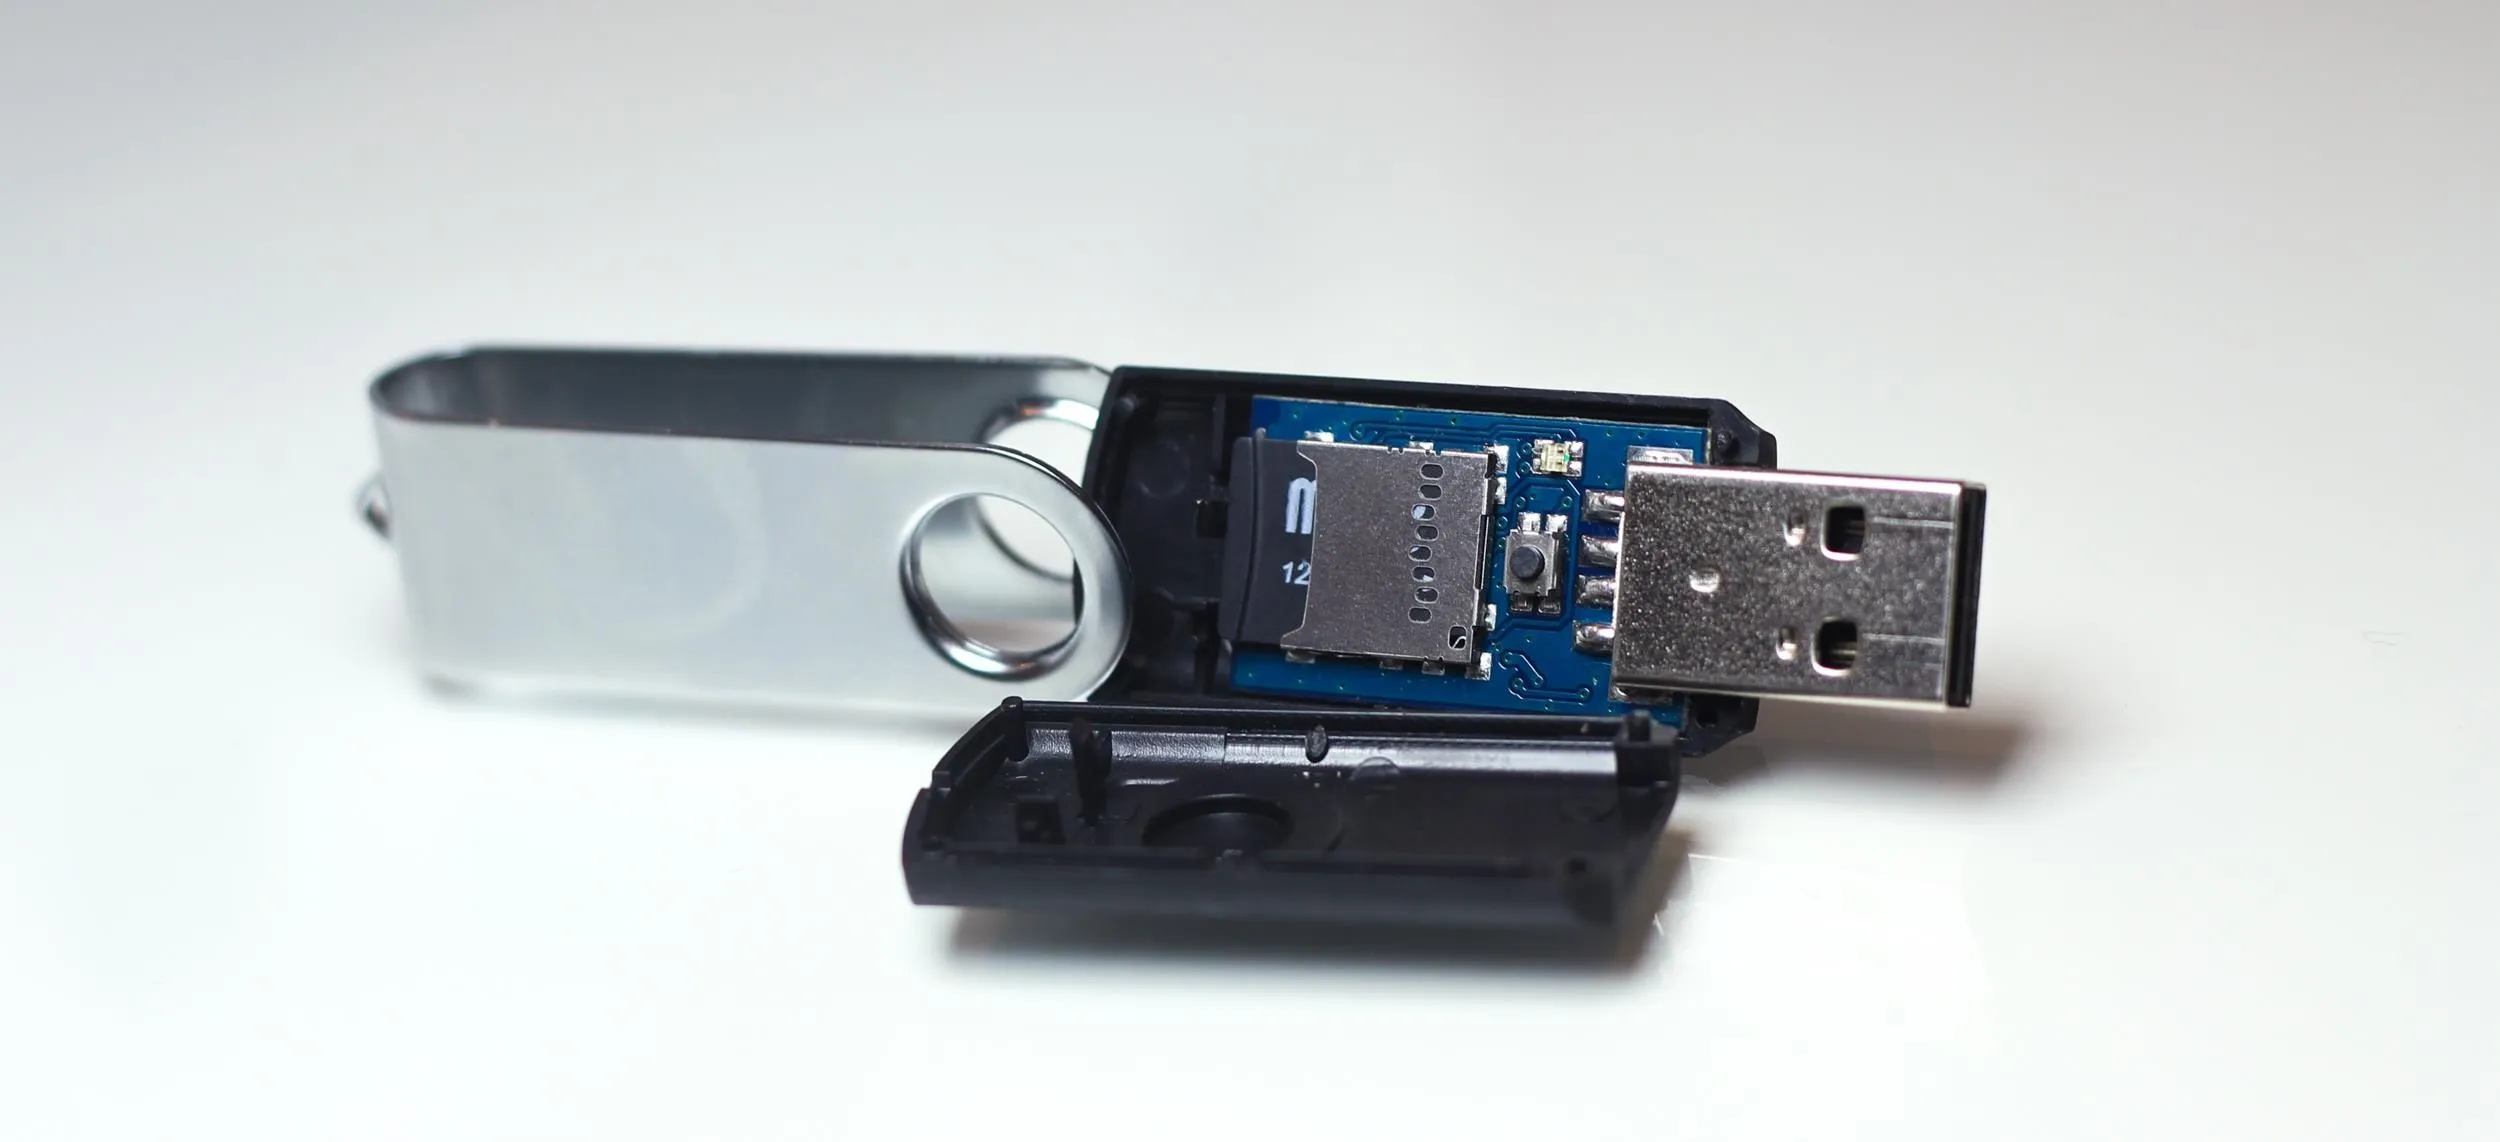
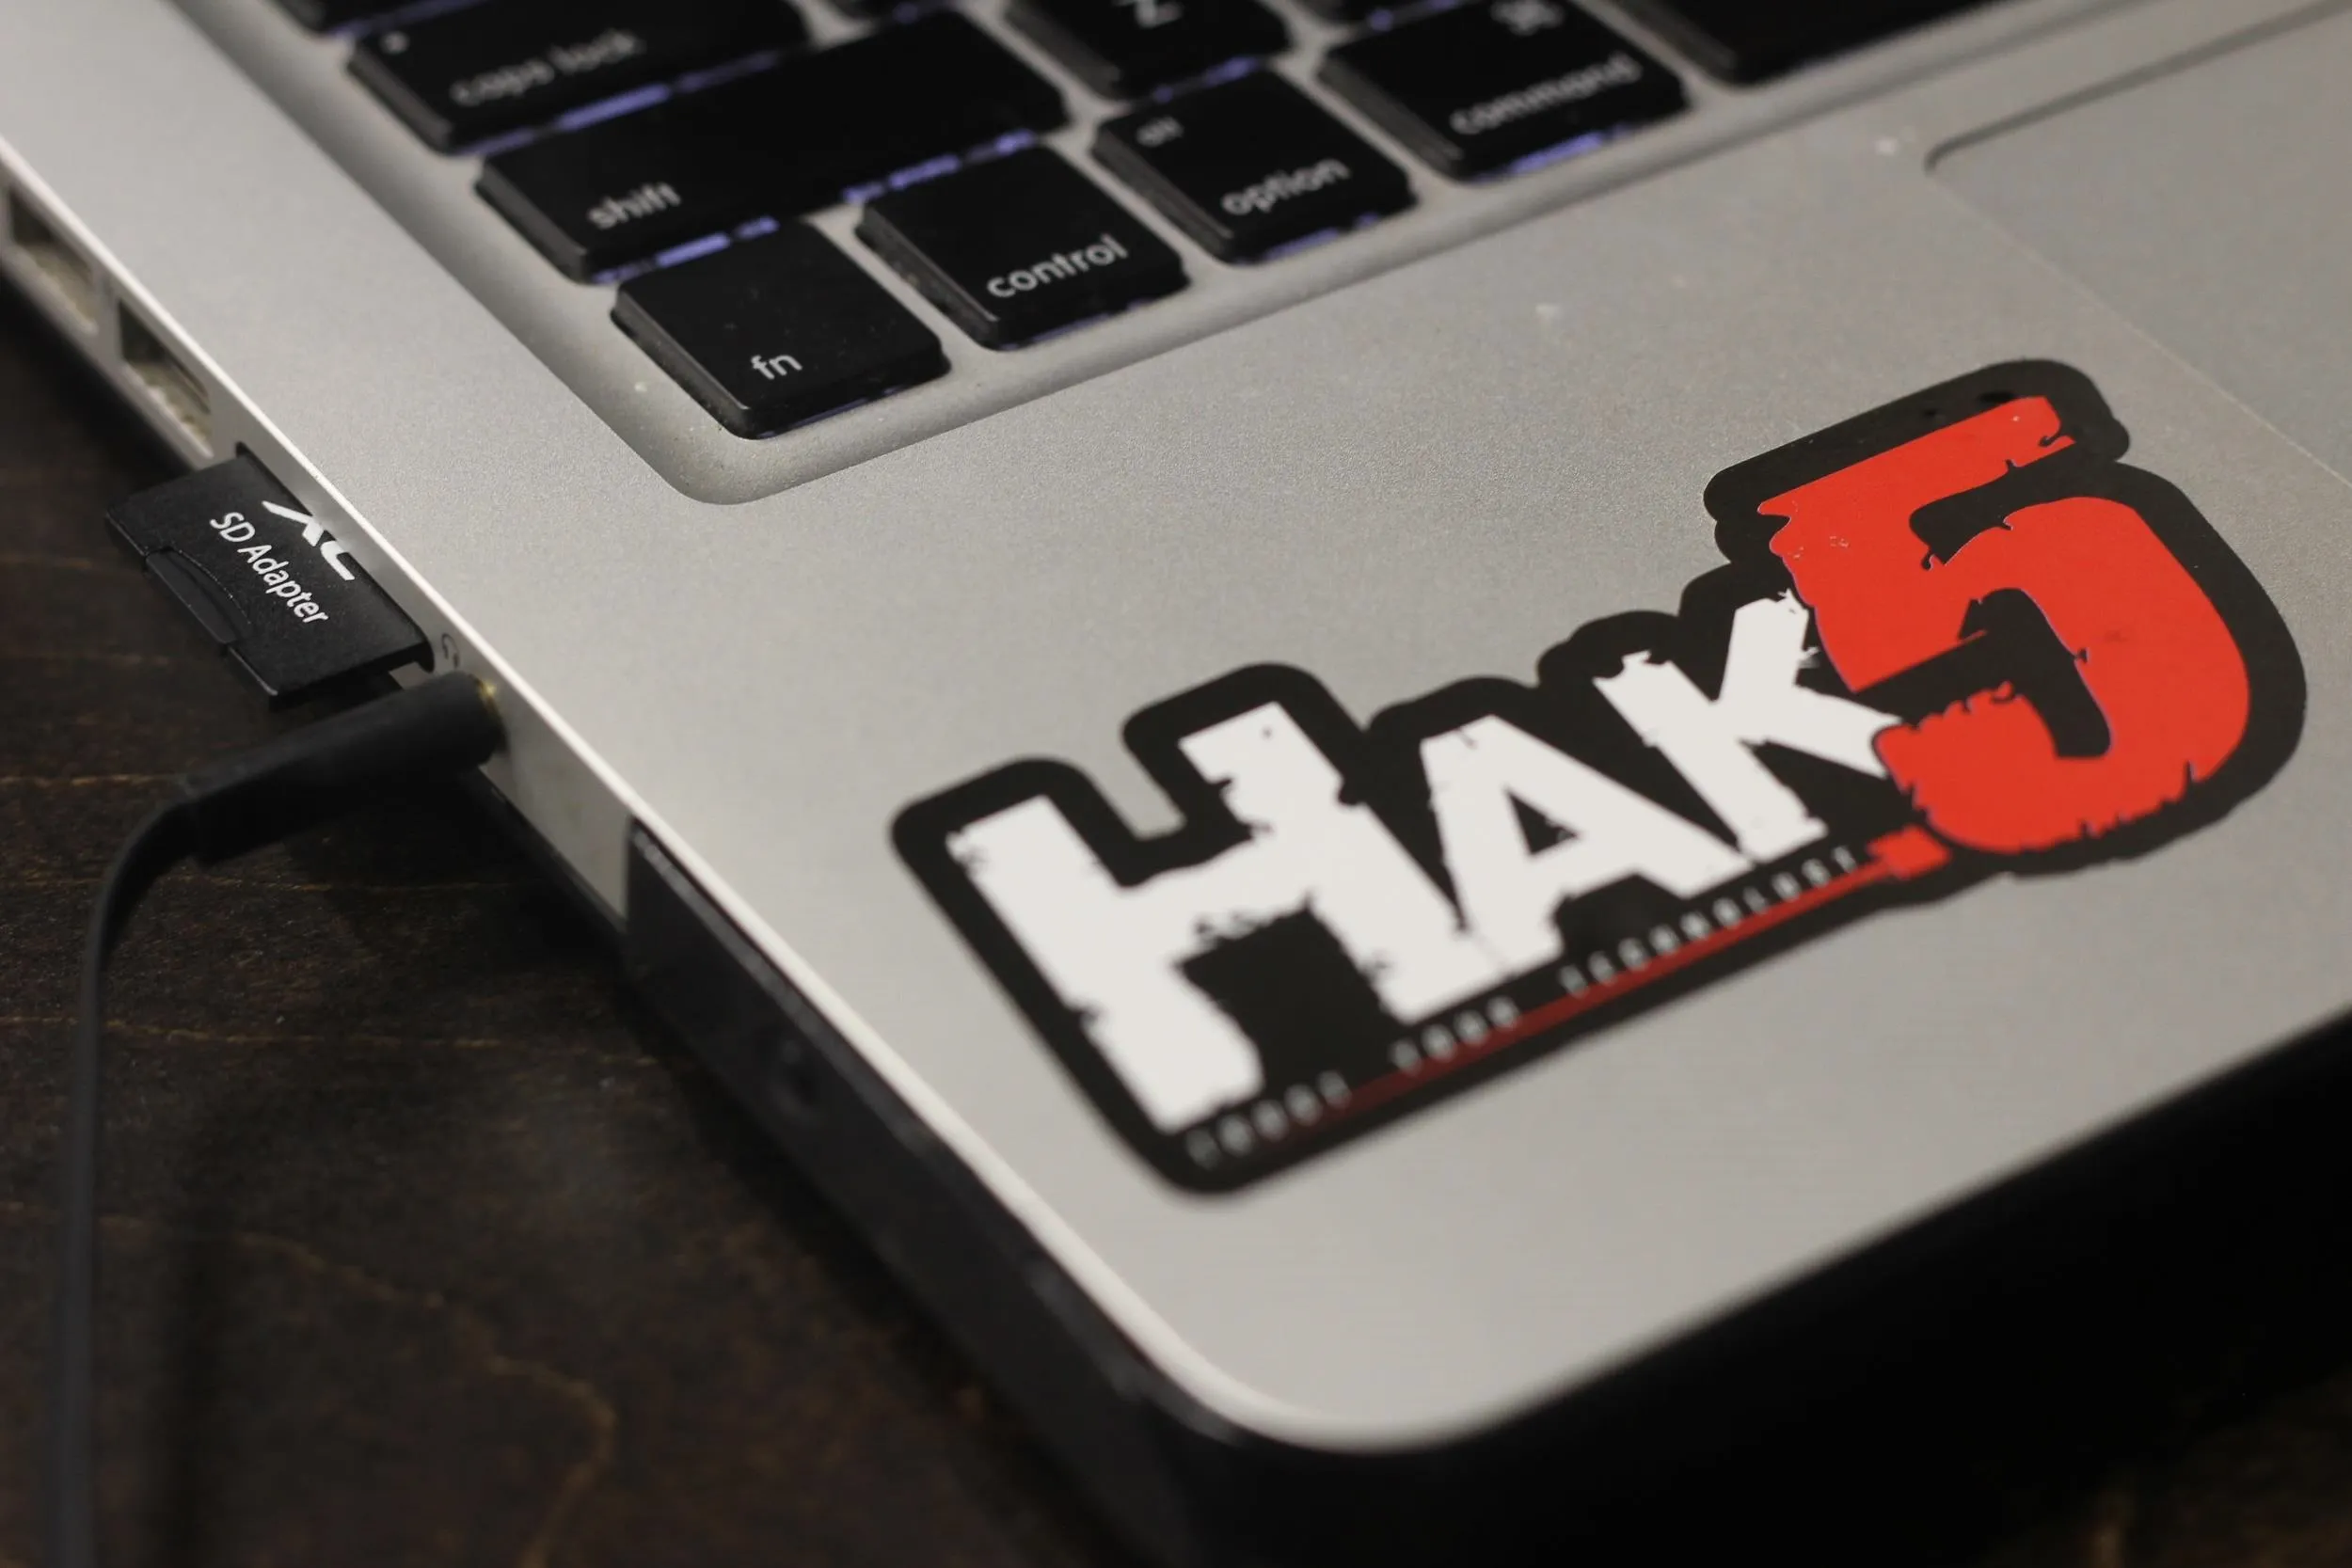
The USB Rubber Ducky's microSD card holder.
When working on our own machine, we have the advantage of iterating and tweaking small aspects of our own machine to work more easily with the Ducky. This can include adding hotkeys to trigger desired actions more easily. For this example, I haven't modified my Kali Linux, so my script should work on any updated Kali distro running on a Raspberry Pi.
Debian Duck: Writing Ducky Script for the Kali Linux Platform
When automating tasks with a Ducky, access to a terminal window is essential. Some operating systems have a hotkey to open a command prompt or terminal window; Kali doesn't, so we'll have to do a bit of a workaround. Once we have a terminal window open, the process becomes a lot easier as we can drop commands directly into a bash shell.
The Raspberry Pi platform is also not as powerful as many desktop or laptop computers, meaning timing can be critical. If the Pi runs too slowly to execute a command properly, it will mangle and derail all the other commands in the sequence. Because of this, care must be taken to ensure there is an appropriate amount of "delay" time to ensure the target device can keep up with all the input we're dropping.
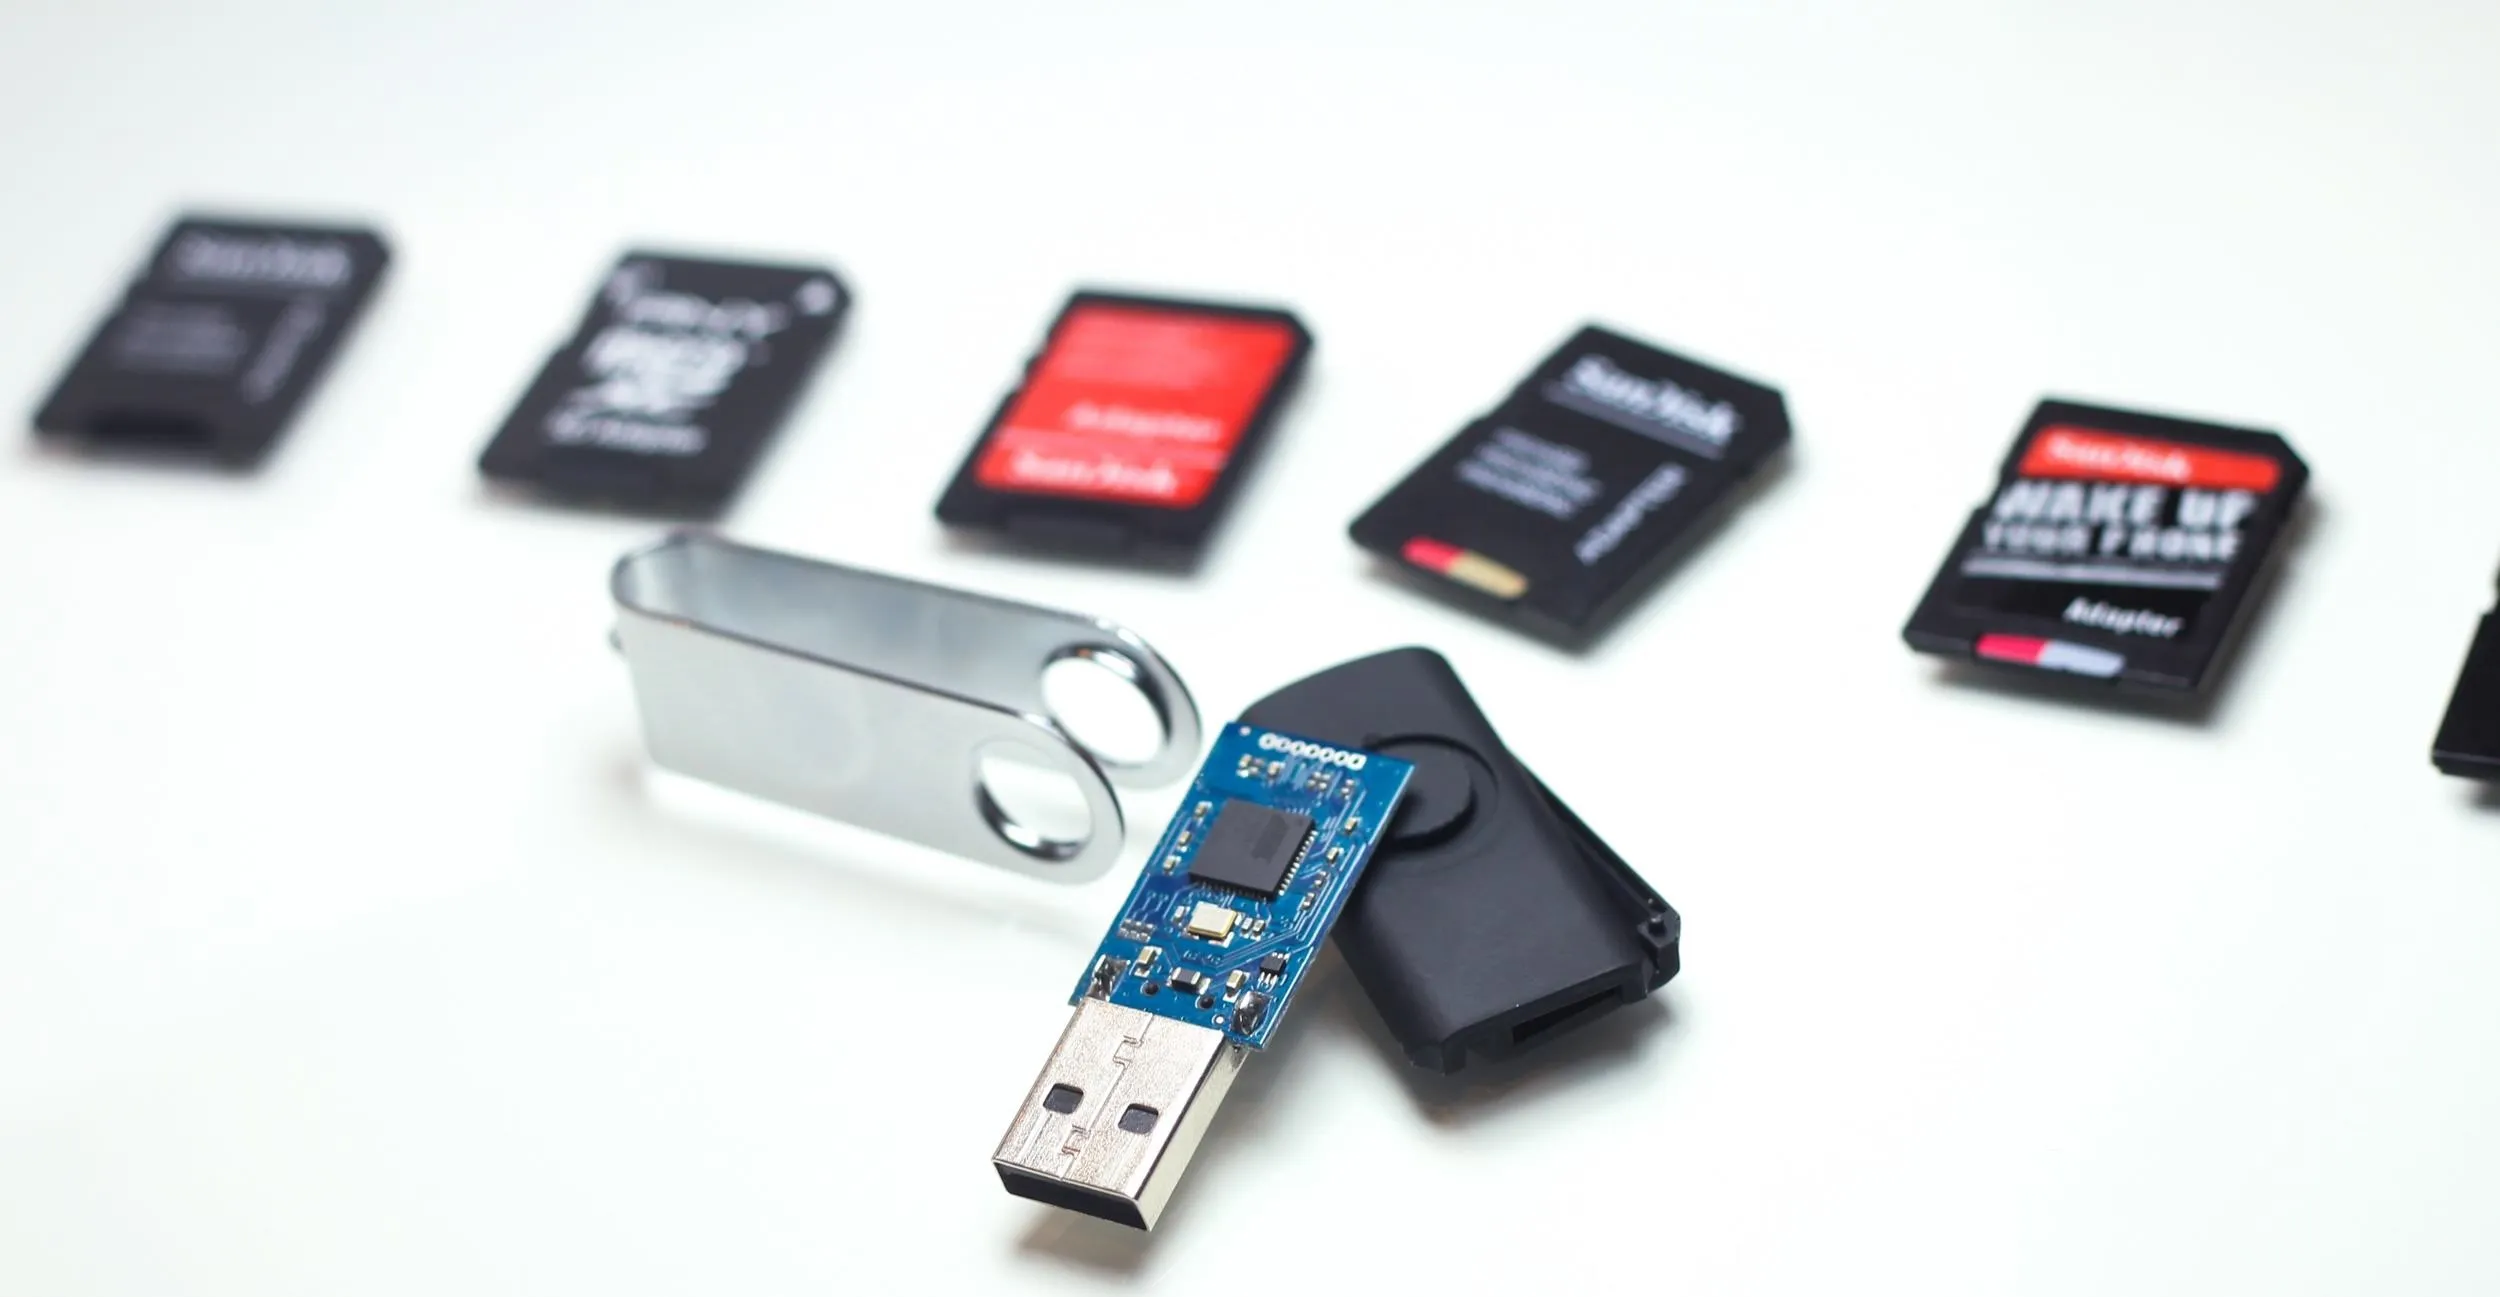
The USB Rubber Ducky is easy to configure and swap payloads on.
To open a terminal window via the USB Rubber Ducky on a Raspberry Pi running Kali, the following string has proven effective as a beginning sequence to base other automation scripts from.
DELAY 5000
ALT F2
DELAY 3000
STRING xfce4-terminal
DELAY 100
ENTER
DELAY 5000
This string allows a delay of 5 seconds for the Pi to recognize the device, uses Alt F2 to search for applications, and enters xfce4-terminal to select and open a terminal window. Because the window can be delayed in opening, I delayed the next part of the script by 5 seconds to ensure each command is sent properly.
Automating Wi-Fi Handshake Capture with Nothing but Ducks
The most fundamental "active" Wi-Fi reconnaissance involves scanning an area for in-use wireless networks and capturing long lists of WPA handshakes with besside-ng. This tool allows for mass auditing of local networks to discover ones with weak passwords within a matter of minutes, dramatically speeding up the acquisition of a data connection in an unfriendly environment.
This tool can be configured to attack all networks, only some, or a subset of detected networks based on characteristics such as encryption, channel, signal strength, and BSSID. In order to launch this attack, several prerequisite steps need to be performed to prepare the attack wireless card and enable the session to be resumed and controlled from a laptop or phone later.
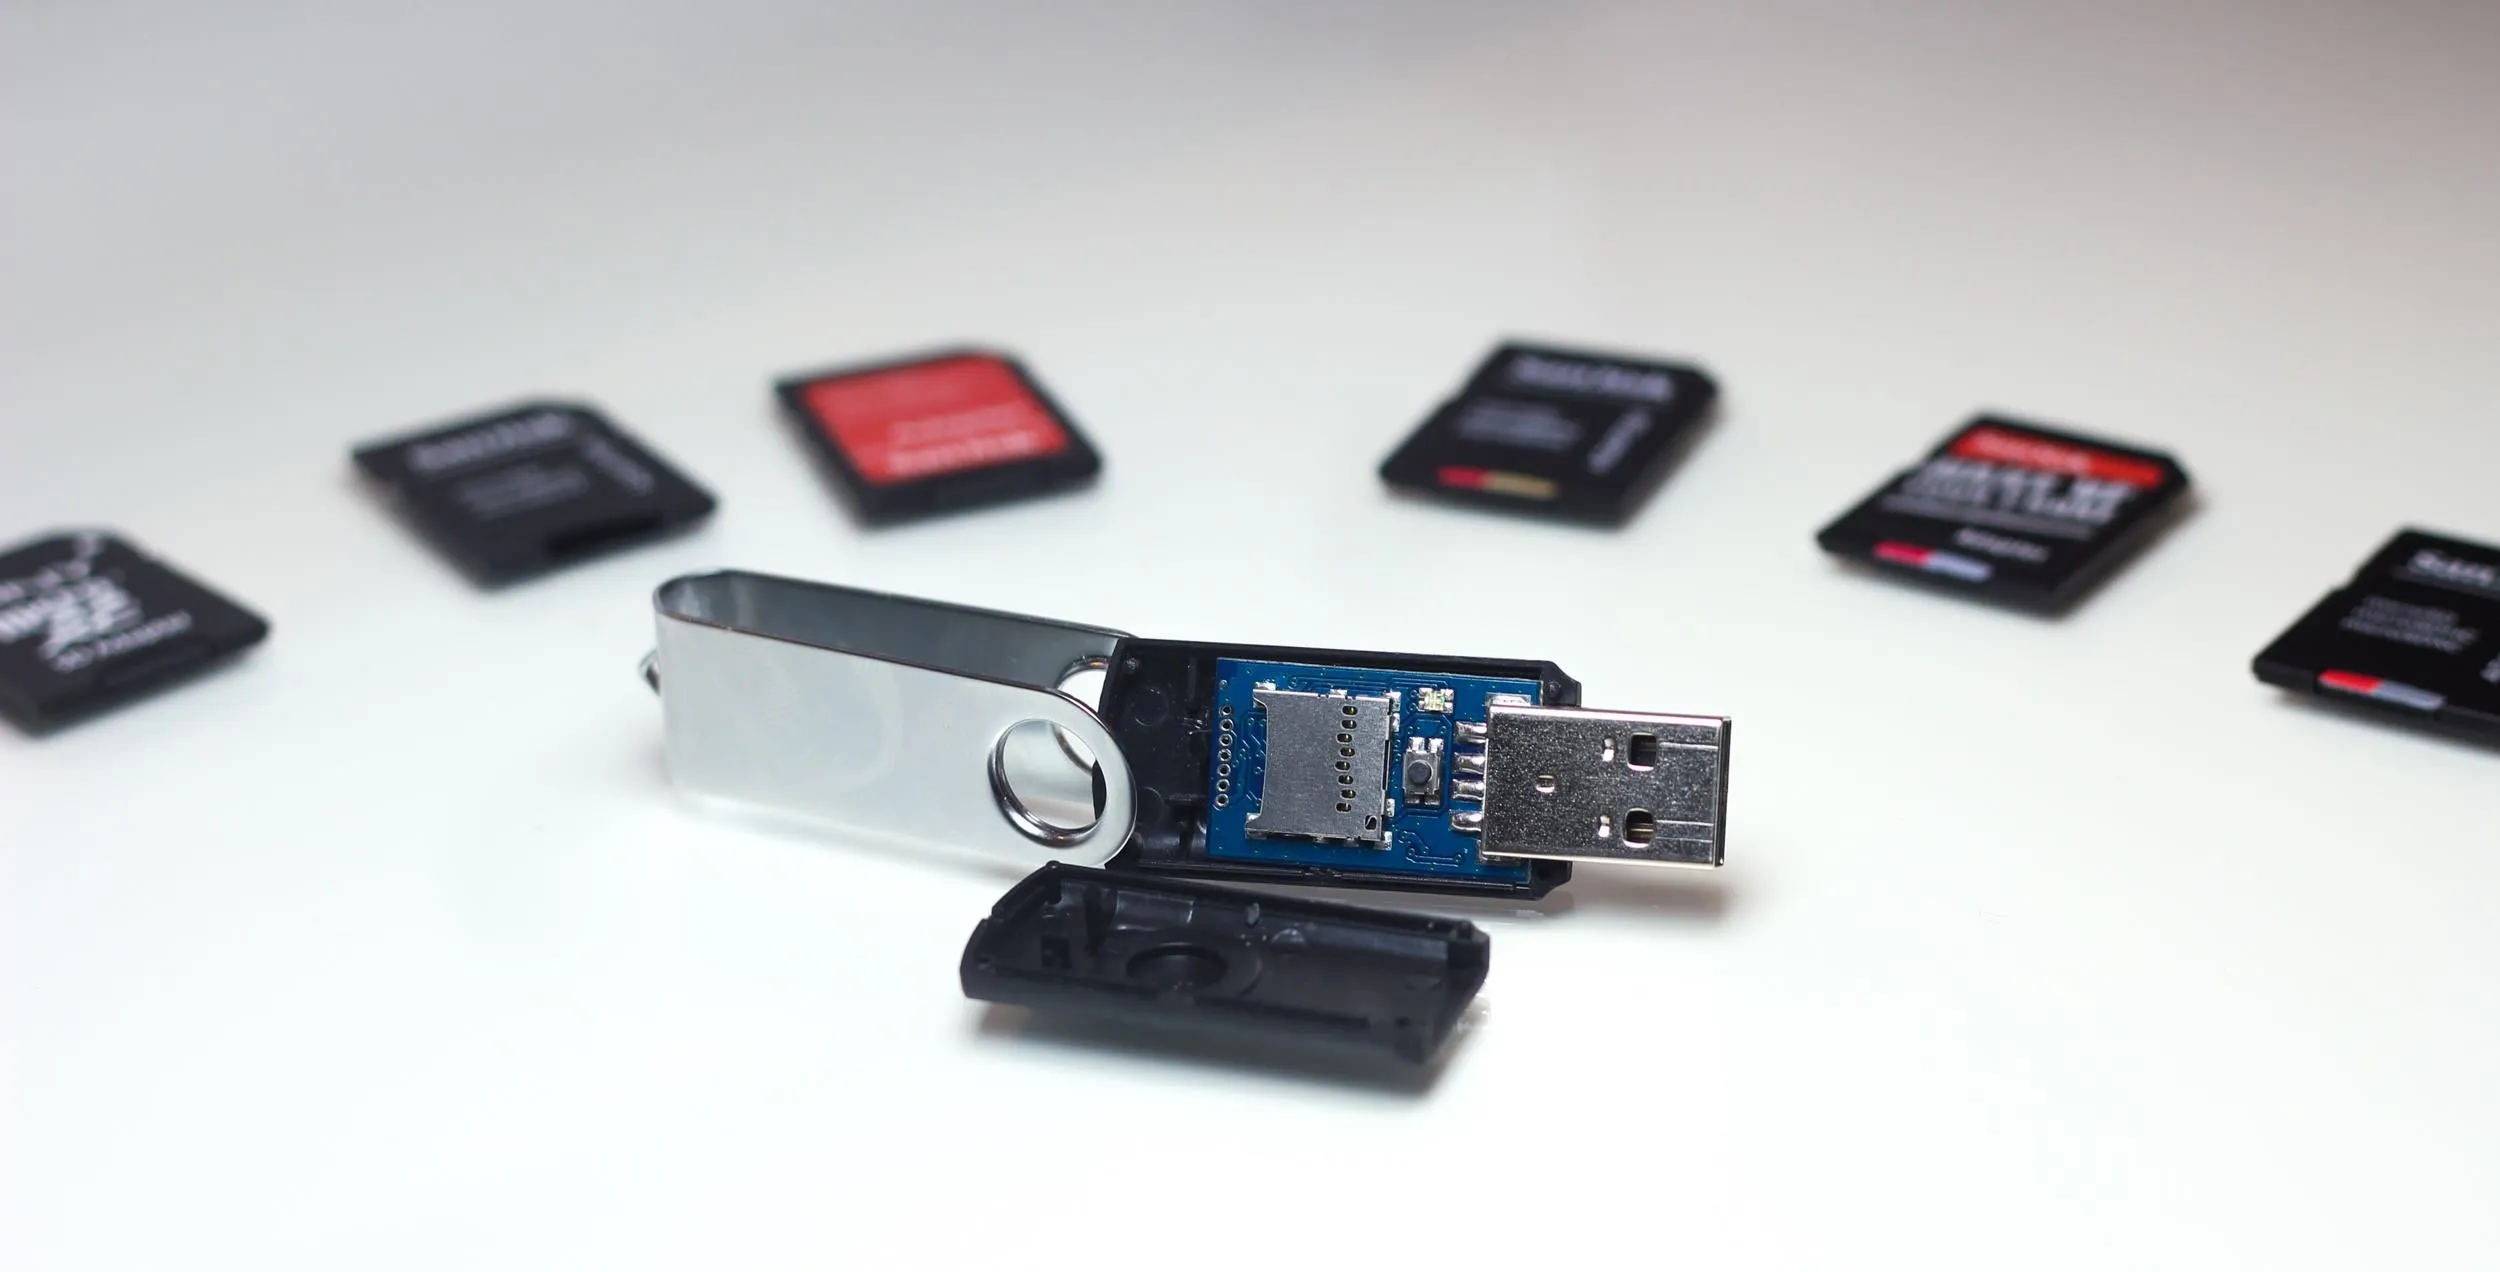
USB Rubber Ducky ready to load.
In this example, we will prepare these steps by launching a screen session, putting our attack card into monitor mode, and beginning the attack on nearby networks.
Setting a Headless Kali Pi to Attack Wi-Fi Handshakes
To get around the shortcoming of the Raspberry Pi's lack of screen, keeping a payload to launch an attack without other intervention can save you time and allow you to respond to opportunities that don't allow for lengthy setup and configuration. In seconds, you can launch a screen session and begin a besside-ng attack without any human interaction other than inserting the Ducky into the USB port. To do this, you'll need a few things:
- Raspberry Pi 2, 3, or Zero W running Kali Linux
- USB Rubber Ducky
- microSD card adapter or USB card reader
- Ducky Encoder and other official USB Rubber Ducky files
- SADMIN's USB Rubber Ducky Payload Repo
- an "attack antenna" capable of packet injection and monitor mode
Download the Required Repos to Encode the Duck
To encode payloads for the USB Rubber Ducky, we need to download the Ducky Encoder and other files for encoding and decoding Ducky binaries. You'll also need the Screen utility, which allows us to disconnect and reconnect later from SSH sessions. This will let us start an attack on a headless Pi, and reconnect to the screen later after logging in via SSH.
You can get these as well as my Kali Pi payload by opening a terminal window and cloning the repos with:
apt-get install screen
git clone github.com/hak5darren/USB-Rubber-Ducky.git
cd USB-Rubber-Ducky
git clone github.com/sadmin2001/duckloads.git
This will create the folder with the encoding and decoding tools and add my binary payload and TXT script file to a folder called "Duckloads." Each script you create will have a TXT component and a BIN injectable binary component. If you forget to save your TXT file, you may find yourself rewriting a script using the binary decoder as a reference, so remember to save them!
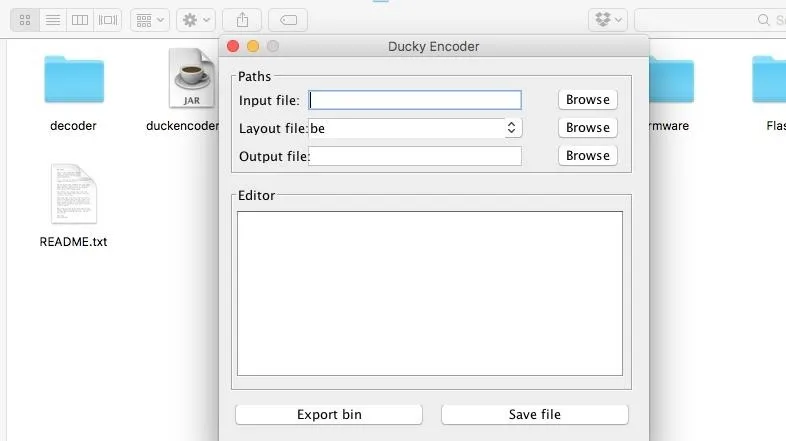
Open the GUI Encoder & Encode a Fresh Bin
To encode our payload, we will open the DuckyEncoderGUI.jar file in the USB-Rubber-Ducky folder,
which opens a nice friendly GUI menu to encode the Ducky.
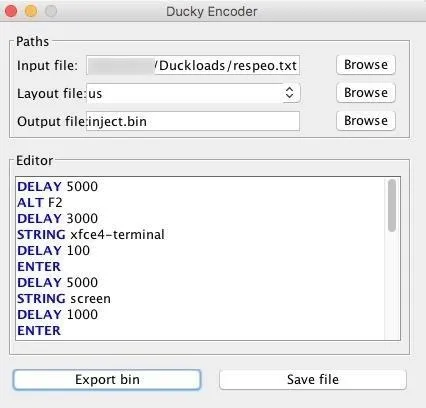
- Input file: Select my script at duckloads/respeo.txt to create a new BIN file. Browse for and select respeo.txt as the input file, and you'll be able to see the Ducky Script text appear in the GUI window.
- Layout file: Be sure to encode the keyboard properly for your Pi's layout, as the default layout is "be" which leads to gibberish being typed.
- Output file: Should be set to inject.bin and should save to the same folder, unless you want to specify another in the output file menu.
Now, click "Export bin" to create a binary file for the Ducky to inject.
Load & Test the Script
While in a lab environment, it's important to adjust your script's timing for the target device's speed or any other quirks that might come up. Working with a Pi Zero and a Pi 3, I wrote plenty of delay into my script to allow a Pi that had just booted up to execute all the provided input even if running slowly.
Load the microSD card into an adapter or card reader and attach it to your computer, delete any binary files on the card, and drag the new inject.bin to the card. Eject when it's done transferring.
Loading up some payloads.
Load the microSD card into the Ducky. Boot your Pi, plug into an HDMI screen for feedback, and give the script a test drive. If you notice it hanging or crashing, examine the command that failed and adjust the TXT file to correct the problem. Often, the timing will be too fast for the Pi to catch an "enter" or open a new window, which can lead to the commands being garbled. I've worked to correct this by providing some padding in the timing, but you can adjust it to what works for you.
The complete Ducky Script text of my Kali Automation script is as follows:
DELAY 5000
ALT F2
DELAY 3000
STRING xfce4-terminal
DELAY 100
ENTER
DELAY 5000
STRING screen
DELAY 1000
ENTER
DELAY 1000
ENTER
DELAY 5000
STRING airmon-ng start wlan1
DELAY 800
ENTER
DELAY 800
ENTER
DELAY 15000
STRING besside-ng wlan1mon
DELAY 800
ENTER
DELAY 800
ENTER
DELAY 5000
CTRL a
STRING d
DELAY 50
ENTER
Timing can be adjusted for the device, but the steps should remain in the same order. The aim of the script is to launch an attack that can be resumed and controlled from another device, so it's critical that we create a screen session before executing our commands.
Running Through the Attack Checklist
In order for the automation to succeed, we should have a few things happen when we plug in the USB Rubber Ducky to the Kali Pi.
First, we should observe the Ducky connecting and being recognized by the Pi as a keyboard, followed by launching an app search for "xfce4-terminal." With the xfce4-terminal selected, The Pi should open the terminal window and immediately start a screened session. From this session, the Pi throws wlan1 (our attack antenna) into monitor mode via airmon-ng, which readies the attack antenna for our besside-ng attack.
After allowing 15 seconds for the process to complete, the Pi will start besside-ng using our newly renamed "wlan1mon" attack interface and begin the attack on all nearby networks. The final command is to disconnect the screen session so that it can be resumed from a phone or laptop via SSH.
SSH into the Pi & Reconnect the Attack Session
Once the script does its thing, you should have a Wi-Fi handshake attack script running in the background. To reconnect, you'll need to connect to the Pi via SSH and resume the screen session. SSH into the Pi and reconnect the session by typing the following in terminal.
ssh root@(Pi's IP address)
(enter your password)
screen -r
This should search for any disconnected screen sessions and automatically resume one if found. If your script was successful, you should see besside-ng in this session busily attacking nearby networks and compiling a list of handshakes to audit. You can let this session run in the background by disconnecting it, which you can do at any time by typing CTRL-A and then D.
Reconnecting allows you to check on the status of the attack and redirect, correct, narrow, or restart the attack. Occasionally, besside-ng will get stuck ("no child process" or "network is down" error), which can be frustrating and break the automation process. Even if this happens, resuming the screen will allow you to restart the attack with a single keystroke.
Remix & Try Your Own
Now that we've explored the foundations of using the USB Rubber Ducky for automation, you can remix and create your own scripts to manage your favorite attacks. The Rubber Ducky can take a lot of work off your hands very quickly ... it's up to you to explore the possibilities!

The USB Rubber Ducky is a serious tool to add to your pen-testing kit.
Thanks for reading, and make sure to keep an eye on Null Byte for more hacking tutorials. You can ask me questions here or @sadmin2001 on Twitter or Instagram.
- Follow Null Byte on Twitter, Flipboard, and YouTube
- Sign up for Null Byte's weekly newsletter
- Follow WonderHowTo on Facebook, Twitter, Pinterest, and Flipboard
Cover photo and screenshots by SADMIN/Null Byte


Comments
Be the first, drop a comment!