


The Raspberry Pi loads an operating system from whatever SD card you insert, allowing you to keep different operating systems on separate SD cards depending on which OS you wish to run. A tool called BerryBoot cuts down on the number of SD cards needed by providing the ability to boot multiple operating systems from a single SD card, similar to Boot Camp for Mac computers.
With BerryBoot, a single 32 GB SD card can hold multiple penetration testing tools and distros. Even handier, BerryBoot can configure the Pi to use an external hard drive or USB thumb drive as the source to boot from, meaning any hacker can burn a custom bootable USB stick with multiple operating systems ready to boot.
Loading Raspbian, Parrot OS, or Kali is as simple as selecting which to boot each time you start your Pi. Being able to switch from Kali Linux to Parrot OS with a simple reboot is awesome, and today we'll go over how to use and install BerryBoot.
Why Use Different Operating Systems
There are many reasons why a hacker may want to pick from a variety of operating systems when planning an action. Different operating systems come with different community support and tools, and traditionally, a virtual machine is used to test or use different operating systems.
The Raspberry Pi can support a broad number of operating systems besides Raspbian, including Kali Linux, BlackArch Linux, Parrot OS, and other pen-testing distros.
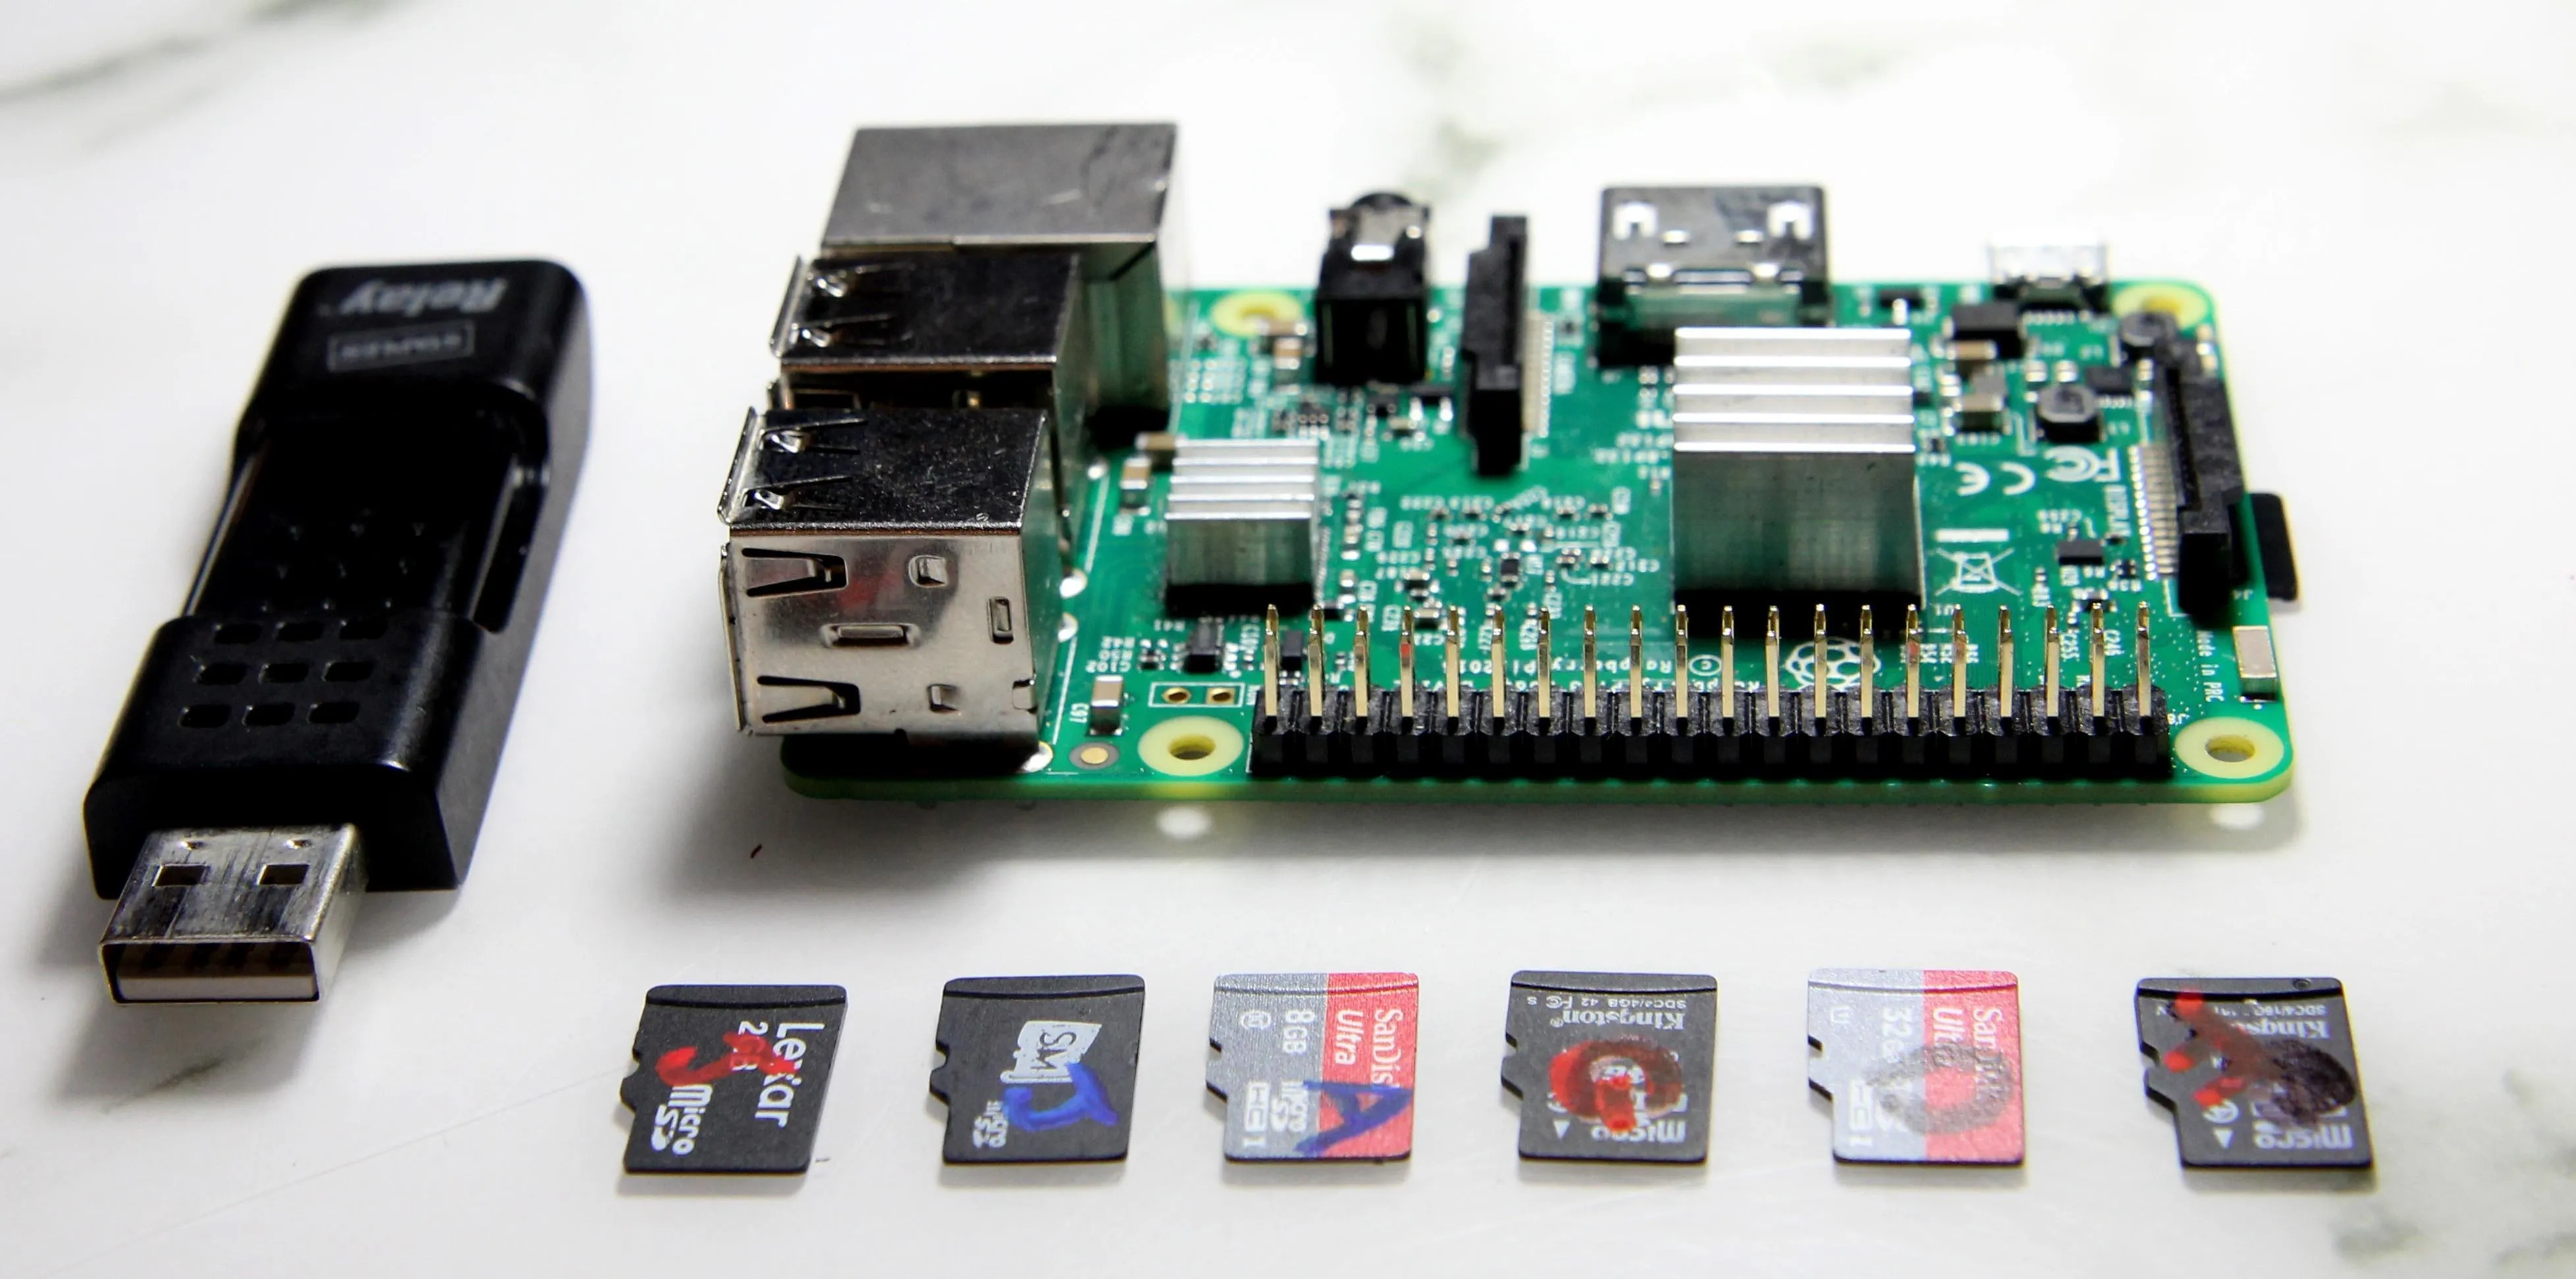
All these cards can be condensed to one large storage drive.
Boot from a USB Flash Drive Instead of the SD Card
Thanks to an open-source project to develop BerryBoot images, there is now a growing collection of security auditing images for the Pi that can be added to a USB stick. Today, we will go over how to set up BerryBoot on an SD card, but I'll provide a follow-up tutorial on how to do so with a USB stick preloaded with a custom Null Byte image of offensive security distros and deliberately vulnerable test images.
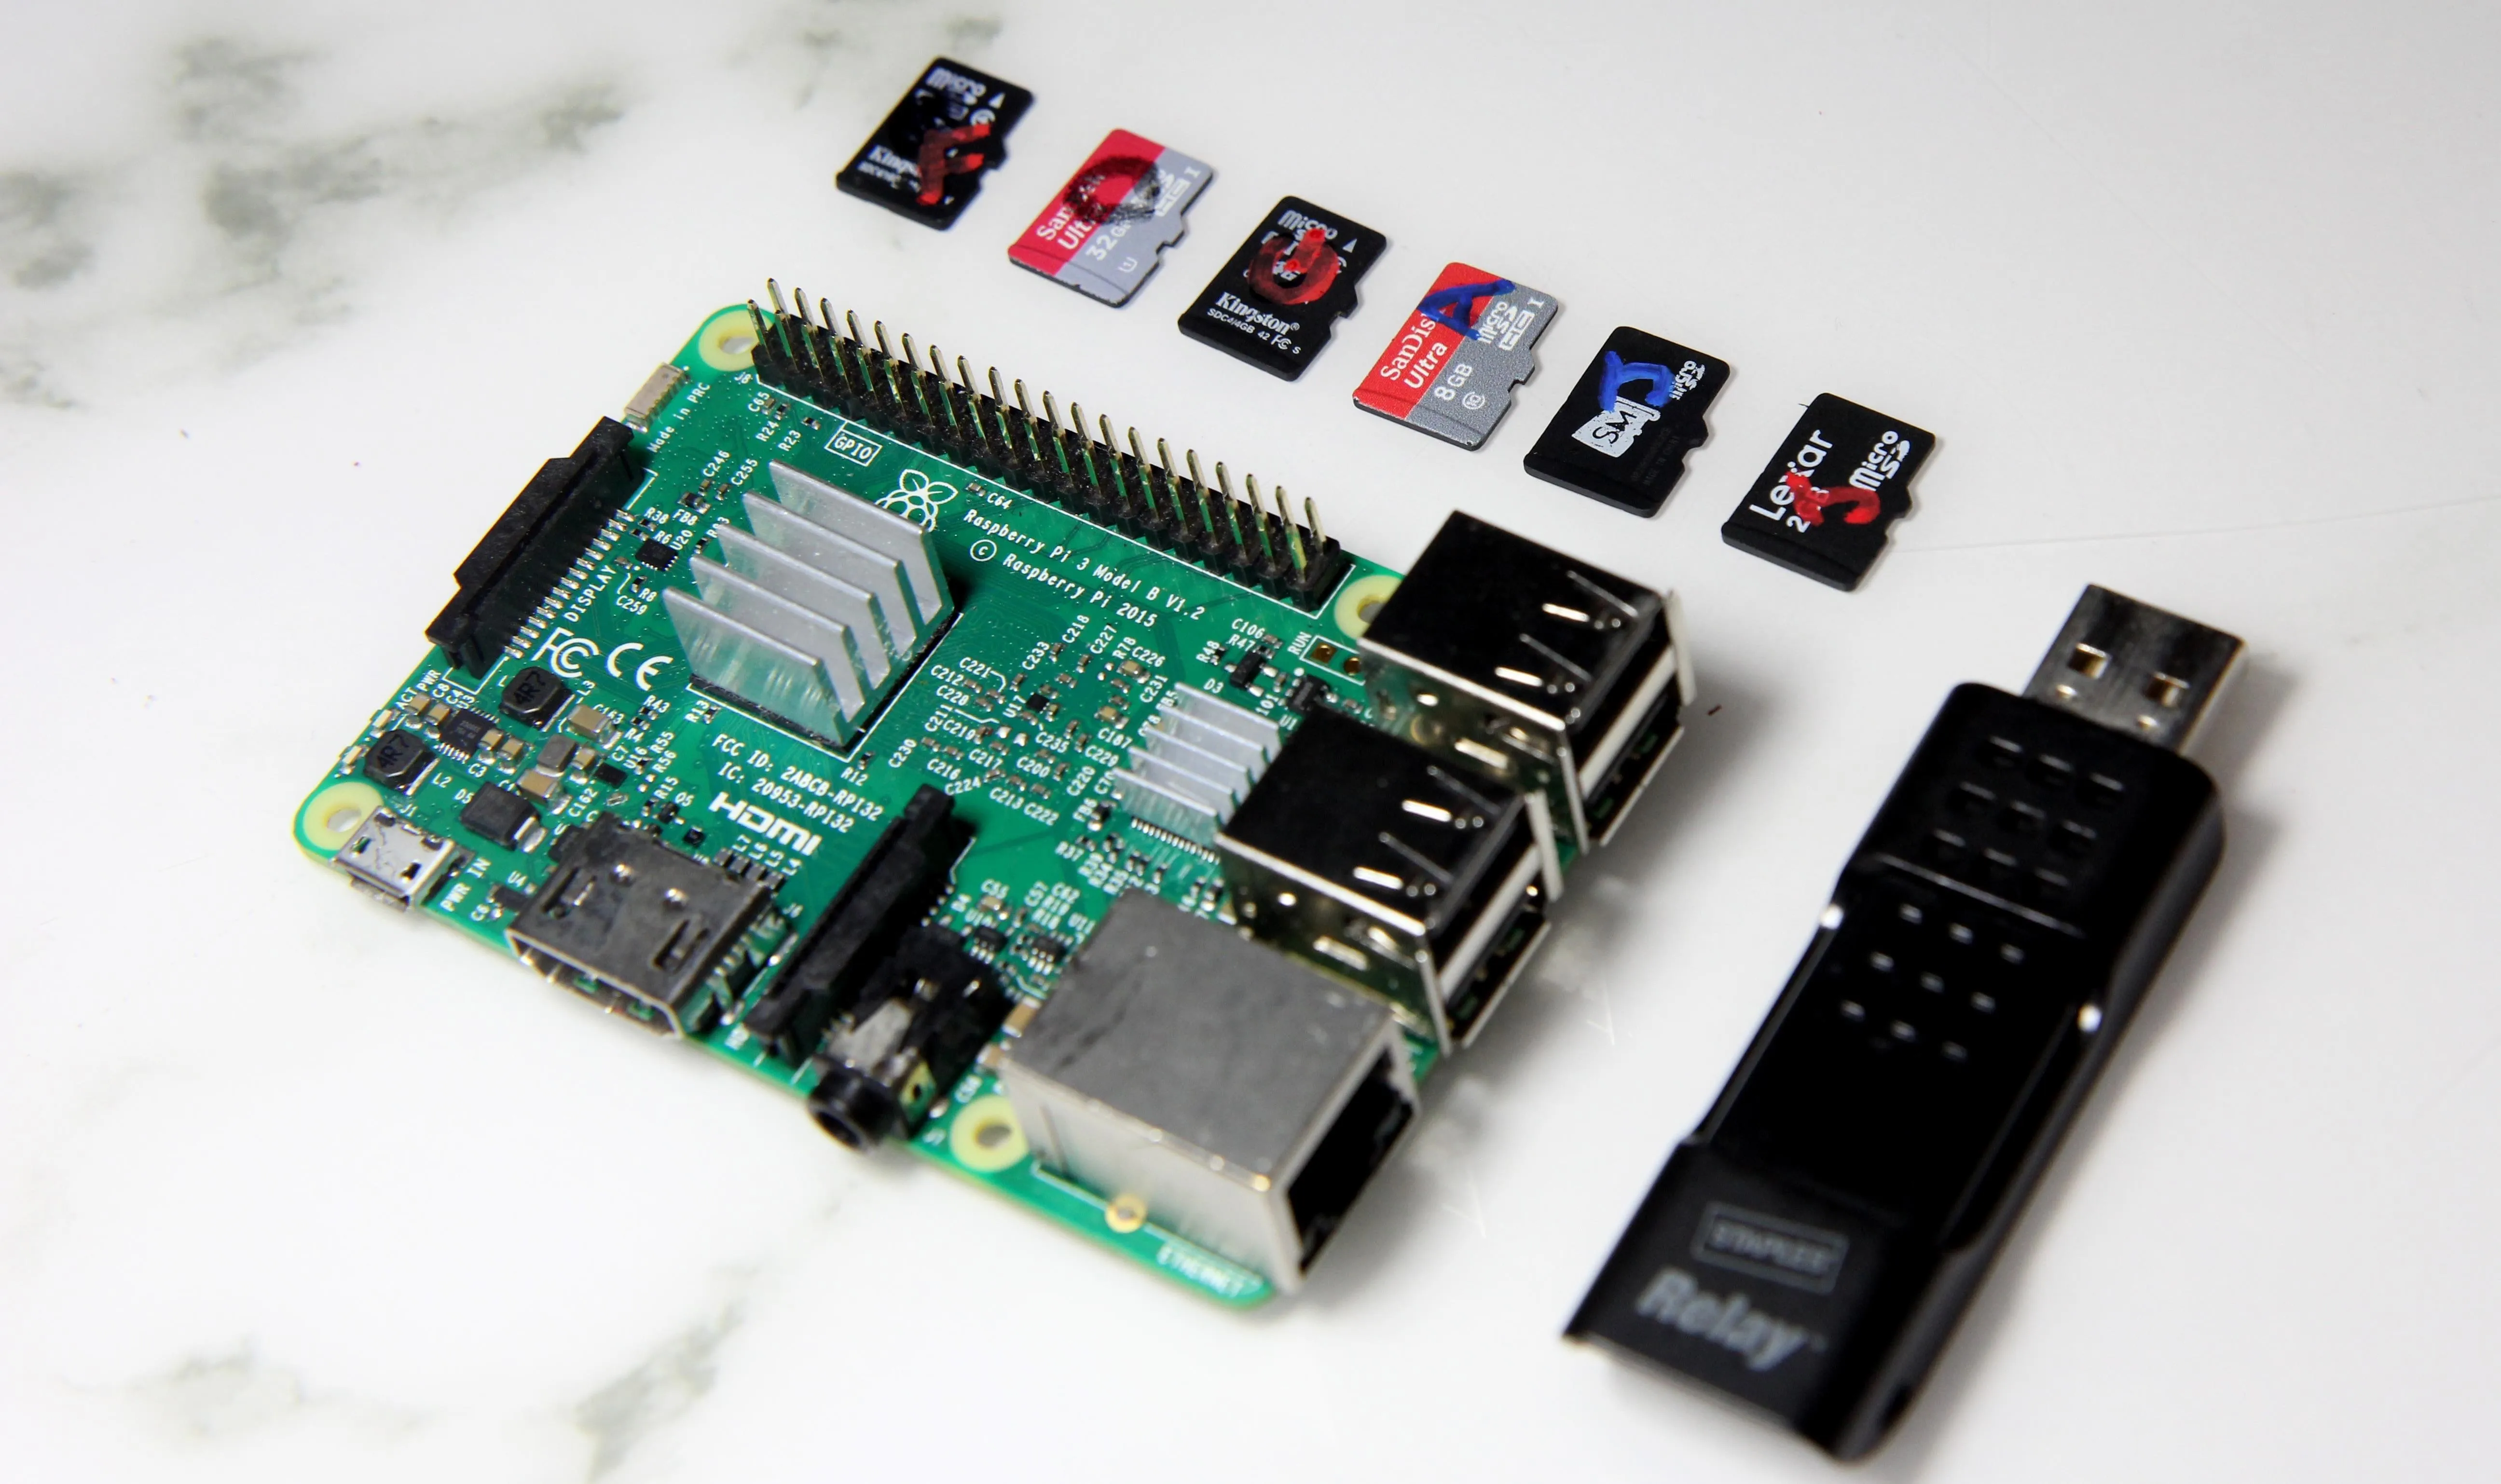
Many different operating systems all on a single USB flash drive.
What You'll Need
- Raspberry Pi (BerryBoot will run on the Pi 2 , 3, 3 B+, Zero, and Zero W)
- 32 to 64 GB SD card (although I've done it with a 16 GB one, too)
- power source and HDMI connection
- USB keyboard/mouse interface
- laptop to load files on the SD card
- SD card adapter
- files from Berry Terminal
If you like hacking kits that make life easier, you can also purchase most of these things together from CanaKit.
Download BerryBoot & Prepare SD Card
Thanks to BerryTerminal, you can download the following BerryBoot files at the links below.
- BerryBoot for the original Raspberry Pi, Pi Zero, Pi 2, and Pi 3 (53 MB)
- BerryBoot for the quad-core Raspberry Pi 2, and Pi 3 only (36 MB)
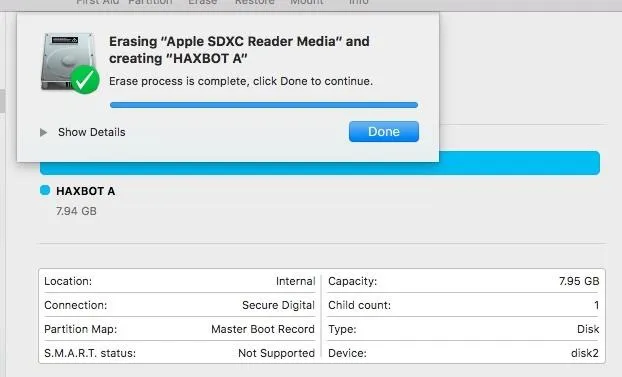
Download the ZIP file, and insert the SD card you intend to use into your computer using an SD card adapter. You'll need to format it to FAT32. You can do this with Disk Utility on a Mac. Select the inserted SD card, hit "Erase," and for the file format, select "MS-DOS FAT," and click "Erase" again.
On Windows, you can format an external hard drive to FAT 32 by using DOS. Press Win+R, type cmd in the search box. It will display you the command prompt. Input the syntax format /FS:FAT32 F: at the prompt if F is the drive letter of your external hard drive. Hit enter and the task will run.
Once the process is complete, unzip the BerryBoot ZIP you downloaded and move the contents of the folder you extracted to the newly erased SD card. Eject the SD card and put it into your Pi.
These initial files will boot the Pi for the first time and set configuration settings on the first run. Once the first run is complete, you will have the option of downloading different OS images from a wired or wireless internet connection.
BerryBoot First Run
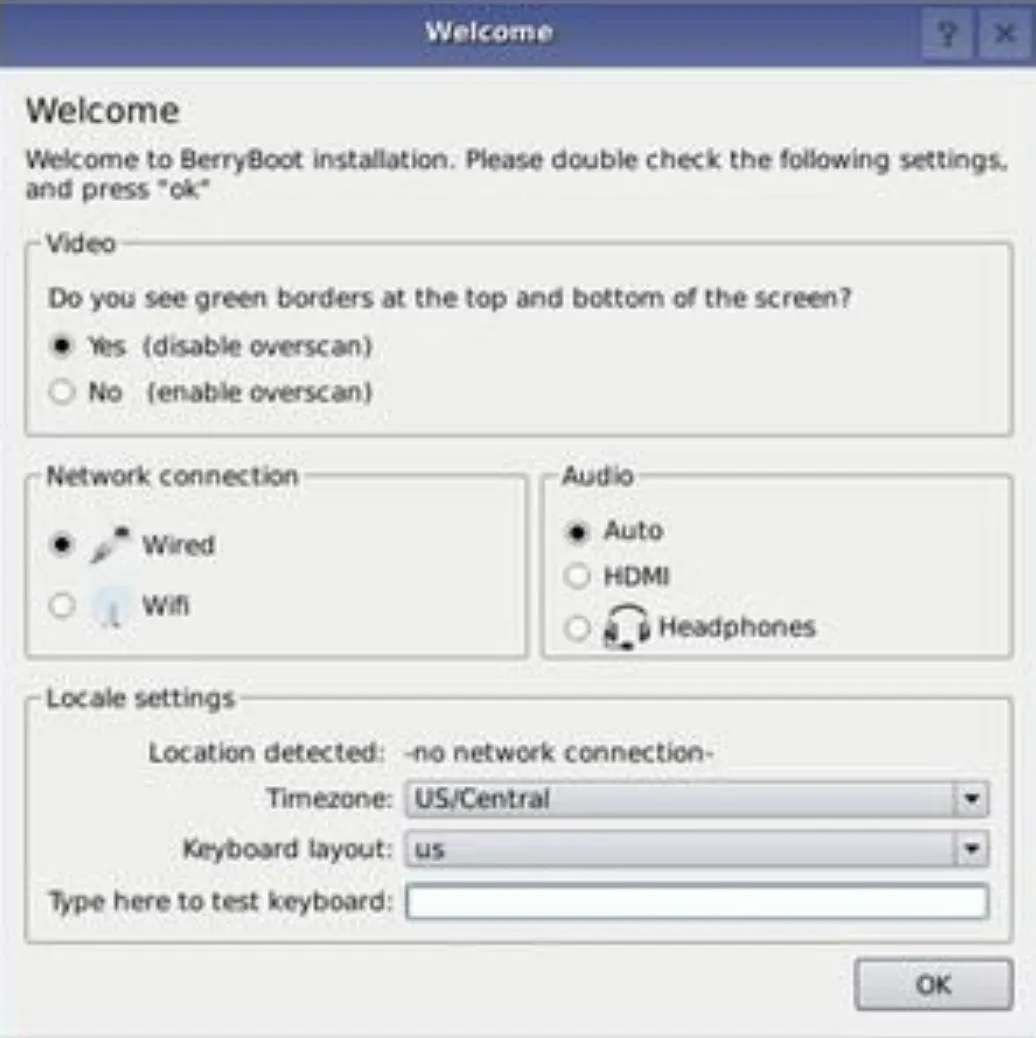
On your first run, you will see a rainbow for a few seconds. Don't panic! After hanging for a moment, BerryBoot will start up and ask some basic configuration questions about your system. Once these variables are set, BerryBoot will start.
After the configuration has been set, you'll be able to select which drive you'd like to install the operating system to. For now, select the SD card, as whatever device you choose to boot from will need to be plugged in each time you boot the Pi for it to work. Once you select the SD card, leave the default setting of ext4 and click "Format."

Booting Your Installed Operating System
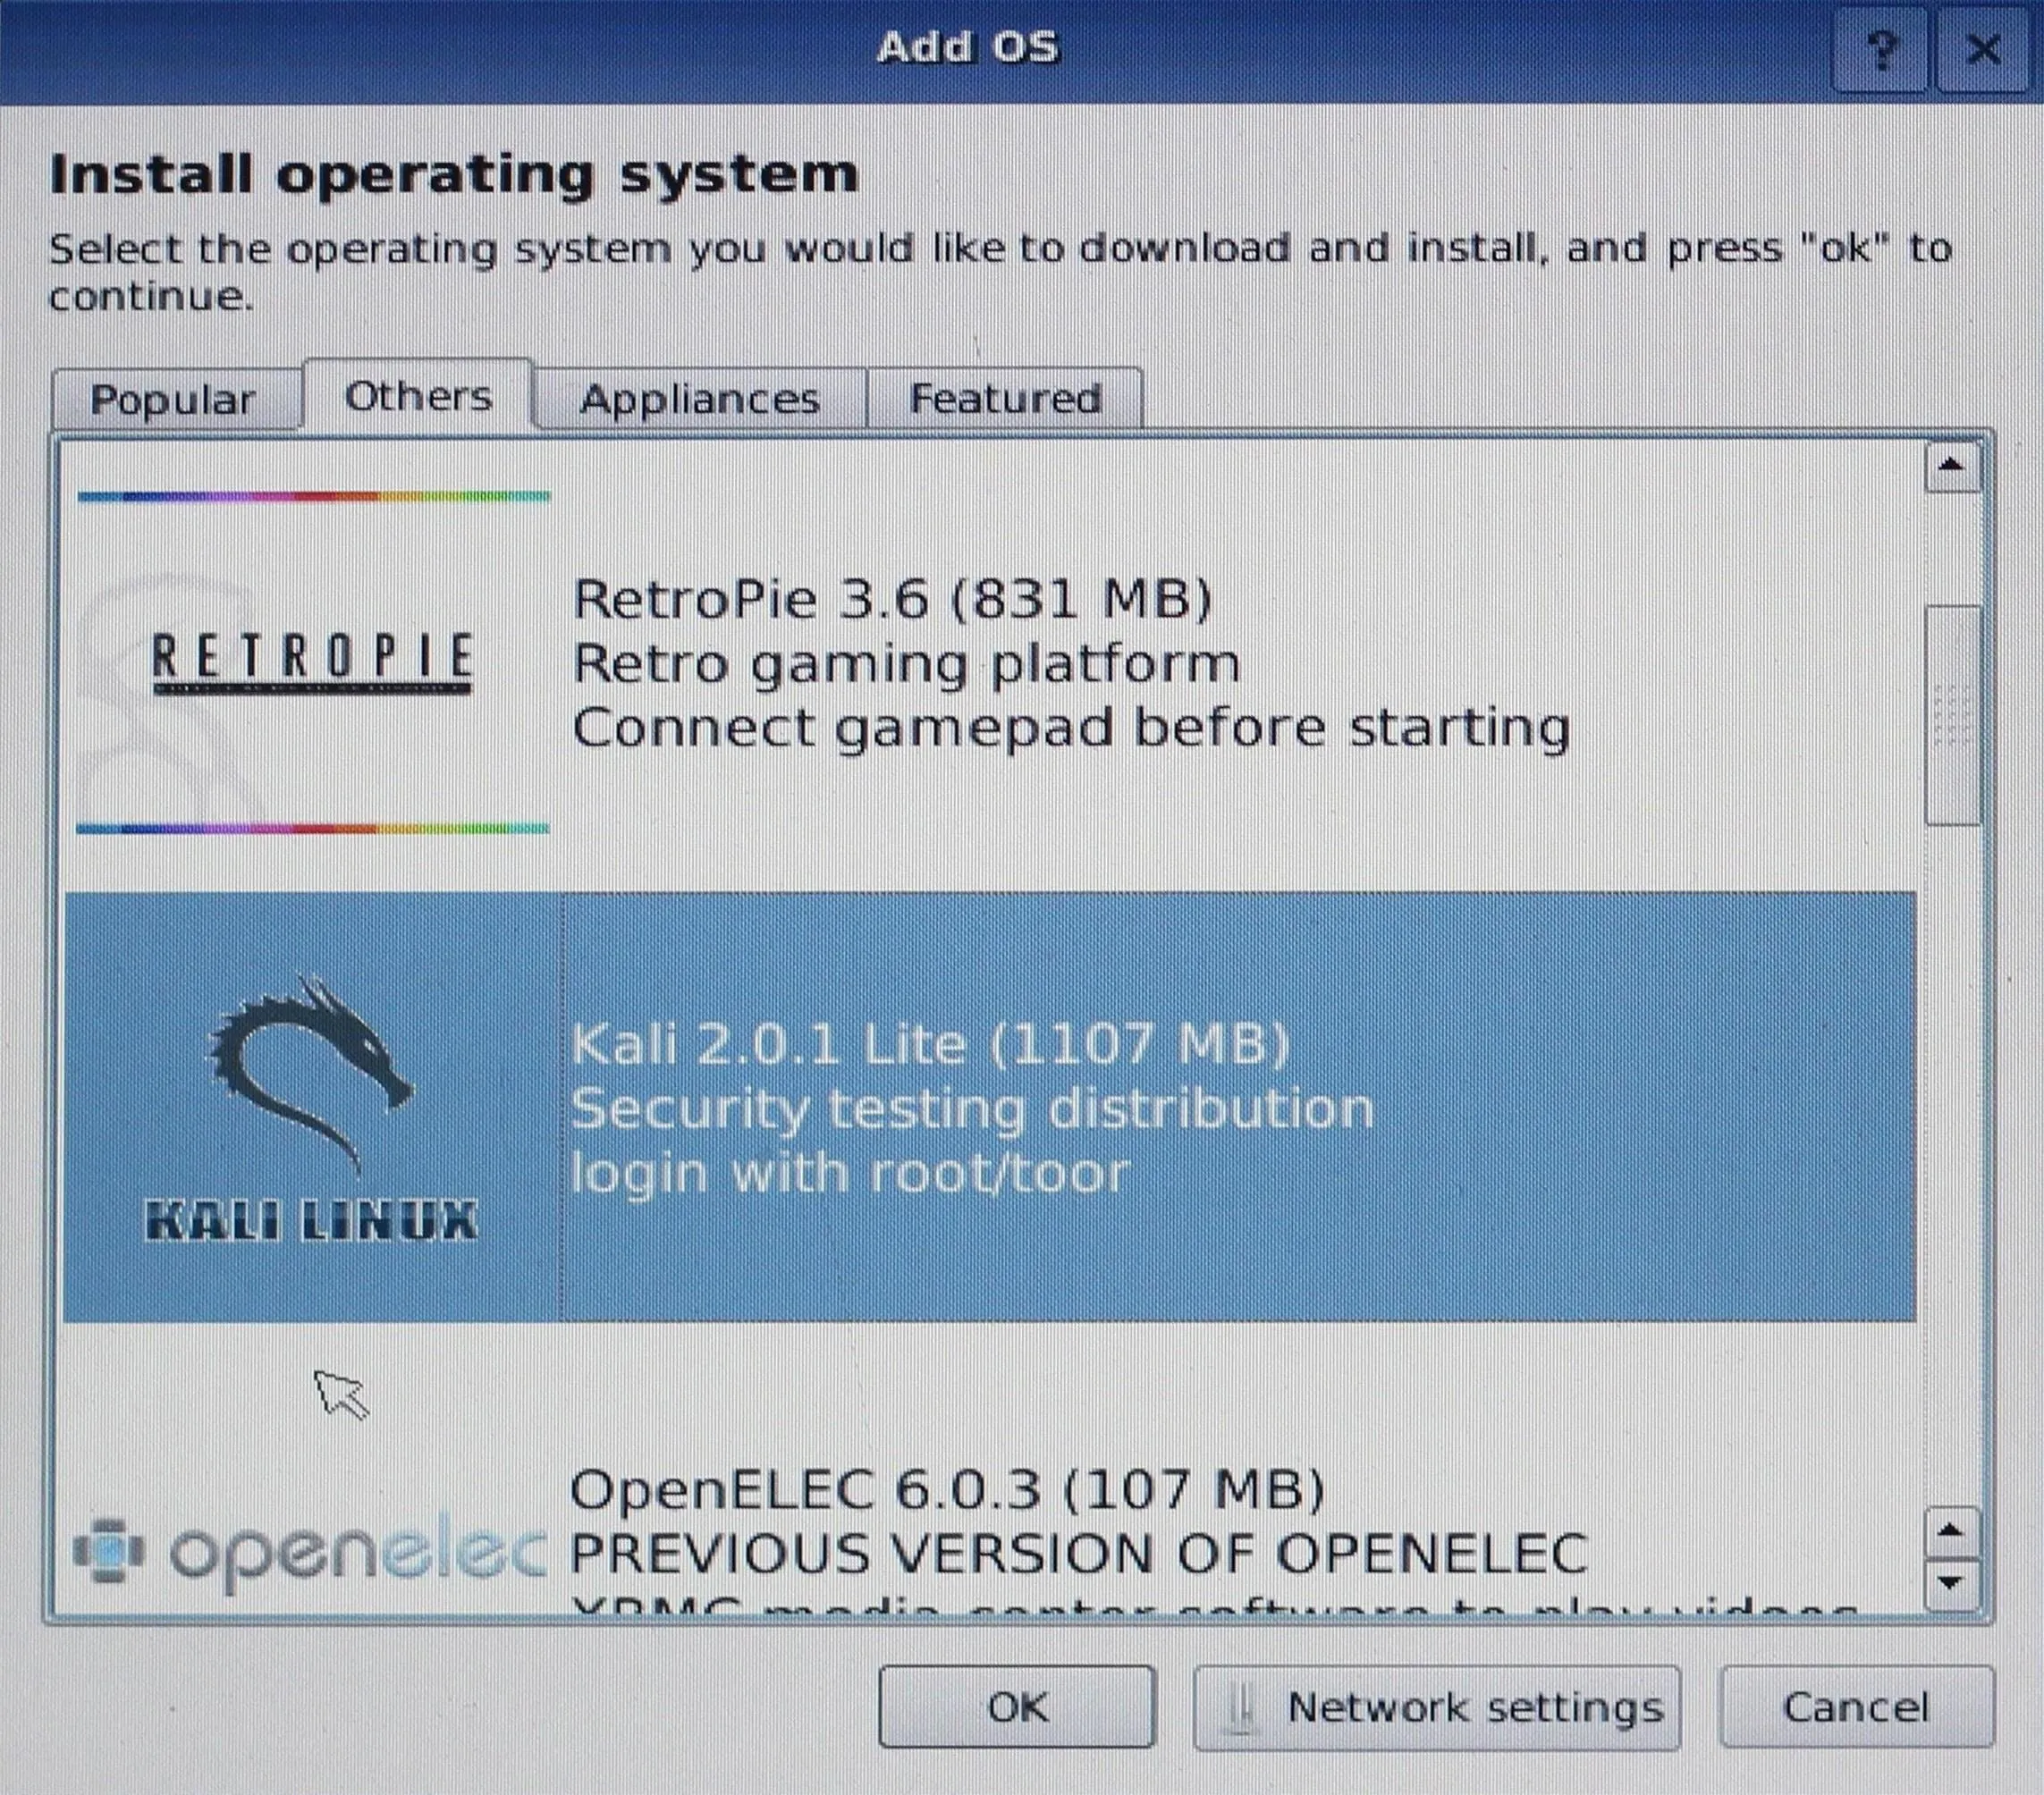
Now you're ready to select the operating systems you want to load. For now, select "Kali Lite" and make sure you're connected to the internet. The "connection" bar at the bottom will show you what network you're connected to. Click "OK" to begin downloading the selected OS.
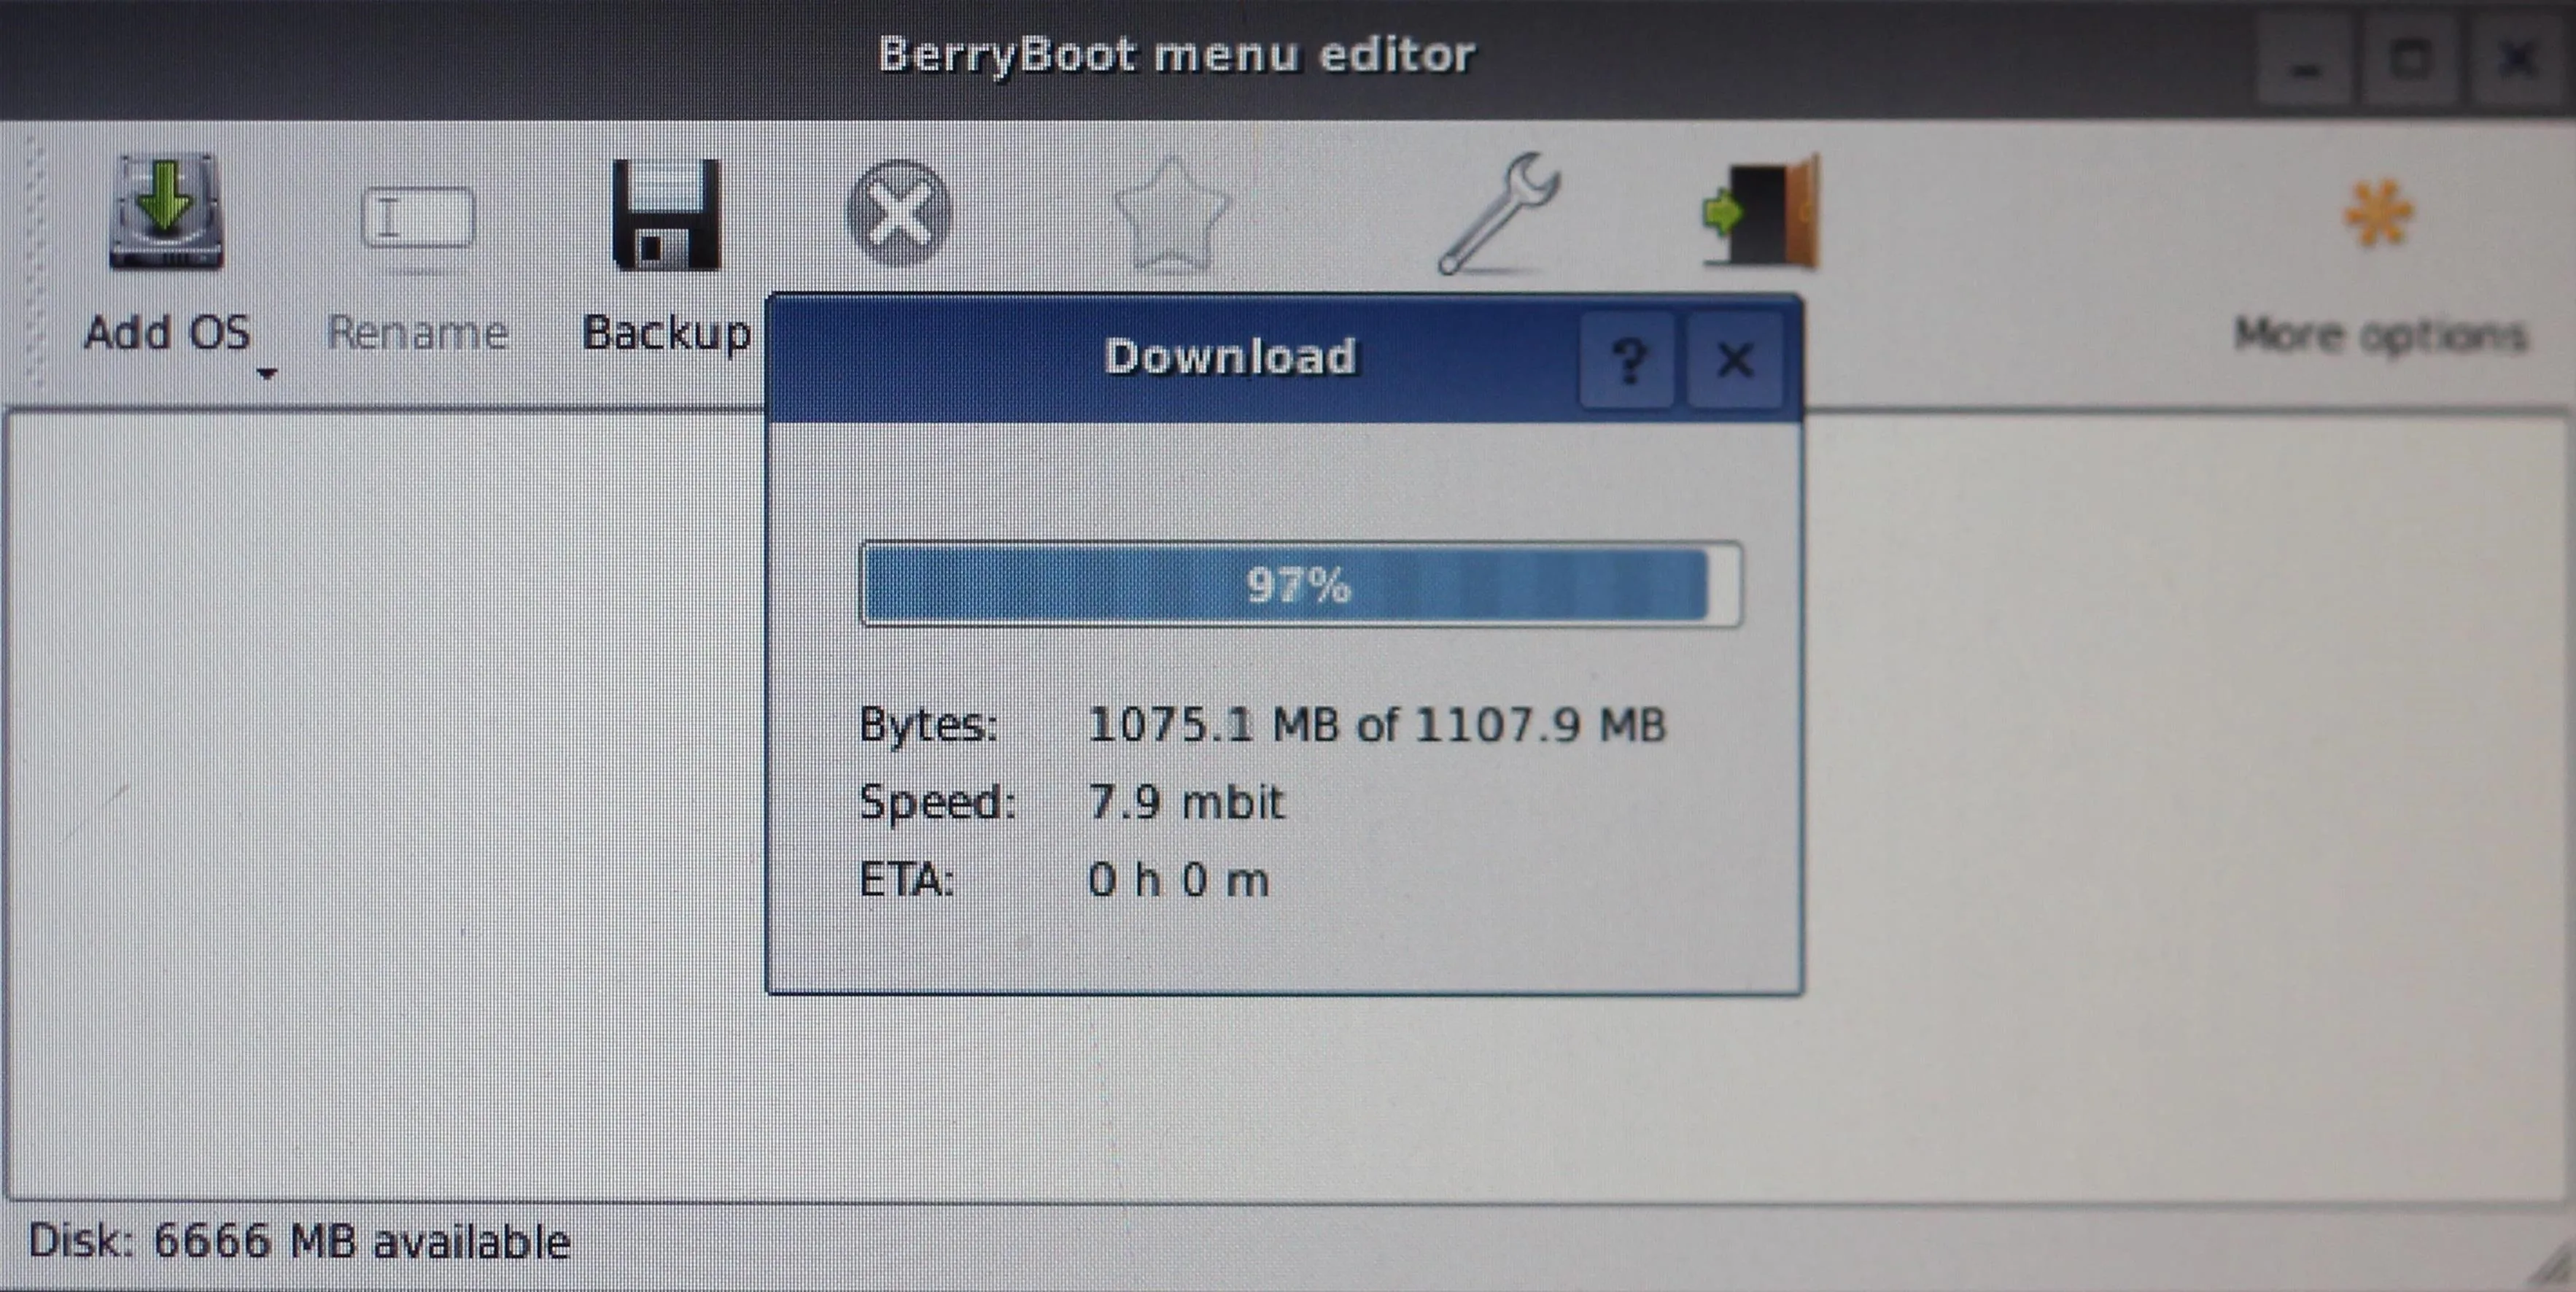
The download can take a long time on a slow connection. Once it's finished, you should see Kali Lite in your list of installed operating systems. Exit to close the configuration window and use the OS you just downloaded.
Boot Your Installed OS
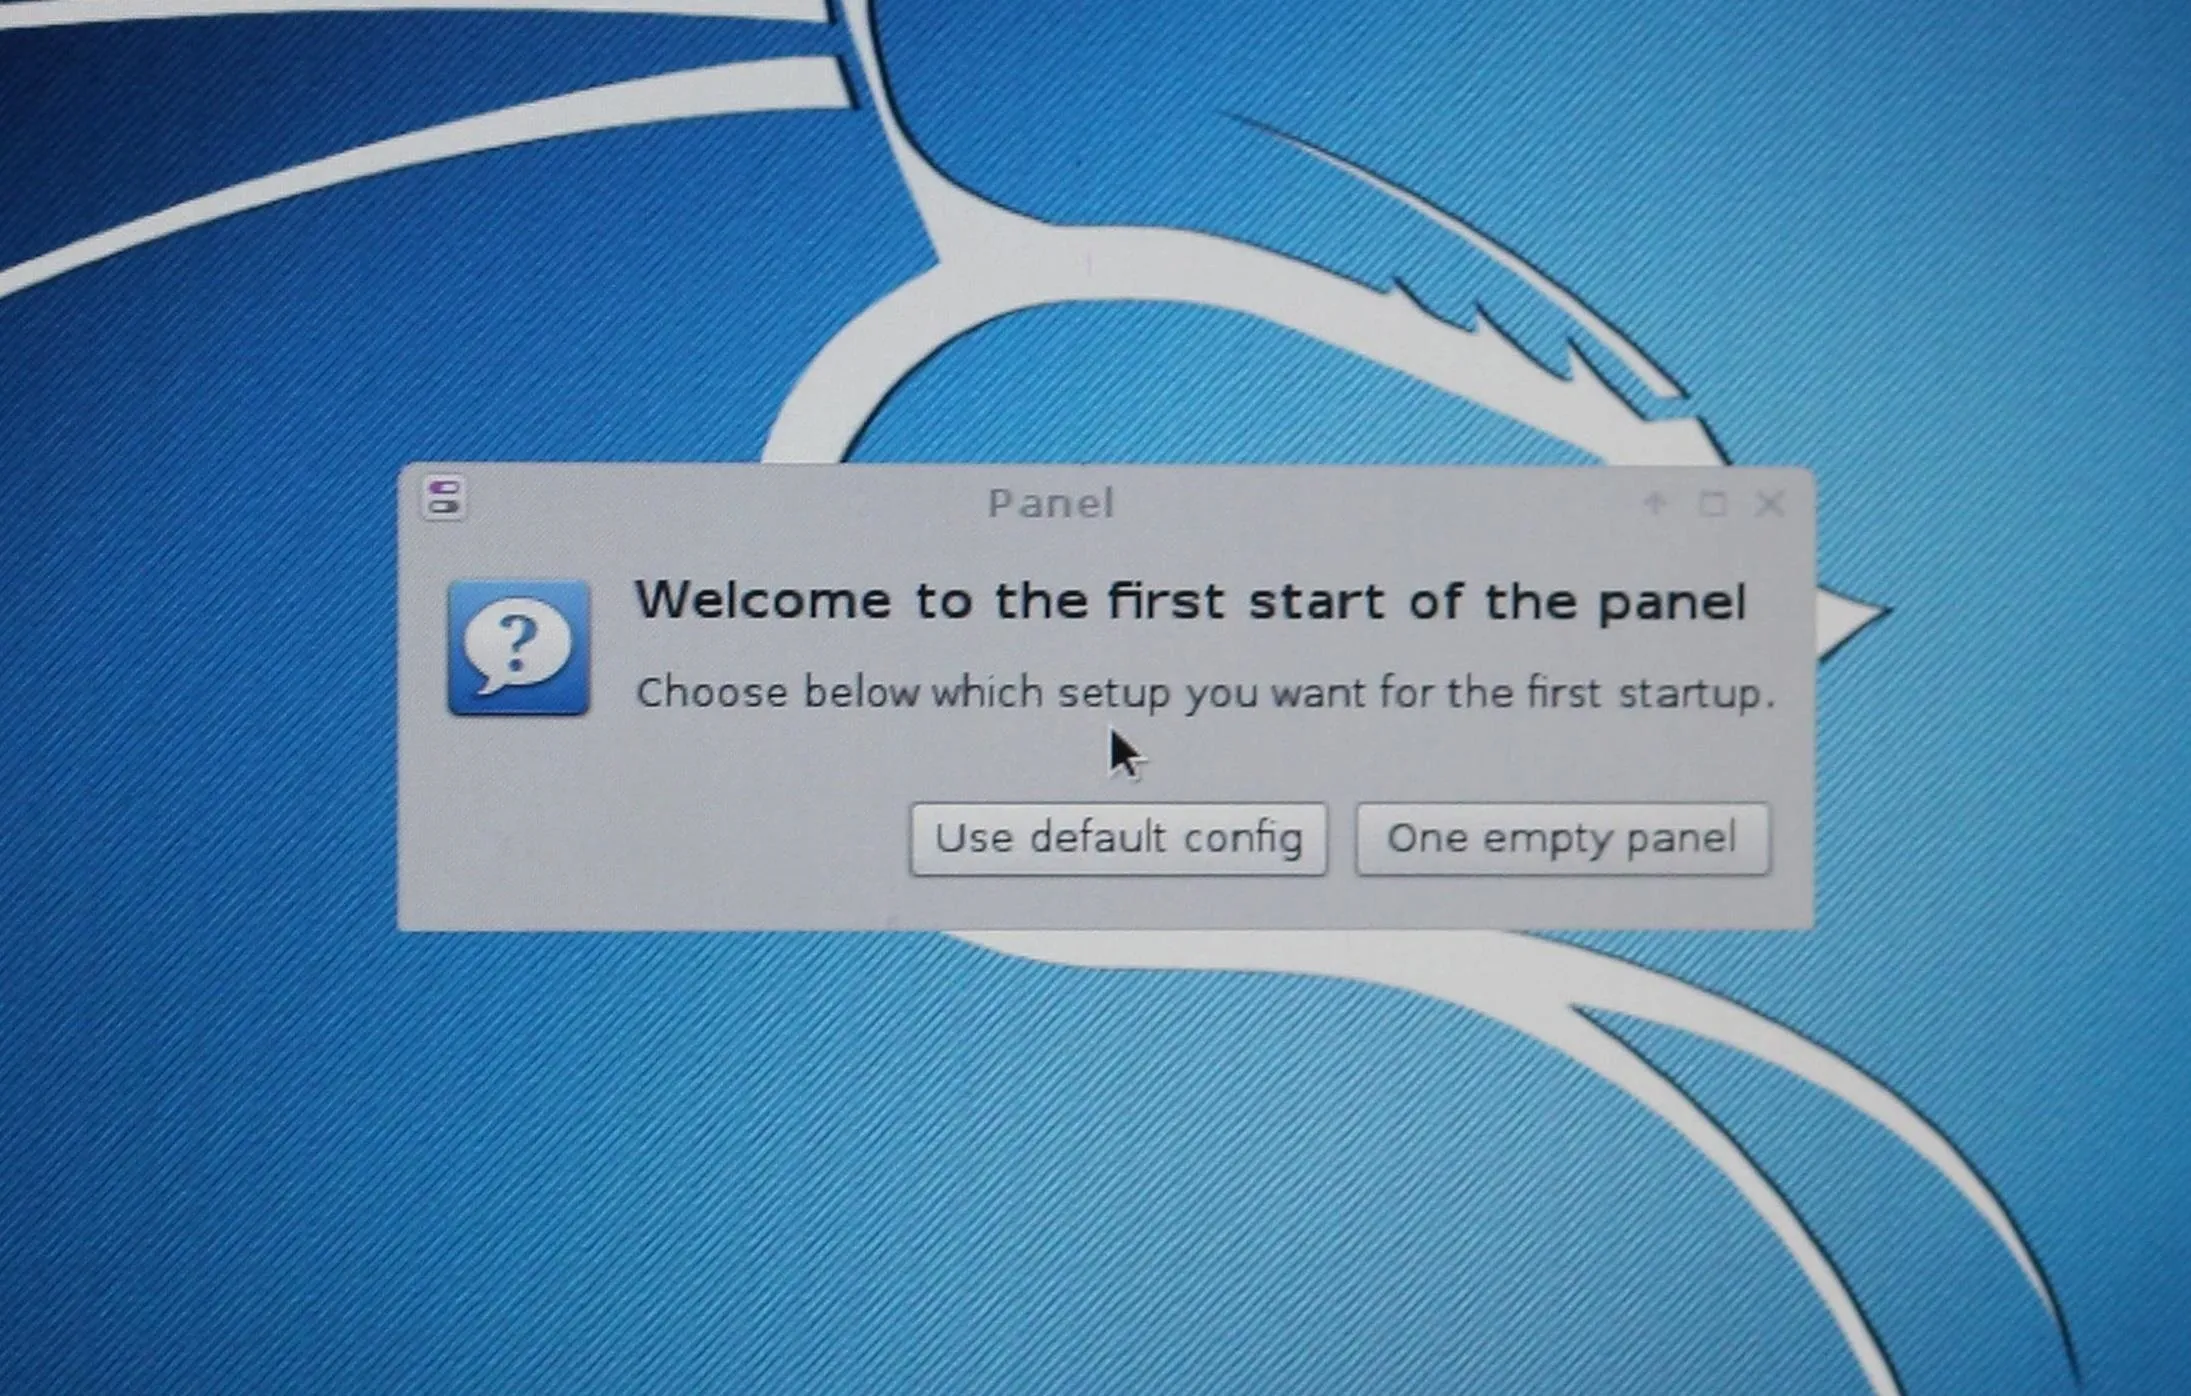
After initially booting to BerryBoot, Kali Linux will be auto-selected as the OS to boot. Once a quick timeout completes, you'll boot into Kali Linux on your Pi! The default credentials for logging in are root and toor, as always.
You can now download other operating systems onto your BerryBoot SD card to easily swap between systems when needed. Stay tuned for custom BerryBoot images and a tutorial on installing to a USB thumb drive. You can ask me questions here or @sadmin2001 on Twitter or Instagram.
- Follow Null Byte on Twitter, Flipboard, and YouTube
- Sign up for Null Byte's weekly newsletter
- Follow WonderHowTo on Facebook, Twitter, Pinterest, and Flipboard
Cover photo and screenshots by SADMIN/Null Byte


Comments
Be the first, drop a comment!