Hello people, I'm back for Part-3. In this part, as promised, we are going to create a client program and then we are going to test it with our server program made in Part-2.
Much of the code that we are going to use in our client program as already been explained in Part-2 while creating the server, so I'm still going to post images about those parts but I'm not going into detail again about what they do as they have already been explained before.
As always i will post the entire code on the next link
http://pastebin.com/4hLQneTg.
Now, let's get to coding.
Libraries
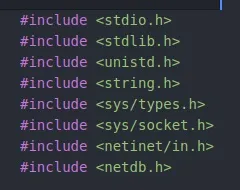
Here we have only one difference, it's the library netdb.h
netdb.h -> This library will be used because we will need the struct hostent. Hostent is a struct that we are going to use to store information about the host.
Error Message Function

Same function we used on the server.
Main
Variables
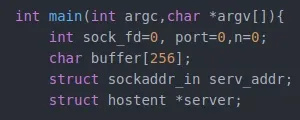
Same as before but with two differences. The first is we are not going to need to use cli_addr of course. The second is the server pointer.
*server -> It will be our pointer to struct hostent.
Lets ensure that the right syntax is used

Same thing as the server, the only differences are the number of arguments and the message.
Now let's create our socket

Same as the server. We convert the port to int, we create the socket and then we ensure that the return value is not less than zero otherwise the program stops.
Now we are going to get the information of the host

Now let's see step by step what we are doing here.
gethosbyname() -> The function gethostbyname() returns a pointer to struct hostent with information about the host. This struct uses the field *h_addr to store the host IP.
Now if the server contains nothing or in other words is NULL it will give an error and stops.
Now on this next part we are going to use another new function

Bzero does the same thing as he does on the server part.
serv_addr.sin_family=AF_INET does exactly the same as in the server to.
bcopy -> Bcopy() is a function that we use to copy memory bytes. We will have to use this function because server->h_addr is a string so we will copy is memory bytes to (char *)&serv_addr.sin_addr.s_addr_
and in the end we need to pass the lenght of the address that server points to.
Note that having server->h_addr or (*server).h_addr is the same thing. It will get the member called h_addr from the struct that server points to.
serv_addr.sin_port=htons(port) does the same as in the server part (Little Endian to Big Endian).
Now we are ready to make the connection

The connect() function is called to, you guessed it, make the connection between our client and the server. It receive as arguments the socket descriptor, the server address and the size of the server address. It returns 0 if the connection is established and it returns -1 if the connections fails.
Ok, all in place let's write our message
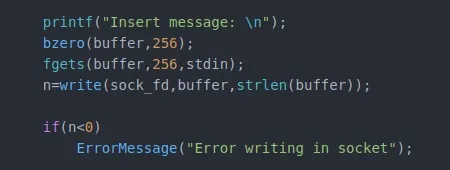
This part is pretty much self explanatory.
We ask to the user to write a message, we set to zeros the buffer and is positions, we store the message into the buffer and then we write on the socket. If n stores a value less than zero then it produces an error.
With the message sent now we need to read from the socket to get a response from the server
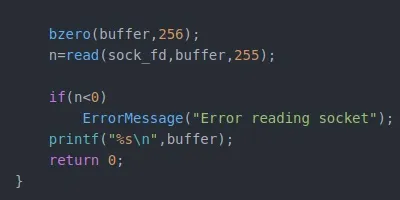
Once again we set our buffer and his positions to zeros so we can store the message that we will receive. Then we use the read() function to store it on the buffer.
Again, if n stores a value less than zero something went wrong and it produces an error. If not it will show the message received on the screen.
Testing It Out.
We reach the end of our little program so the last thing left to do is testing all this we made.
First we will start the server
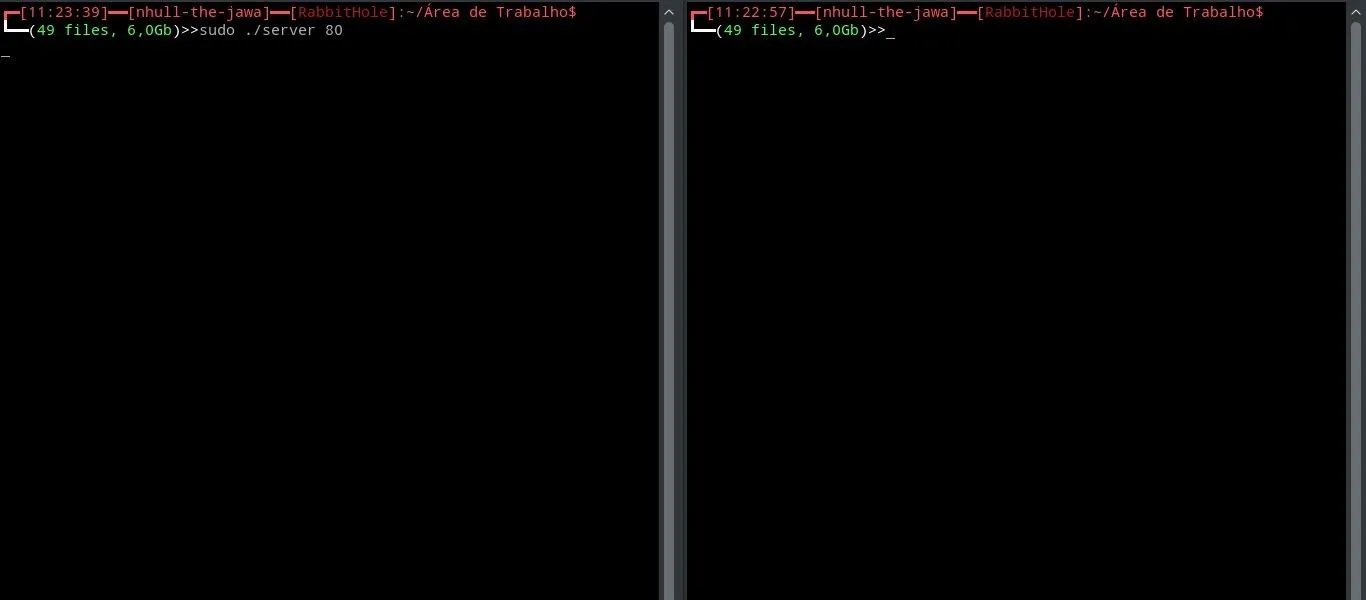
This will start the server listening to port 80.
Let's start the client and write our message
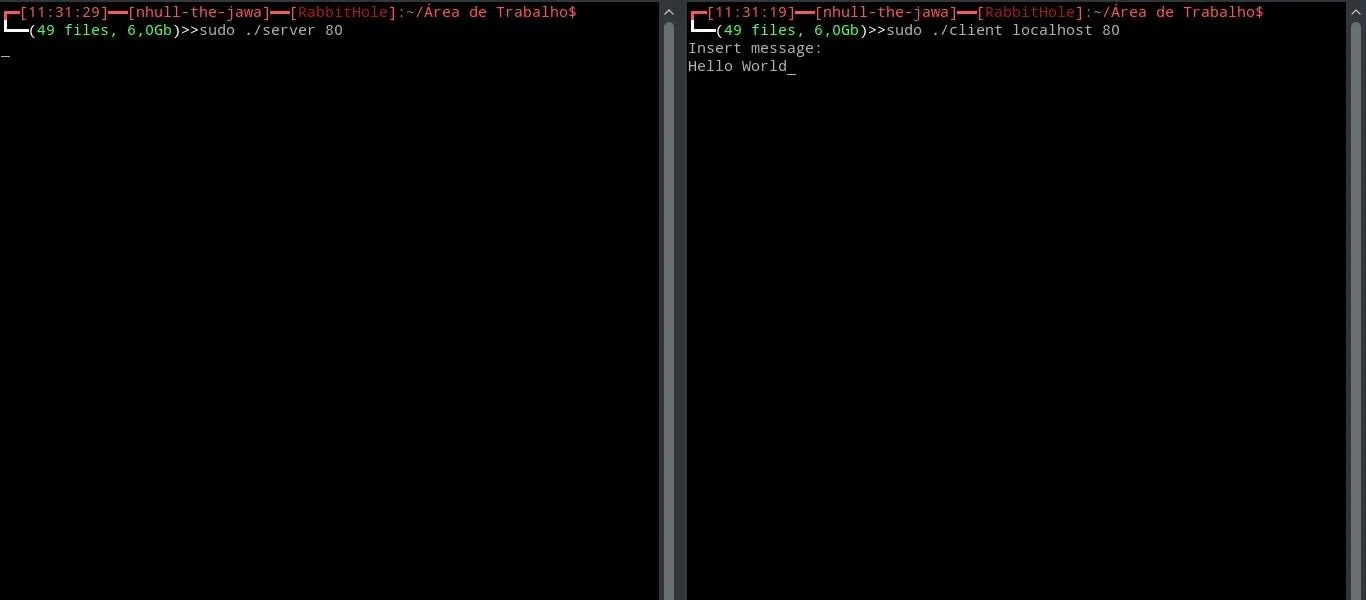
I'm doing this on my machine so the host will be localhost (or 127.1.1.1) and we will use port 80 since it's the port that the server is listening to. We will be prompt to enter a message so I entered "Hello World".
Note that this programs will work across the internet because we are using TCP protocol but since i can't use my other laptop i'm using only my main laptop to demonstrate how this works.
Finally we send the message
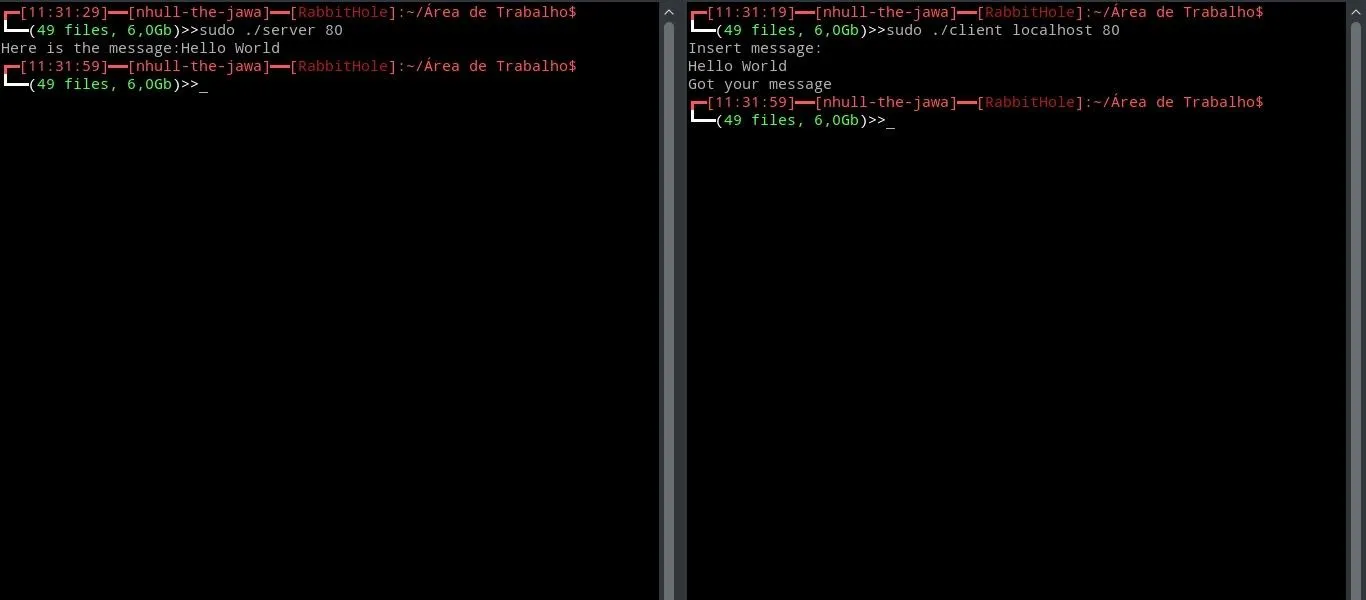
As we can see we get a response from the server when he got the message and our message appears on the server side.
Ending
That's it folks. We reached the end of our little two programs, hope you enjoyed it and as always if i made a mistake somewhere feel free to correct me.


Comments
Be the first, drop a comment!