


The public leaks of NSA tools and information have led to the release of previously secret zero-day exploits such as EternalBlue, which was used in the notorious WannaCry ransomware attack. Despite multiple patches being released, many users have failed to update their systems, so many devices are still vulnerable to these now-public attacks.
EternalBlue (CVE-2017-0144) and EternalRomance (CVE-2017-0145) originally came to light following the Shadow Brokers' leaks of NSA compromised tools. These exploits targeted errors in Microsoft's Server Message Block (SMB) protocol implementation.
These vulnerabilities are especially valuable to attackers as a maliciously crafted packet allows for remote code execution, which could carry malware payloads such as ransomware or a remote access toolkit. These exploits have already been used to distribute ransomware such as WannaCry, Petya/NotPetya, and Bad Rabbit.
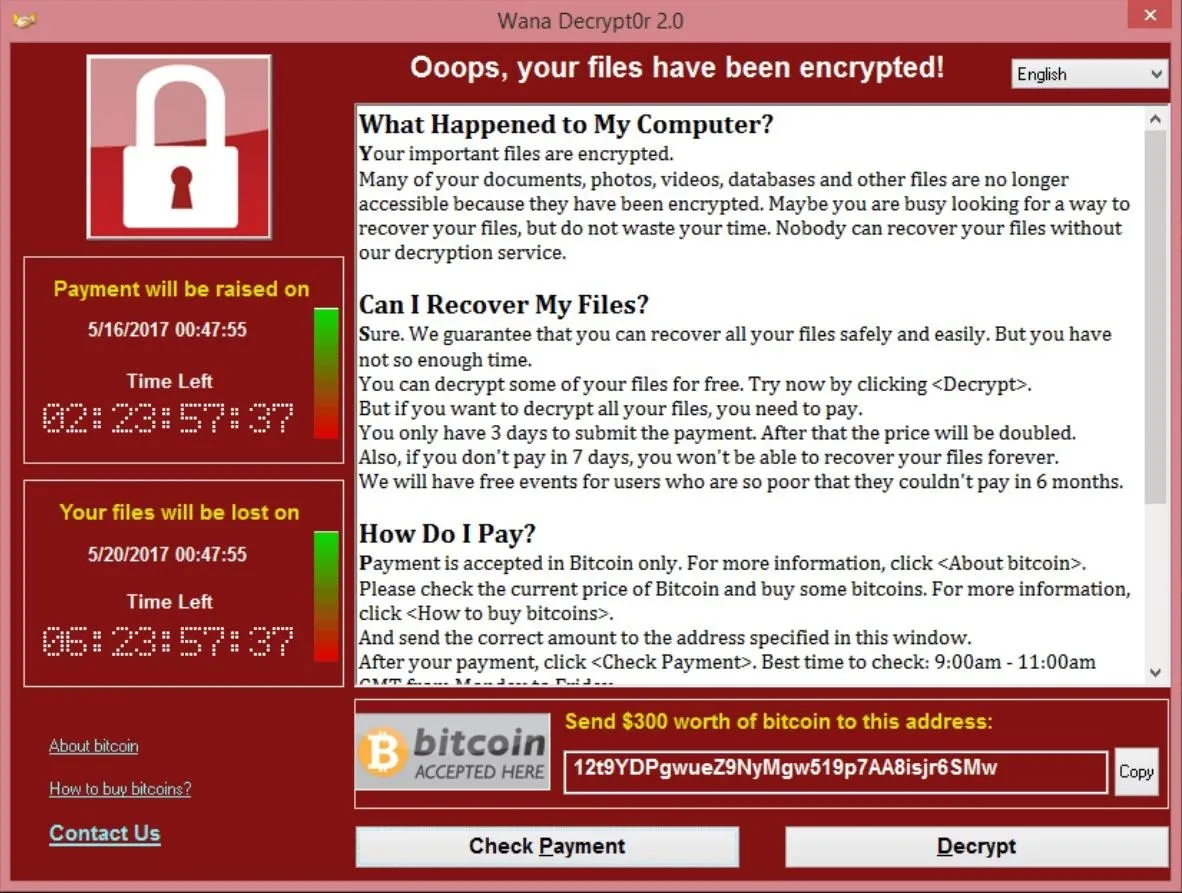
A WannaCry decryption window displayed on Windows.
While most users have updated by now, and many of the internet facing devices vulnerable to these exploits have already been attacked, there are many devices on local networks not directly exposed to the internet that may still be at risk. Any infected device joining the network can spread the infection to vulnerable devices on the same network, so being able to scan a network or IP range for these vulnerabilities allows one to ensure that their own internal network is currently protected against these attacks.
In this guide, we'll be using Eternal Scanner to assist in automating the process of scanning for vulnerable devices. Additionally, this exercise will help you gain insight into the methodology of how a hacker seeks out and attacks vulnerable devices.
Installing Requirements
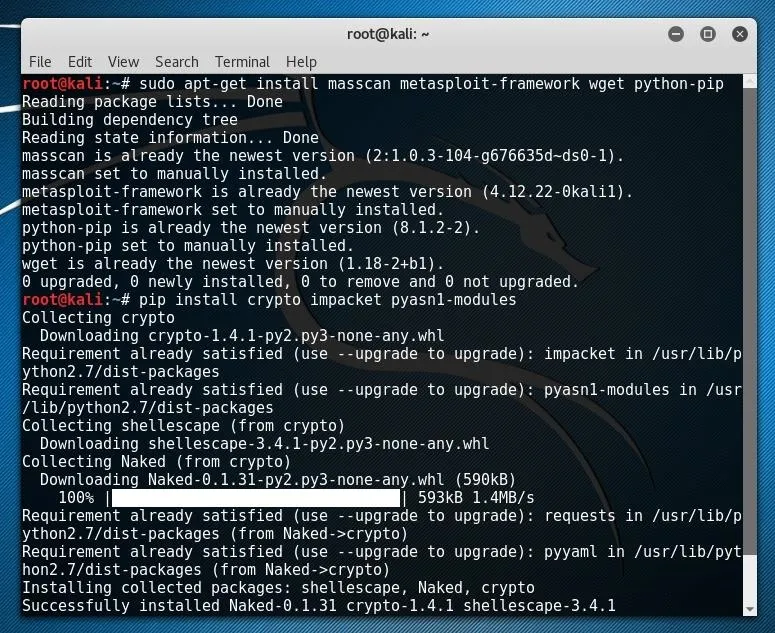
Eternal Scanner utilizes a number of tools in order to scan for vulnerable devices. Masscan is used to scan for devices within an IP range, and the Metasploit Framework is used to check for vulnerabilities. In addition, Wget is used to update the tool itself. A number of Python modules are also required to detect additional vulnerabilities. To install the prerequisites on a Debian-based system such as Kali or Ubuntu, run the command below in a command line window.
apt-get install masscan metasploit-framework wget python-pip
If the Python modules are available in your system repositories, they can be installed by running the command below.
sudo apt-get install python-crypto python-impacket python-pyasn1-modules
If the modules are not available in your system repositories, they can also be installed using pip.
pip install crypto impacket pyasn1-modules
With the requirements installed, we can now download Eternal Scanner from GitHub.

Now, Eternal Scanner is ready to install and run.
Using Eternal Scanner
To install Eternal Scanner, first change directory into the Git cloned directory using cd.
cd eternal_scanner
Once in the directory, Eternal Scanner can be run using the following command.
./escan
On the first run of the script, the tool will automatically be installed and can now be run by simply entering escan. To continue to use the tool upon the first run, simply press the Enter key.
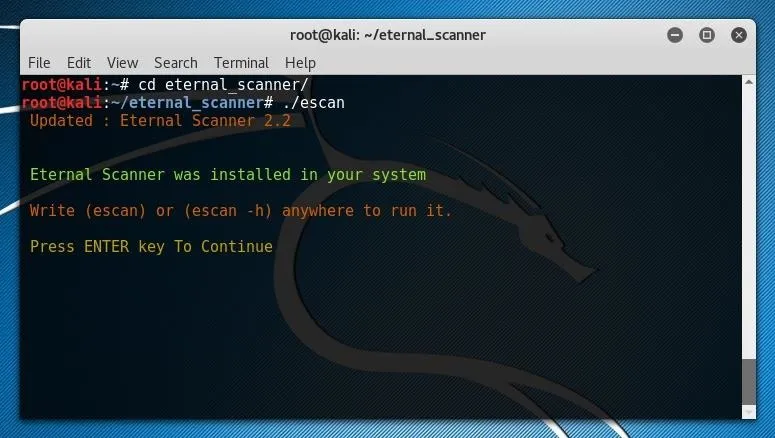
From here, the Eternal Scanner splash screen should open.

In order to scan your local network, enter the first three octets of your local network IP followed by the desired range. To scan every address within the subnet, a string such as 1/24 could be used. If you are uncertain of your subnet IP format, you can run netstat -rn in a new terminal window and look at the Gateway IP address shown.
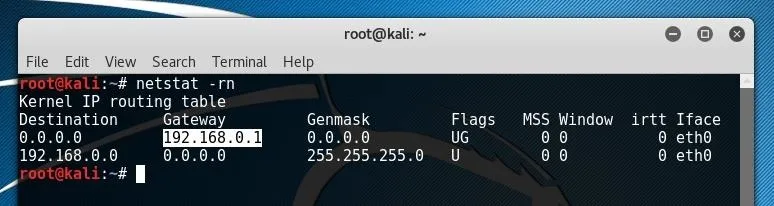
This IP will most likely be something like "192.168.0.1" or "192.168.1.1." In the example above, the first three octets returned by netstat are "192.168.0" so 192.168.0.0/24 was used as the input for Eternal Scanner, as shown below.
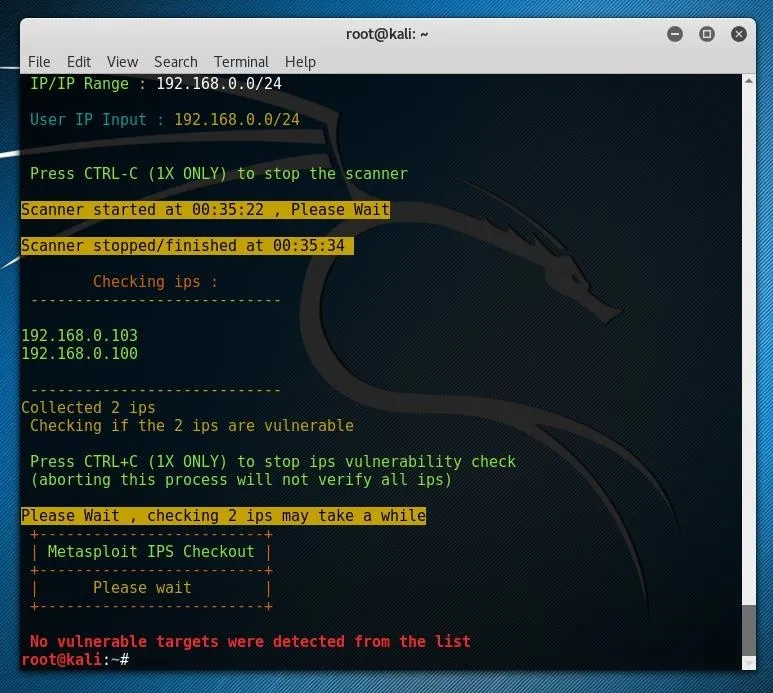
If all of the systems on your local network are updated, you most likely won't receive vulnerable targets, which is most likely a good thing. If this were to be run against a larger IP ranger on the internet, something which touched more of the 4,294,967,296 theoretically possible IP address, more results would much more likely be found, and these results could still be very valuable to an attacker, even if the devices had already been attacked.
As the shell script itself makes a number of direct calls to the programs which were installed as prerequisites, we can also replicate a similar process manually by directly making similar requests to these same tools, including Masscan and the Metasploit Framework.
Making Masscan Requests Directly
To examine the Masscan request, we can have a look at the shell script itself. To open it in nano, run nano escan from the folder which was cloned from Git. To specifically find the Masscan request, press Ctrl+W and press Enter until you reach the Masscan request string.
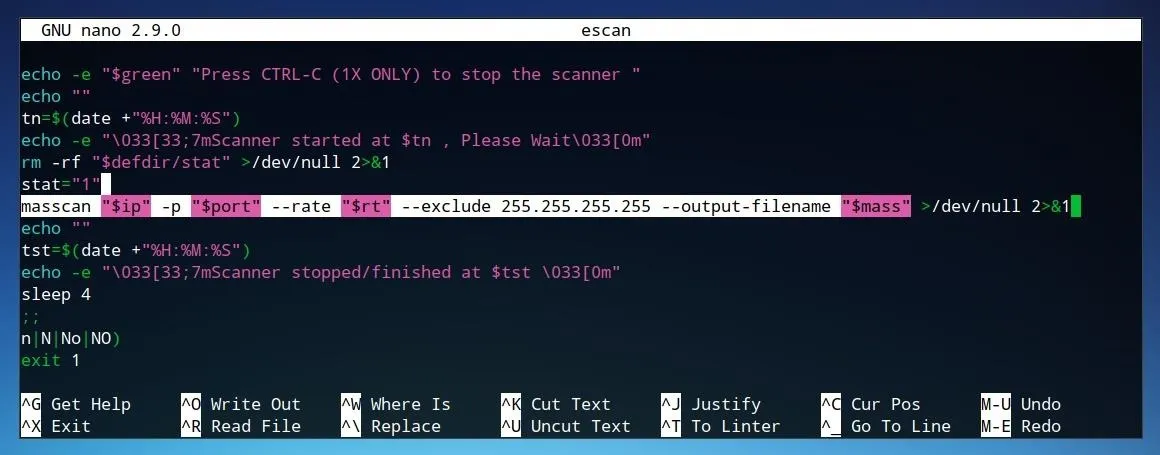
The highlighted line in the image above applies several variables defined in the script.
masscan "$ip" -p "$port" --rate "$rt" --exclude 255.255.255.255 --output-filename "$mass"
Some variables, such as "$port," are defined in the beginning of the script, as shown below, where the variable "port" is set to "455."
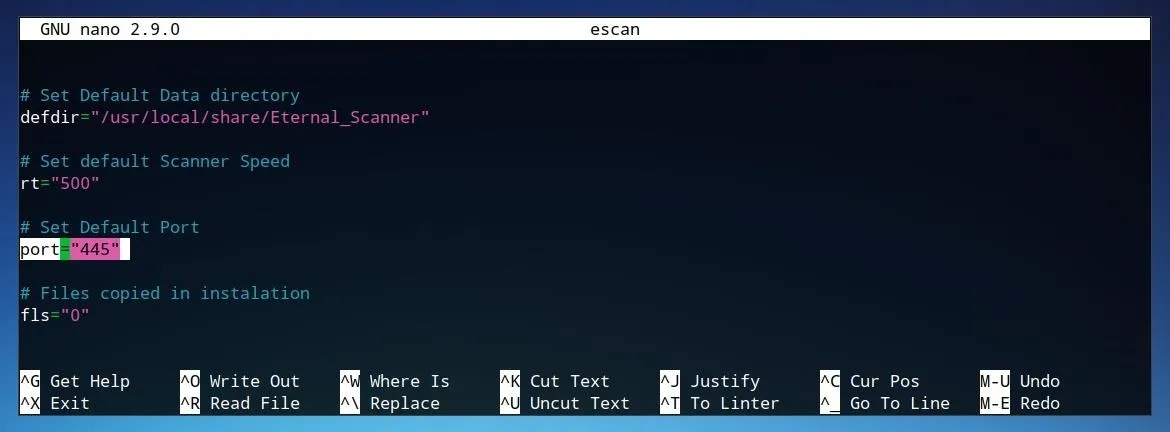
We can also manually fill in this same string directly using our own parameters. The same IP address or range used earlier, such as 192.168.0.0/24 can replace "$ip." The port, or ports, to scan, such as 455 can replace "$port" directly. The rate, or "$rt," can be replaced with 500. Finally, "$mass" can be replaced with the desired filename of the output of Masscan. This output will be formatted as an XML file, so it may be useful to remove the --output-filename parameter from the command. The complete string may appear similar to the one below.
masscan 192.168.0.0/24 -p 455 --rate 500 --exclude 255.255.255.255 --output-filename out.txt
The --exclude parameter exists as a preventative measure in the original script in order to establish a confirmation if the range is deemed too large by Masscan. This is not required for a small-range scan, but may be useful for larger sets.

If no devices have an open port 455, then this scan will not return any results. To test more common ports, we can use a much simpler string, such as the one below.
masscan 192.168.0.0/24 -p80,23
This scan also tests all IP addresses within the 192.168.0 subnet and specifically tests for port 80, used for HTTP, and port 23, used for Telnet.
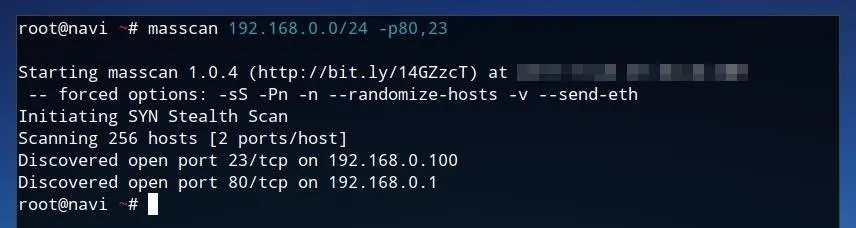
As shown in the results of this scan above, an open port 23 was discovered at 192.168.0.100, as well as an open port 80 at 192.168.0.1. While this might not necessarily be consistent across every network, if this scan was performed across a wider IP range on the internet, there would surely be a tremendous amount of results.
A string such as the one below will attempt the same scan as the one shown above, but across the entire internet rather than a single subnet. This will, on most devices and internet connections, take a very long time to complete.
masscan 0.0.0.0/0 -p80,23 --exclude 255.255.255.255
We can compare the results of Masscan to the output of a similar, narrower-range network scanner, Nmap. This tool is available in most Linux repositories, and on Debian-based systems, it can be installed using the command below.
sudo apt-get install nmap
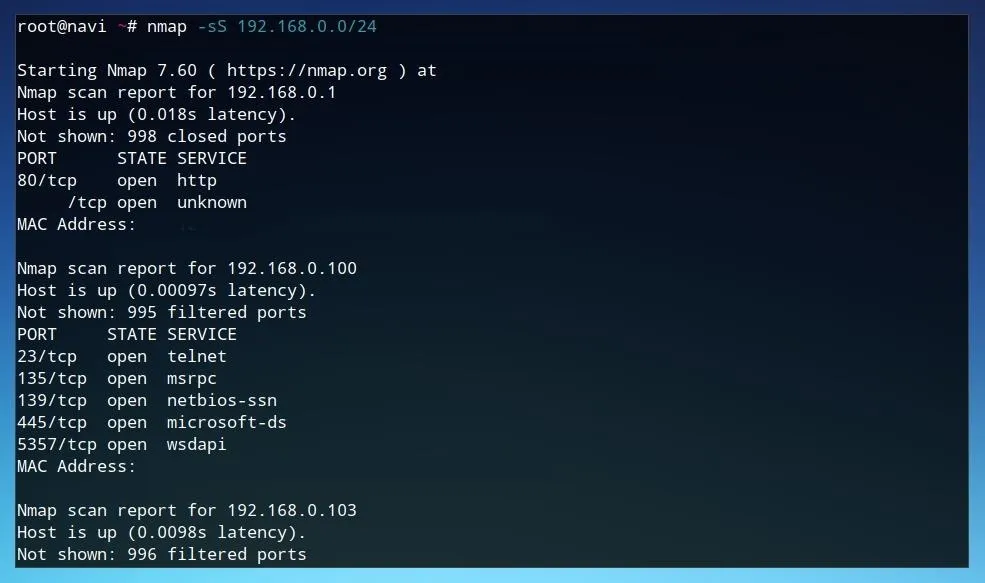
Running a scan such as the one defined in the string below will run a TCP SYN scan across the local subnet, and return practically every common port which may be open on any device connected to the network.
sudo nmap -sS 192.168.0.0/24
Example results for such a scan are shown below. This scan result provides much more detail than Masscan's port-specific report, but is far less effective at wider network ranges, as it was not designed for scanning the entire internet.
With an understanding of how the script utilizes Masscan to discover potentially vulnerable IP addresses, we can also examine how the actual test process works.
Using Metasploit to Test EternalBlue Vulnerability
To see how the script calls the Metasploit Framework, we can once again open the file directly. To do this using nano, run nano escan from the folder Eternal Scanner folder. To search for the msfconsole request, press Ctrl+W, type msfconsole, and press Enter until you reach the code shown in the image below.
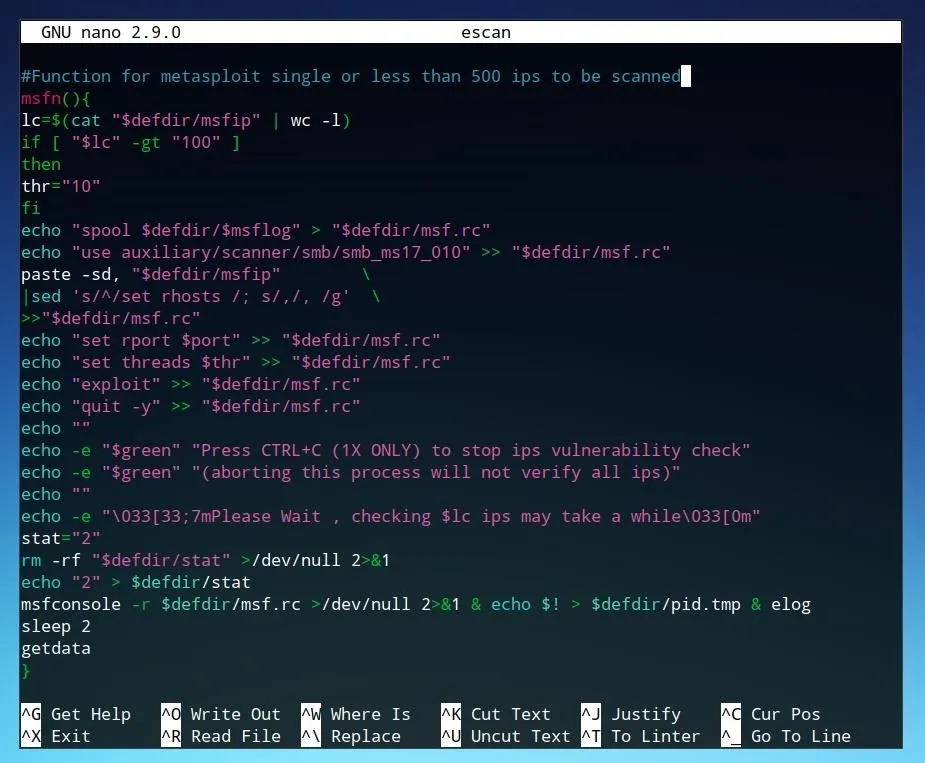
Each of the "echo" commands which end in ">> "$defdir/msf.rc"" are commands which are sent to the Metasploit Framework console. While these commands include a number of variables set by the script, they can also be manually executed by us. To launch the Metasploit console, simply enter msfconsole at a command line.
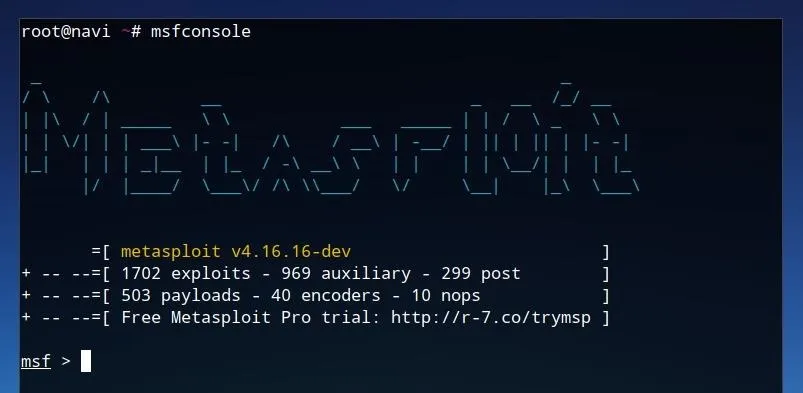
Launching Metasploit may initially print a number of database connection errors. While these will not necessarily limit the function required for this tutorial, using the database will speed usage of Metasploit when searching for certain modules. If you have already configured the database, it can be launched with service start postgresql or systemctl start postgresql. Once Metasploit is running, we can proceed with using the commands as defined in the scanning script. Entering the command below into the Metasploit console will load the module which can test for EternalBlue vulnerability.
use auxiliary/scanner/smb/smb_ms17_010
Once this module is loaded, we can view more information about it by typing info and pressing Enter.

This shows that it is indeed the desired detection module, checking for the "SMB RCE" vulnerability, or EternalBlue. To show the configuration options for the module, we can enter options and press Enter.
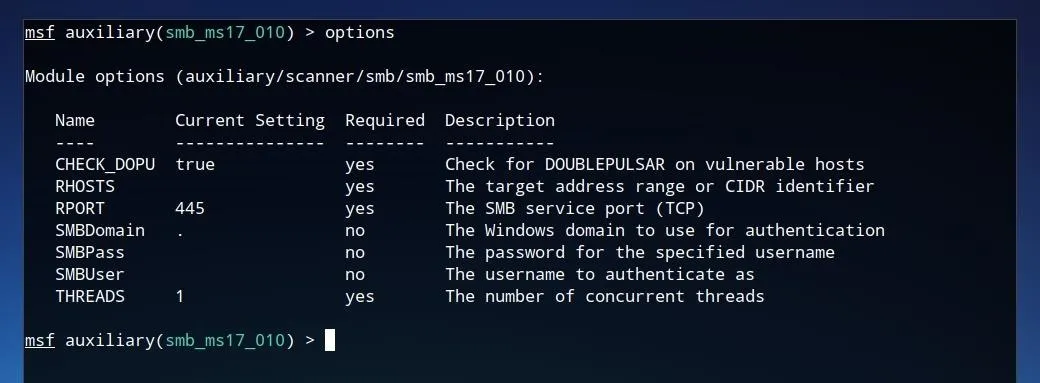
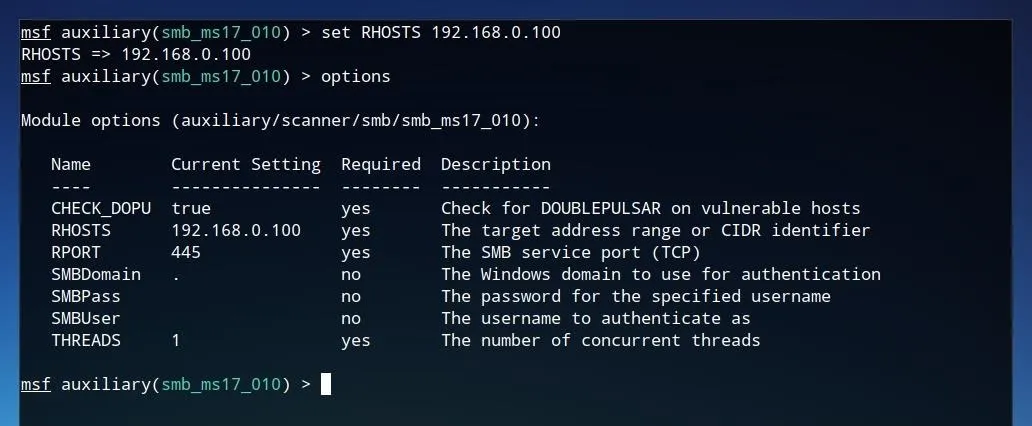
This shows a number of the configuration parameters which were automatically set within the Eternal Scanner script, such as "RHOSTS," "RPORT," and "THREADS." These configuration parameters can also be manually set by us. Some of them may already have defined values, but the most important, the target address, has most likely not been set. To set this parameter, we can use the set command, then the name of the setting, such as RHOSTS, followed by the IP which one wishes to test. This may be one of the same IP addresses discovered earlier by Masscan.
set RHOSTS 192.168.0.100
After this value is set, we can ensure the changes were written by running options again.
After all desired options are set, the vulnerability can be tested by simply typing exploit and pressing Enter.
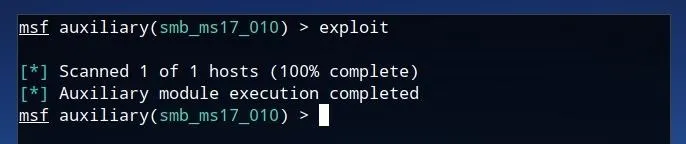
If the device is not vulnerable to the exploit, the module will complete its execution but the but the scanner will not return any results. This same methodology can be applied to many additional Metasploit modules. Additionally, the method in which Eternal Scanner called the Metasploit Framework to test these vulnerabilities could be applied for additional modules as well.
Defending Against Scanning-Based Attacks
The first line of defense is to minimize the number of vulnerable systems that could be discovered by maintaining updated systems. Scanning is a double-edged sword, and limiting your exposure involves being aware of what sort of fingerprint and internet presence your devices have.
This could involve checking the privacy and security settings for your devices, scanning for your own outgoing IP addresses on search engines such as Shodan, or even using port scanners such as Nmap and Masscan, as detailed in this tutorial, to be better aware of what your network looks like to a hacker.
The majority of automated attacks are derived from publicly released vulnerabilities, spurring a rush to find and exploit any unpatched devices by hackers. These vulnerabilities are rarely known to the public prior to a patch becoming available, so the best defense is good security settings with automatic updates enabled when possible.
Scan Your Network to Be the First to Know About Problems
While our guide focuses on how an attacker might use these tools, the same principals will apply to anyone trying to secure their network. Hackers using publicly released vulnerabilities need owners of the network to either fail to apply patches or be unaware there is an issue to be fixed in the first place, so you can take that power back by learning to scan your network. Discovering a serious vulnerability on your network first gives you the upper hand in responding to it, so learning to be aware is the first key to defending yourself.
I hope that you enjoyed this tutorial on web scanning for vulnerabilities! If you have any questions about this tutorial, feel free to leave a comment or reach me on Twitter @tahkion.
- Follow Null Byte on Twitter, Google+, and YouTube
- Follow WonderHowTo on Facebook, Twitter, Pinterest, and Google+
Cover photo by Kody/ Null Byt; Screenshots by TAKHION/Null Byte


Comments
Be the first, drop a comment!