


Welcome back, my budding hackers!
One of the most basic skills the forensic investigator must master is the acquisition of data in a forensically sound manner. If data is not captured in a forensically sound manner, it may not be admissible in court. In my Kali Forensics series, I showed you how to acquire a forensically sound, bit-by-bit image of a storage device such as a hard drive or flash drive, but now let's dive into live memory.
Why Capture Live Memory?
In some cases, the forensic investigator will need to grab an image of the live memory. Remember, RAM is volatile and once the system is turned off, any information in RAM will be lost. This information may include passwords, processes running, sockets open, clipboard contents, etc. All of this information must be captured before powering down the system or transporting it.
In addition, many hard drives are encrypted with such things as TrueCrypt and the password resides in RAM. If the hard drive is encrypted, then capturing volatile data is even more crucial as the hard drive information may be unavailable to the forensic investigator without it.
There are many tools for capturing data from memory, but one company, AccessData, has been providing their FTK (Forensic Tool Kit) Imager for years for free and, as a result, it has become the de facto standard in image capturing. You can download the FTK Imager here.
Using the FTK Imager to Capture Memory
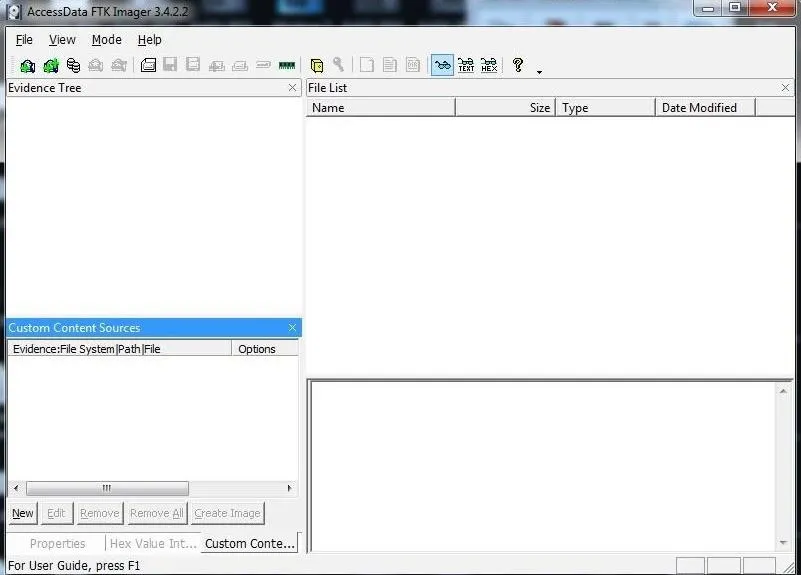
Once we have downloaded and installed FTK Imager, we should be greeted by a screen like that below.
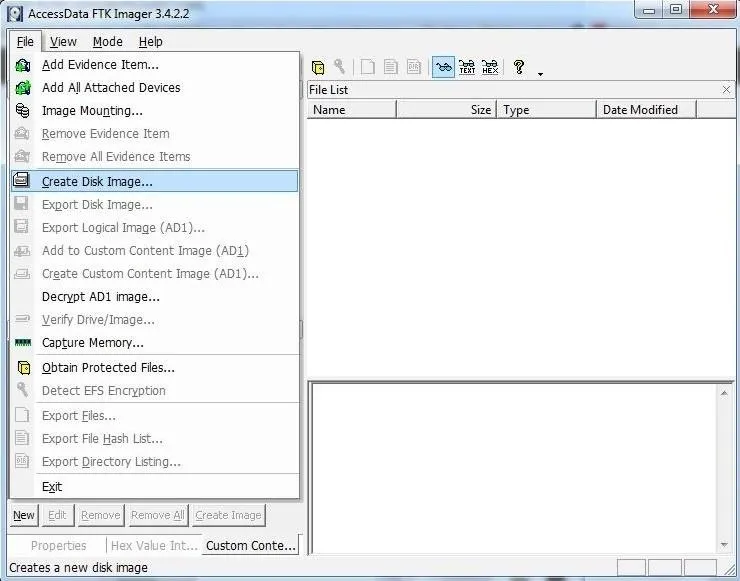
Next, click on the "File" pulldown menu and go to the "Capture Memory" selection.
It will open a window like that below. You will have to select where to store your memory dump, what to call the file, whether you want to include the page file (virtual memory), and whether you want to create an AD1 file (AccessData's proprietary data type).
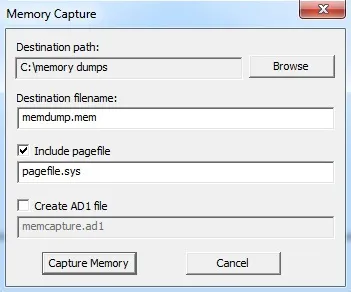
In my case, I created a directory called "memory dumps," named the file memdump.mem, included the virtual memory or pagefile, but did not create an AD1 file. I recommend you do something similar.
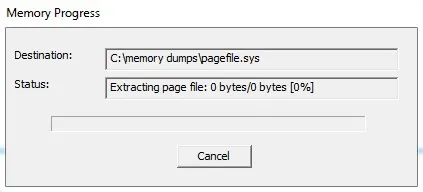
When you completed each of these, click the "Capture Memory" button.
This will start a window that will track the progress of your capture. If the system has a lot of memory, that could take awhile.
Volatility Memory Analysis Tool
Analyzing a memory capture is a bit different from a hard drive analysis. One of the beauties of memory analysis is the ability to actually recreate what the suspect was doing at the time of the system capture.
Among the most widely used tools for memory analysis is the open-source tool appropriately named Volatility. It is built into Kali Linux, so there's no need to download it. Simply transfer the memory image you captured to your Kali machine and we can begin our analysis.
If you aren't using Kali, you can download Volatility here. It has been ported for Window, Linux, and Mac OS X, so it will work on nearly any platform.
Using Volatility for Analysis
To use Volatility, navigate to /usr/share/volatility.
kali > cd /usr/share/volatility
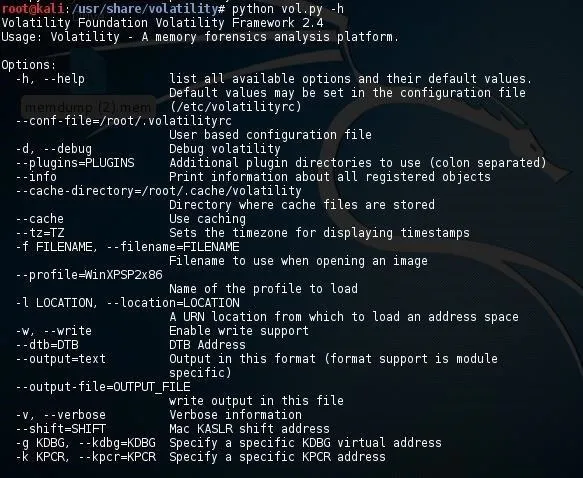
Since Volatility is a python script, you will need to preface the command with the keyword python. To view the help page, type:
kali > python vol.py -h
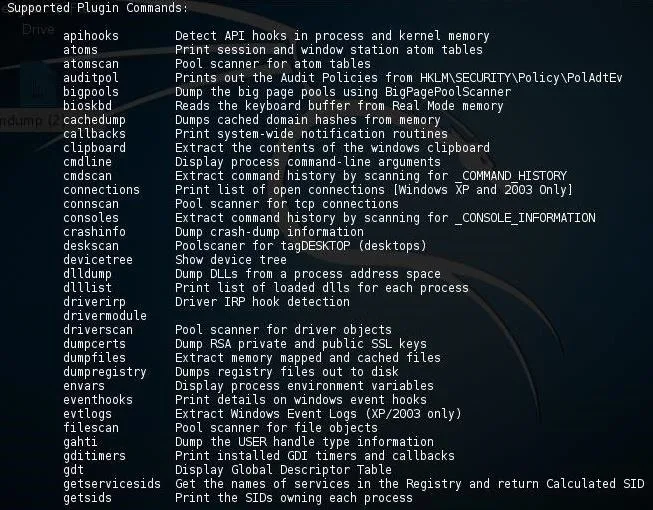
This will display a long list a command options.
And plugins.
Before we can do any work on this memory image, we first need to get the profile of the image. This will retrieve key information from the image. This profile will then help volatility to determine where in the memory capture key information resides as each operating system places information in different address spaces.
To get the profile, type:
kali > python vol.py imageinfo -f /location of your imagefile
For instance, I put my image on my desktop, so my command would be:
kali > python vol.py imageinfo -f /root/Desktop/memdump.mem
This command will examine the memory file for evidence of the operating system and other key information.
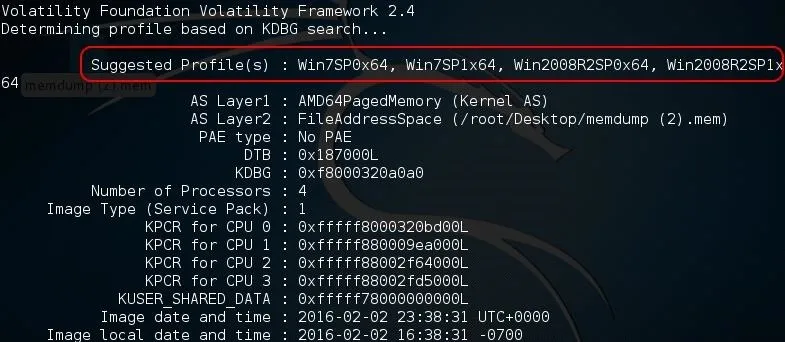
As you can see in the screenshot above, Volatility identified the OS as Win7SP0x64 (Windows 7, no service pack, 64-bit). It also identifies AS layer1 and 2, the number of processors, the service pack, and the physical address space for each processor, among many other things.
Using the Profile
Now that we have recovered the profile of this memory dump, we can begin to use some of the other functionality of Volatility. For instance, if we wanted to list the registry hives including SAM, we could use the hiveinfo plugin by typing:
kali > python vol.py --profile Win7SP1x64 hiveinfo -f /locationof your image/
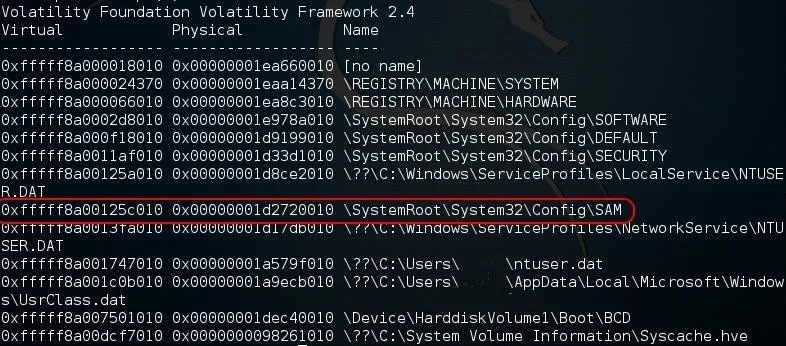
Note that Volatility was able to list all of the hives including their virtual and physical location in RAM.
Volatility is a powerful memory analysis tool with tens of plugins that enable us to find evidence of what the suspect was doing at the time of computer seizure. In future tutorials, I will show you more of the multitude of uses of this tool and how we can use it to find evidence of the activities of the suspect. So keep coming back, my budding hackers!
Cover image via Shutterstock


Comments
Be the first, drop a comment!