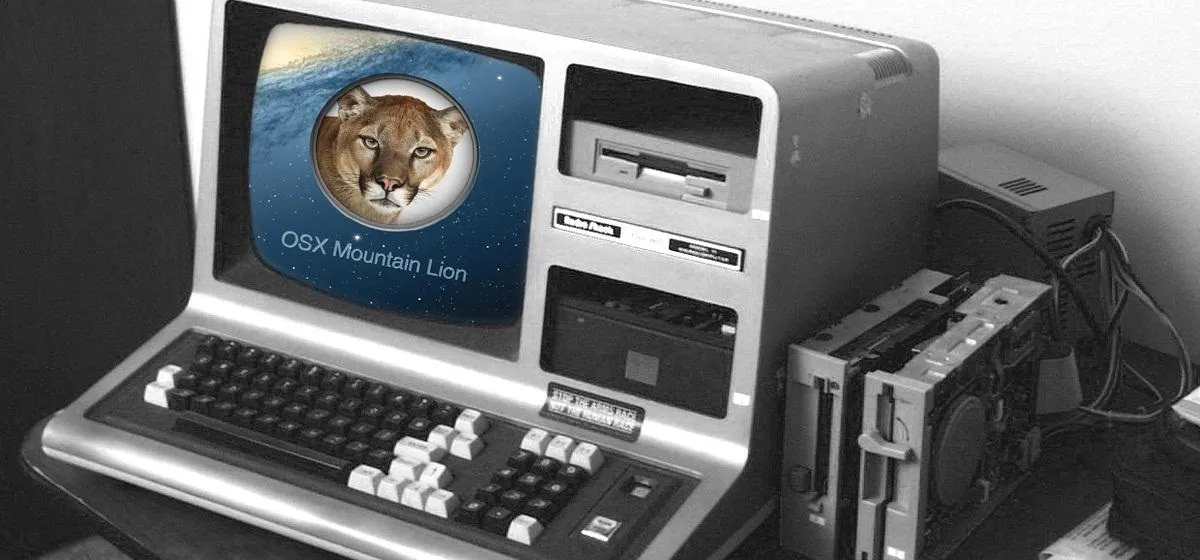
Have a PC but hate Windows? Maybe you've just heard a ton about the new MountainLionOS X and want to see if it lives up to expectations. Either way, you can install Mountain Lion on your Intel-based PC in a few easy steps. All you need is a copy of the OS X and an 8 GB USB flash drive.

The first step is getting Mountain Lion onto the flash drive. You'll need to format the drive with one partition as Mac OS Extended, Journaled and select Master Boot Record under options so that it's able to boot on a PC. If you need some help formatting or creating the drive, here's a step-by-step guide.
To make sure you have all the correct settings files, you'll need to create a free account on TonyMacX86. Under Resources, choose DSDT, then select your motherboard from the list. Download Unibeast for Mountain Lion (also under Resources).
Next, open the BIOS on your PC and set the drive controllers to AHCI. Restart your system, booting from your USB drive. It depends on what type of system you have, but you can access this menu on a lot of machines by pressing F12 while it's booting.
You should see a screen that looks something like this:
Select the USB drive and hit enter. This should start the installation process. Once it finishes, reboot using the USB again, but this time select the hard drive you've just installed.
Drag your DSDT file onto the desktop, then download and run Multibeast. Choose UserDSDT from the menu and run the app to finish installing all the drivers you'll need.
And there you go—your very own Hackintosh computer. For more details and troubleshooting, check out tonymacx86's guide.
Images by James Bruce, Techarta


Comments
Be the first, drop a comment!