


Kali Linux is established as the go-to operating system for penetration testing, but in its default configuration, it's less than ideal for regular desktop use. While in many scenarios, a live boot or virtual environment can resolve these issues, in some situations, a full installation is better. A few simple changes can be made to a Kali Linux desktop to make it safer to use in this environment.
Kali, unlike other Linux distros, is designed with the sole intention of acting as a penetration test toolkit. This means that while the desktop-focused tools such as office suites and games are by no means neglected, they are not the focus of the developers. The distro is primarily configured for temporary use, shown in the way it defaults to a single-user mode, a choice which would go against security best practices for a desktop-focused distribution. There are a few other common ways to use Kali besides installing it in the way of a traditional operating system.
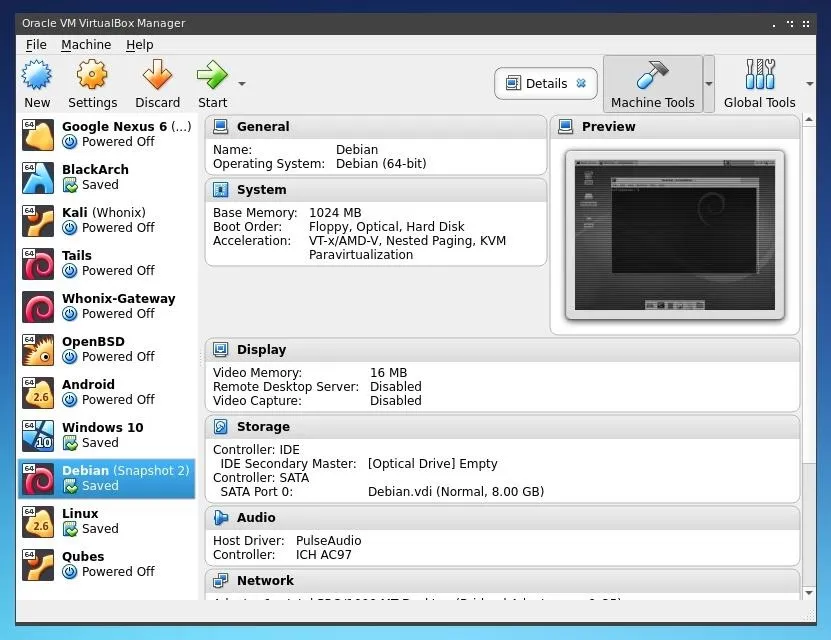
VirtualBox is a popular cross-platform virtualization tool.
The most convenient way to use Kali is likely by running it within a virtual machine. Tools like VirtualBox allow one to use other operating systems within a sandbox environment on a Windows, macOS, Linux, or BSD host operating system. The limitations of a virtual machine include potentially difficult configuration, higher memory usage, slower performance, and problems interfacing with network hardware. Some of these issues may be resolved by running Kali as a live boot.
- Don't Miss: Fully Anonymize Kali with Tor, Whonix & PIA VPN
Using Kali as a live boot means creating a bootable disk image on an external drive and booting from this device rather than the operating system installed on the hard drive of a system. This allows direct access to the system and network hardware, as the additional layer of a host OS used for virtualization can be bypassed. Kali also provides persistent and encrypted live image options, meaning that any work done within a live setup can be saved to the same drive. While this persistence makes Kali very useful as a live system, system performance and storage space can become an issue.
If neither of these, Kali can also be run as a Windows subsystem, if you'd like to continue using Windows without the need for even a reboot, nor a full virtual machine environment.
Kali is by no means recommended or ideal for primary desktop usage. To quote the Kali Linux documentation:
The fact of the matter is, however, that Kali is a Linux distribution specifically geared towards professional penetration testers and security specialists, and given its unique nature, it is NOT a recommended distribution if you're unfamiliar with Linux or are looking for a general-purpose Linux desktop distribution for development, web design, gaming, etc.
If you are simply looking for an operating system to perform regular tasks as well as learn pen-testing, consider that nearly all of the tools included in Kali can be compiled or installed on other platforms as well.
If you do, however, choose to install Kali Linux, there are a few steps which can be taken to make it more practical for regular desktop usage as well as penetration testing. This can be useful for longer projects, producing documentation or reports during an engagement, or for limiting the number of operating systems and partitions one may need on a given system.
Installing Kali
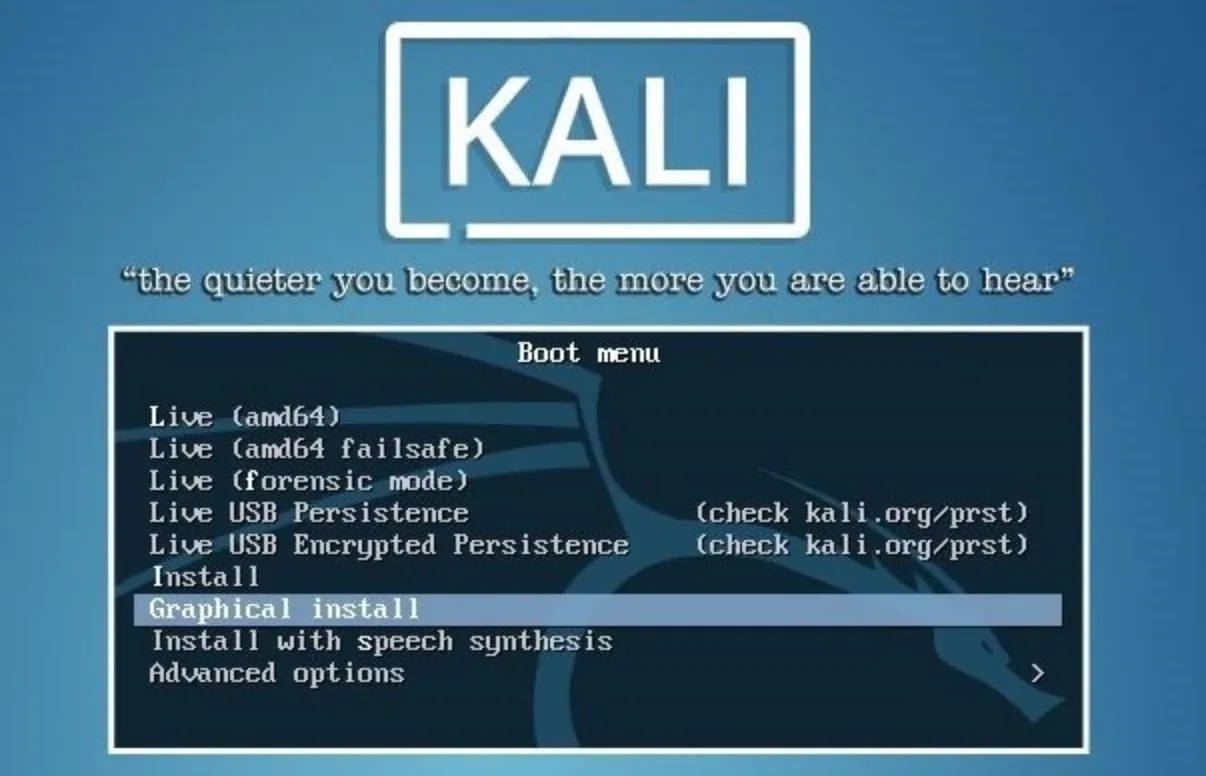
Once you've created an installation medium, such as a CD or USB drive, boot from it on the device you would like to install Kali on. When the boot menu appears, use the arrow keys and Enter to select the "Graphical install" option, rather than booting into the "Live" or text install options.
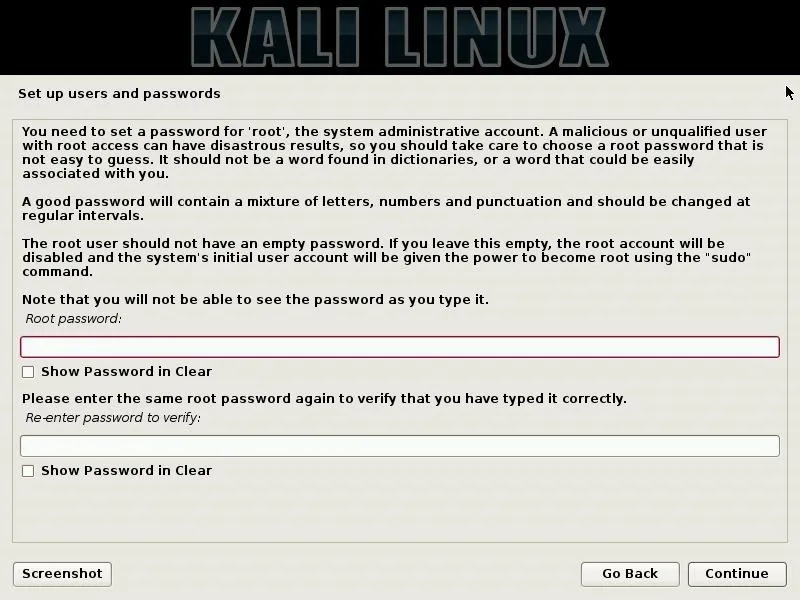
Installing Kali should be familiar to anyone who has ever installed any other Linux distro. The graphical installer is well guided and simple to understand. When installing Kali, there are two specific installation step which you may wish to pay special attention to. The first of these is the "Set up users and passwords" page.
On this page, one can define the root password for the system. This will be used to administer the installation after it's complete, and it will also be used for any commands which require superuser privileges. Keep in mind that this password can represent a substantial security consideration, so make sure that it is strong, but also consider that you may need to type it relatively frequently.
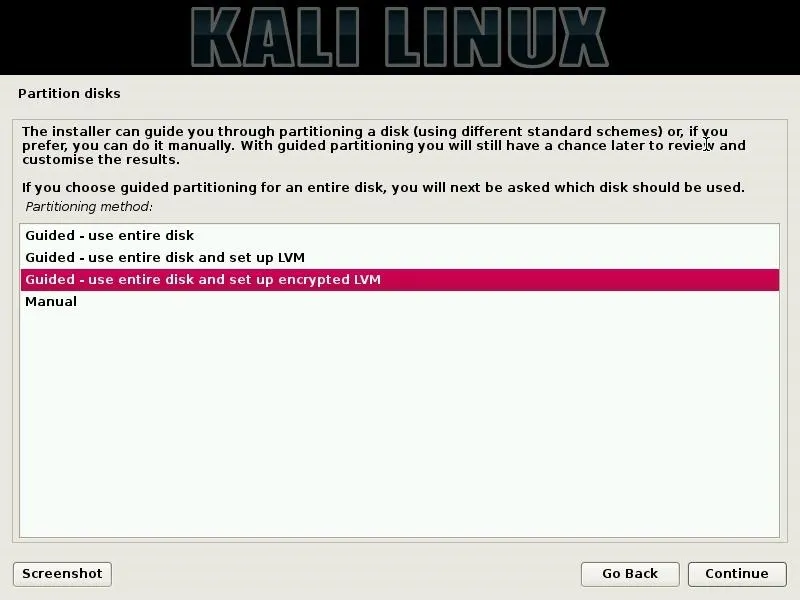
For security concerns, it may also be worth considering your partition configuration carefully. A disk installation of an operating system will not be protected by the host operating system of a virtual machine, nor by the live "encrypted persistence" option of a live boot. Instead, one may choose to set up an encrypted LVM partition, such that the entire system can be encrypted and safe even while the device it's installed on is powered off.
Once the installation is completed, you can log directly into the root user account and load the default Kali user environment.
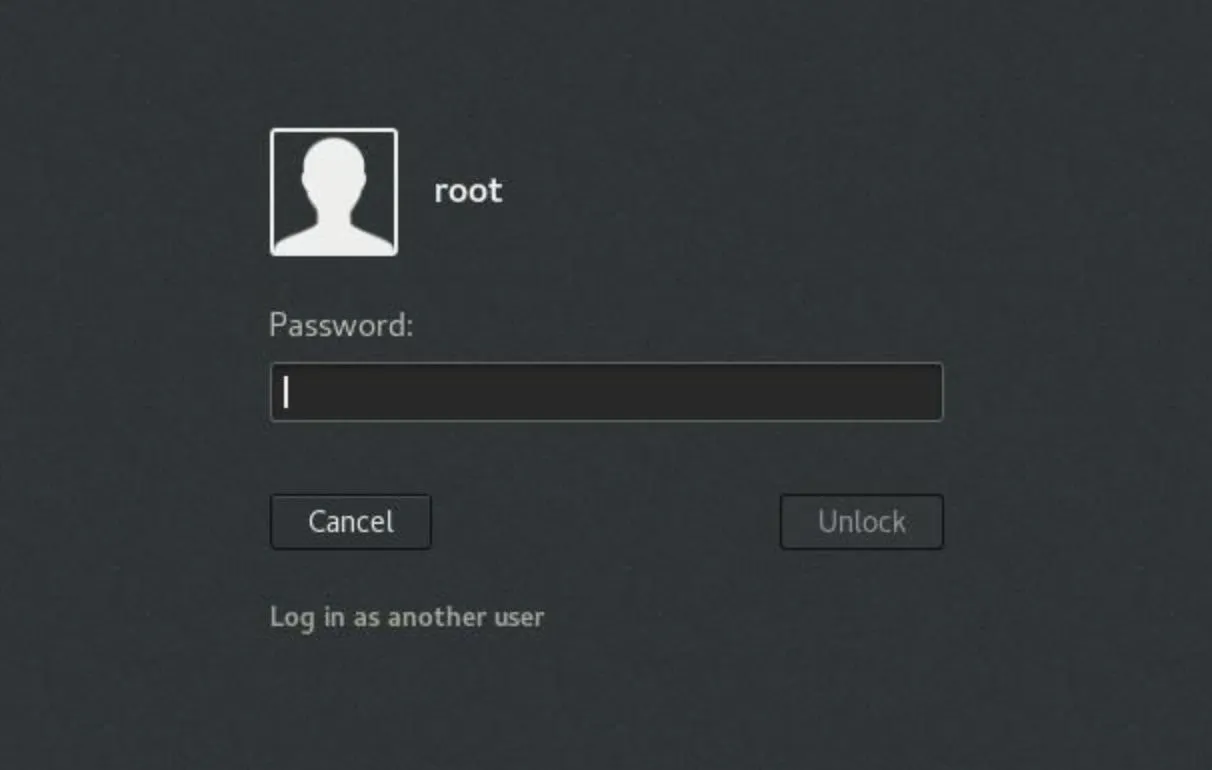
From this desktop environment, we can begin to configure Kali to make it more suitable and secure for desktop use.
Configuring User Accounts
In the default Kali configuration, the operating system is single-user. This user account is the root account, or superuser account, designed on most systems to separate privileges such that only one user account is able to do certain tasks. On Kali, this is convenient for most usage as there is no need to switch between users.
On a regular desktop-focused Linux distribution, these privileges are separated for security reasons. When running as an unprivileged user, any tasks run or tools installed will need to be specifically granted these privileges each time they are used. This greatly limits the possibility of abuse or misuse.
If you intend to use Kali as anything other than purely a penetration testing toolkit, it may be worth your time to configure a separate unprivileged user account. If you run whoami on a default Kali installation, you'll see that you are running as the root user.
root@kali:~# whoami
root
root@kali:~# _
While running as root is not a good security practice for a desktop distro, it will simplify the process of creating a new user. To begin creating a new account, run the command below, replacing "username" with the name of the new user you would like to create.
adduser -m usernameThis will create a new user account, as well as a new home directory for the user. We can confirm the existence of this new directory by running ls /home/.
root@kali:~# useradd -m nullbyte
root@kali:~# ls /home/
nullbyte
root@kali:~# _
Next, we can set a password for this newly created user account. This password should be different than your root password. To set it, run the command below, replacing "username" with the username of the account you previously created.
passwd usernameAfter running this command, you will be prompted to type and retype your new password.
root@kali:~# passwd nullbyte
Enter new UNIX password:
Retype new UNIX password:
passwd: password updated successfully
root@kali:~# _
Once a user account and password are created, we can set privileges for the new account. The main change we'll make is adding the user to the "Sudoers" user group. This group allows any user within it to utilize Sudo, which allows them to run commands as other users. The name of the tool originally stood for "superuser do" but now is generally expanded to "substitute user do" as it allows commands to be run as other users, besides just root. In the case of Kali, Sudo will generally be used to run commands which require root privileges while running as an unprivileged user.
To add the newly created user to the "sudo" user group, one can run the command below, replacing "username" with the username of the user you would like to add.
usermod -aG sudo usernameAs you can see below, I'm doing it for my nullbyte user.
root@kali:~# usermod -aG sudo nullbyte
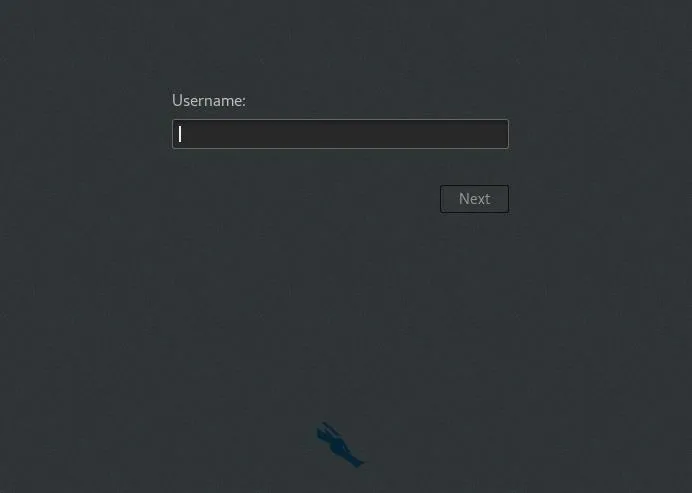
root@kali:~# _After this user is created, one can log out and log back into the user account from the main Kali login screen. To do this, simply type the username of the new user rather than that of the root user account.
Once logged in, one can open a new terminal window, and upon running whoami, see the username of the new user account. In this new terminal window, it may also be noted that the shell in use appears slightly different from the root user shell. This is because the shell for the new user has not yet been set to BASH. To set it, run the command below, replacing "username" with your account name.
chsh -s /bin/bash usernameFor example, here's what the terminal should look like for my nullbyte user:
$ whoami
nullbyte
$ chsh -s /bin/bash nullbyte
Password:
$ _
Now that a new user account and shell has been configured, the account is ready to use! Commands you wish to run as root can be prefaced with "sudo" when running as a standard user, maintaining the security and isolation of privileges provided by most standard Linux desktops.
Changing Network Service Policies
As stated in the Kali documentation, "Kali Linux deals with network services in a very different way than typical Linux distributions. Specifically, Kali does not enable any externally-listening services by default with the goal of minimizing exposure when in a default state." These changes mean that Kali "will disallow network services from persisting across reboots by default."
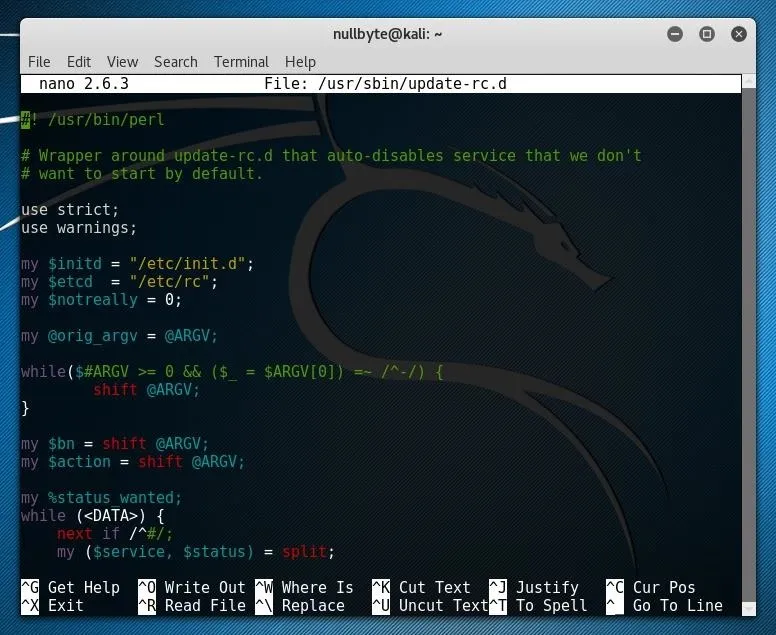
This means that certain network services you choose to install may initially work, but then mysteriously fail during reboots. While it's possible to manually start these services using the "systemctl" component of Systemd, if you would like for a service to persist through reboots, you'll need to edit the whitelist/blacklist.
To edit this file using Nano, you can run the command below.
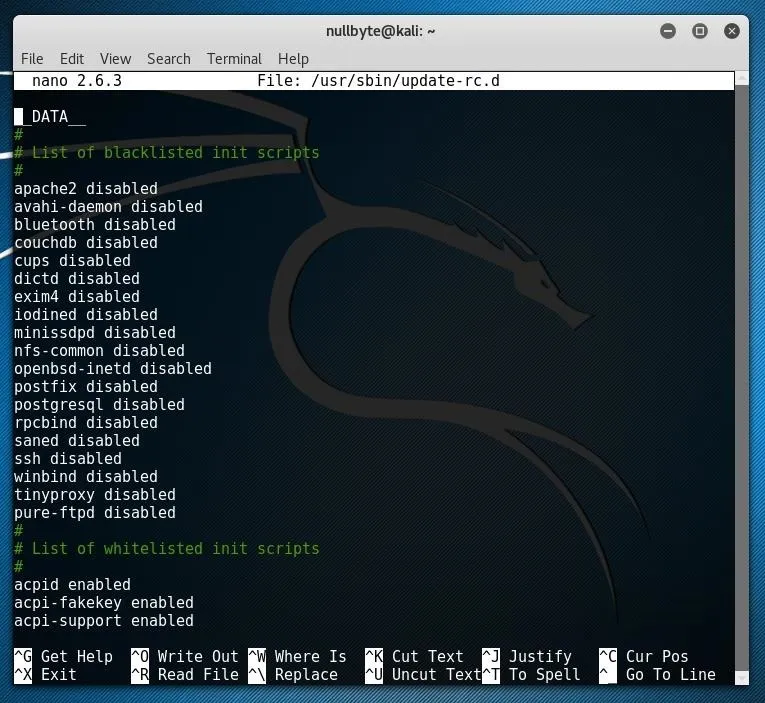
sudo nano /usr/sbin/update-rc.dWhile the beginning of the file looks more like a Perl script than a whitelist, scrolling further into the file, one can see a section specifically for the whitelist and blacklist.
If you have a service you'd like to add to the whitelist, first ensure that it is not included in the blacklist section of the file. If it is, remove the line before continuing. To add a new entry, simply type the name of the service followed by enabled on a line within the whitelist section.
After you are done editing this file, you can save your changes by pressing Ctrl+O and exit with Ctrl+X. Any changes which are made to startup initialization services should take effect on the next reboot.
Enabling Kali Rolling
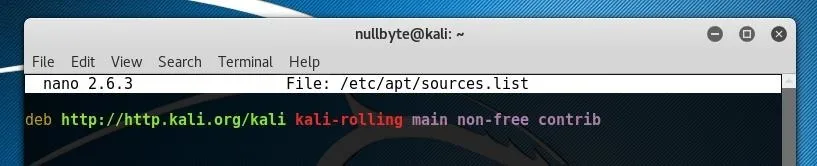
After installing Kali, you should check your repository sources to ensure that the correct address is set. Run the command below to edit the file in Nano.
sudo nano /etc/apt/sources.listConfirm that the file includes the line below and that it is not commented out by a # symbol at the beginning of the line.
deb http://http.kali.org/kali kali-rolling main non-free contribAfter ensuring this line is present or adding it to the file, press Ctrl+O and then press Ctrl+X to save changes.
After this file is updated, you can update the system, or choose to upgrade it. First, run the apt-get command below to update the repositories.
sudo apt-get updateIf you wish to perform a full system upgrade and install the newest version of all installed software, you can also choose to run the command below.
sudo apt-get upgradeOnce your repositories are updated and the system is up to date, you can also begin to install additional software to further configure your Kali installation.
nullbyte@kali:~$ sudo nano /etc/apt/sources.list
nullbyte@kali:~$ sudo apt-get update
Get:1 http://mirrors.ocf.berkley.edu/kali kali-rolling InRelease [30.5 kB]
Ign:1 http://mirrors.ocf.berkley.edu/kali kali-rolling InRelease
Get:2 http://mirrors.ocf.berkley.edu/kali kali-rolling/main amd64 Packages [16.0 MB]
15% [2 Packages 22.9 kB/16.0 MB 0%]_
Customizing the Desktop Interface
One choice you may choose to make is to change the desktop environment to your own taste. This may be a purely visual choice, one based on performance, or a workflow decision such as choosing a stacking or tiling window manager.
The Kali "Rolling" repositories offer a number of packages providing standard desktop interfaces and window managers. For one example, we'll install XFCE. First, run the command below to install the XFCE4 meta-package, containing the major components of the desktop environment.
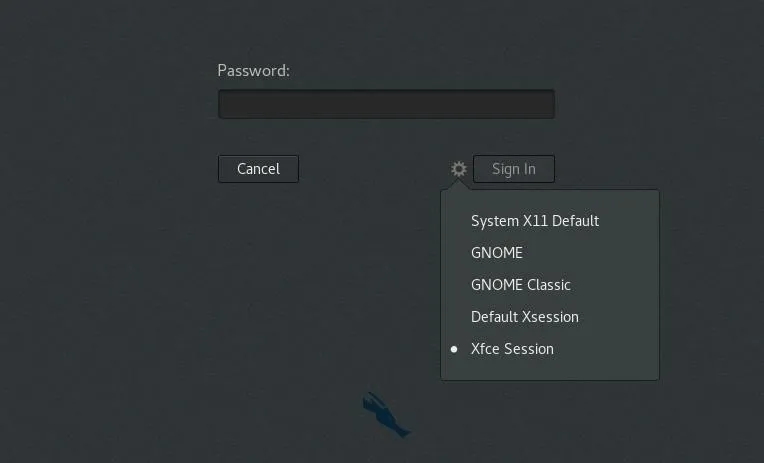
sudo apt-get install xfce4After XFCE is installed, upon reboot it will become available for use. After entering your username on the login screen, press the cog icon below the password field and select the desktop environment you would like to use, in this case, "Xfce Session."
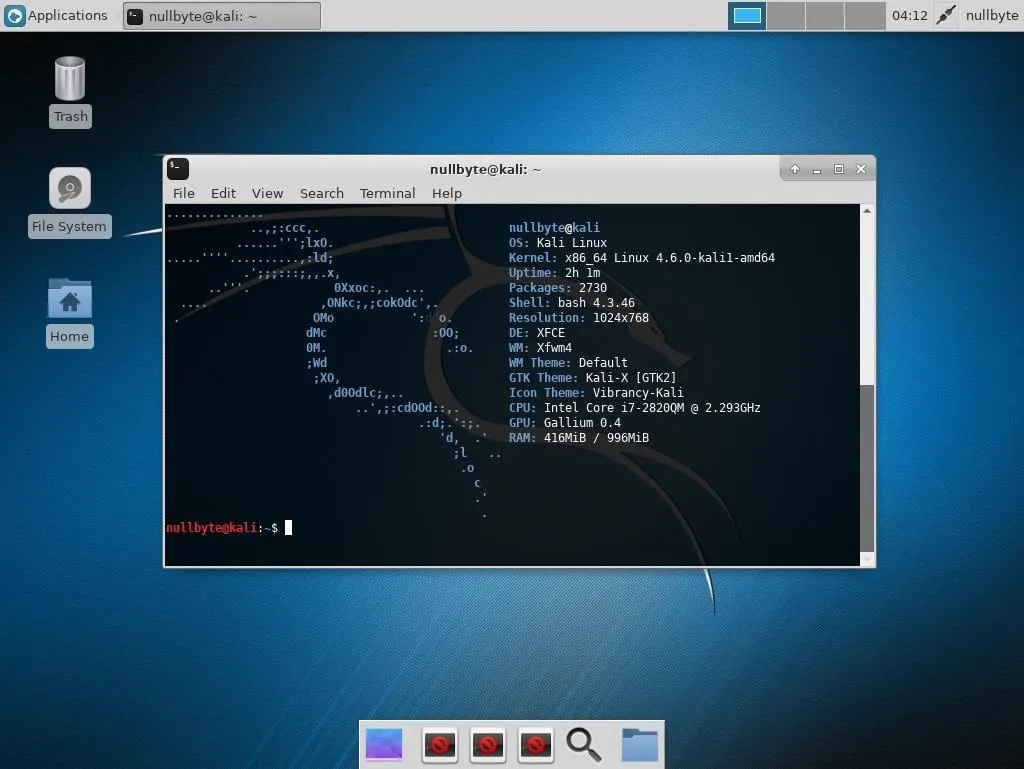
After booting, the system will now load whatever desktop was selected within the login manager.
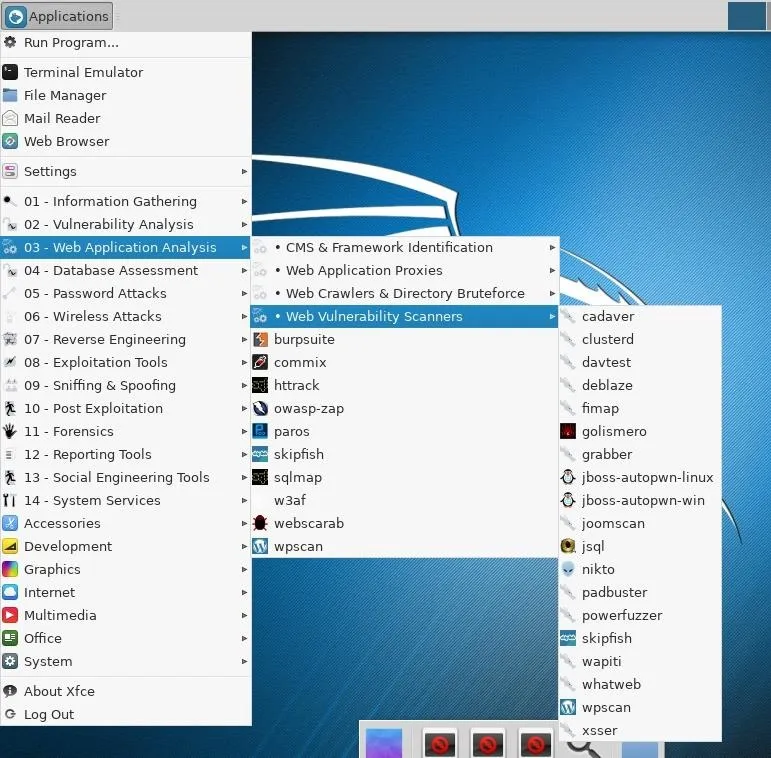
In addition to offering additional configuration options, in some situations, a new desktop environment will also inherit Kali's vast menu of penetration testing tools, as shown in the image below.
With countless choices of desktop environments and window managers such as GNOME, KDE, XFCE, LXDE, OpenBox, i3, and more, the possibilities of improving your operating system workflow on any Linux platform, including Kali, are practically endless. Even if Kali was not originally intended for desktop use, the support and cross-compatibility provided by the free software community mean it can be very easily adapted to a wide array of situations.
Thanks for reading! If you have any questions, you can leave a comment below or hit me up on Twitter at @tahkion.
- Follow Null Byte on Twitter and Google+
- Follow WonderHowTo on Facebook, Twitter, Pinterest, and Google+
Cover image by StockSnap/Pixabay (original); Screenshots by Takhion/Null Byte


Comments
Be the first, drop a comment!