


OpenVAS is a powerful vulnerability assessment tool. Forked from Nessus after Nessus became a proprietary product, OpenVAS stepped in to fill the niche. OpenVAS really shines for information gathering in large networks where manual scanning to establish a foothold can be time-consuming. OpenVAS is also helpful for administrators who need to identify potential security issues on a network.
In this article, I will demonstrate the configuration and installation of OpenVAS, or Open Vulnerability Assessment System, in Kali Linux.
We're Going to Need a Shell for This
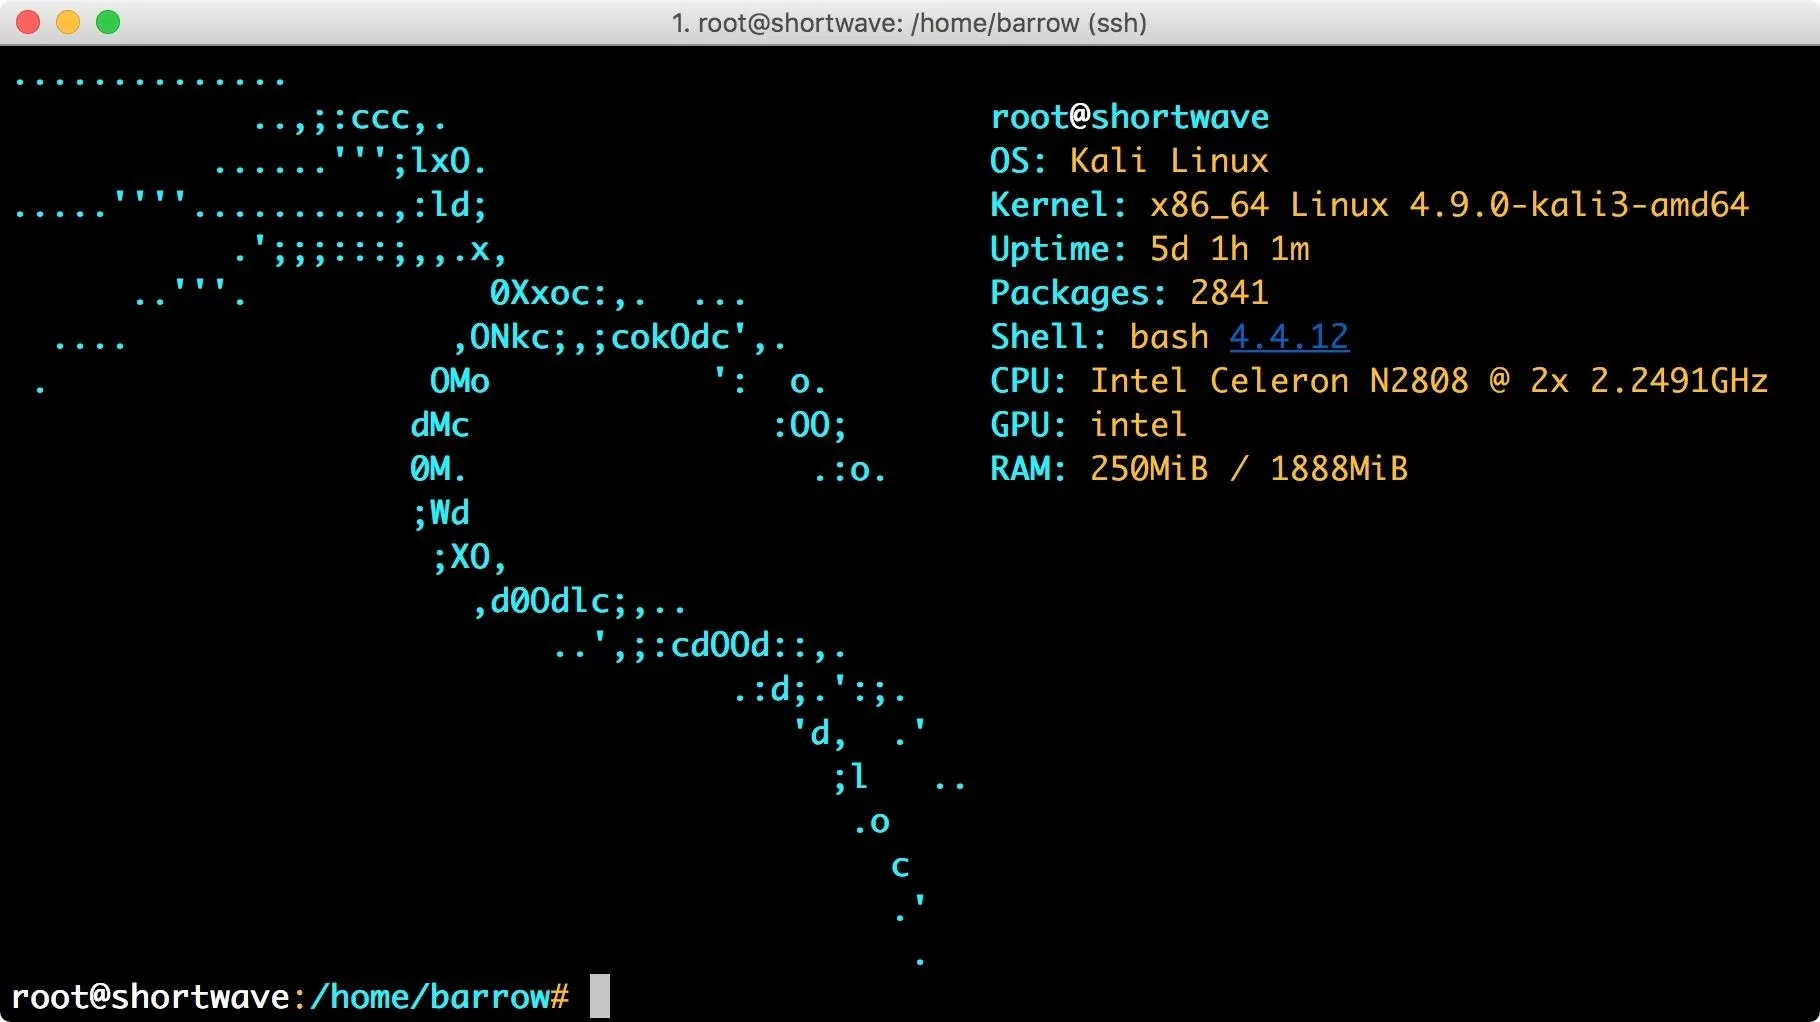
The first step is to open your favorite terminal emulator and become root by typing sudo su. In my case, I am using SSH to connect to my headless Kali box. While this will work on most machines running Kali Linux, you can set up your own Kali Linux hacking computer on the $35 Raspberry Pi. From here on out, I will be assuming that you are running as root.
Kali is a rolling distro. We want to be sure we have the most up-to-date package lists and the most up-to-date packages installed. So be sure to run the command:
apt update && apt upgrade
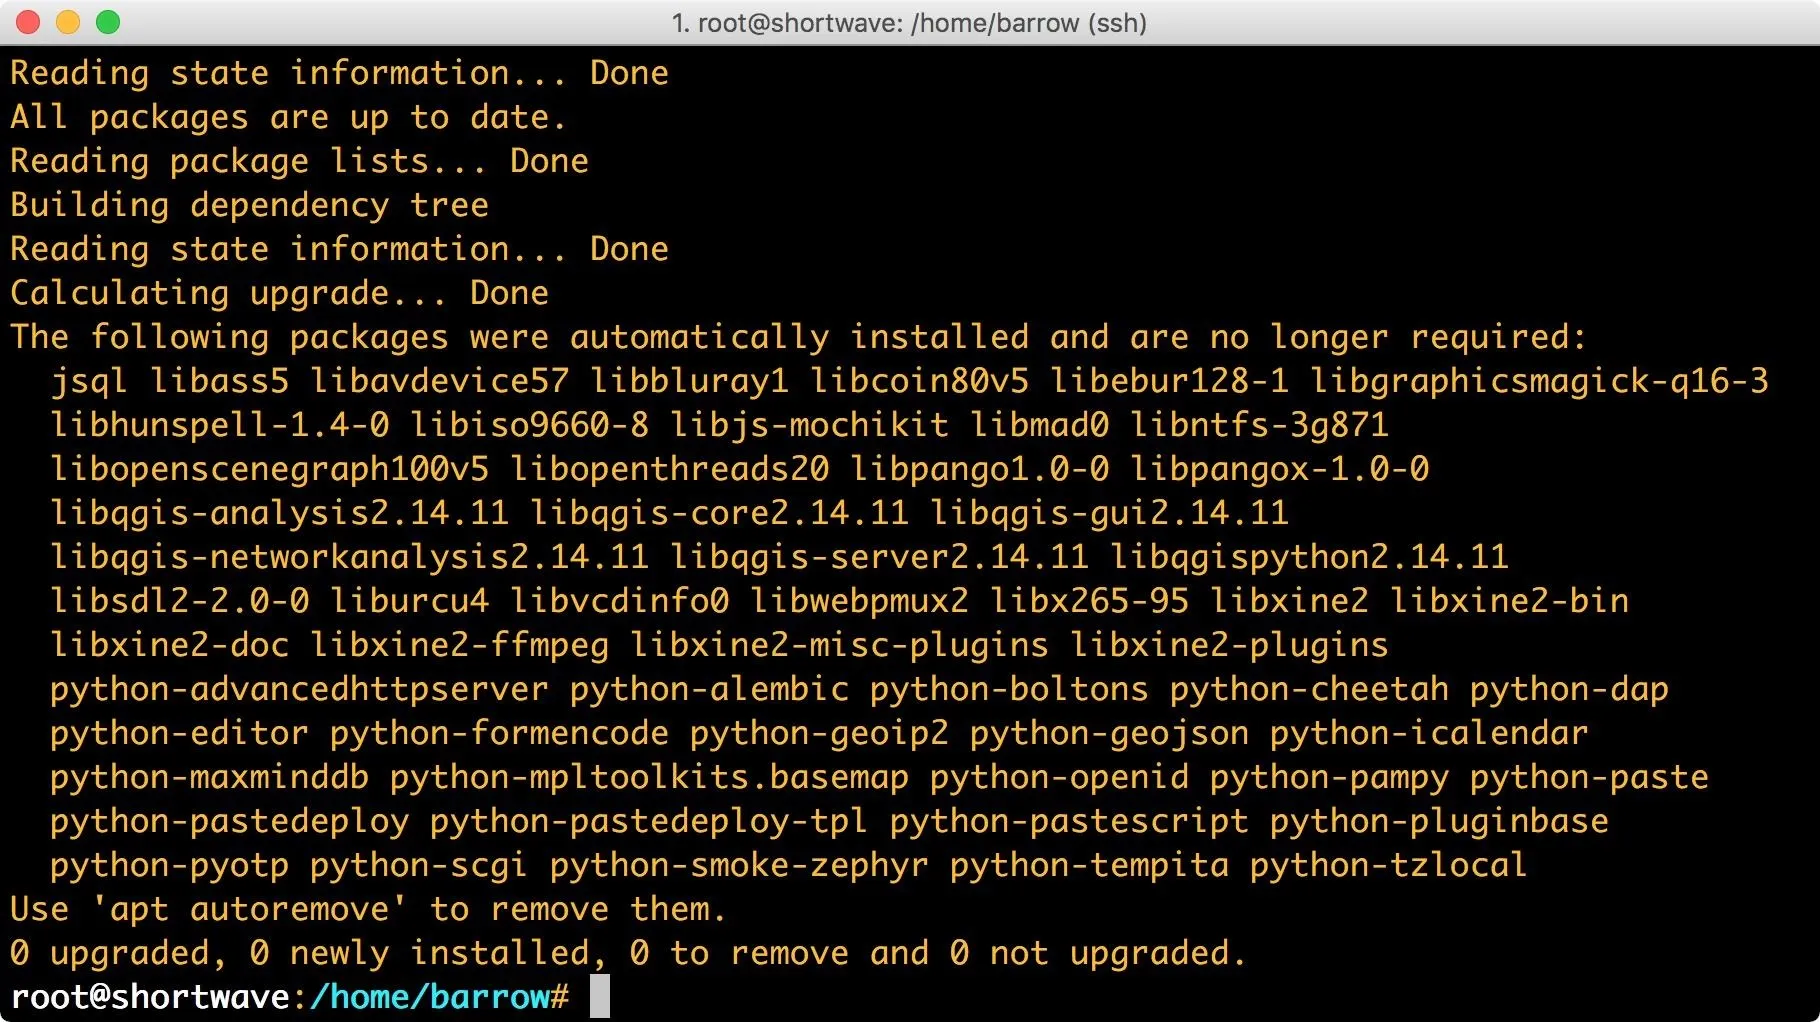
In the screenshot above, it looks like I have some packages that are no longer required. If you encounter the same message, you can safely remove the unnecessary packages with:
apt autoremove && apt clean
This helps maintain a leaner system which is important in situations where disk space is tight. To clear out unused packages, use apt autoremove. To clear out .deb packages left over in your /var/cache/apt/archives directory, use apt clean.
Install the OpenVAS Package
Like most mainstream security tools, OpenVAS is available from the Kali repositories. To install it, simply issue the command:
apt install openvas
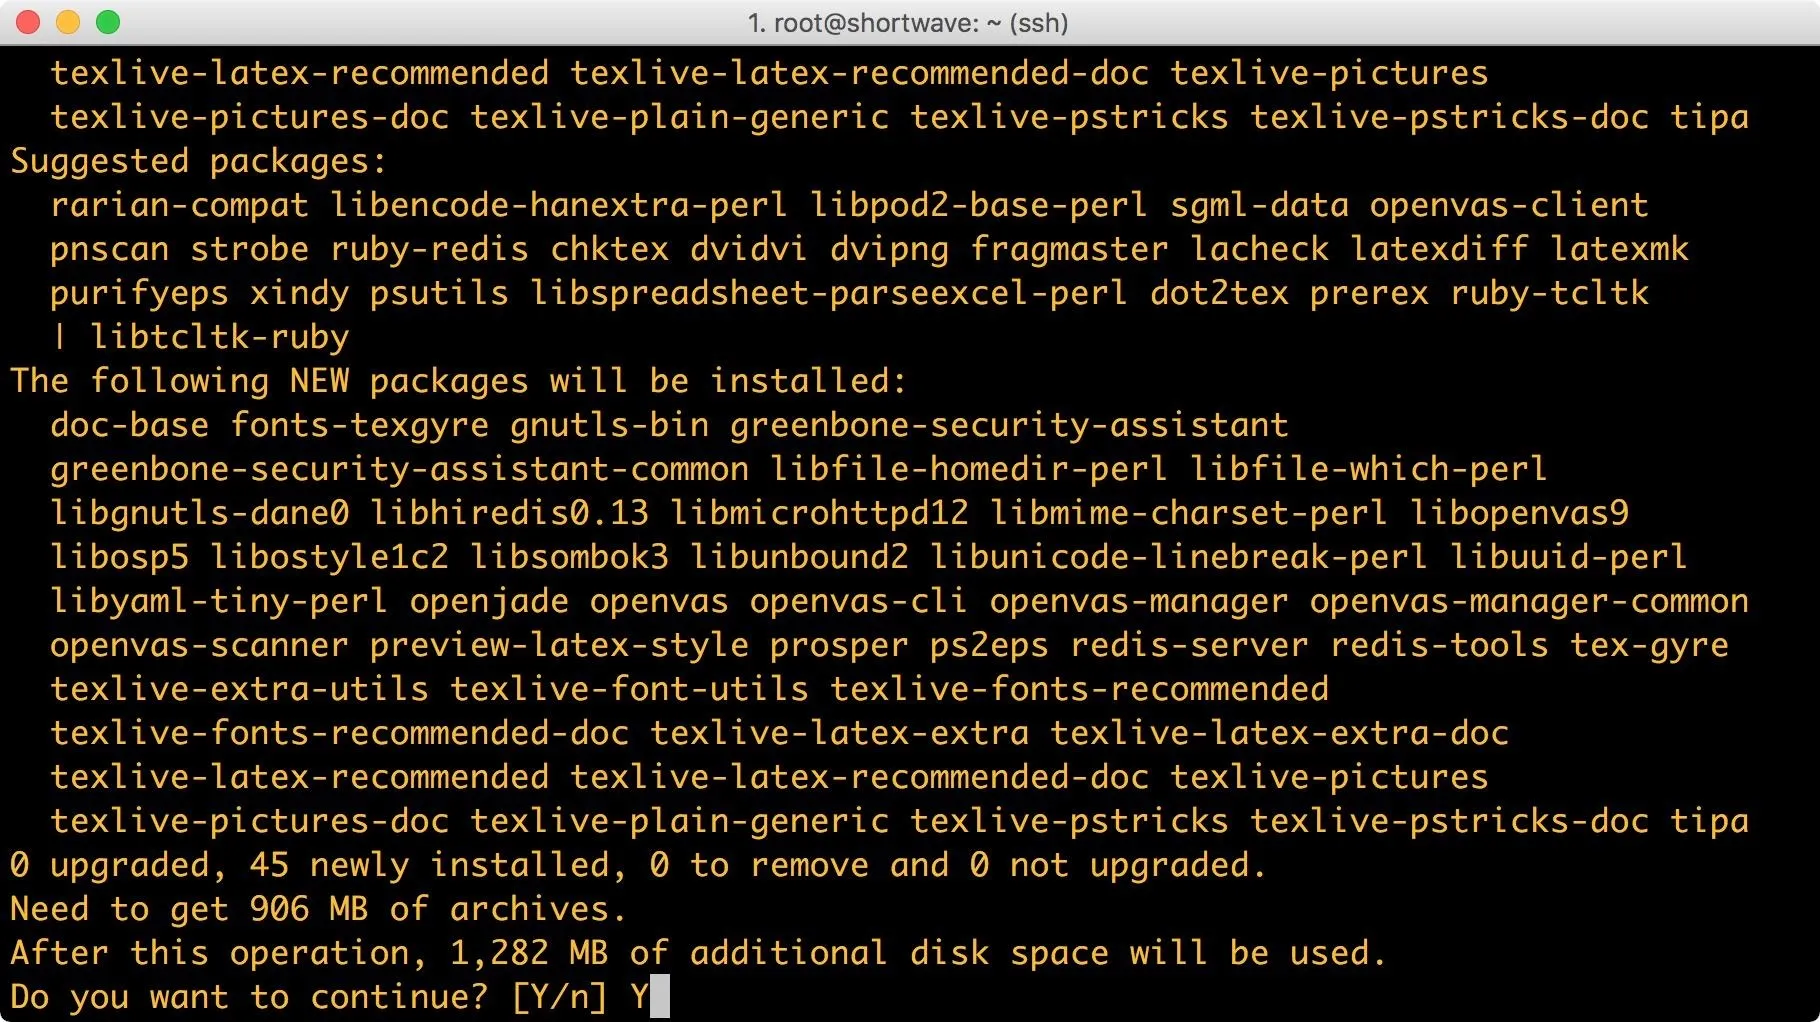
If the proposed changes to your system look acceptable, press the enter key. If not, hit n on your keyboard and press enter. These changes look acceptable to me. It may be important to note the size of OpenVAS. It clocks in around a gigabyte, which may be too heavy for systems with smaller disks.
Set Up OpenVAS
Unlike many packages in Kali Linux which can simply be installed and then run, OpenVAS requires some additional user interaction. Luckily, this process is, for the most part, automated.
We will be running the command:
openvas-setup
But before we do, let's have a look at the setup script itself. I usually like to read through shell scripts just to get some insight into what will be done to my system. The easiest way to read the file is by issuing the command:
cat `which openvas-setup` | less
Let's break this command down a little bit more. The cat utility will print files to standard output. In order to save on typing, I have enclosed which openvas-setup in back ticks. Bash will evaluate the command in the back ticks first giving me the path of the OpenVAS setup script. I then pipe it into less (my preferred pager) so that I can read through it.
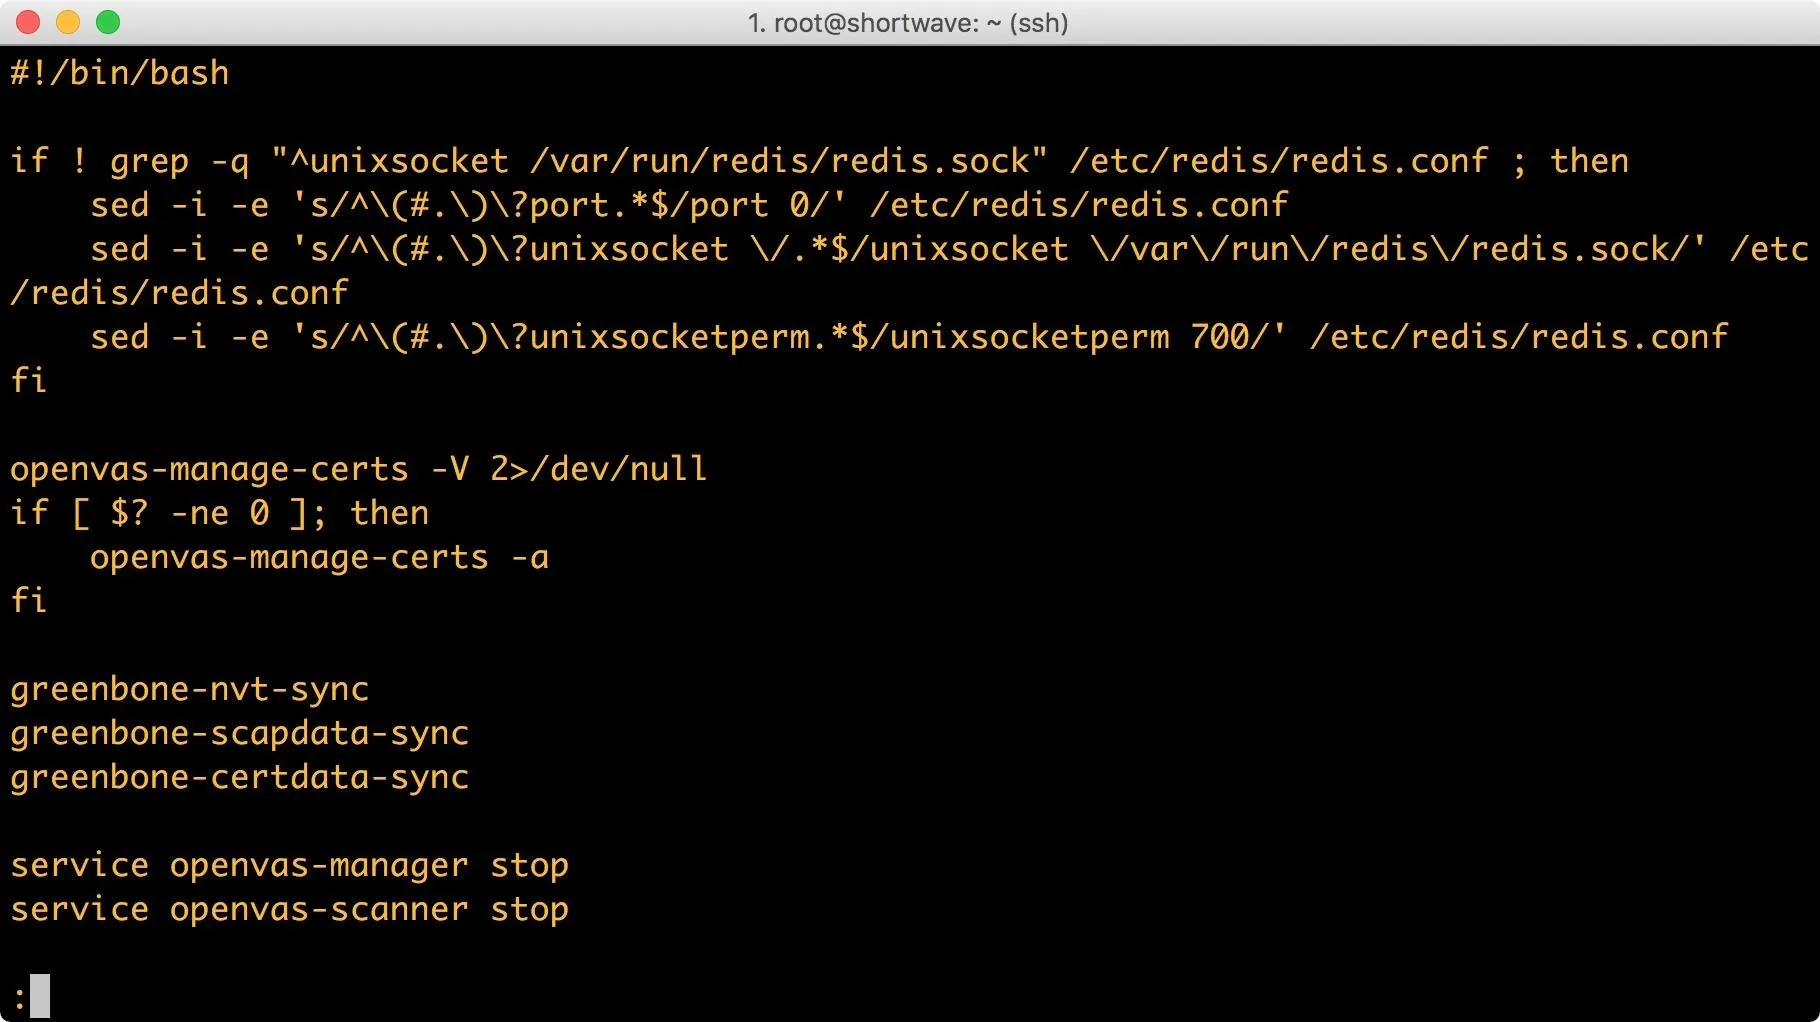
Looking over scripts before running them as root is almost always a good idea. While detailing the entirety of what this script does is beyond the scope of this article, if it is confusing, I recommend doing some reading on Bash scripting.
Since we're satisfied that script isn't going to harm our machine, we'll execute it with the command:
openvas-setup
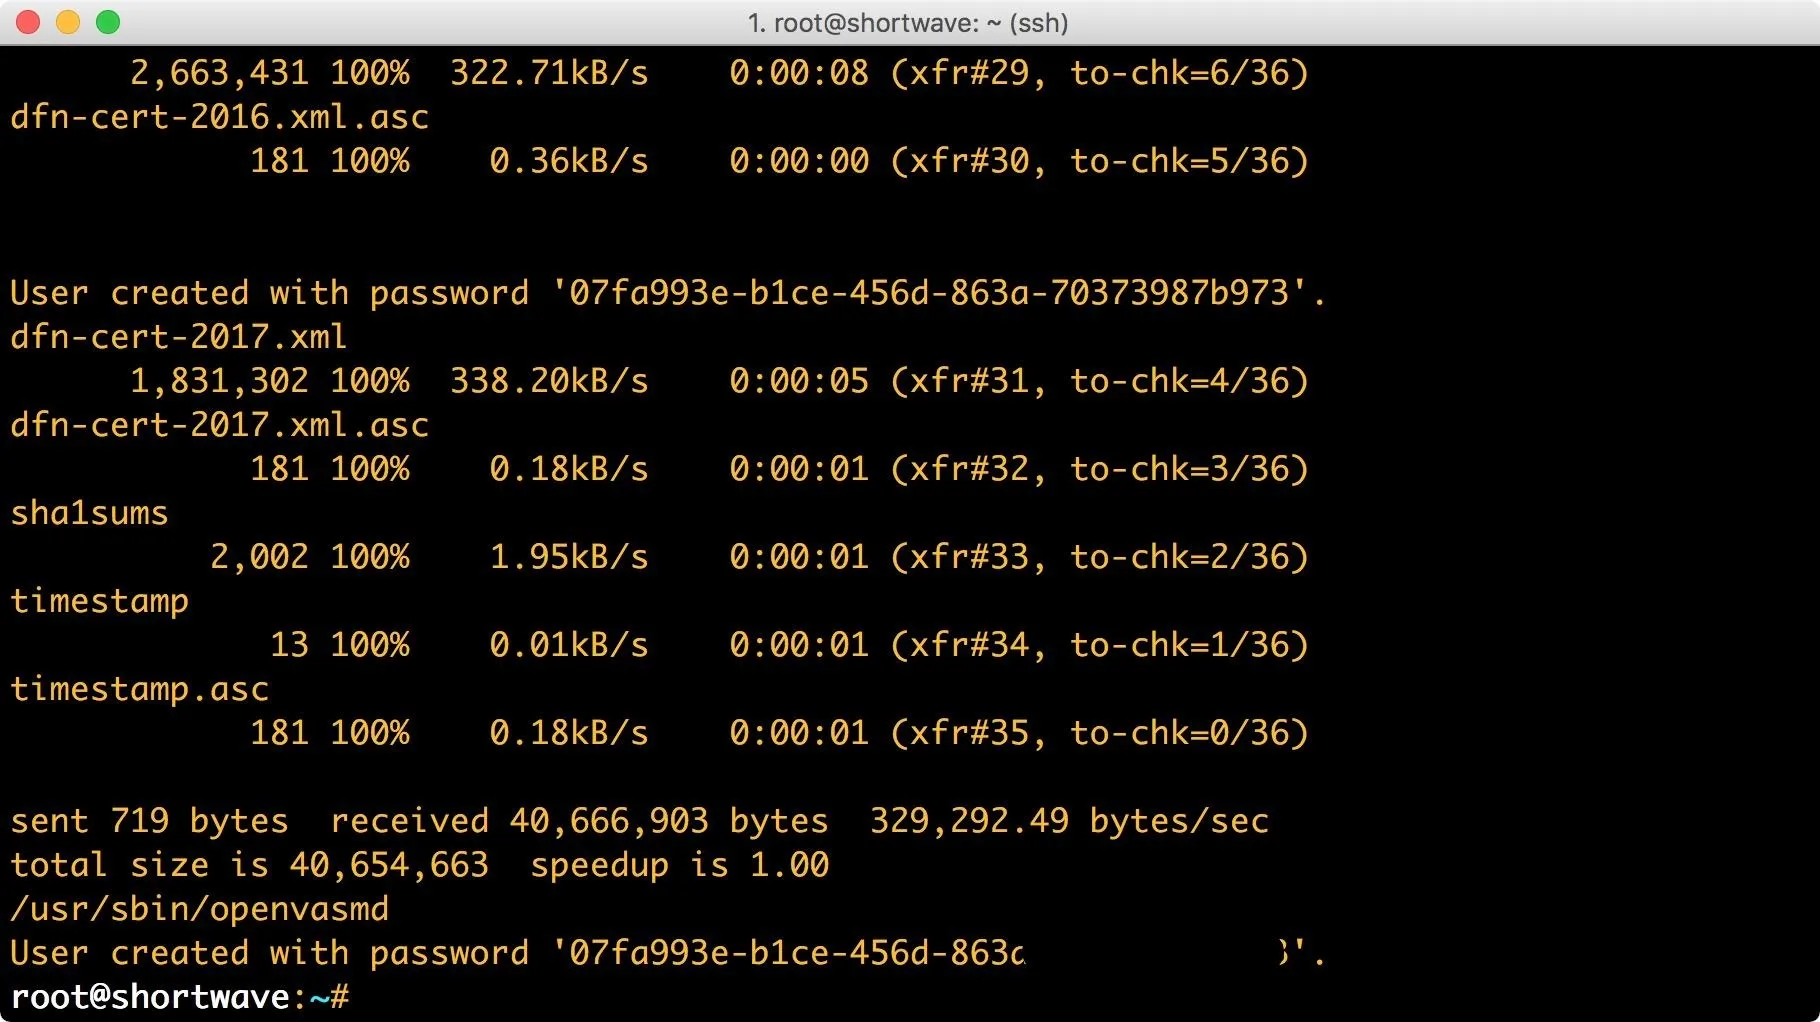
This setup may take awhile. Once the setup has completed, you will be presented with a password to log into the Greenbone Security Assistant (GSA), a web-based interface for managing OpenVAS. It's important to keep this password since we will use it to sign in later.
Configure Remote Access to the GSA (Optional)
OpenVAS should now be configured and operating on your system. If you are running Kali in a VM or on the metal, go ahead and skip to the next step.
Since I'm running headless, I want to be able to access the Greenbone Security Assistant from my local network. In previous versions of Kali, this was done by editing files located in /etc/default. Now, we need to work with systemd. First, we create the GSA configuration folder:
mkdir /etc/systemd/system/greenbone-security-assistant.service.d/
Next, type the following:
vim /etc/systemd/system/greenbone-security-assistant.service.d/local.conf
This file should contain:
[Service]
ExecStart=
ExecStart=/usr/sbin/gsad --foreground --listen=0.0.0.0 --port=9392 --mlisten=0.0.0.0 --mport=9390
This is telling the GSA daemon to listen on all interfaces. Now we need to get the OpenVAS manager working with the GSA. So we will create a new directory:
mkdir /etc/systemd/system/openvas-manager.service.d
Next, we create the local configuration:
vim /etc/systemd/system/openvas-manager.service.d/local.conf
This file should contain:
[Service]
ExecStart=
ExecStart=/usr/sbin/openvasmd --listen=0.0.0.0 --port=9390 --database=/var/lib/openvas/mgr/tasks.db
This binds the openvasmd to all interfaces. Next we run:
openvas-stop
systemctal daemon-reload
openvas-start
If you encounter any issues, you can use openvas-check-setup to check for configuration errors. You can also ensure that systemd is loading your modified service files via systemctl. To ensure that everything is bound properly, just run a quick netstat -antup.

Access GSA
You can now access GSA with your favorite browser, either at https://localhost, or, if you followed along in the previous step, across the network. GSA will, by default, take port 443 for connections, if that port is available. If it isn't, you can access GSA at https://localhost:9392, or across the network if you followed the steps above. When you connect, you will be presented with a warning about an insecure connection.
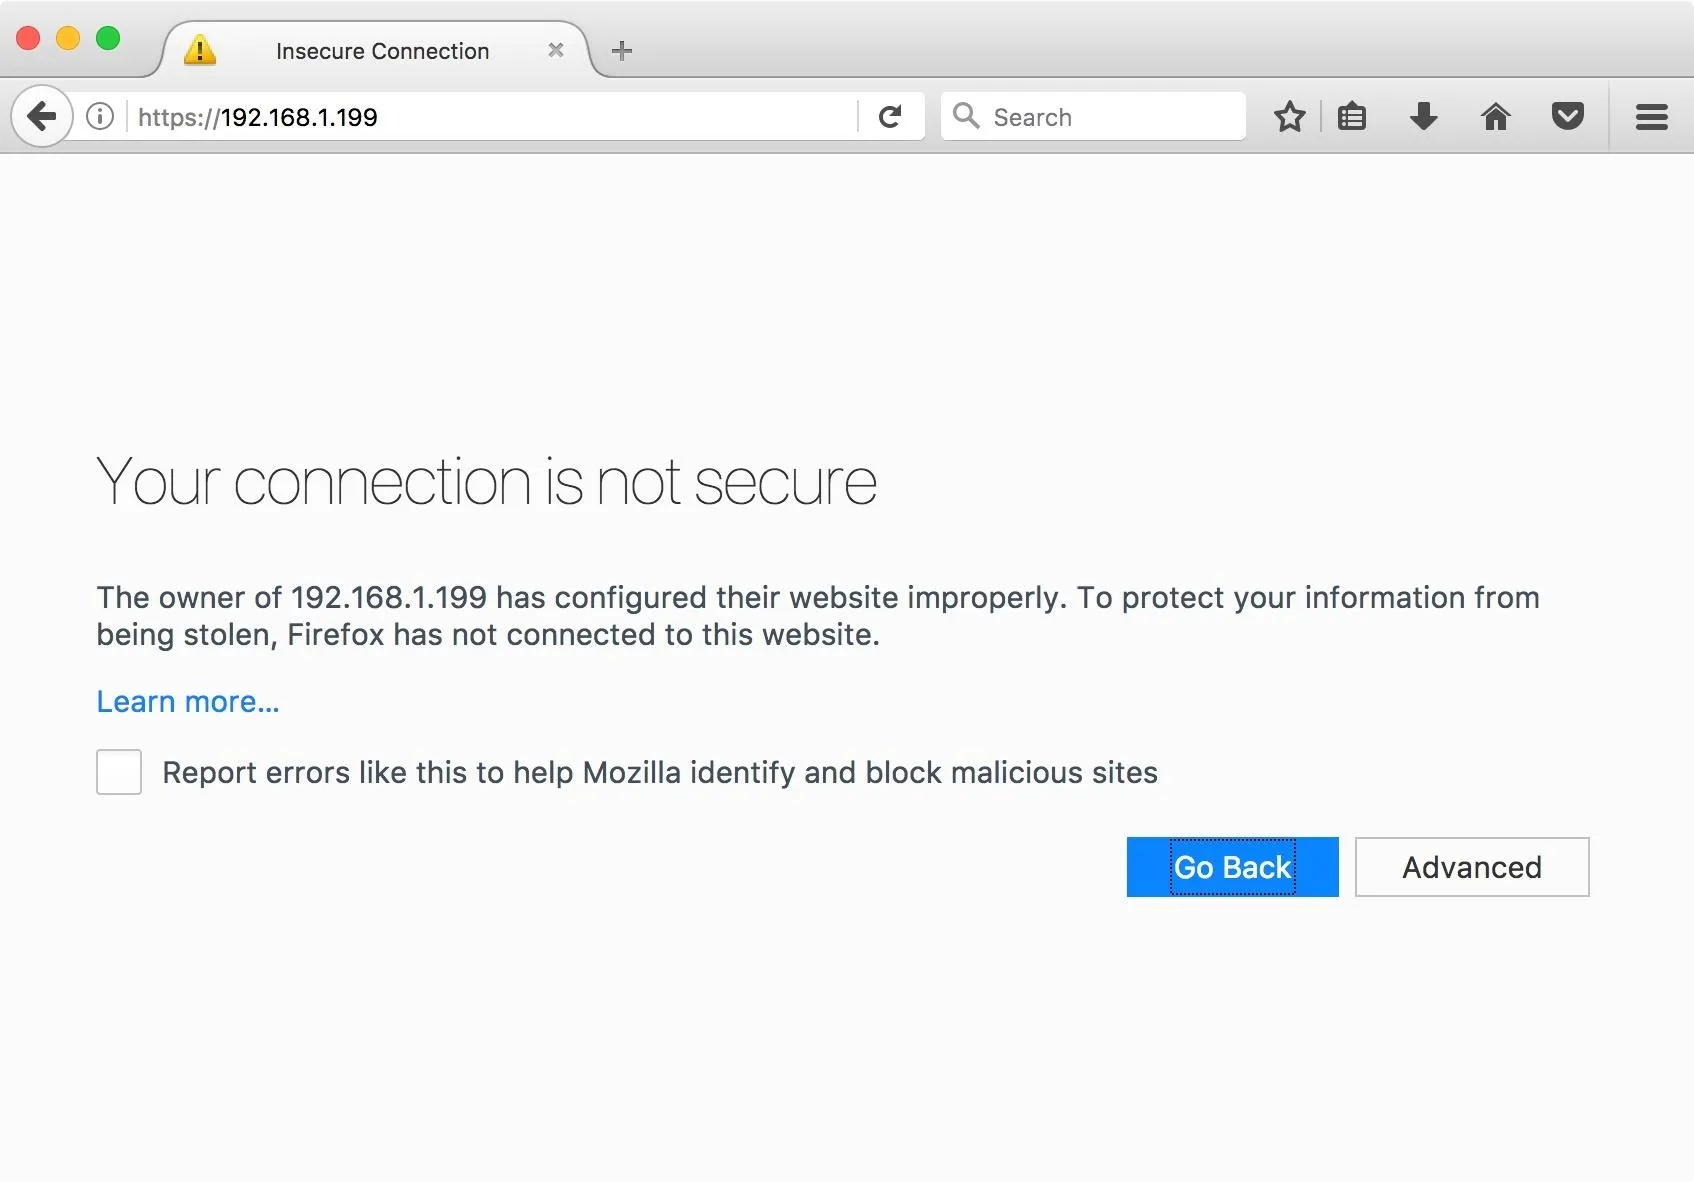
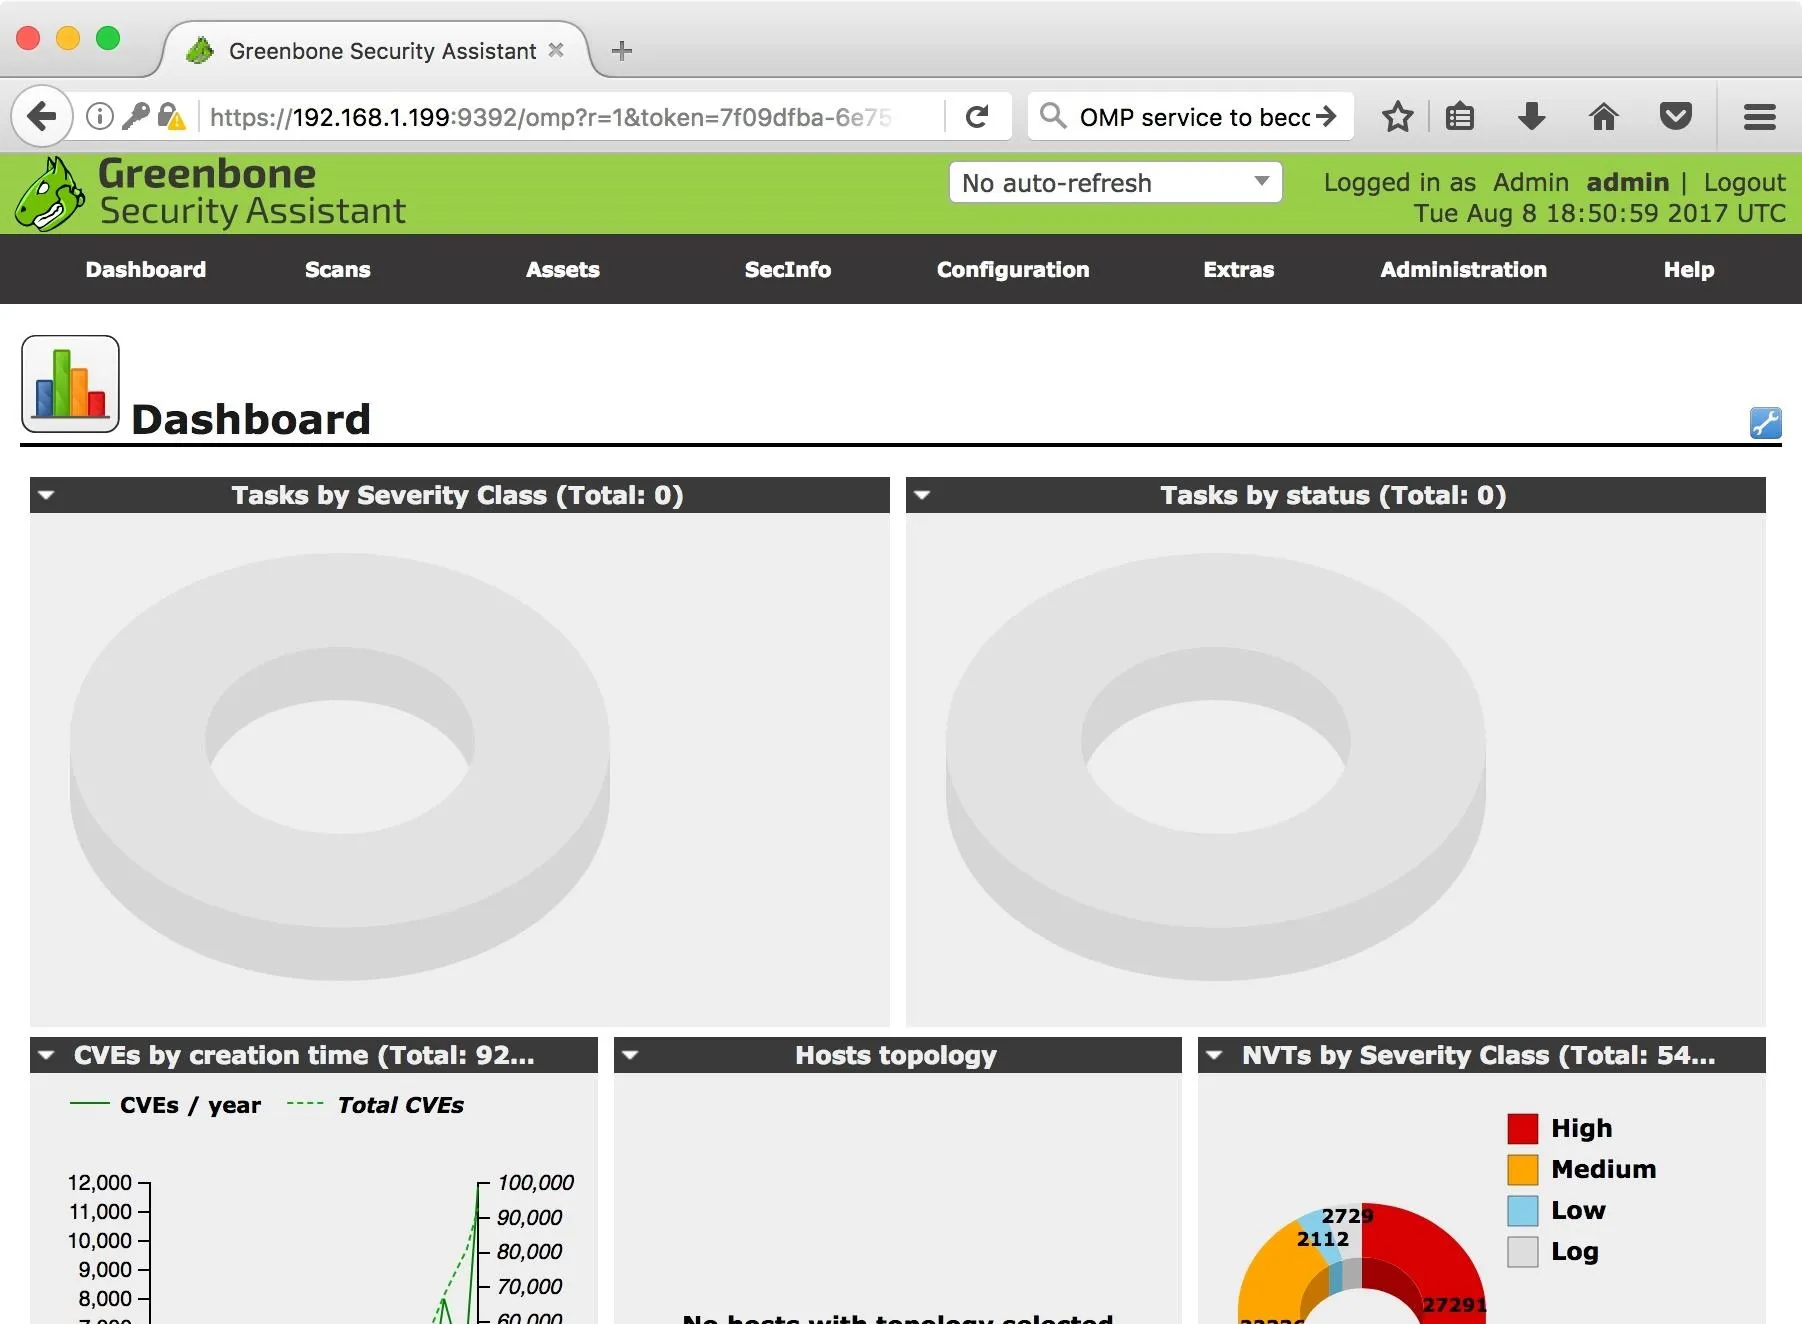
You will need to add an exception for this certificate, which will vary depending on the browser you're using, but is usually found under the "advanced" tab. Once you have added the exception, you will be greeted by the GSA login page. The credentials are the admin and password which was generated during setup. Once you are logged in, you will see the following GSA interface.
Stick Around for More
Now that OpenVAS is installed and configured to our liking, we can proceed to use GSA to conduct vulnerability scanning. In the next article, I will be discussing the GSA interface, configuring scans with GSA, and more. Stay tuned.
- Follow Null Byte on Twitter and Google+
- Follow WonderHowTo on Facebook, Twitter, Pinterest, and Google+
Cover image and screenshots by Barrow/Null Byte


Comments
Be the first, drop a comment!