


Keystroke injection attacks are popular because they exploit the trust computers have in human interface devices (HIDs). One of the most popular and easily accessible keystroke injection tools is the USB Rubber Ducky from Hack5, which has a huge range of uses beyond simple HID attacks. The USB Rubber Ducky can be used to attack any unlocked computer in seconds or to automate processes and save time.
Quacking Like a Keyboard
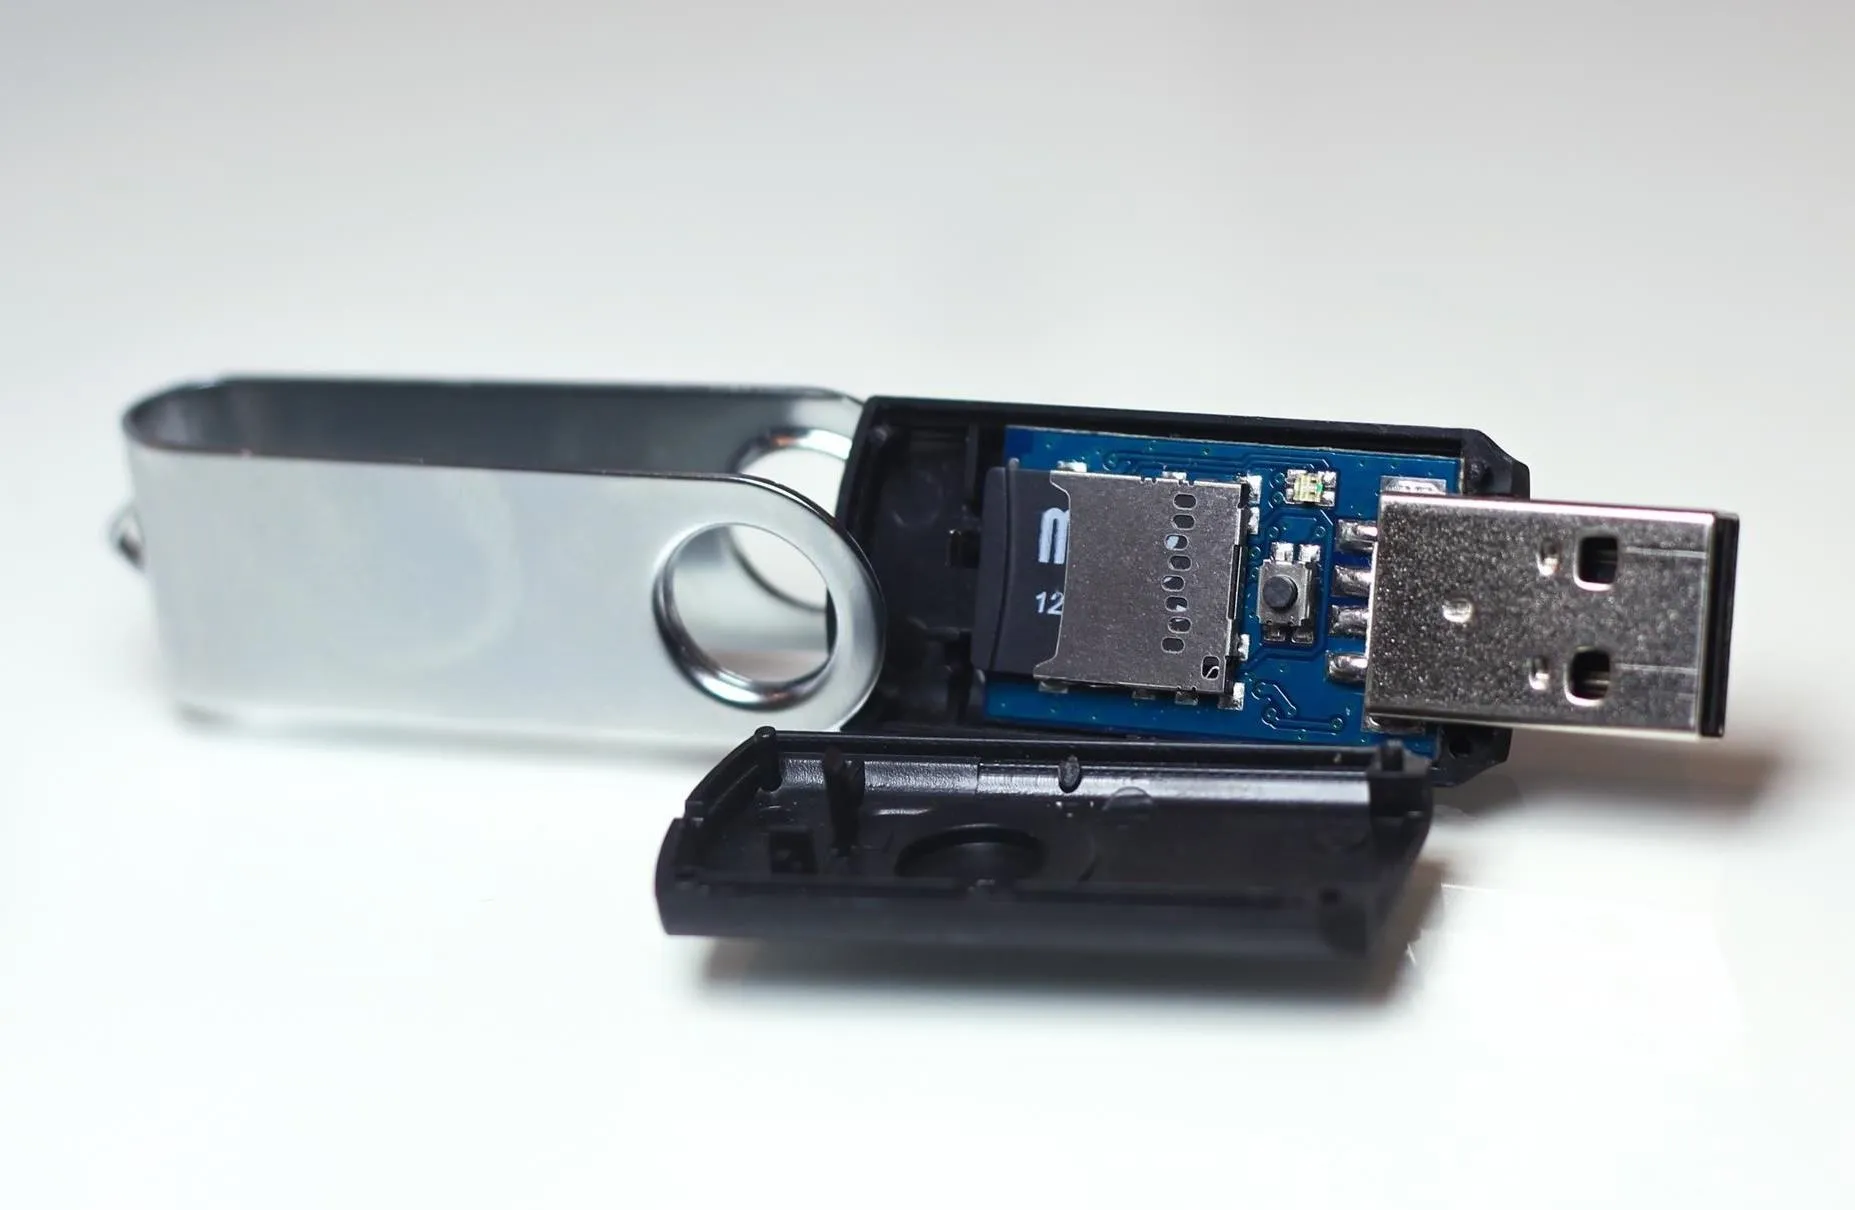
This tutorial will begin exploring keystroke injection attacks with the USB Rubber Ducky. This device, which looks like a normal USB stick, is capable of tricking computers into believing it is a trusted keyboard input device. The USB Rubber Ducky exploits this trust and allows you to dump complex commands into a terminal window at superhuman speeds. This, combined with a community effort to create and share payloads, makes the USB Rubber Ducky a powerful tool against any computer.
SADMIN/Null Byte
Ducky Scripting
The USB Rubber Ducky is programmed using Ducky Script, which is really simple and in all caps. Each command is on a new line, and commands like ALT and CTRL are familiar. To write in Ducky Script, you simply imagine you were sitting in front of the keyboard and needed to accomplish a task using only the keyboard. Using key shortcuts and terminal commands, it's possible to achieve specific actions with relatively little code.
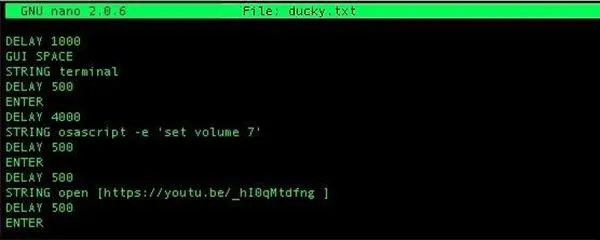
To get started, check out this payload for macOS that opens a terminal window, jacks up the volume on the computer, and then navigates to a YouTube link to play at full volume.
DELAY 1000
GUI SPACE
STRING terminal
DELAY 500
ENTER
DELAY 4000
STRING osascript -e 'set volume 7'
DELAY 500
ENTER
DELAY 500
STRING open https://youtu.be/_hI0qMtdfng
DELAY 500
ENTER
In this example, DELAY allows time for the USB drive to connect to the computer, GUI SPACE opens the app search bar, TERMINAL then ENTER opens a terminal window, and the last two commands set the volume and open a new browser window to an excellent song playing on YouTube at full blast. A DELAY is usually used to ensure the computer has time to switch to a new window or finish the last command before proceeding. You can see more detailed examples of Ducky Script at the USB Rubber Ducky's website.
Dropping Fscking Loads
The purpose of the USB Rubber Ducky is to deploy payloads onto target computers in seconds. Fortunately for us, the community has lots of payloads available to be used, remixed, and tested. Not all work as advertised, but I picked one to jack up the volume and play an excellent song on YouTube to test it out on a Mac. When it comes to targets, the USB Rubber Ducky can tailor a variety of payloads to Windows, macOS (previously Mac OS X), Android, iOS, and Linux systems to have you dropping single or multi-stage payloads in no time.
Using & Loading Payloads
To use or create a payload, we can't just put our TXT file directly into the USB Rubber Ducky to inject it. First, we need to process the script into a binary file that can be loaded onto the card and injected. To do so, we'll need:
- one USB Rubber Ducky (includes a microSD card)
- a computer to edit and encode payloads on
- additional microSD cards for more payloads (optional)
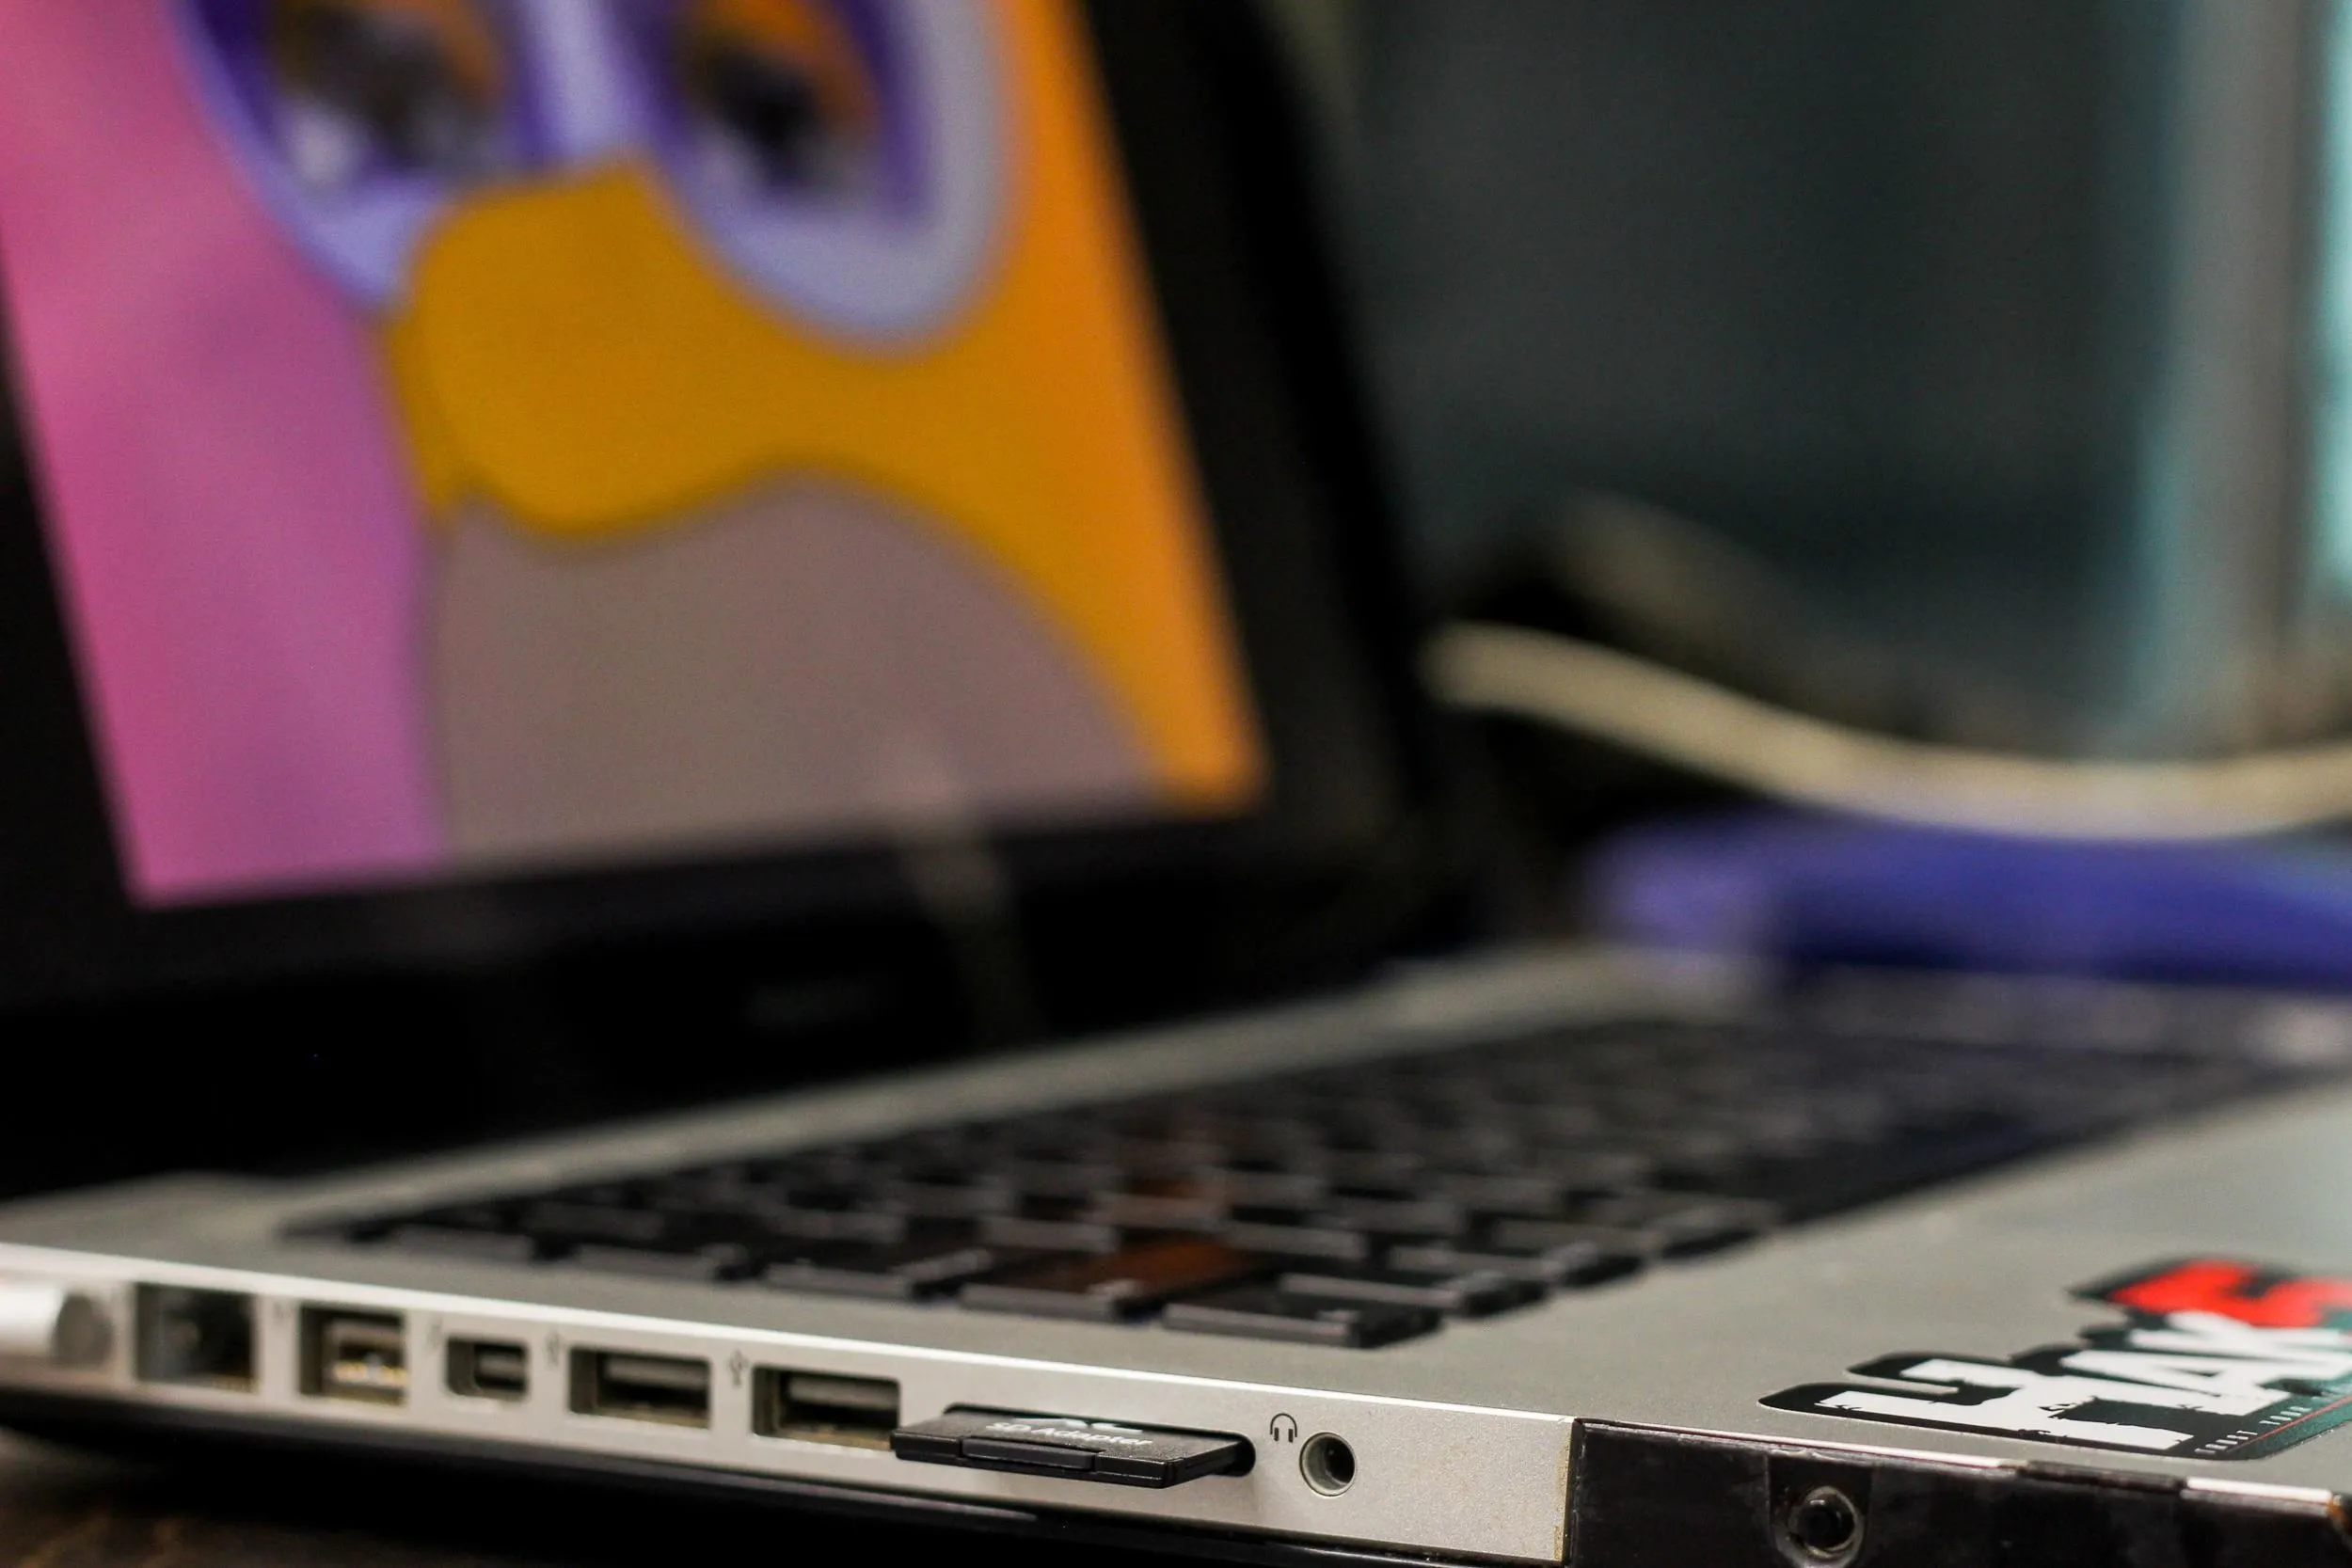
- a microSD card adapter or USB card reader to load files to the Ducky
- the USB Rubber Ducky Encoder
Edit a Payload in Ducky Script
To begin editing or creating a payload, you can create a text document in GNU nano, Vim, or TextEdit to start a blank TXT file. In terminal, the command to create a new text file named ducky.txt with nano is:
nano ducky.txt
Then just type your Ducky Script into the window. Once you're done, hit Ctrl X to exit, Y to save changes, and Enter to commit changes. You should now have a file called ducky.txt.
Create a Ducky Binary File
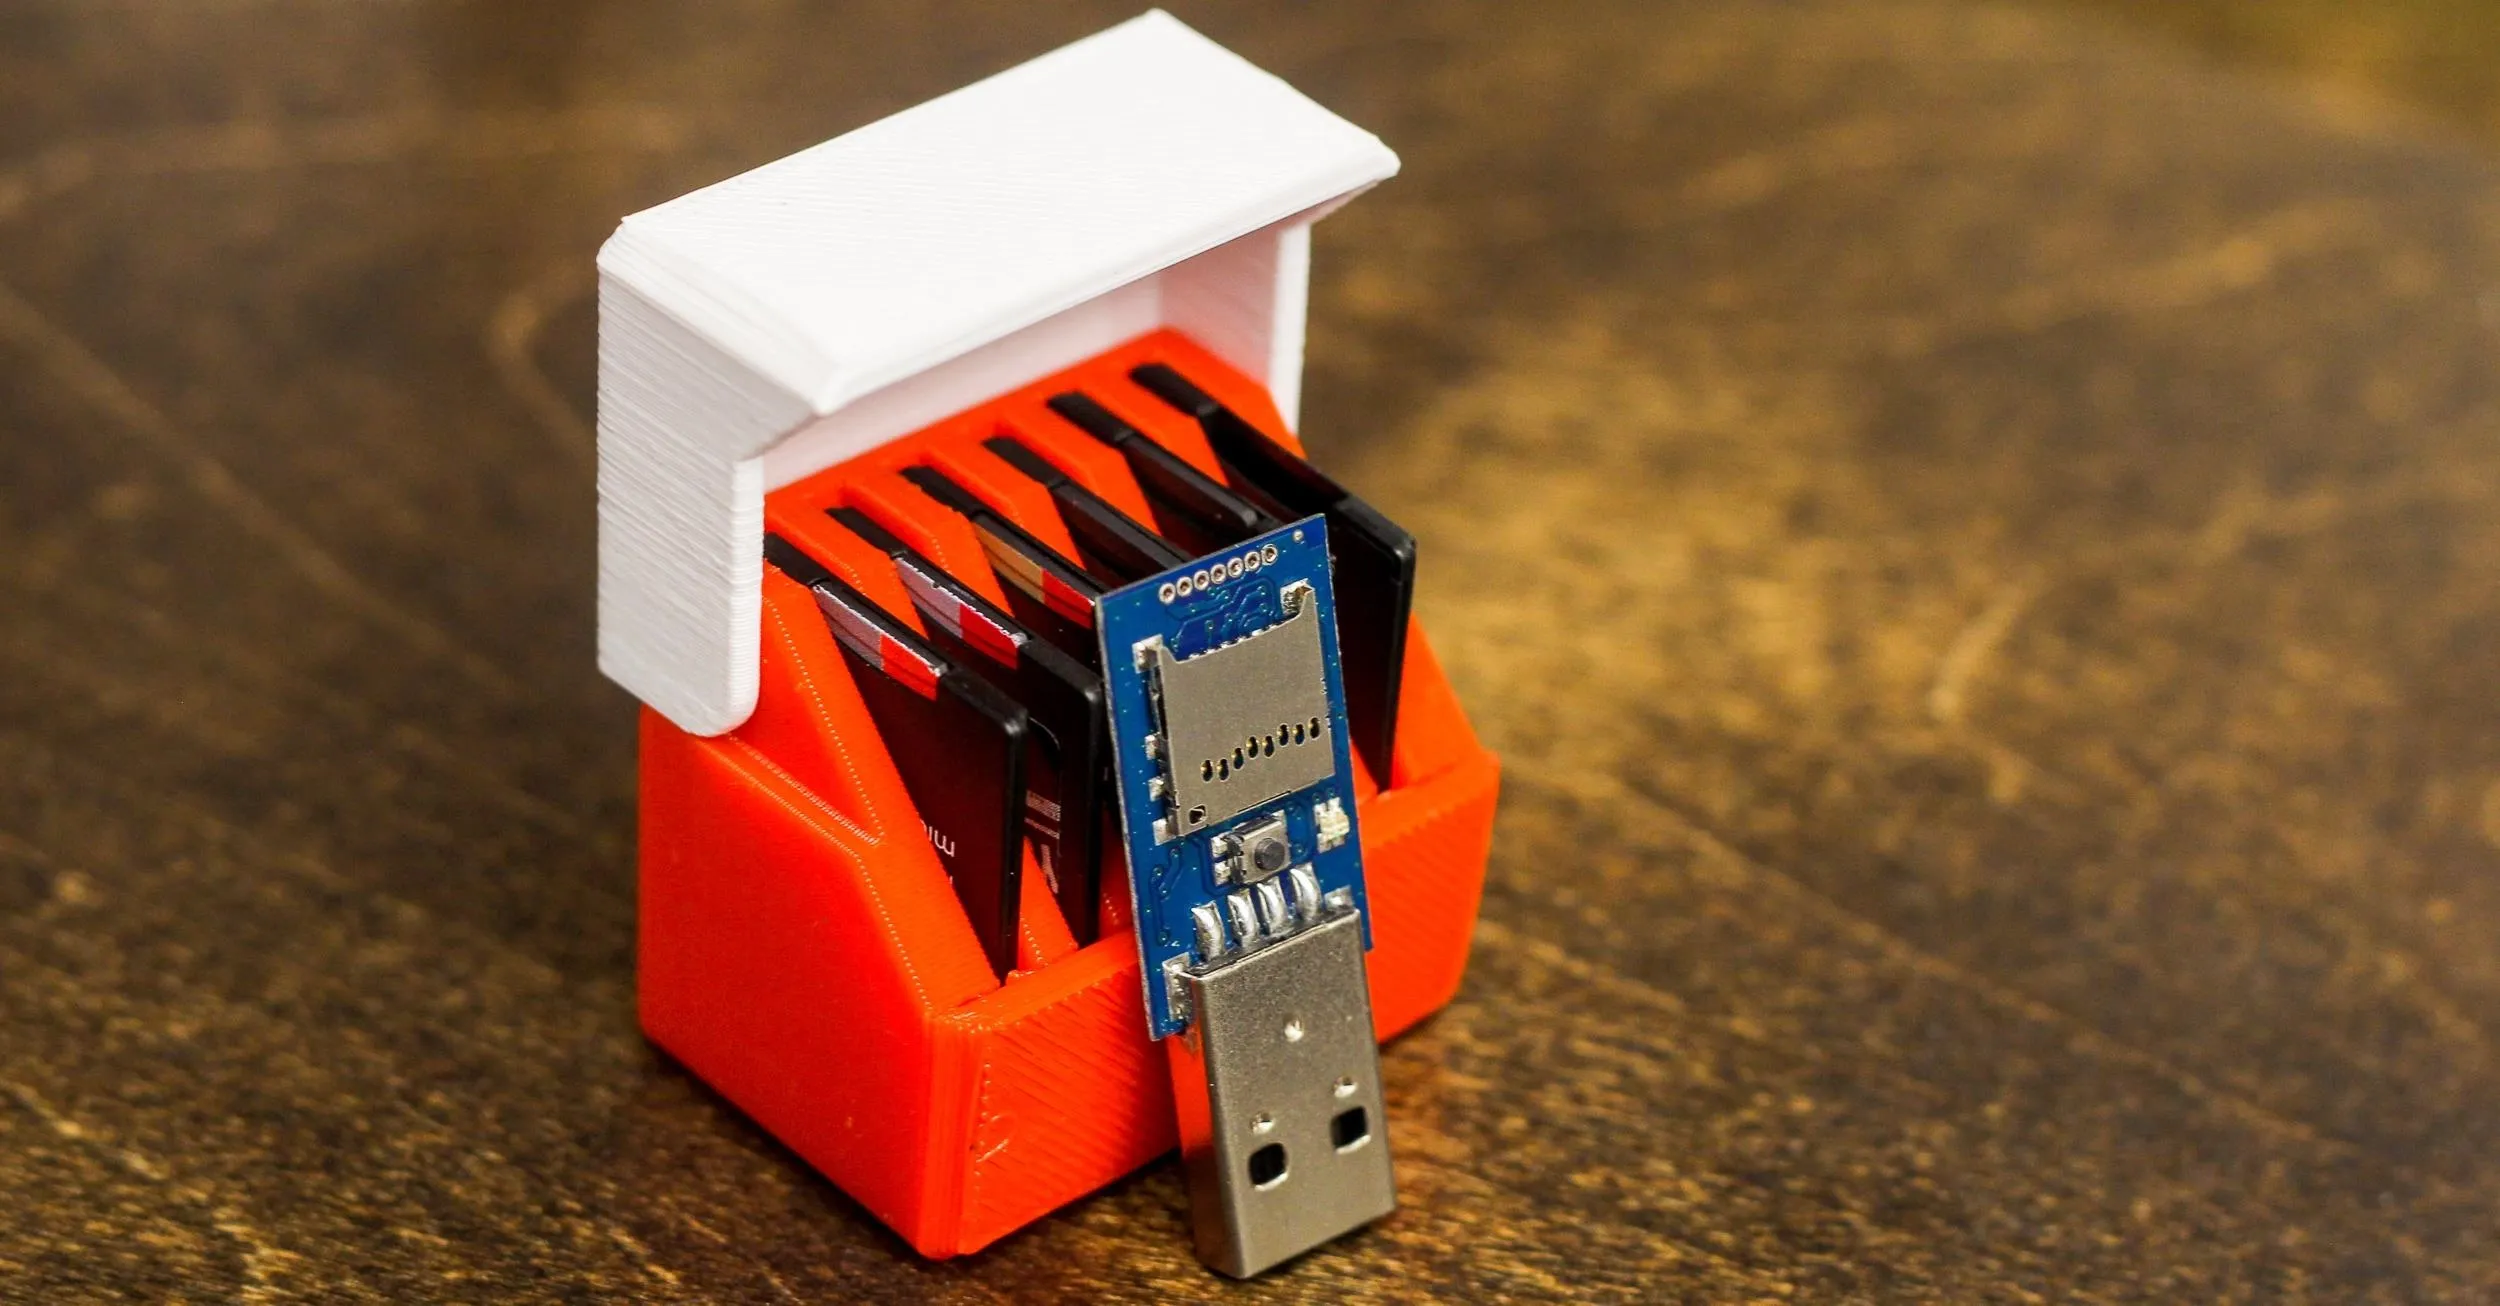
In order to load a payload, we have to put it on the microSD card in the USB Rubber Ducky. I have a little SD card case full of payloads, which gives me a lot of flexibility in storing and managing which to deploy. To use a payload, we must first convert the TXT file to a binary BIN file for the USB Rubber Ducky to execute.
USB Rubber Ducky can drop a lot of loads.
Download the Duck Encoder and other Ducky tools by typing the following in terminal to clone the git repo.
git clone https://github.com/hak5darren/USB-Rubber-Ducky.git
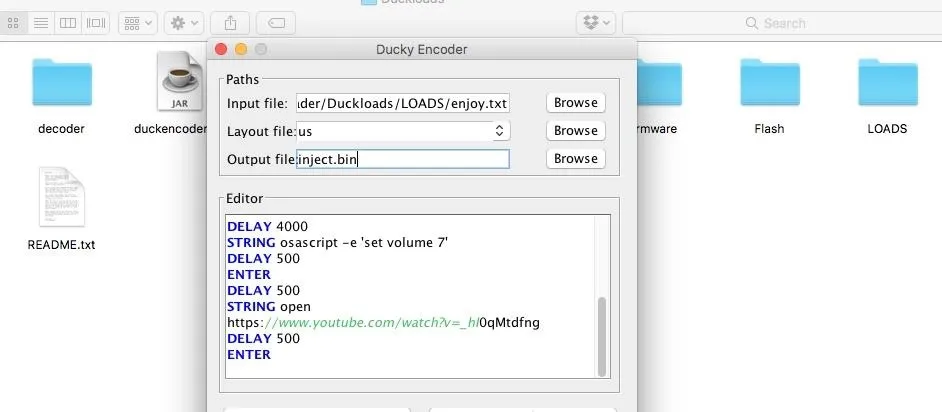
Navigating to the USB-Rubber-Ducky folder, you should see a variety of files including the friendly Ducky_Encoder_GUI.jar. Open this file, and a friendly Java GUI should pop up to help guide you through the encoding process.
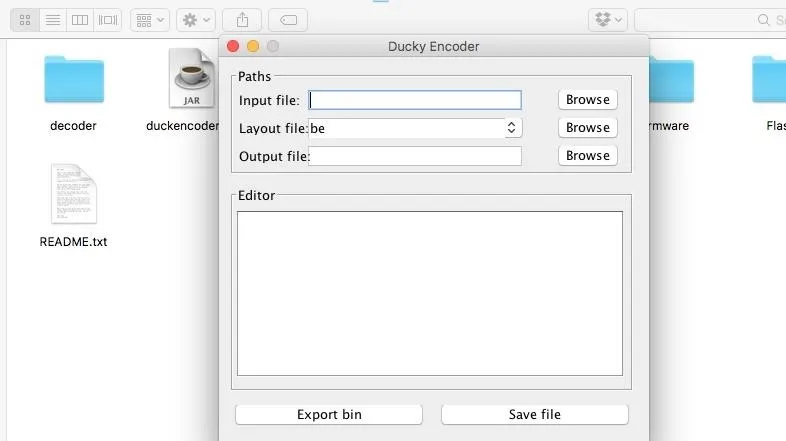
- Input file: Select the ducky.txt file you previously created.
- Layout file: Select "US" unless you are in another part of the world, as this sets the keyboard layout. The default is "be" which will not work for English keyboards. If you mismatch keyboard layout with the target computer, the script will just type garbled nonsense, so this is very important.
- Output file: Type "inject.bin."
When ready, just click on "Export bin" button. This should create a BIN file in the same folder (unless you selected a different location). This BIN file is the one that we can load into the USB Rubber Ducky to execute as a payload!
Load the Ducky Up
Remove the microSD card from the USB Rubber Ducky and connect it to your computer via an adapter or card reader. Delete any previous inject.bin files on the microSD card and transfer your inject.bin file over to it. It's as simple as that! Once it's done transferring, the payload should be ready to drop onto any unsuspecting computer.
Loading quality loads.
Deploy the Ducky
Load the microSD card back into the USB Rubber Ducky, and you're ready to inject. Practice scripts on computers running the same operating system to work out any bugs and make sure you don't miss your chance to a stray unanticipated pop-up window. Ducky payloads can be derailed by even the slightest mistake, so be sure to test and retest your payloads in the lab before deployment.
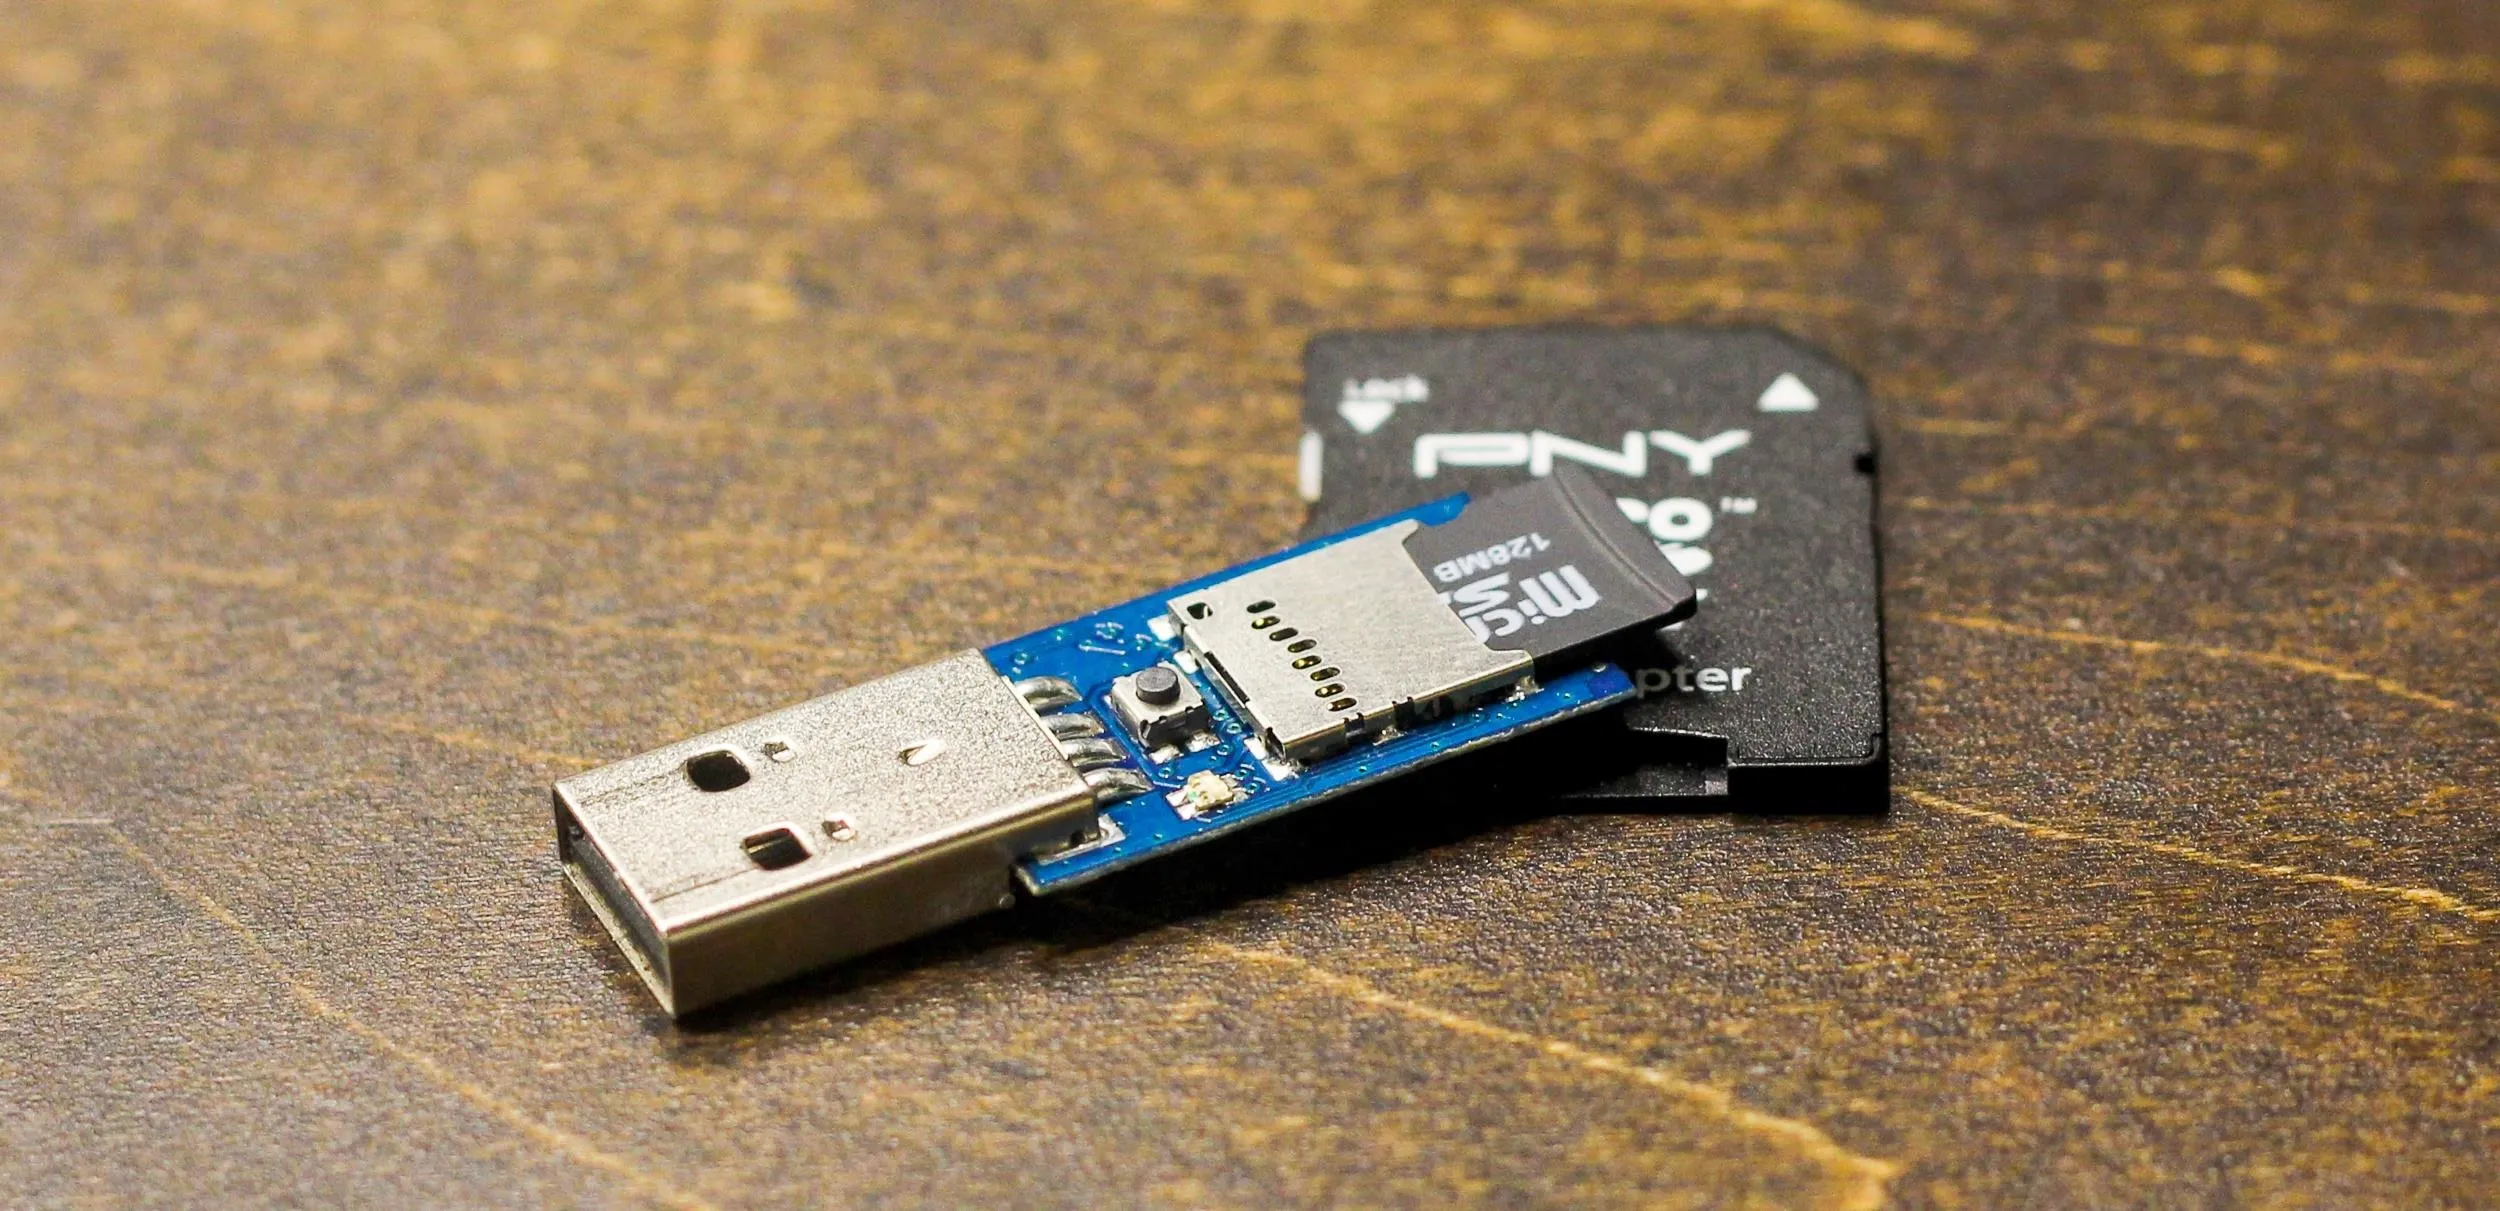
USB Rubber Ducky and microSD card adapter.
Each time you want to create a payload, the process will be the same. Write the code, encode the binary, load the duck, and deploy. This is the basic process for using the USB Rubber Ducky!
Thanks for reading, and make sure to keep an eye on Null Byte for more hacking tutorials. You can ask me questions here or @sadmin2001 on Twitter or Instagram.
- Follow Null Byte on Twitter and Google+
- Follow WonderHowTo on Facebook, Twitter, Pinterest, and Google+
Cover photo and screenshots by SADMIN/Null Byte


Comments
Be the first, drop a comment!