


Before we dive any further into getting your Mac ready for hacking, I wanted to continue on with the concept of encryption. In the last part, we talked about full disk encryption on your Mac, but now I want to quickly cover the encryption of disk images before we dive into managing passwords, terminal emulators, etc.
So Why Use Encrypted Disk Images?
Cloud platforms are convenient, thanks to the ability to upload and access data from any device anywhere with an internet connection. However, the downside is that our data is stored on someone else's machine.
Dropbox was breached by hackers in 2012, but it wasn't until 2016 that we knew the extent of it—about 68 million user credentials were made available to the public. That's a lot of creds. If you were part of the leak, you were probably notified, but was it too late? In the time between the actual hack and the discovery, how much access did the attacker have? Most likely, full access to many accounts. If you were storing anything of value on Dropbox, it was potentially compromised. This is why I use an encrypted disk image when working with the cloud.
An encrypted disk image with a strong password will help protect your data when it's off your machine. If I were a malicious actor with access to Dropbox, my first targets would be larger companies and more well-known users. I would still script to grab anything of value from accounts, but with that much information, I wouldn't spend a lot of time on brute-forcing encrypted images. But I would definitely pick up anything of value in the clear from random users.
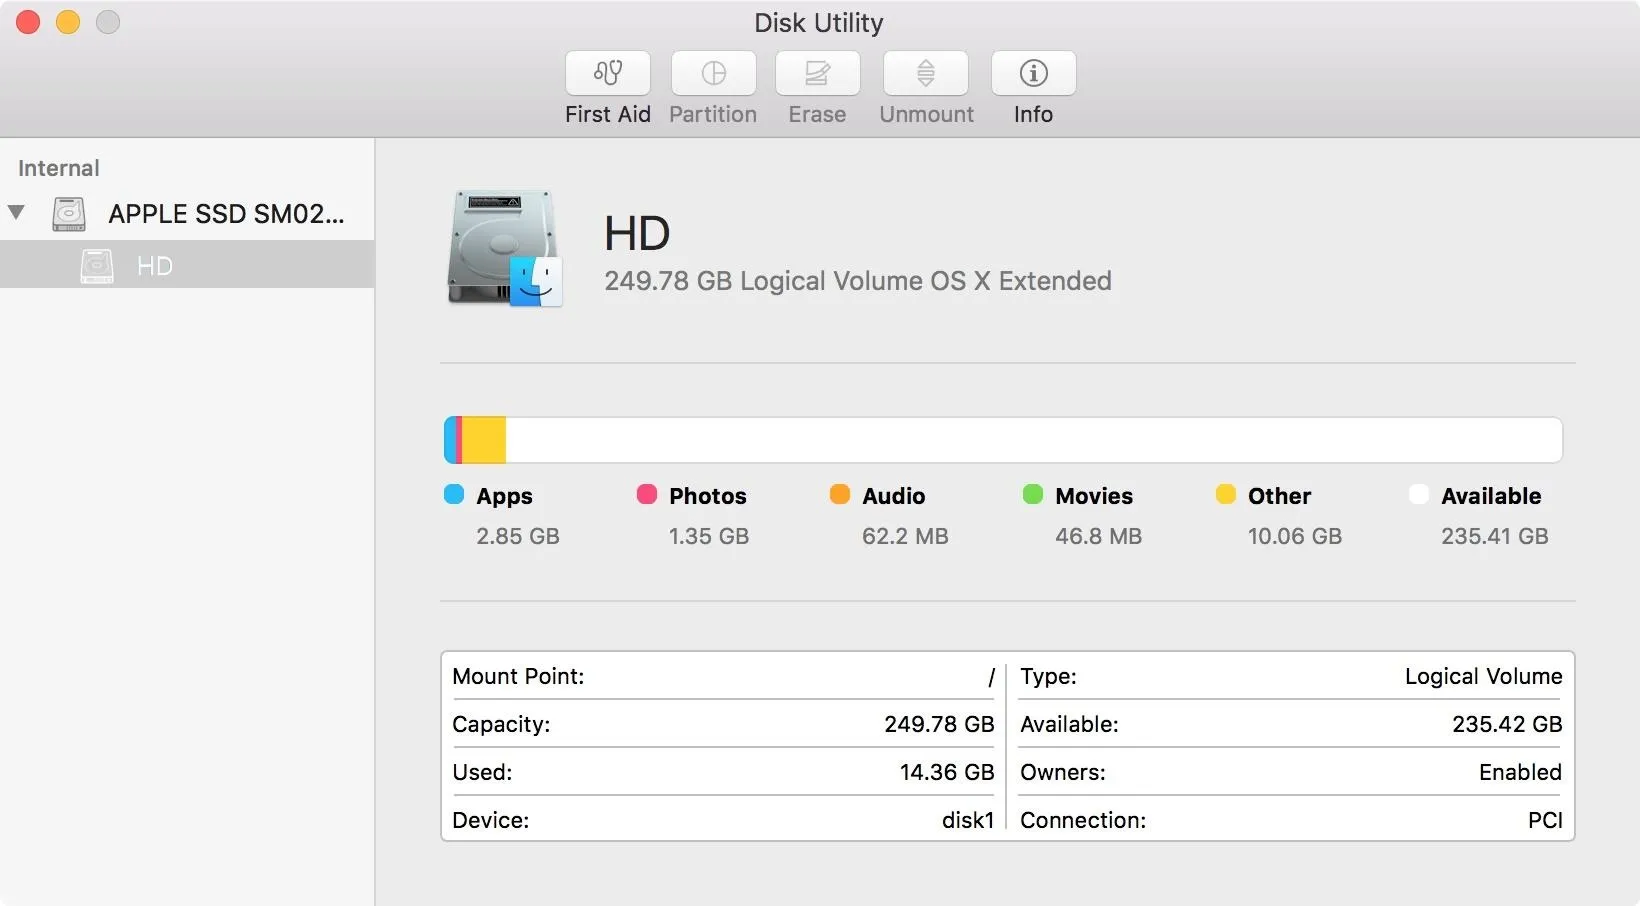
Open Disk Utility
Our first step is to open Disk Utility, which is located in your Applications folder. I prefer to use Spotlight, so just press Command Spacebar and type in Disk Utility. If you want to go the more geeky route, you can use the following Terminal command.
- open /Applications/Utilities/Disk\ Utility.app
In the menu bar up top, select File -> New Image -> Blank Image. If you are creating this image from an already-created folder containing sensitive information, simply select "Image from Folder" instead of the blank option.

Set Your Disk Image Options
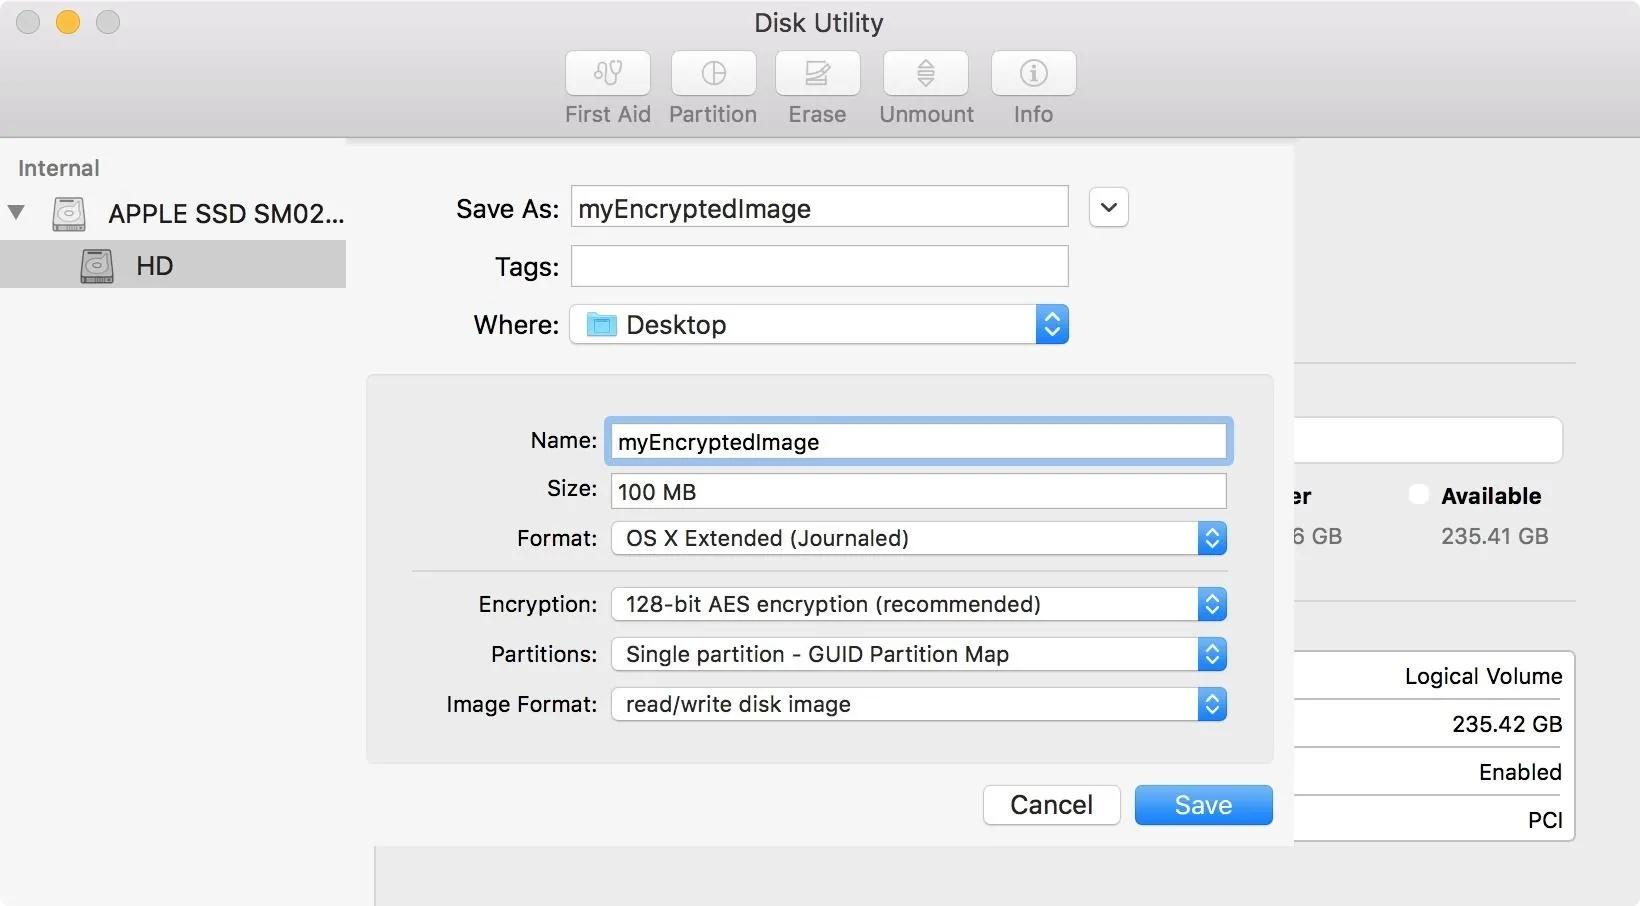
At this point, you are presented with many options:
- Save As: The name you want for your encrypted disk image. I chose myEncryptedImage.
- Tags: I just left it blank. If you want tags, go ahead.
- Where: I put mine on the Desktop, but put yours wherever you want.
- Name: This is the name of the image when it's actually mounted.
- Size: Select a size, I left the default 100 MB.
- Format: If you aren't happy with the standard OS X Extended (Journaled) file system type, you can pick a new one here.
- Encryption: I went with the default 128-bit. If you need 256 for stronger encryption, it is available. You will be prompted to enter and verify a password—make sure it is a strong password.
- Partitions: I left the default single partition GUID scheme.
- Image Format: I selected read and write.
Now that the set up is complete, simply click the Save button.
Add a File
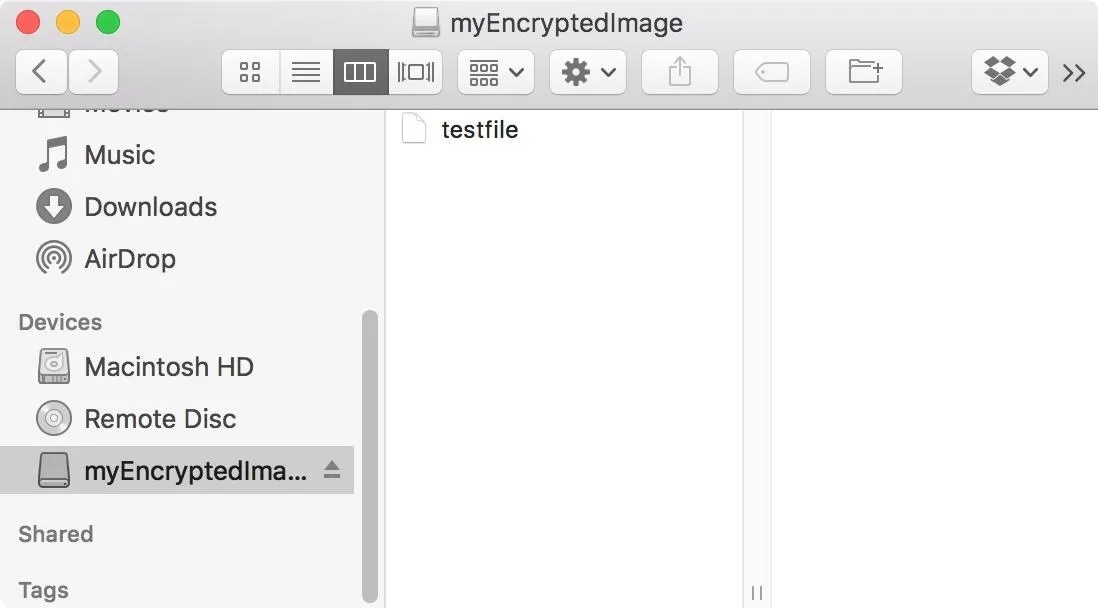
You now have an encrypted disk image. If it didn't mount already as a device, double-click on it to do so. Then, to verify that it is working properly, simply add a file, and then eject the disk. I used the following command in Terminal:
- touch /Volumes/myEncryptedImage/testfile
In this case, the touch command basically creates an empty file (named whatever you want) and saves it to the disk image. You could just as easily drag or copy any file over to your disk image using Finder. Once there is a file in your image, eject the image.
Now we need verify that the file is still in the image. Double-click on the disk image file to remount it. You will be prompted for your password, so go ahead and enter it. Do not select remember password in keychain, unless you are not concerned about unauthorized users on your account. If the password is stored in your keychain, anyone using your account will be able to access the image.
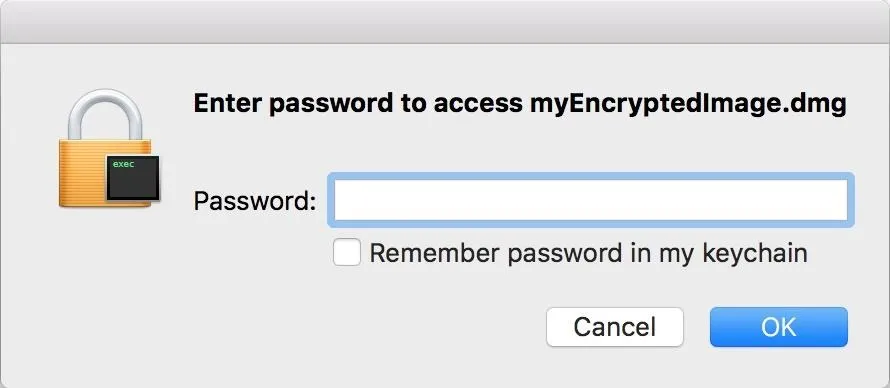
Select the mounted disk, and you should see the file you created or moved into it is still there. Remember that this image protects data at rest, just like how full disk encryption works. Once the disk is mounted, it will be accessible to anyone using your account until it is ejected.
Eject the Disk
When you are finished using the image, simply eject it. Now the image file is unmounted and the data is safely protected behind your strong password.
That's it—you have successfully created an encrypted disk image to protect your confidential data. While I mainly use these in the cloud, you may find other uses for them. They're helpful anywhere you are worried about your data being accessed by the public, or viewed by unauthorized individuals. Even if you don't think your data is sensitive, I would use encrypted images simply to keep cloud services from indexing your data or poking their nose into what you're doing. It's really none of their business.
Stay Tuned for Future Parts
While encrypting disk images may seem like an easy task, it's a logical step from full disk encryption in this series on getting your Mac ready for hacking. If you're already on top of all this, our next guide will go over protecting all of your passwords, and then we'll dive into some good Terminal alternatives for hackers, so stay tuned.
- Follow Null Byte on Twitter and Google+
- Follow WonderHowTo on Facebook, Twitter, Pinterest, and Google+
Cover image by NXTjenGFX; Screenshots by Barrow/Null Byte


Comments
Be the first, drop a comment!