Kali Linux is known as being the de facto penetration-testing Linux distribution but can be a pain to use as an everyday OS — even more of a pain if that means carrying around a second laptop or the constant frustration of using the finicky Wi-Fi on virtual machines. But there's another option: installing a Kali subsystem on your Windows computer as a convenient compromise.
Microsoft has introduced Windows Subsystem for Linux, or WSL, which lets users run their favorite Linux distributions directly from Windows 10 without dual-booting or using a virtual machine. Thanks to the efforts of Offensive Security and the WSL team at Microsoft, Kali Linux is now the most recent addition to the Microsoft Store.
Those familiar with running Kali virtual machines understand the frustration of attempting to use Wi-Fi and Wi-Fi adapters, which is what makes the Windows subsystem so nice — you have no such problems. Additionally, you have the full performance capability of your PC without having to partition it as you would with a virtual system. And, unlike a dual-boot setup, you don't have to restart the system and boot into a new OS anytime you want to use it. It's as simple as opening a shell.
Limitations of Kali as a Windows Subsystem for Linux
While this is definitely a step in the right direction for Microsoft, it's not quite there yet in terms of full functionality. Specifically, WSL does not support AF_PACKET, and that's because Windows itself does not support it because of security restrictions. This means that you won't be able to put a Wi-Fi adapter in promiscuous mode (or monitor mode), and tools that require raw sockets to function properly won't work, such as Nmap. To make this possible, head over to the reported issue on GitHub to let them know how many people want this.
Enough talk, let's install the Kali Linux subsystem and see what it can do!
Install the Windows Subsystem for Linux
First, run PowerShell as the administrator by pressing Windows + X and clicking on "Windows PowerShell (Admin)." Then enable this optional Windows feature by running the following command.
Enable-WindowsOptionalFeature -Online -FeatureName Microsoft-Windows-Subsystem-Linux
Once you press Enter, a loading bar will appear for a few seconds, then you will be prompted to restart the computer. Press Y and Enter to reboot. The system will immediately begin to restart.

Download the 'Kali Linux' Application
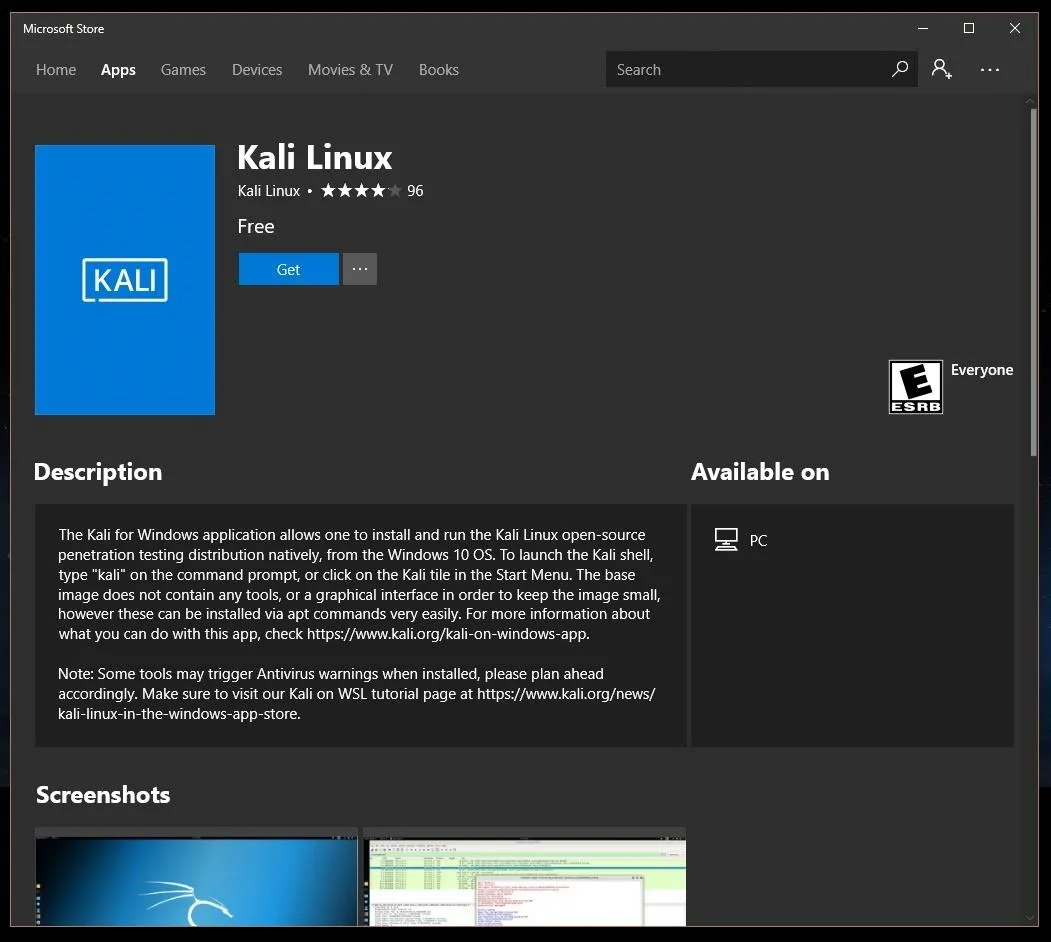
Once your system has rebooted and you've logged back into your account, navigate to the Microsoft Store by searching for it in the Cortana search bar in the bottom-left corner of your screen. Once there, search for "Kali Linux" or simply follow the link below to open the Kali page in the Microsoft Store. From there, click "Get" to begin installing.
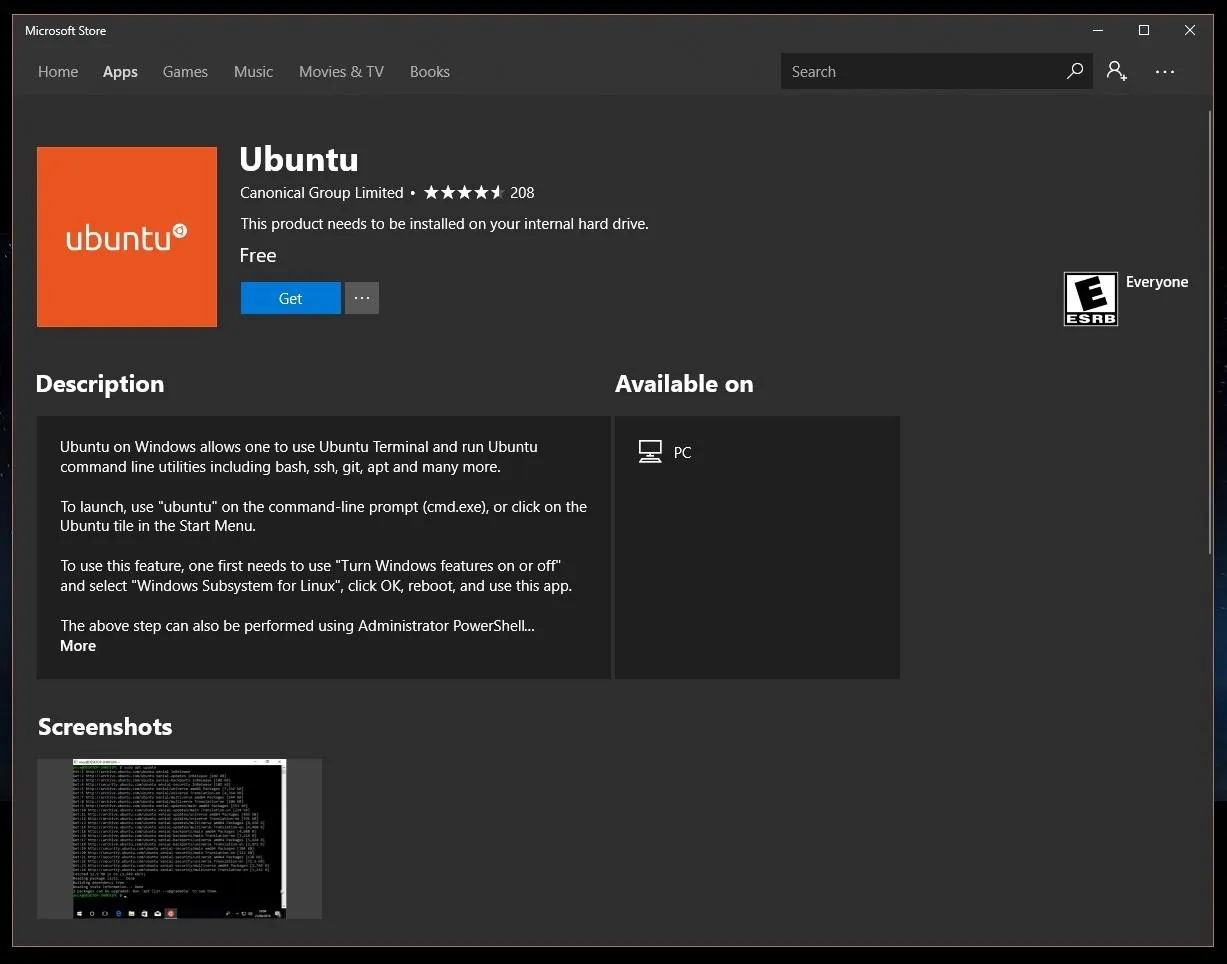
Other ubiquitous Linux distributions, such as Ubuntu, are also available so you may want to spend a few minutes looking around the Microsoft Store before you leave.
Launch Kali for the First Time
Before you launch the "Kali Linux" app for the first time, I recommend clicking "Pin to Start" or, better yet, click the ellipsis (...) just to the right of it and then "Pin to Taskbar" to make it quick and simple to launch Kali in the future.
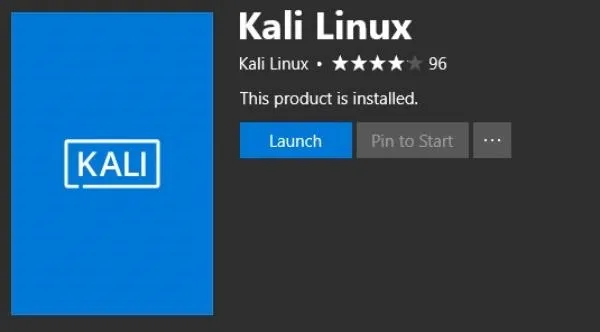
Once you've done that, click "Launch," and a shell will open and begin the final installation which can take a few minutes.
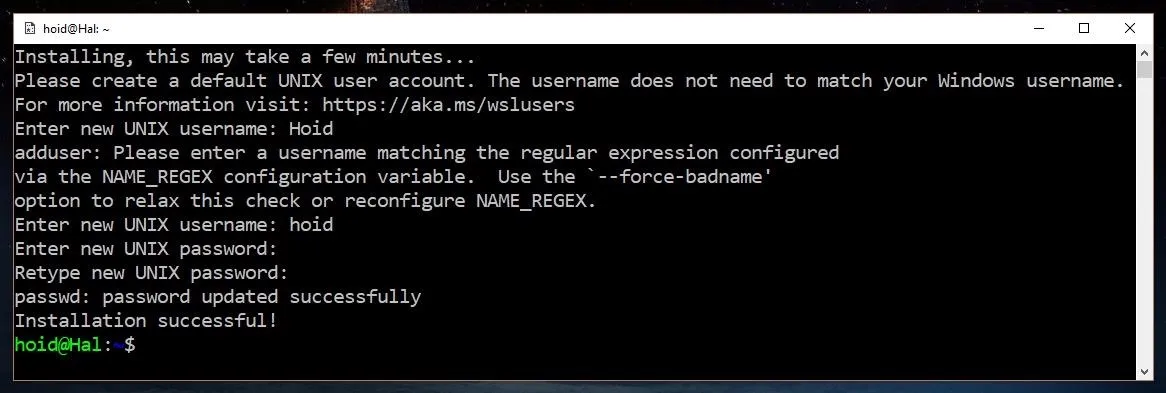
With that done, you'll be prompted to create a Unix username and password. Congratulations, you're all set up and running a Kali Linux subsystem on your Windows machine! Don't forget to update it regularly just like any Linux system:
sudo apt-get update
sudo apt-get dist-upgrade
If hard drive space is a concern, then don't forget to clean up the apt directory.
sudo apt-get clean
Add Windows Defender Exclusion
Unfortunately, Windows Defender doesn't always like to play nice with the tools in the Kali repository. Sometimes, it detects them as viruses and/or malware and blocks some portion of the program. To prevent these errors, it's a good idea to go ahead and add a Windows Defender exclusion for the Kali Linux folder.
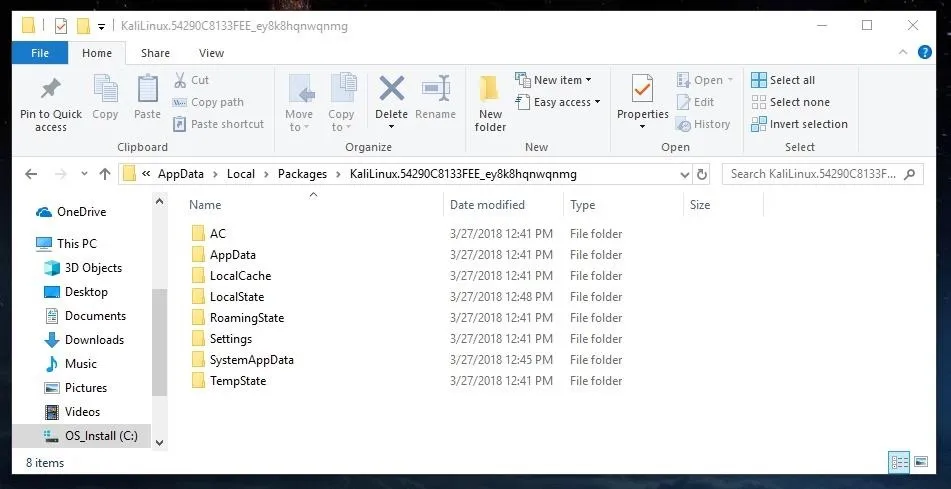
First, find that folder by opening File Explorer and entering the following location in the address bar. Don't forget to replace "yourusername" with your actual username!
C:\Users\yourusername\AppData\Local\Packages\
Now, open the Kali Linux folder which should look something like "KaliLinux.54290C8133FEE_," and copy the folder location.
With that in hand, search for "Windows Defender Security Center" in the Cortana search bar the bottom left of the screen. Within the Security Center, click on "Virus & threat protection" represented by a shield on the menu to the left side of the screen.
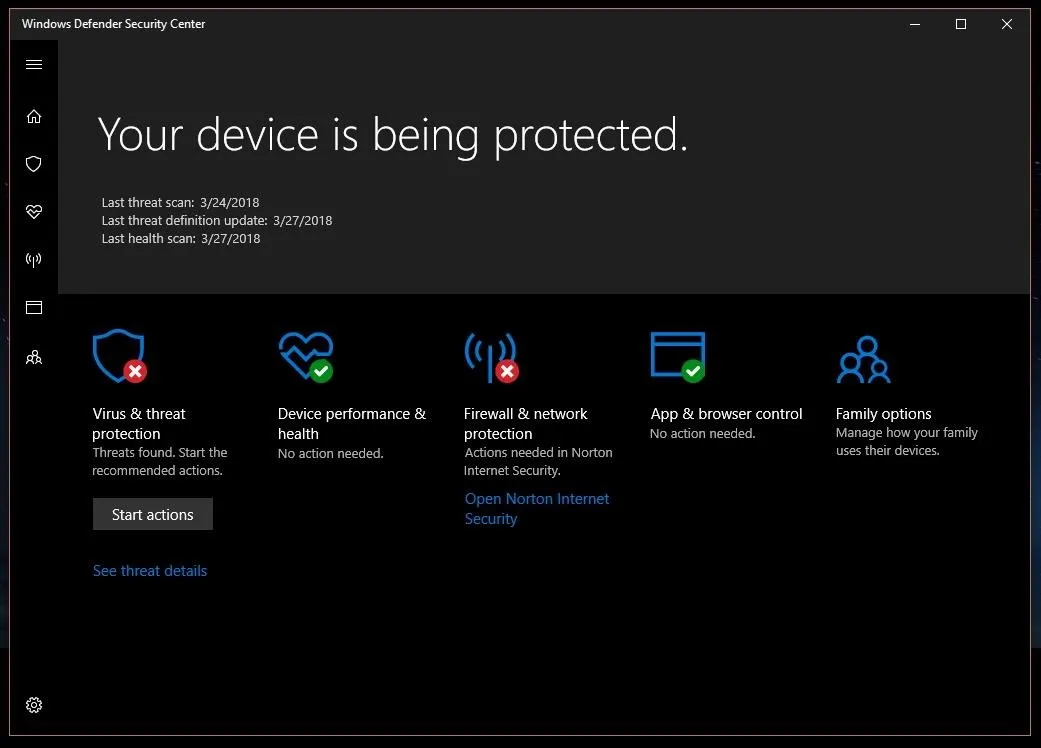
Next, click on the cog in the bottom, then "Virus & threat protection settings," then scroll down to the bottom under Exclusions and click "Add or remove exclusions." Then press the plus icon beside "Add an exclusion," select "Folder," and then paste the Kali folder address in the top bar. Click "Select folder," and a popup will appear — click "Yes" to add the exclusion.
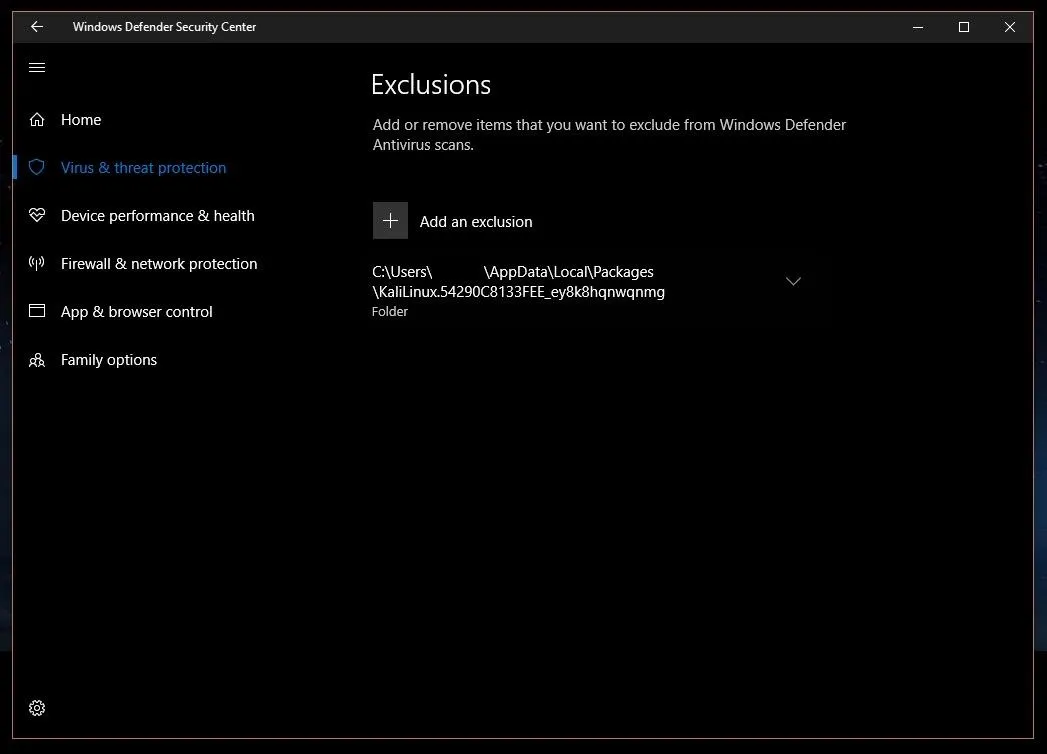
If you ever want to remove this exclusion, simply click on the down arrow beside the folder location, and click "Remove."
Install Penetration Testing Tools
With the Windows Defender exclusion in place, you're ready to get started with your ethical hacking. Not much comes preinstalled in this version, so install tools you wish to use from the Kali repository as you normally would with the apt-get command. For example, to install Metasploit:
sudo apt-get update
sudo apt-get install metasploit-framework
Thanks for reading! If you have any questions on setting up or using your new Kali Linux subsystem on Windows 10, or on what tools you should be installing, ask away in the comments below or hit me up on Twitter @The_Hoid.
- Follow Null Byte on Twitter and Google+
- Follow WonderHowTo on Facebook, Twitter, Pinterest, and Google+
Cover image and screenshots by Hoid/Null Byte


Comments
Be the first, drop a comment!