Greetings my fellow aspiring hackers,
Android Development like other programming languages requires the use of some basic essential components, programs and configurations to get started. Android Development requires a little bit of knowledge of the Java language which means the knowledge of Java is required to atleast get a grip of the Development otherwise you will just be a guy sitting in the sofa thinking about committing suicide after been dumped by your girlfriend, fired by your boss and accidentally misplacing your lottery card that has just won $100,000. Same applies to you, The you here stands for people who don't know what the Java language is or how to write programs in java. I would recommend you head over to Code Academy and get some 60% completion on the Java Course and be back, I will be right here waiting for you. Ok, that been said, This tutorial assumes you know what Java is as I am basically not going to cover that. In Android Development, the following programs or files or configuration are required from the system of every developer or hacker as you are.
- Java JDK ( Java Development Kit )
- Android Studio
1. Java JDK Configuration and Installation
Android apps as well as some part of the Android system itself is written in Java. Primarily, the JDK is the core foundation that we need to build our apps. Let's head over to google and type download Java JDK. We should be presented with a list of links, Usually the first one applies. Basically, look for one with Java SE - Download | Oracle Technology ...
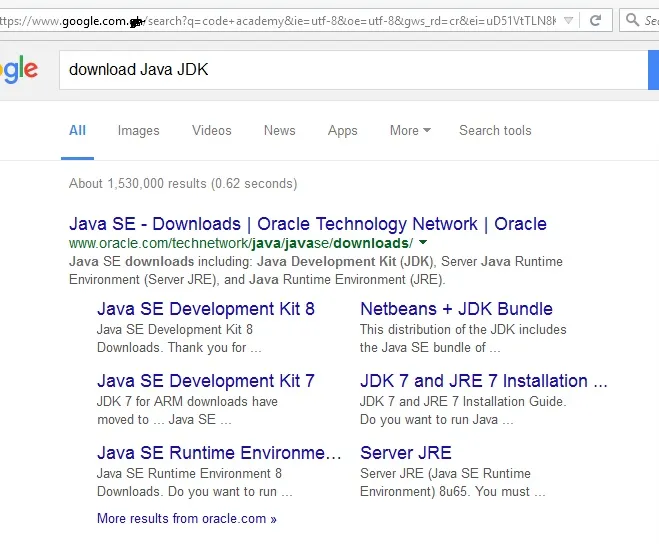
After clicking the link, We should now be served the Java homepage.
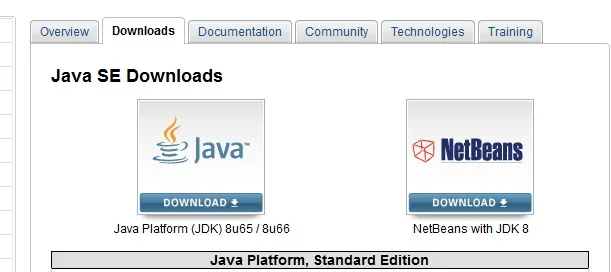
Select the Java Platform (JDK) 8u .... We will be sent to the download page. First thing to do is to Accept the License Agreement and then we can select our platform package. In this series, I will be using a Windows machine so I am going to choose the Windows packages. Now here lies the problem for some people, x86 and x64
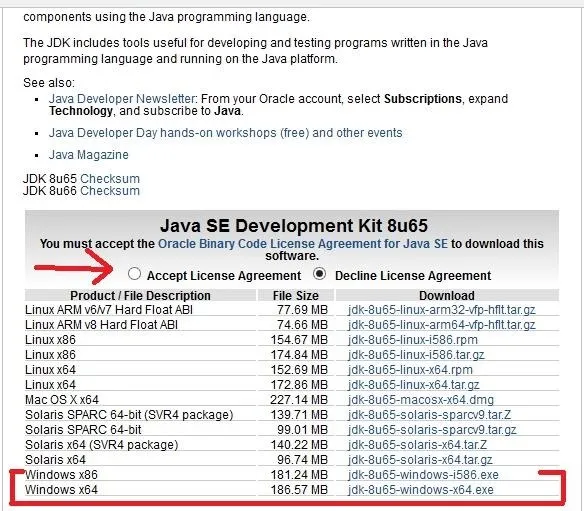
- x86 - Belongs to 32 bit users
- x64 - Belongs to 64 bit users.
No big deal !!!. Select your platform package and download it. Your browser's downloader should pick the file up.
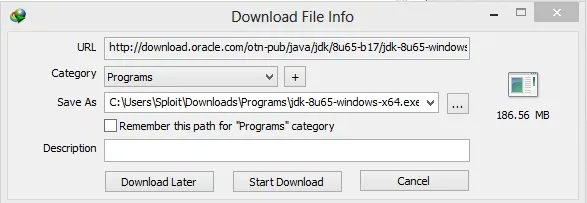
Installing Java JDK
After downloading the file above, We can then run it by double clicking.
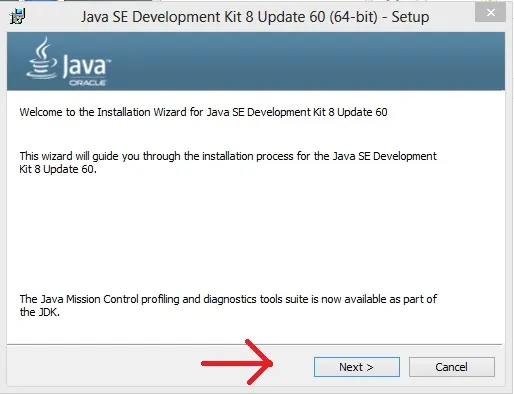
This software is like all other softwares. We click Next and Next and Next until we see finish even without reading License Agreement which is very bad.
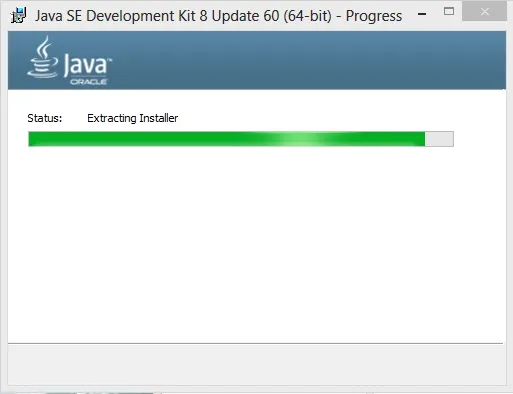
Now, when prompted with this window.
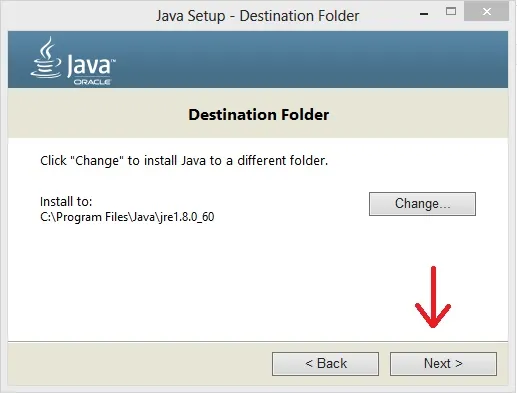
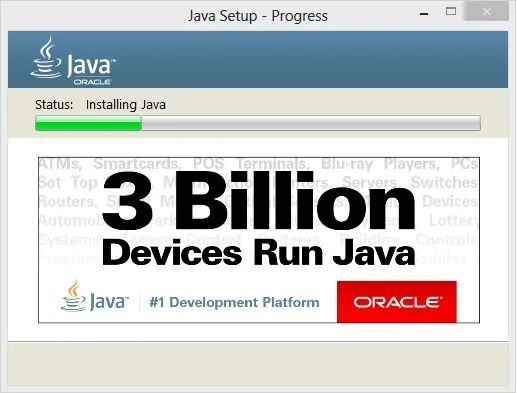
It is highly recommended to leave the Java location as default and click 'Next'. It should then start installing Java.
After the installation is done. We should be presented with our finish dialog.
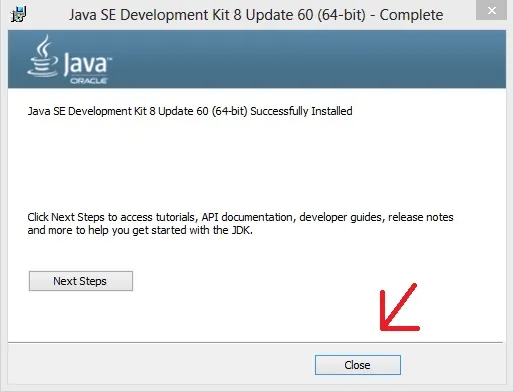
Configuring Java JDK
After installing the package, we should cross-check some few things before we download the android studio package.
- First, we need to set the JAVA_HOME variable in the user settings if it hasn't been created.
We move to the directory C:\Program Files\Java\<java version> where C: is your Hard Drive letter. In my case: C:\Program Files\Java\jdk1.8.0_60. If you have no problem accessing yours, then you are all set.
Note: There are two folders in the C:\Program Files\Java\. One is jdk and the other is jre. Bewarned, its jdk.
Open the Control Panel and Navigate to System and Security, and then click System and finally Advanced System Settings. This should be: Control Panel>System and Security>System>Advanced System Settings. We should have this dialog pop up.
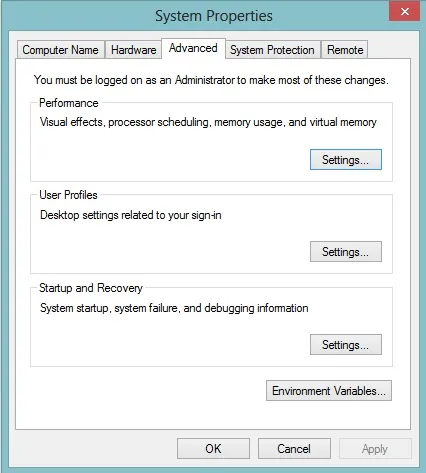
At the lower right of the popup dialog, there should be a button saying Environment Variables. Click on it and another cute dialog should pop up.
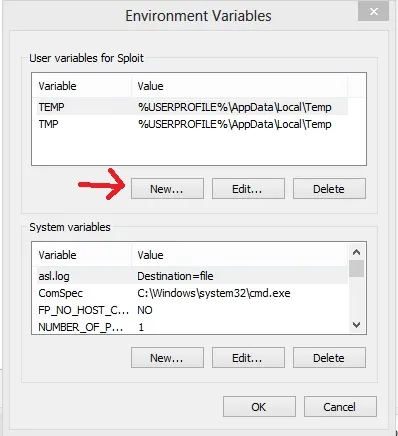
There are two sections of the dialog, The upper part is the User variables and the other is System Variables, We are interested in the User variables. Click on the 'New' button as the arrow indicates. Another marvelous dialog will pop up ask for two inputs ( Variable Name, Variable Value ).
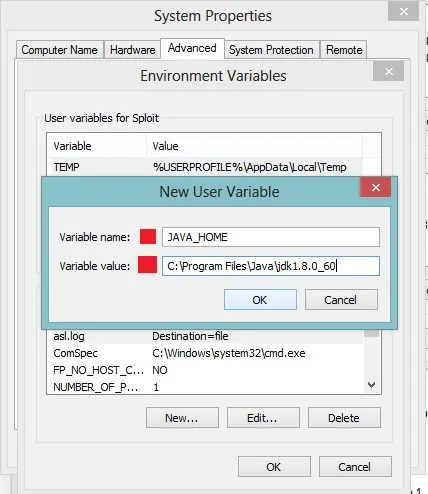
We set the value of Variable name to JAVA_HOME and set the Variable Value to the location of the folder we accessed earlier. Click 'Ok' and 'Ok' and 'Close'.
2. Android Studio
Lets head to google and download android studio. We use the first link.
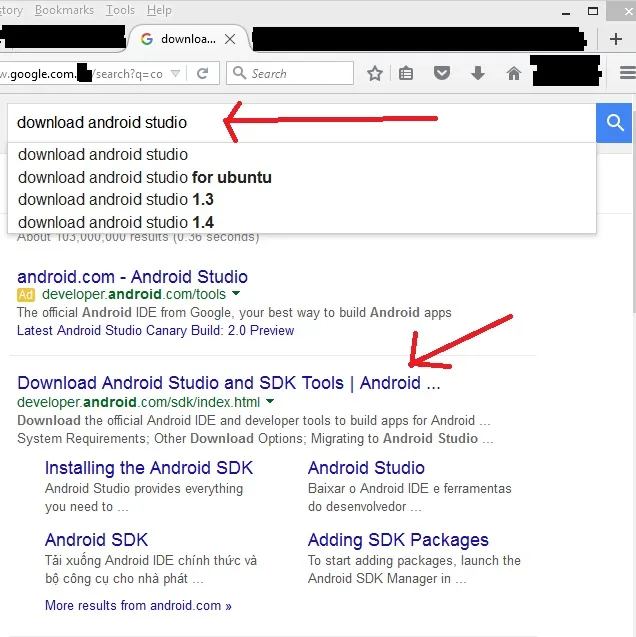
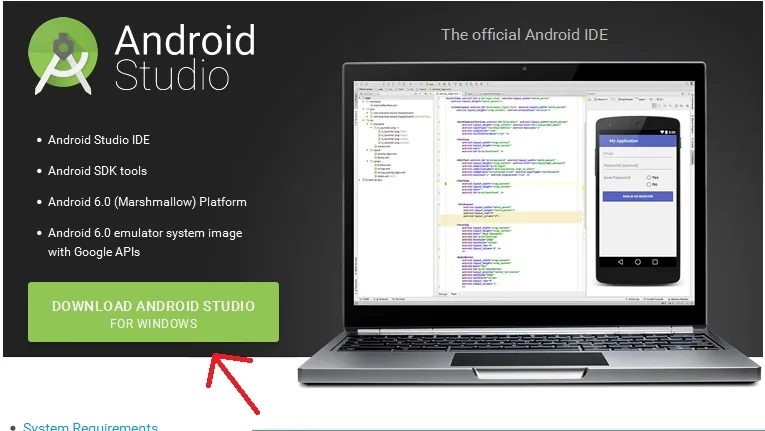
We should be sent to the Android Studio Page. Click on the download button and that should lead us to the license agreement box.
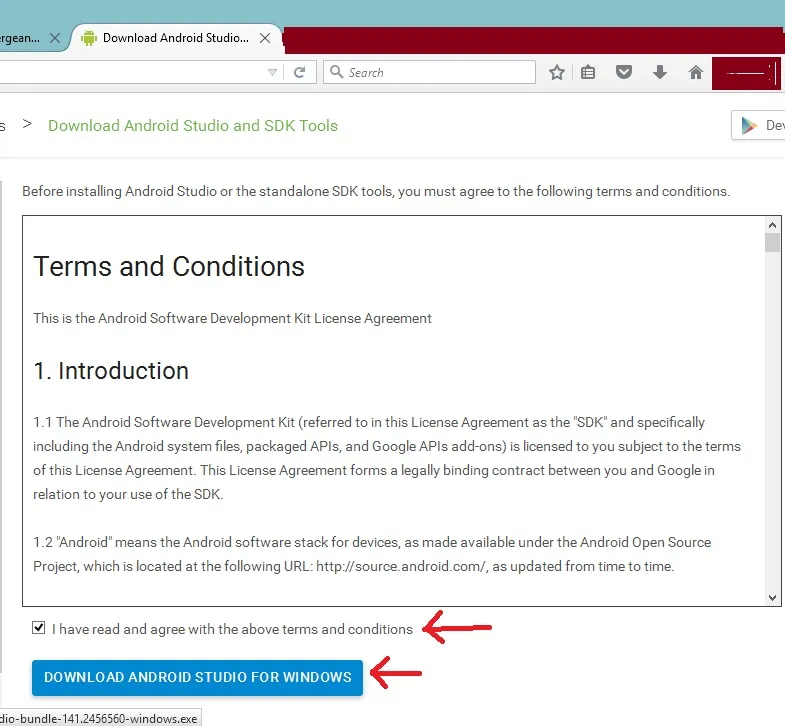
The License Agreement page requires us like all other forms to check the box before downloading.
The android studio package should pop up right in your face. You can save it.
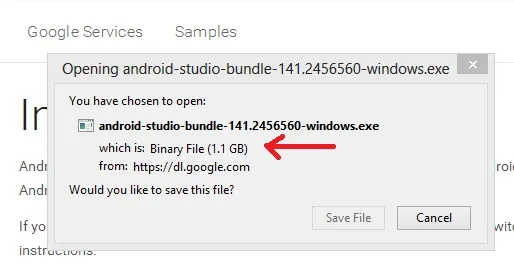
This is where you feel as if the world hates you when you don't have a fast and active internet connection.
Installing and Configuring Android Studio
Run your downloaded package file with administrative privileges. And rest is to click 'Next' and 'Next' until installation complete. It should take some time so you can take five.
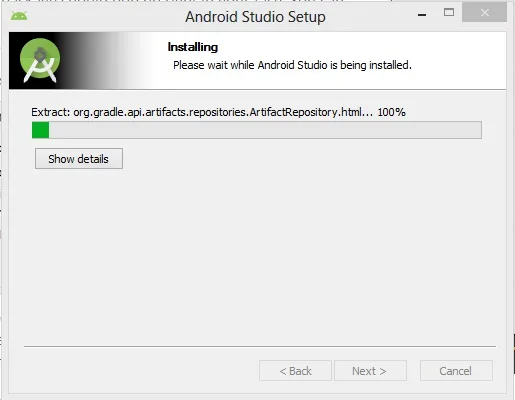
When it is done, Uncheck the 'Start Android Now' and close. We can also create a Desktop shortcut which is what I will be doing.
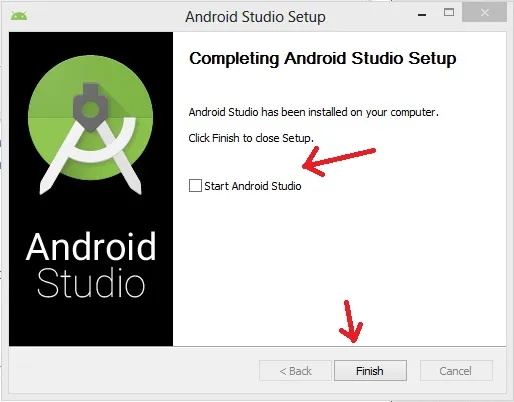
We are unchecking Start Android Studio because we want to start it as Adminstrator so kindly go to the program, Create a shortcut on the desktop and run the shortcut as administrator.
First Time Run
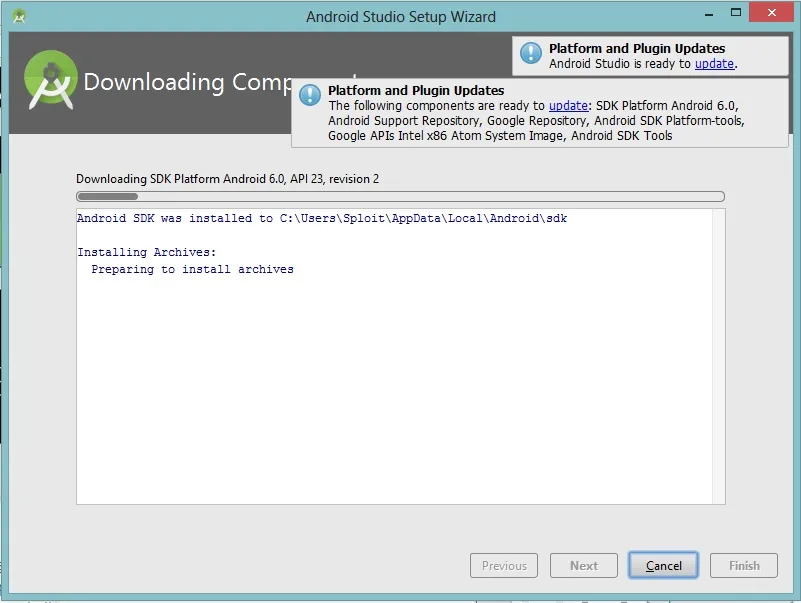
During the first run, Its going to download some packages which is the most irritating of all so you have to give it some time to finish. After it is done, should you be the patient type, you can close the studio and wait for me to bring up the next tutorial before you open the studio again but if you are the curious type, I know you will be opening the interface to see how it looks. I will end it here and see you in the next tutorial.
In A Nut Shell
We have been able to setup and configure our environment. In the next tutorial should I be around, I would pin-point some little tasks we have to perform to ensure we have the maximum stability of the Android Studio and also enjoy the comfortable experience. Have a nice day and Peace

# Sergeant.


Comments
Be the first, drop a comment!