


One of the best ways to dig into a website and look for vulnerabilities is by using a proxy. By routing traffic through a proxy like Burp Suite, you can discover hidden flaws quickly, but sometimes it's a pain to turn it on and off manually. Luckily, there is a browser add-on called FoxyProxy that automates this process with a single click of a button.
Why Use a Proxy Switcher?
A proxy switcher is a tool, usually in the form of a browser add-on, that allows one to turn a proxy on and off or cycle between multiple proxies with the click of a button. It saves loads of time as it usually takes many clicks to enable or disable a proxy.
It is beneficial for security researchers and penetration testers because the time saved messing around with settings can be put to better use, especially when exploring a website for testing. It can get annoying having to turn the proxy on and off constantly, but the use of a proxy switcher makes the process trivial.
FoxyProxy is a popular proxy switcher available for both Firefox and Google Chrome. Here, we will be installing and configuring FoxyProxy in Firefox to use in conjunction with Burp Suite.
Add FoxyProxy to Firefox
The first thing we need to do is start Firefox and navigate to the Add-ons Manager. You can do so by using the Ctrl Shift p shortcut, clicking the "Open menu" button in the toolbar then "Add-ons," or hitting "Tools" in the menu bar followed by "Add-ons."
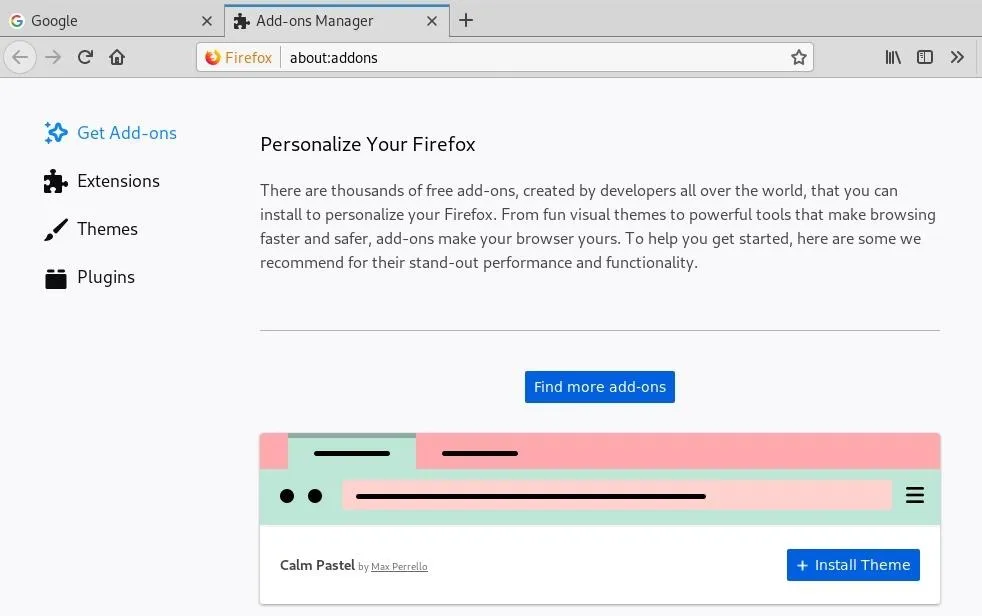
Click "Find more add-ons" on the Personalize Your Firefox page for "Get Add-ons," and search for FoxyProxy.
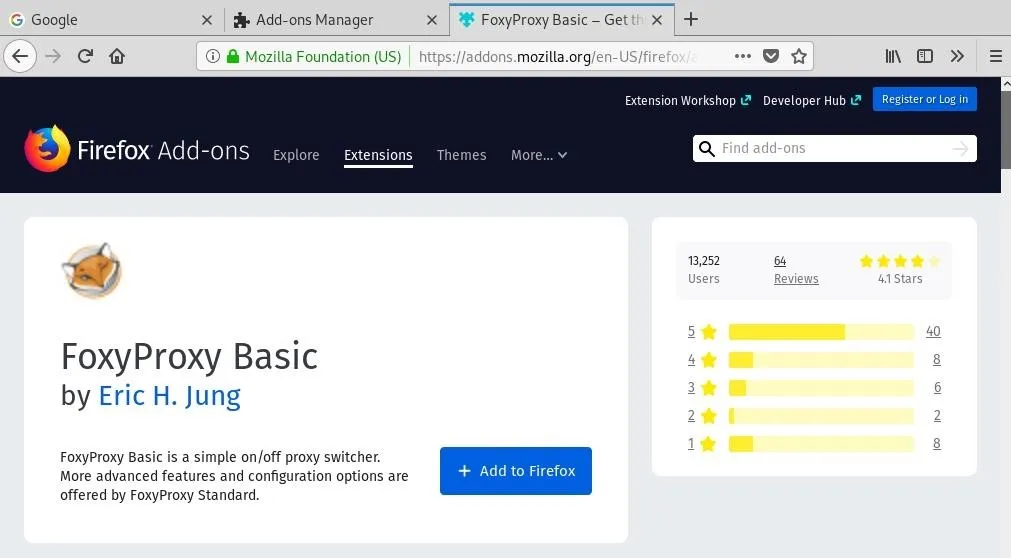
We will use FoxyProxy Basic as it offers enough functionality for what we need. Alternatively, instead of going through all of the above steps, you can just go directly to FoxyProxy Basic's extension page.
We can then click "Add to Firefox" to add the extension.
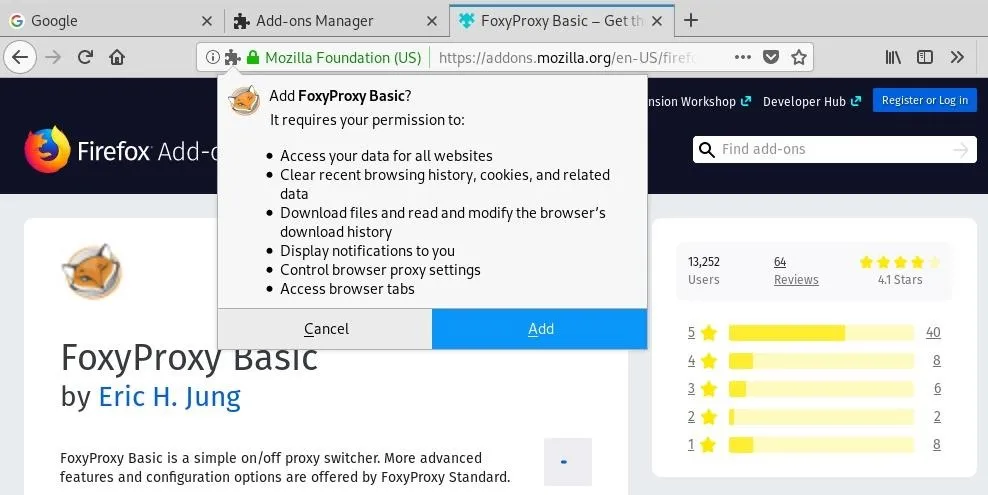
Make sure to hit "Add" on the prompt to allow access to what it needs.
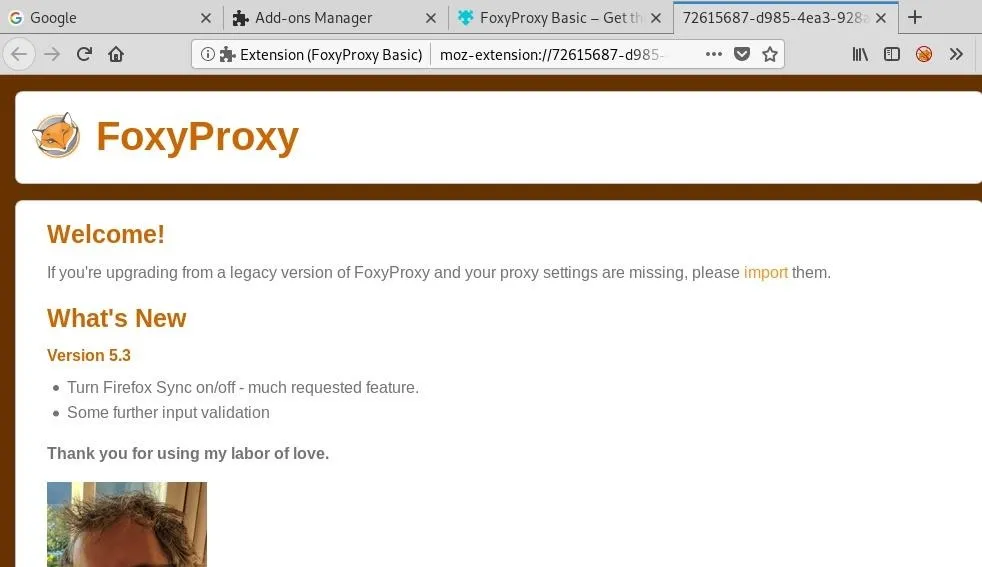
We will then be directed to FoxyProxy's page, which includes a changelog and a bit more information.
Add a Custom Proxy
There should now be a little icon in the upper-right area of the browser, next to bookmarks or whatever else is in the toolbar. Click the icon and select "Options" to go to the settings page.
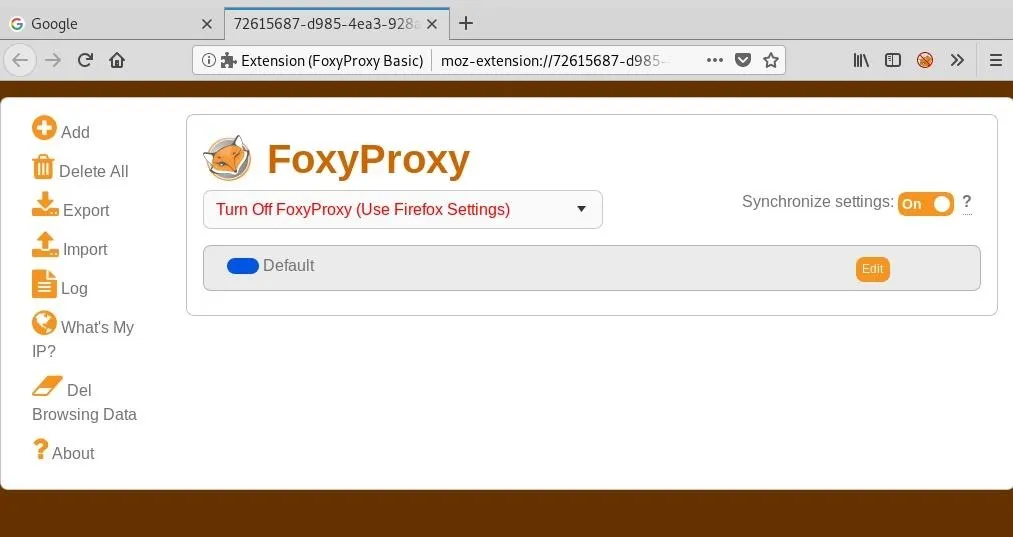
Next, click "Add" to add a custom proxy.
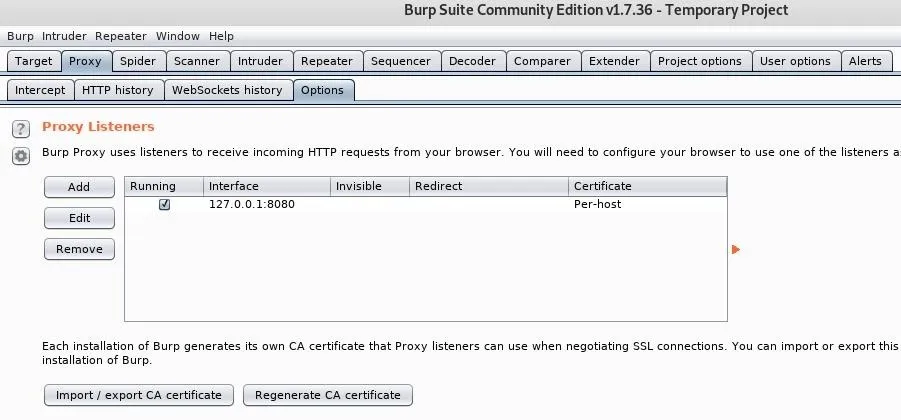
With Burp Suite up and running, go to the "Options" tab under "Proxy." We just want to confirm the default IP address and port since it needs to match in FoxyProxy.
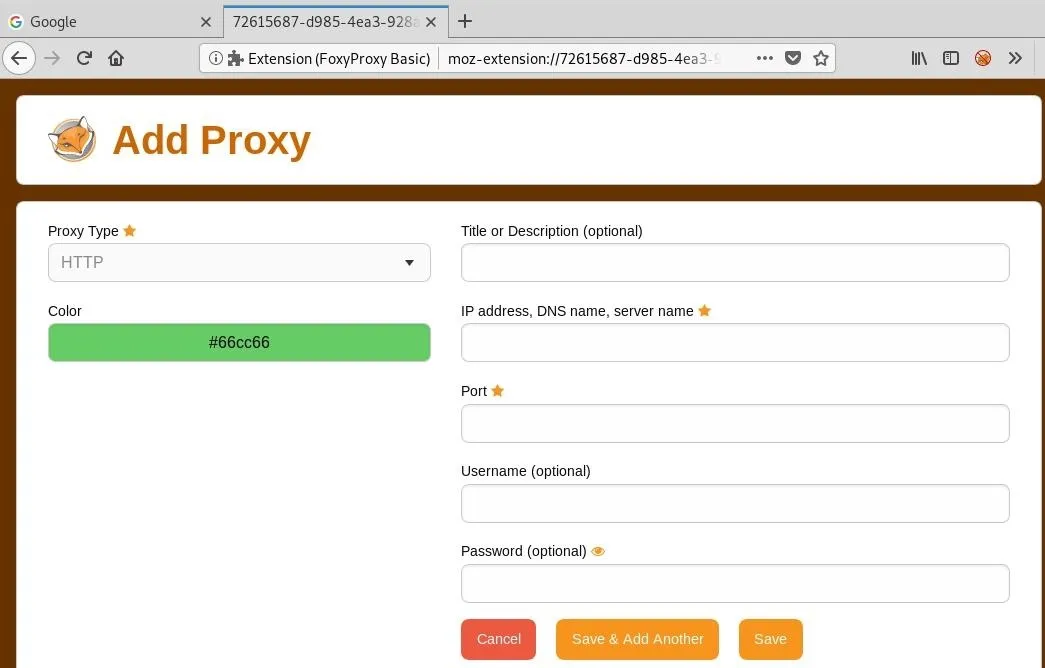
Now we can fill in the information and give it a title to keep things organized.
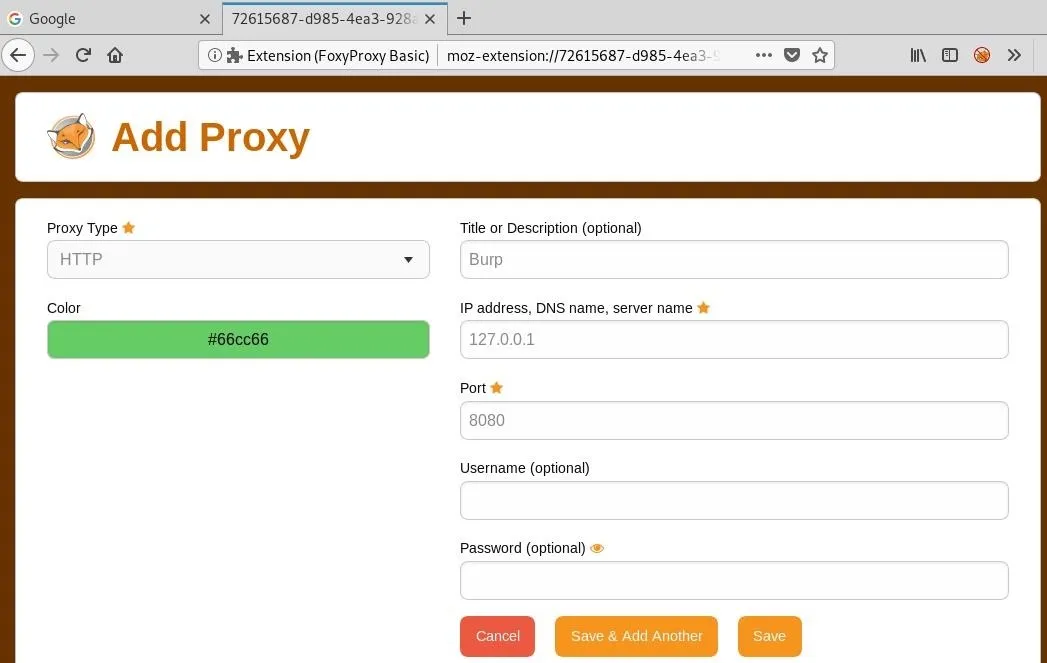
Click "Save," and our proxy should now appear on the main settings page.
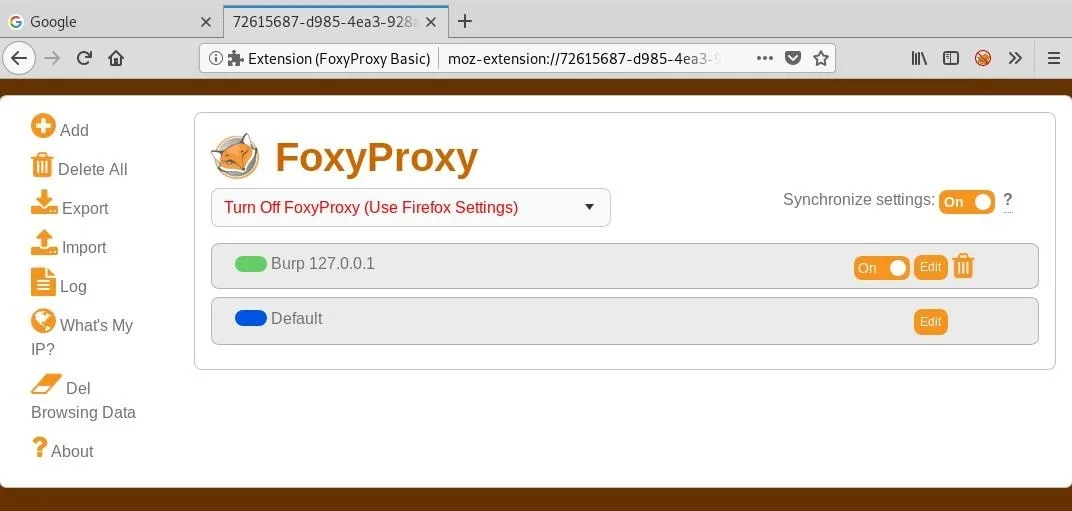
Now, all we have to do is enable it while Burp is running, allowing us to effortlessly switch the proxy on and off or even switch between different proxies. Click the icon and select "Use proxy Burp for all URLs (ignore patterns)" to turn it on.
Add the Burp CA (If Not Already Done)
Now if we navigate to a website, we will receive an insecure connection warning.
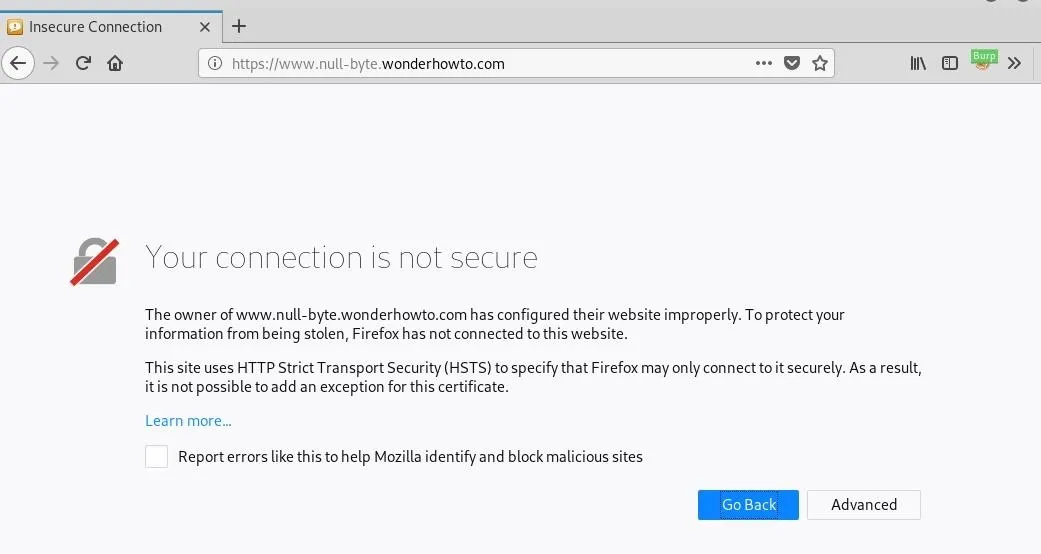
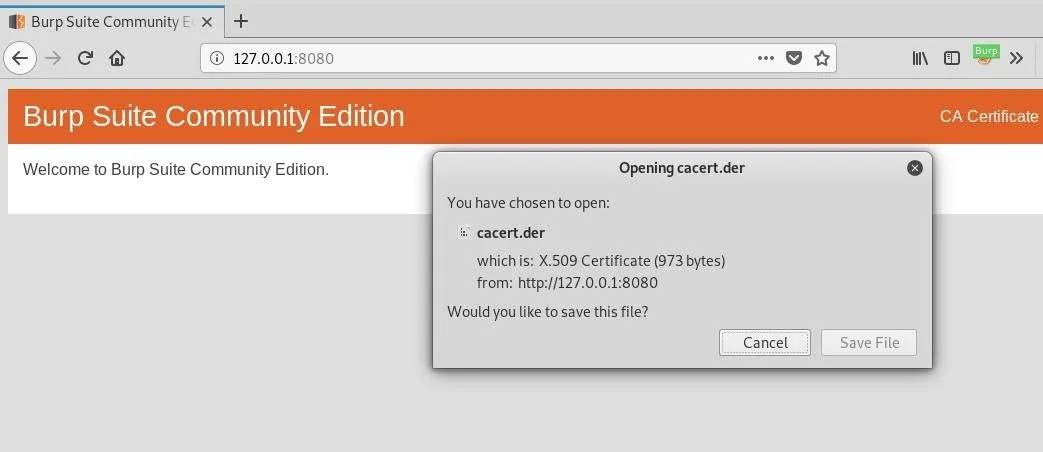
We could make an exception each time we load a new page, but this would get annoying fast. Instead, we can add Burp's certificate to our browser, so it remains a trusted authority. To do this, navigate to the interface Burp is running on in the browser.
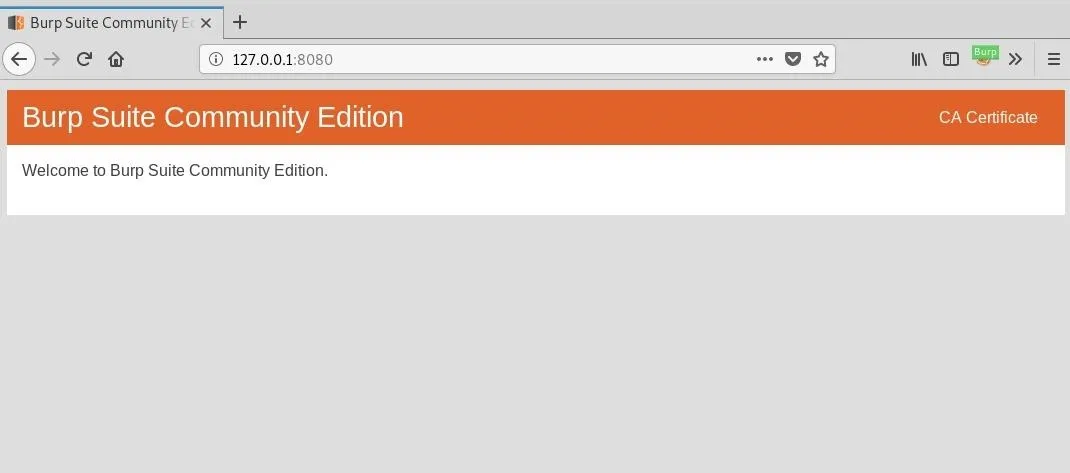
Click on "CA Certificate," and save the file.
Next, go to "Preferences," and scroll all the way to the bottom on the "Privacy & Security" page.
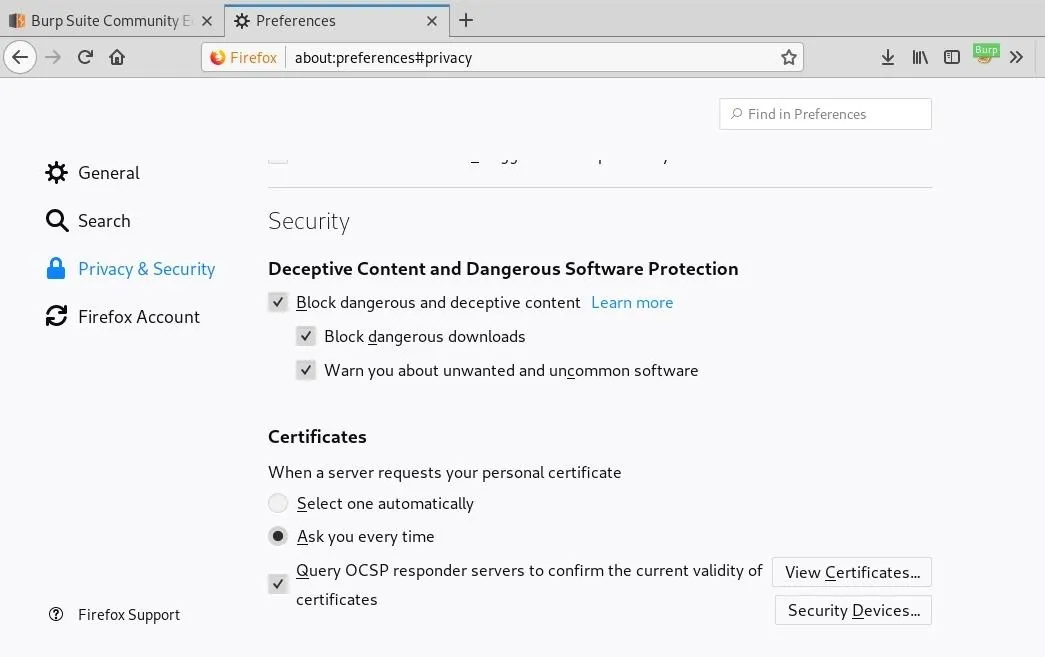
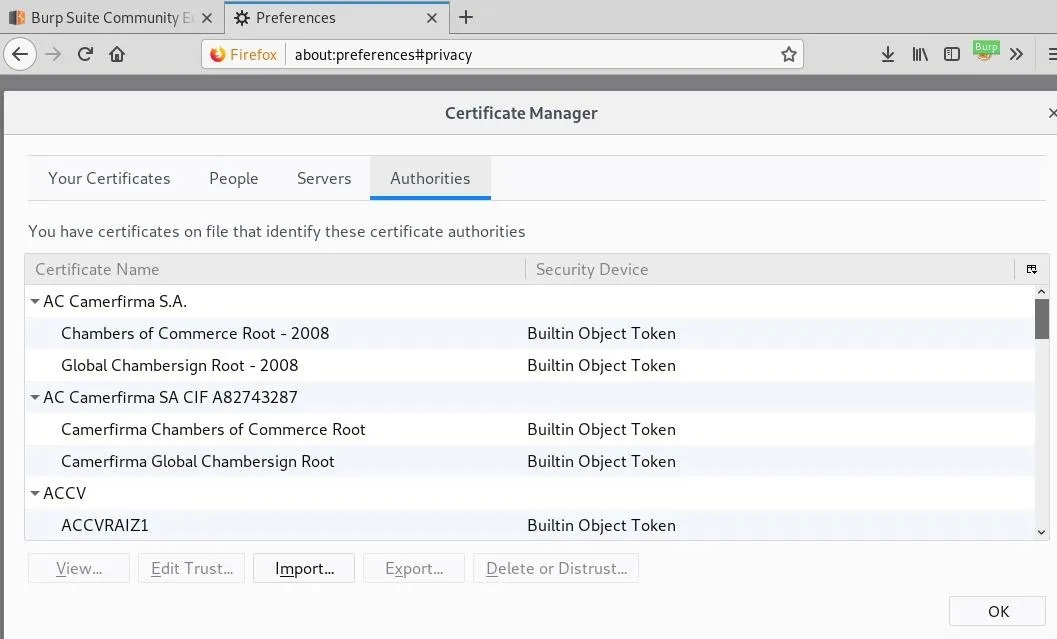
Click "View Certificates," and hit the "Import" button.
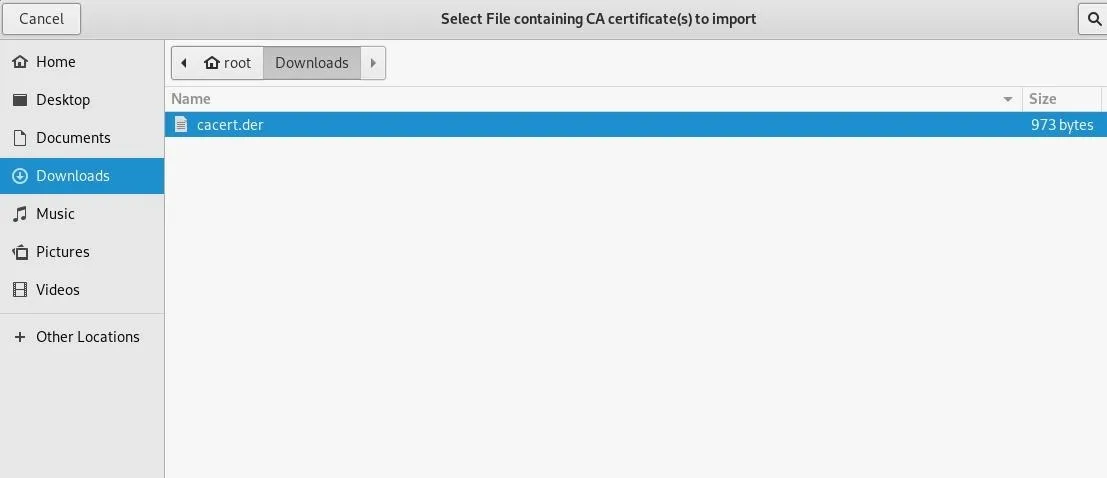
Now we can select the certificate file we just downloaded.
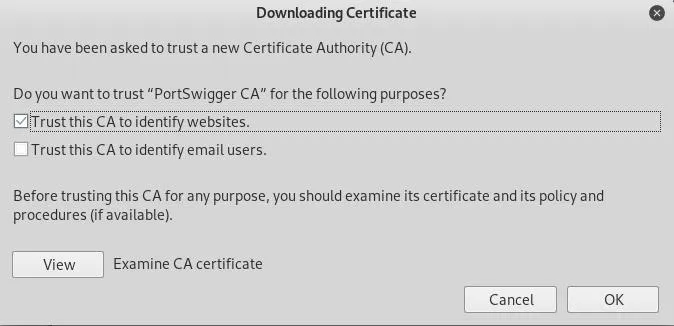
A prompt will open asking if we want to trust a new Certificate Authority. Select "Trust this CA to identify websites" and hit "OK" to save.
Now if we view our certificates, we will find the PortSwigger (the company that makes Burp Suite) certificate is installed.

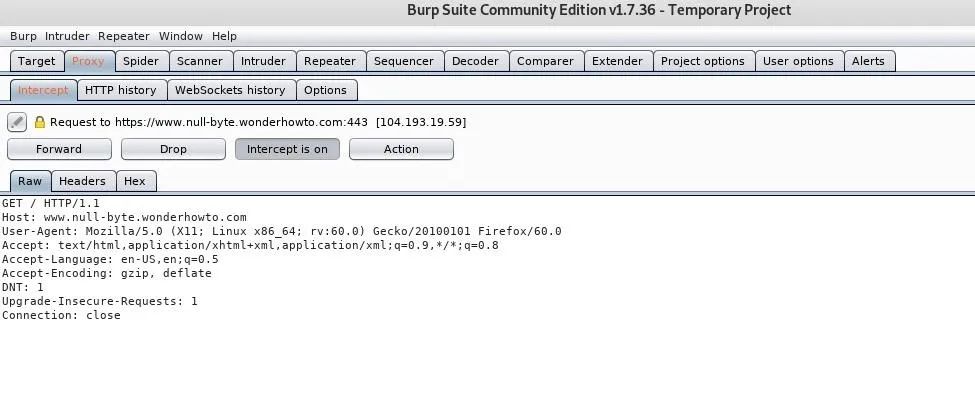
Test the Custom Proxy
If we send a request through Burp now, it should be successful.
Fix SSL Errors (If Necessary)
One error that may arise is related to SSL records.
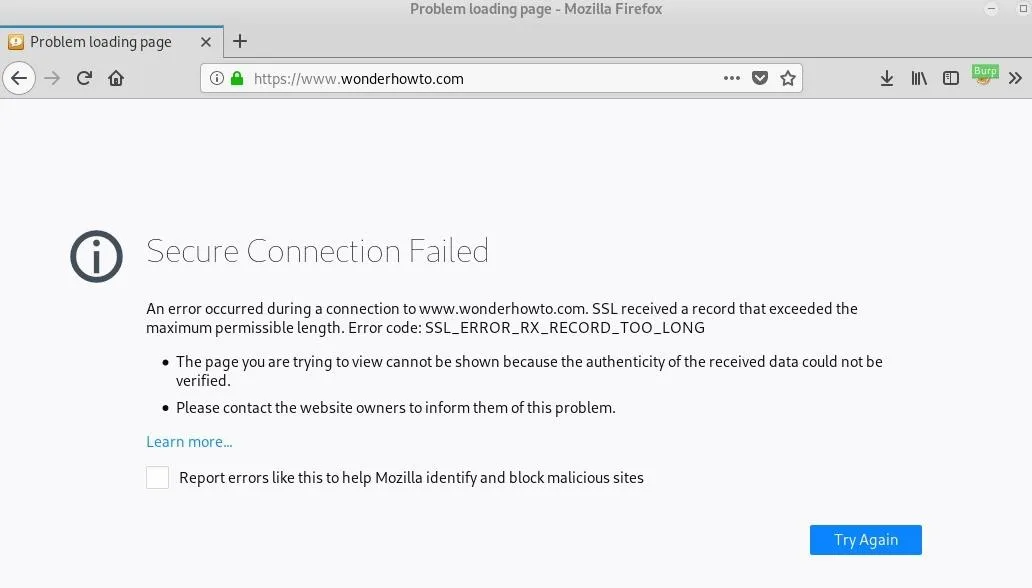
I found the easiest fix for this was to simply downgrade the TLS version from 1.3 to 1.2. Note: do this at your own risk — TLS 1.2 is still widely used and relatively secure, but know that you won't be running the most recent version in your browser.
Navigate to the "about:config" page in the browser, and click "I accept the risk!" to continue.
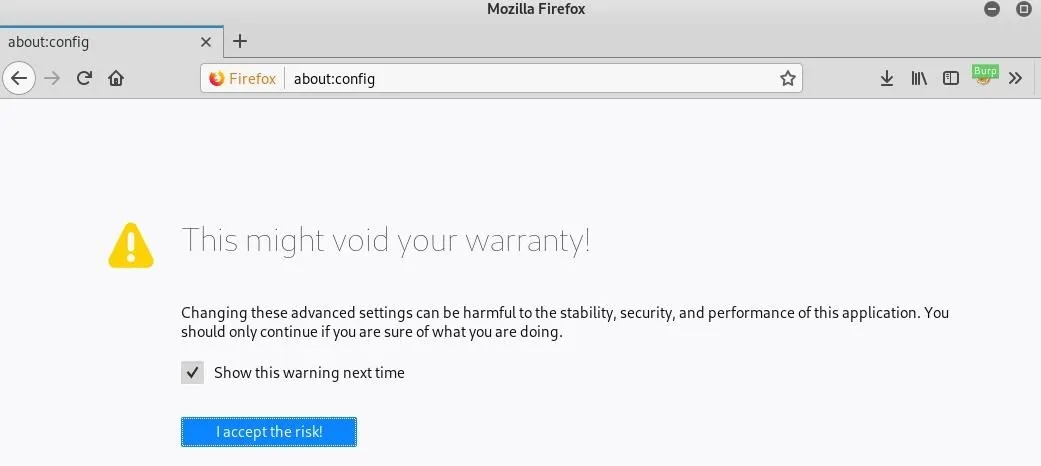
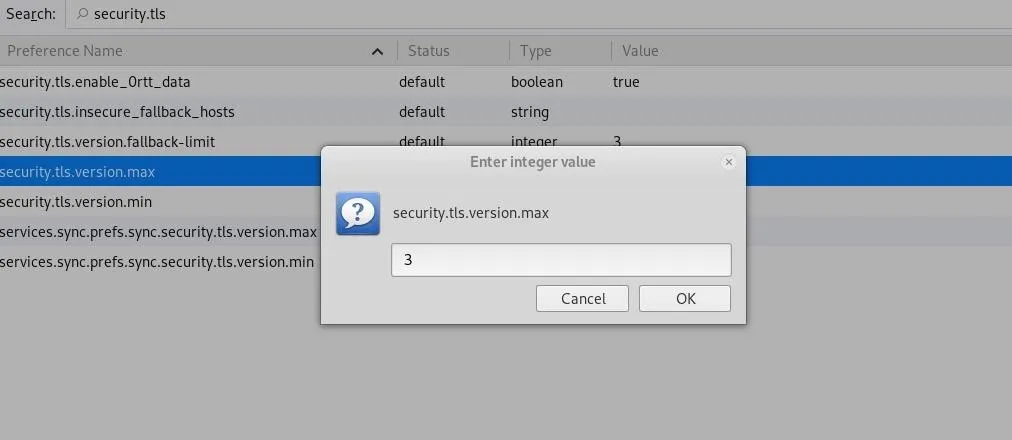
Search for "security.tls" and double-click on "security.tls.version.max" to change the settings.
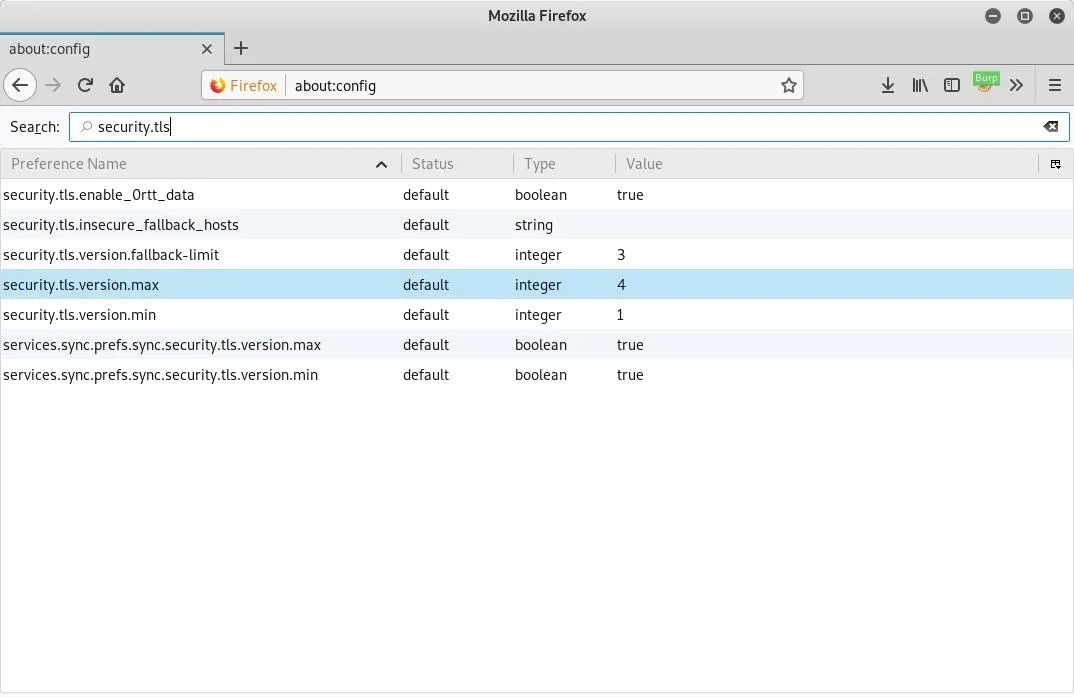
Change the value to "3" to downgrade to TLS 1.2. Yes, I know, this is sort of confusing, but it is what it is.
Test the Custom Proxy Again
Now, when we visit a website and send the request through Burp, it completes successfully, and we don't get any more errors.
When we are done, or if we want to disable the proxy temporarily, click the FoxyProxy icon again, and select "Turn Off FoxyProxy (Use Firefox Setting)" to return to the default settings for Firefox.
Wrapping Up
We learned about proxy switchers and what the advantages of using them are. We installed and configured a browser add-on called FoxyProxy that allowed us to turn a proxy, like Burp Suite, on and off with a single click. We also covered some configuration issues, including setting the Certificate Authority and getting Burp to work with TLS. Now that FoxyProxy is installed, more time can be spent finding bugs and not messing with settings.
Cover image by geralt/Pixabay; Screenshots by drd_/Null Byte


Comments
Be the first, drop a comment!