


Hello fellow Null-Byters! This is my first post so please be respectful and constructed criticism is much appreciated. I am no professional, however I believe that it is important to understand technologies before you go poking at them and trying to break them, I therefore decided to make this series. In this "tutorial" we are going to setup a web server with php and mysql. I will be doing this with a raspberry pi because a pi is quite versatile.
Installing Apache with PHP
We are going to be setting up an Apache2 server. We are using apache because it is easy to setup and is great at hosting static files. Go into a terminal/command prompt and enter in the command: sudo apt-get install apache2 php5 libapache2-mod-php5

It will install and if there are any errors try using: sudo apt-get update && sudo apt-get upgrade. Then try again
Installing Apache with PHP on Mac
Follow this guide on how to enable it with PHP. You can also use another service called MAMP which I would highly suggest you use. It is a plug and play kind of product and it comes with MySql as well.
Installing Apache with PHP on Windows
Once again, follow a guide here. There are also alternatives that you can chose from listed on that site.
Install MySql
Now, we need to install MySql. We will get more in depth in a later tutorial. To go ahead and install, type the command: sudo apt-get install mysql-server --fix-missing
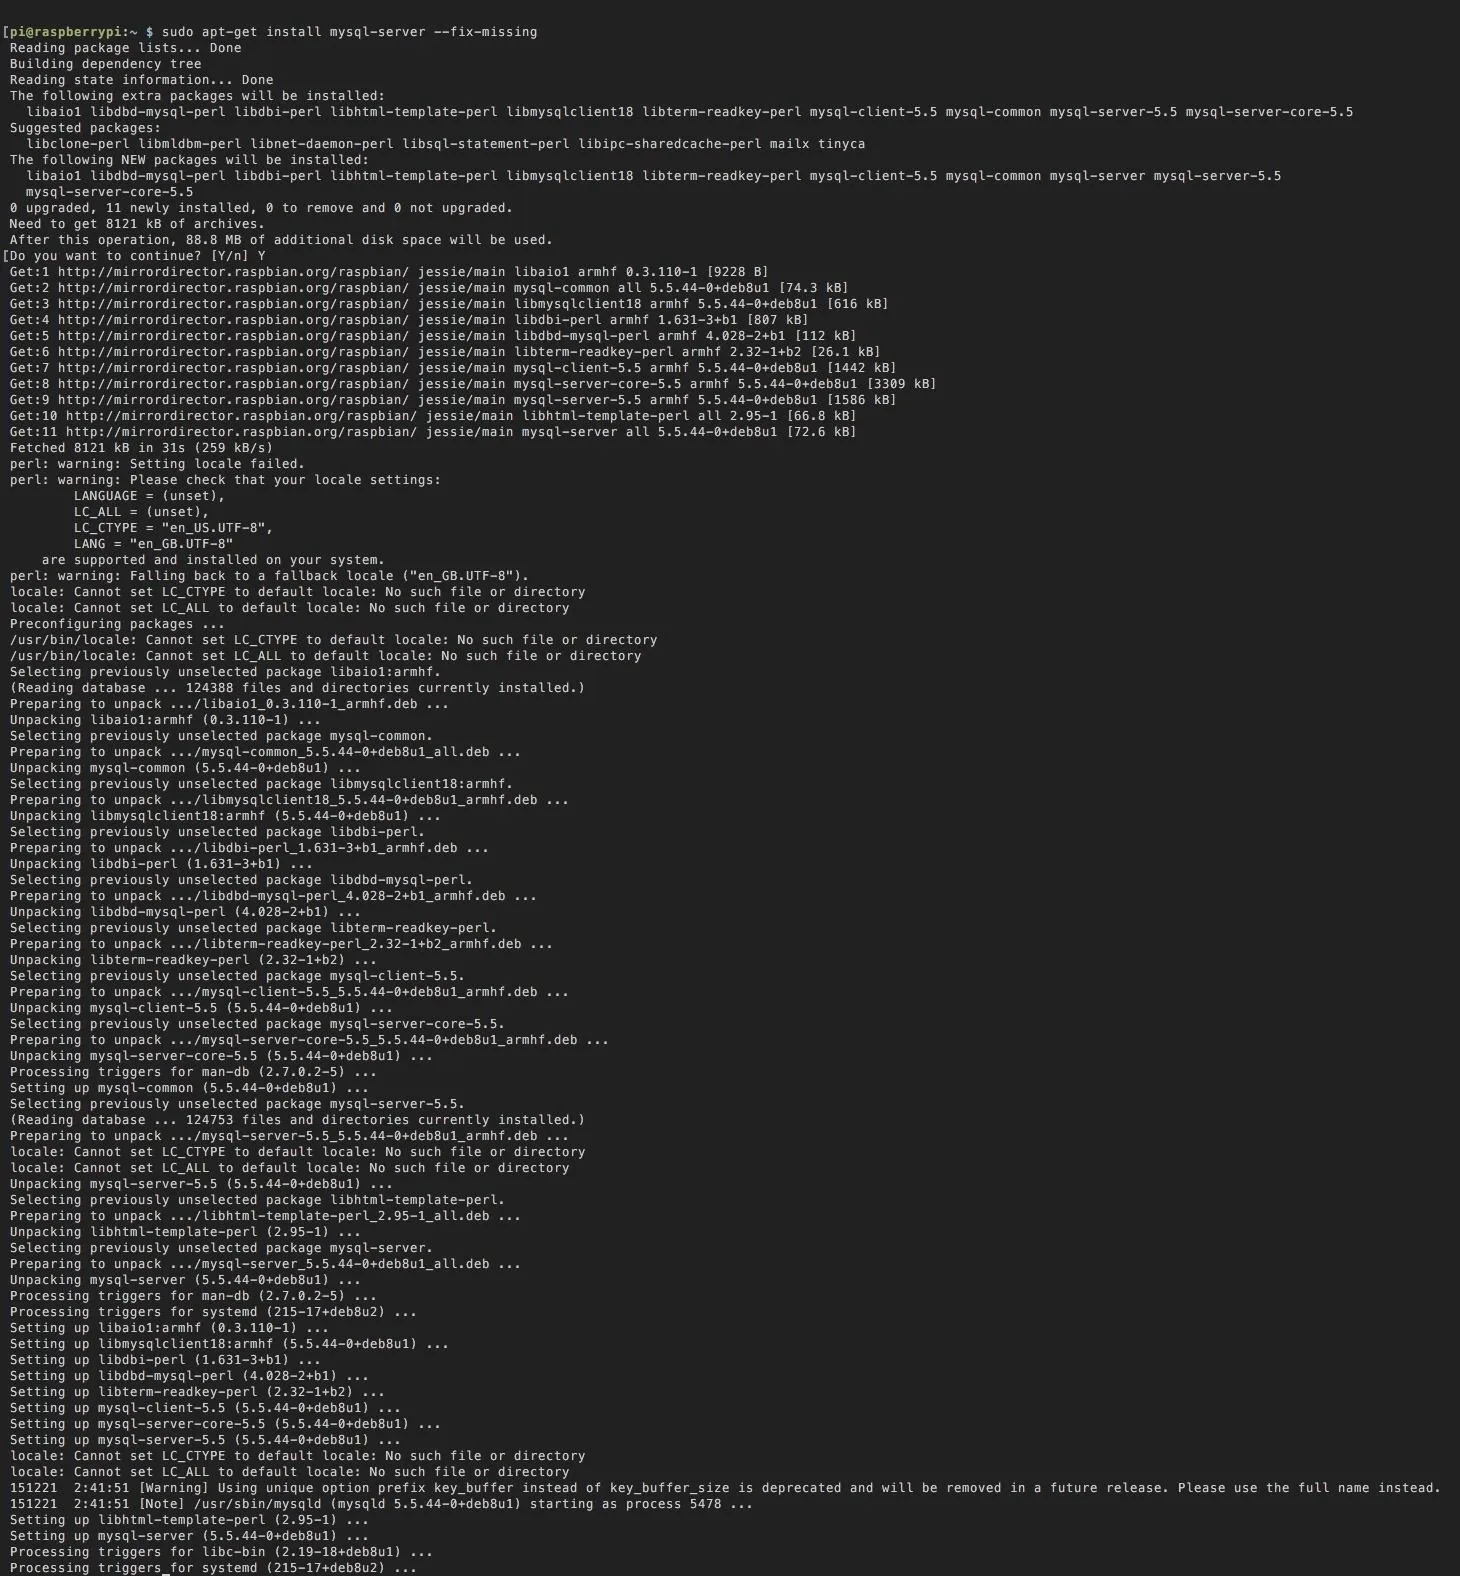
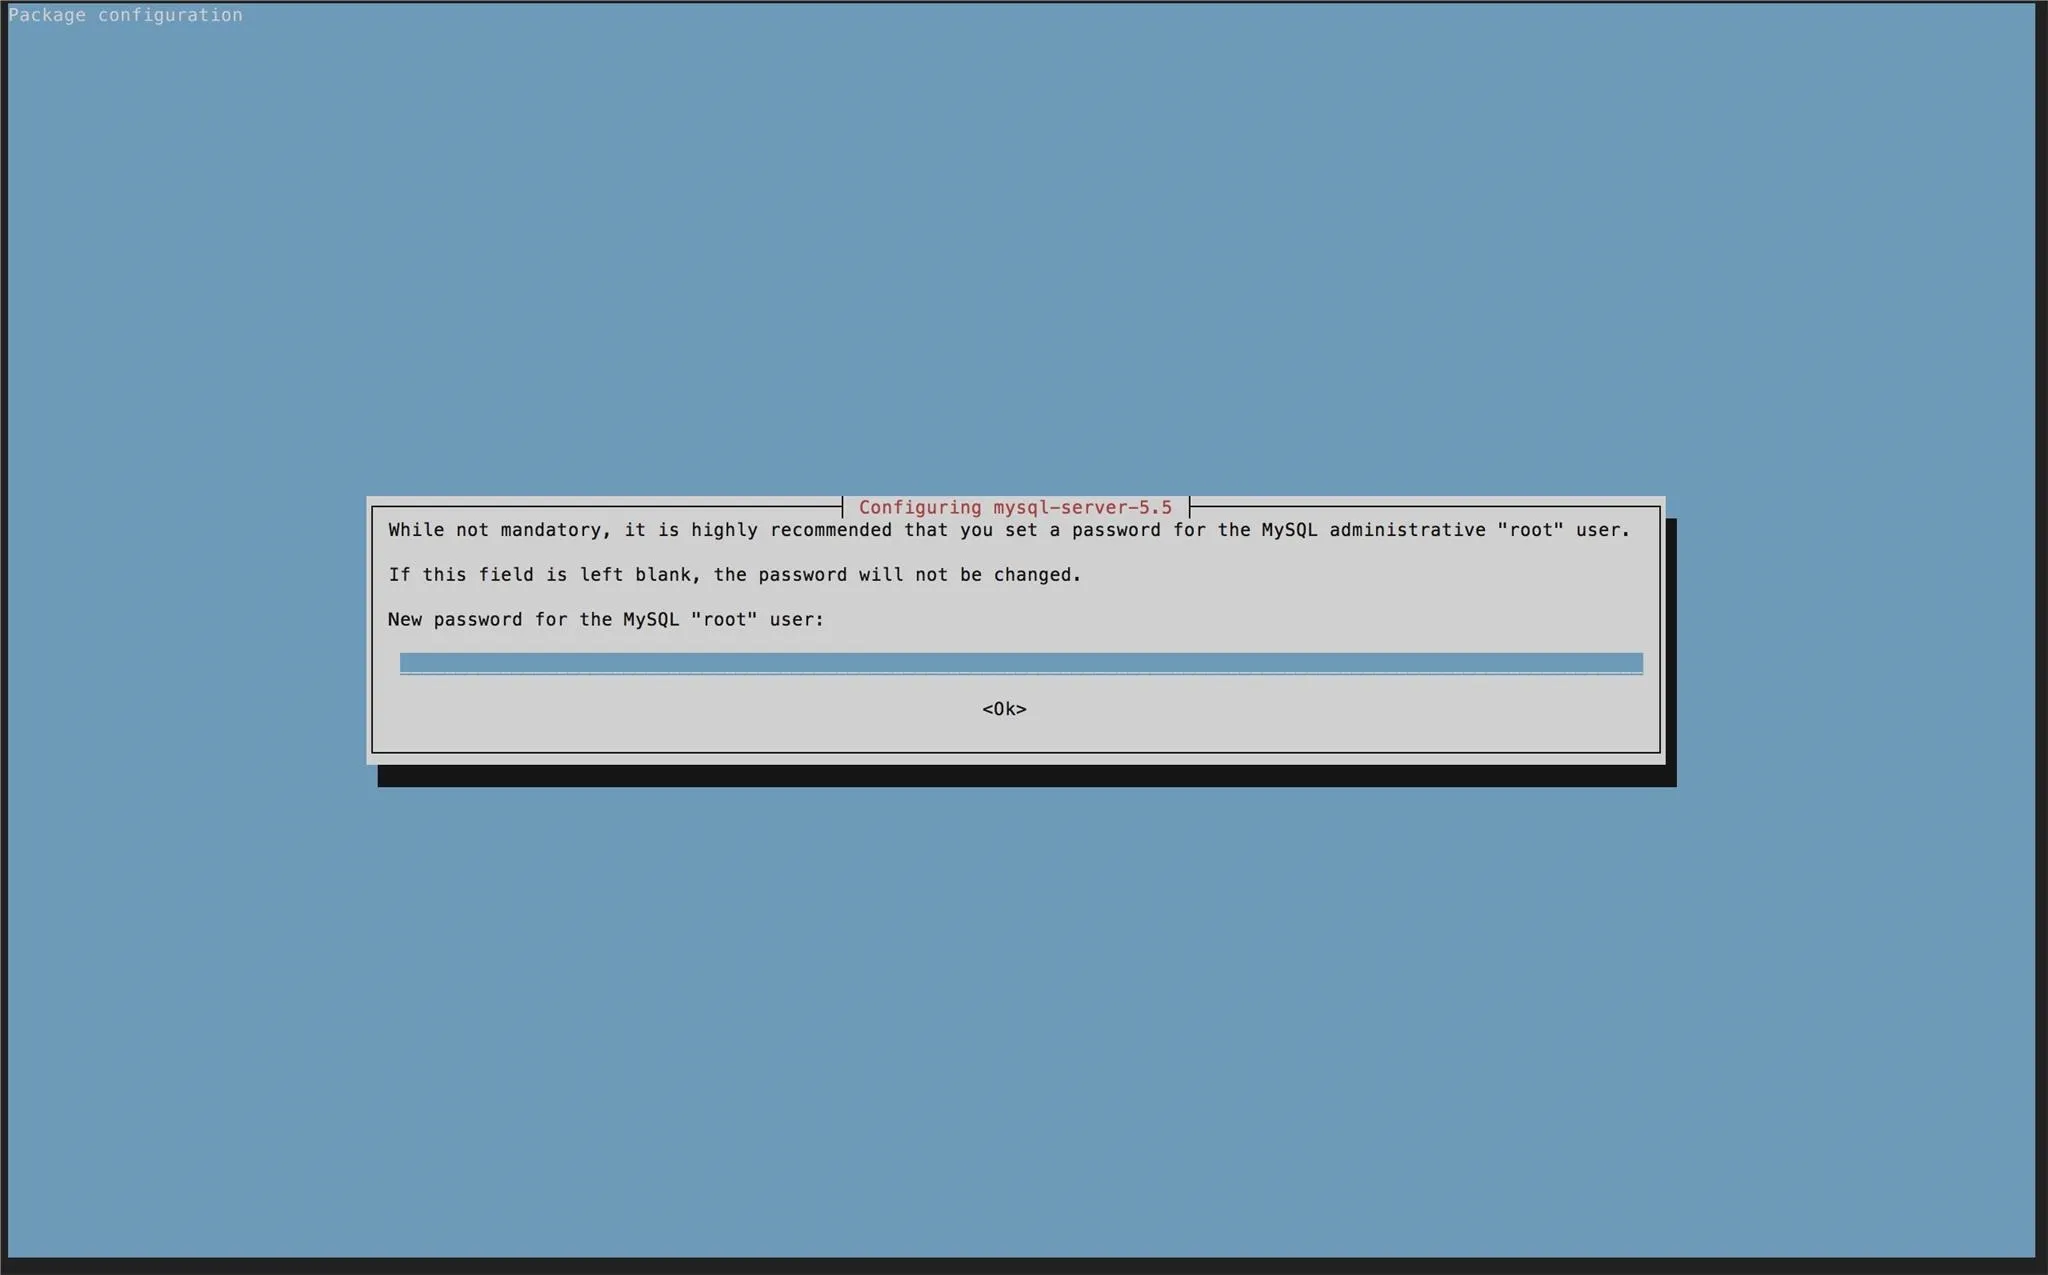
A successful install will look like such. It will also ask you to set a root password then confirm it.
Then after that, type the command: sudo apt-get install mysql-client php5-mysql

This actually installs the client.
Connect to It
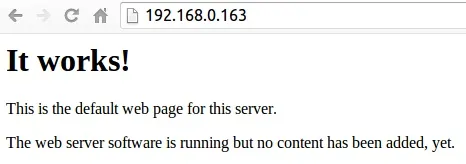
Everything should be setup and ready to go. Connect to your local ip address by using hostname -I. You should see this pop up:
or
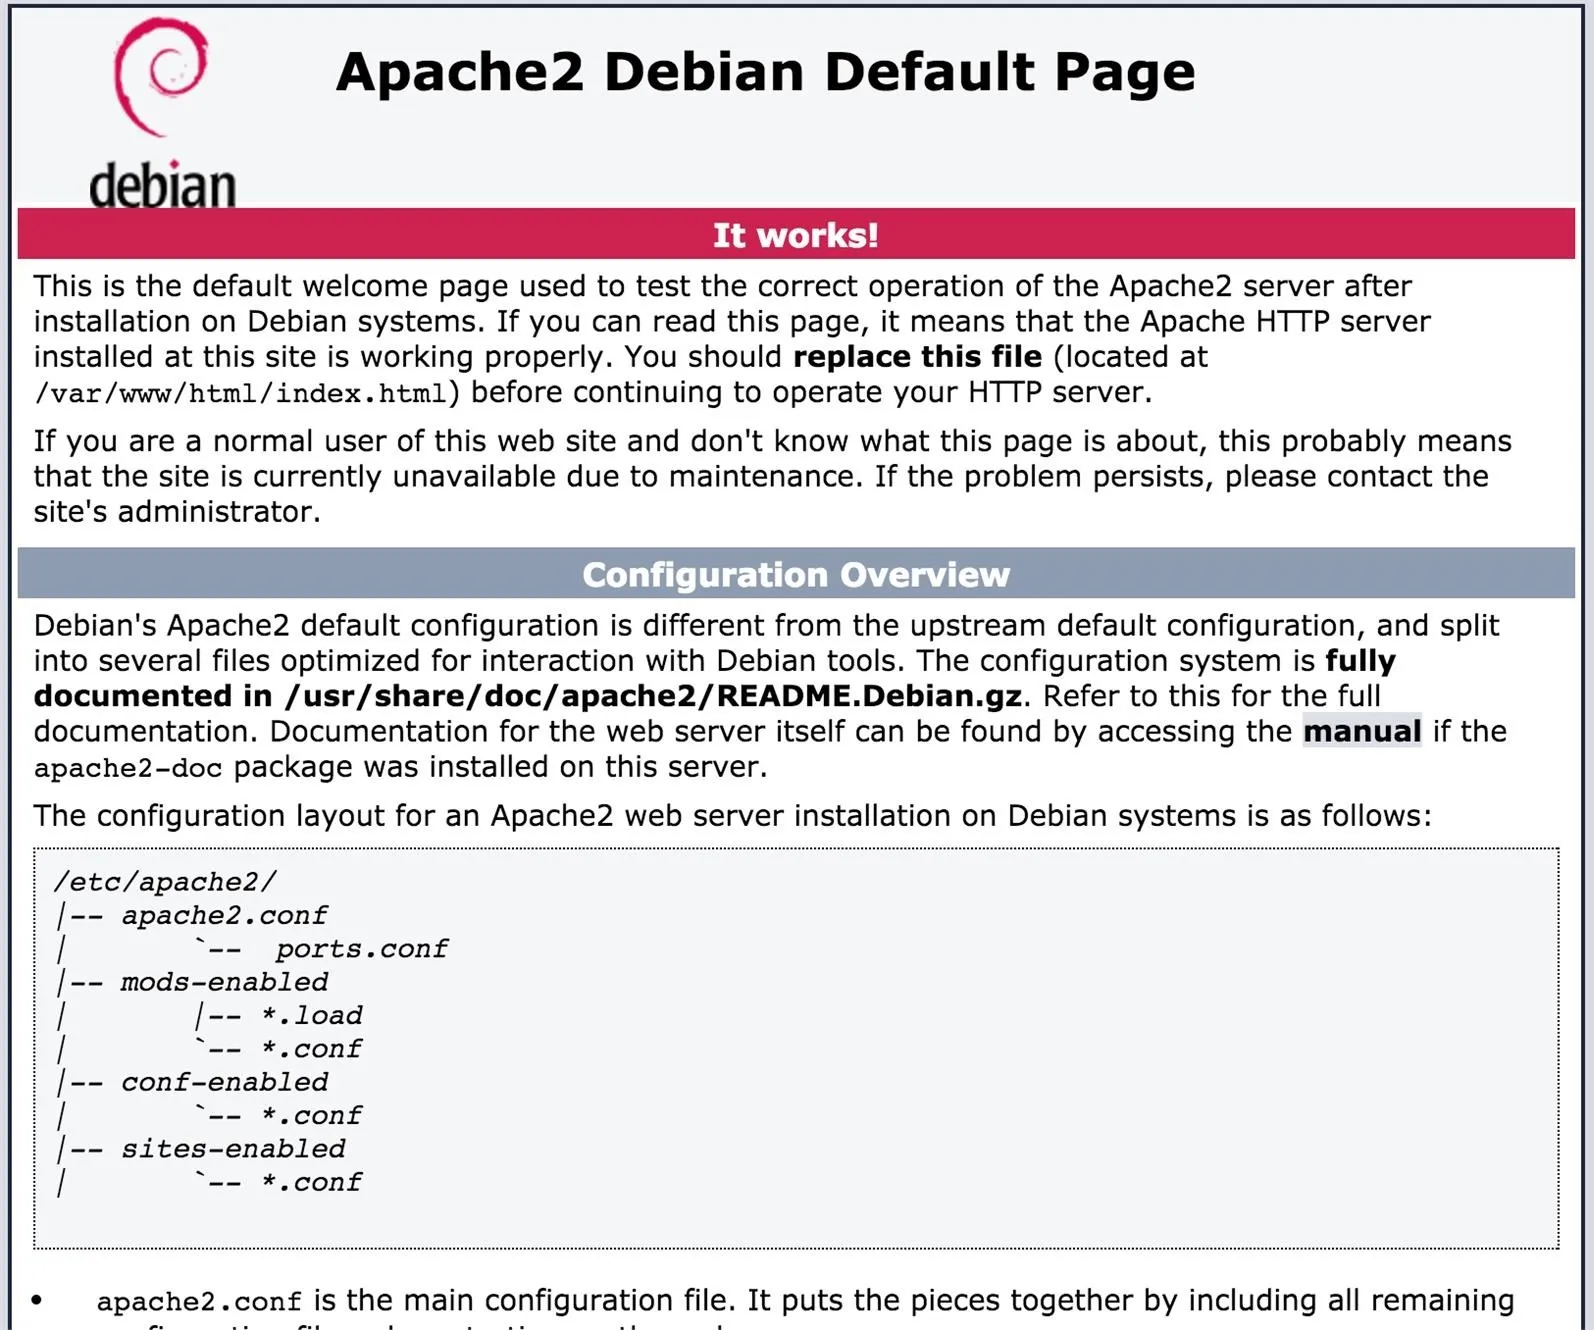
Congratulations! You just setup a web server. All the source files are in /var/www/http. Unless you chmod or chown all these files, USE SUDO FOR EVERYTHING.
Testing the PHP
Now we need to test the PHP installation. Go ahead and delete index.html and then open another file named index.php

In this new file type this:
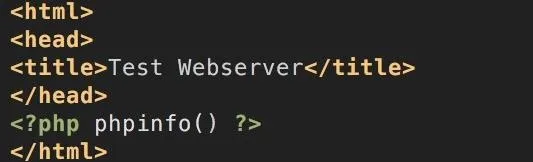
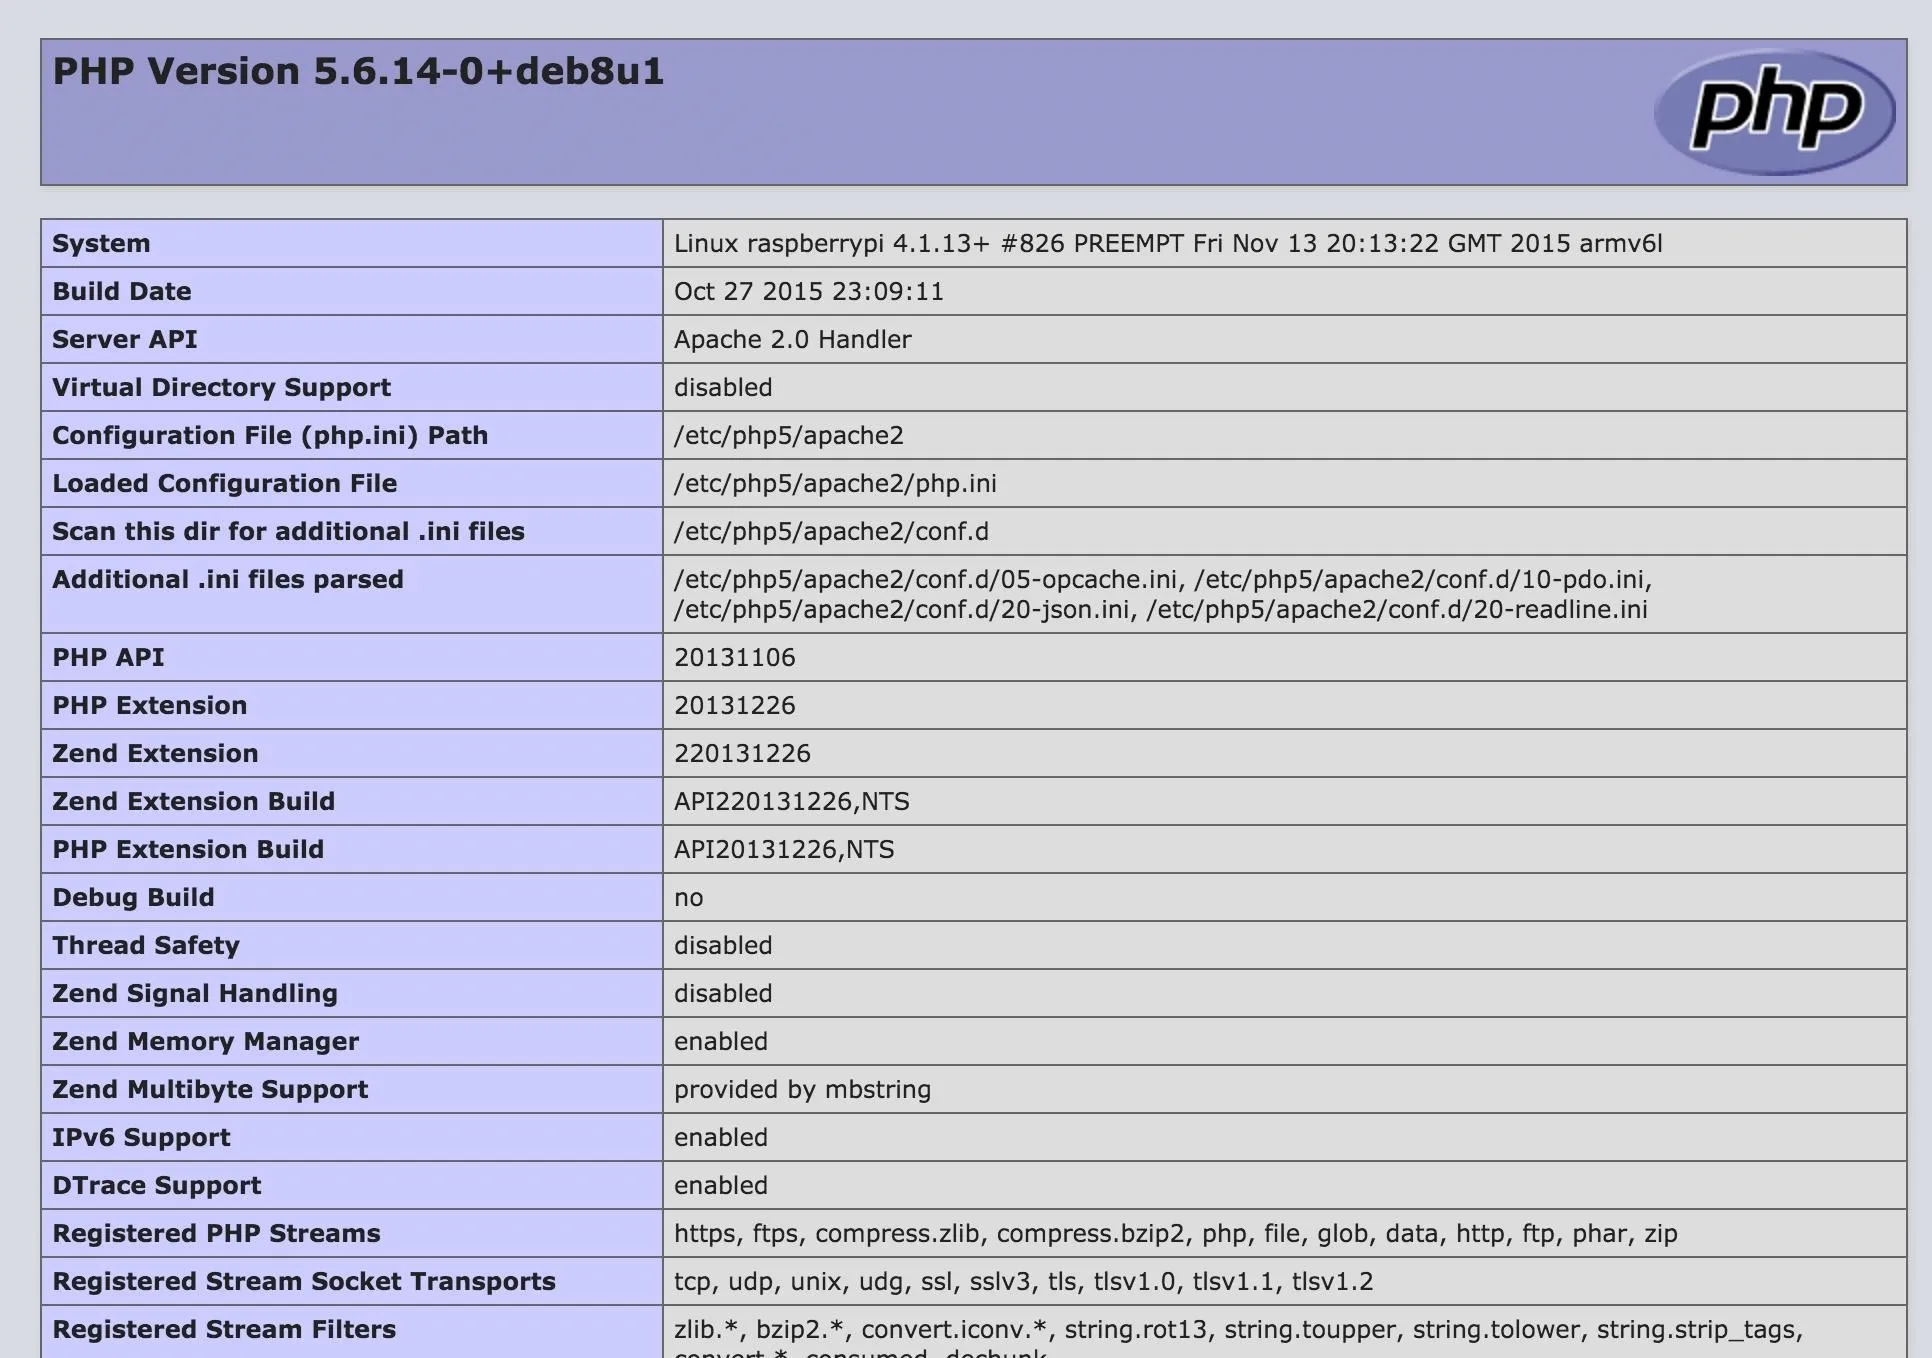
I'll explain all this later but you should then see something like this:
Other Tools Use
If you decided to use tools such as MAMP, google around and find a quick intro that can get you up and running in secs. After this, all the concepts should be the same.
Notes
Once again, this is my first post so please be respectful. In the next couple tutorials we will be going over important information that you need to know before we get programming.


Comments
Be the first, drop a comment!