


Welcome back Null-Byters! You finally have the pre-basics of CSS and we can begin with styling our web page. If you did not read our last adventure, I suggest you go and read it.
Heads Up: Attributes in HTML are the little additions to a tag. They go inside of the opening tag. Examples are: style, width, and height
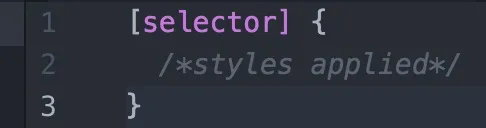
How to Compose a CSS 'Rule'
A rule in CSS are the styles applied to an element. To create a rule there is a basic syntax. Later in this series we will be going over more advanced CSS such as media queries. The basic syntax is as such:
The selector is just the element we want to select. Let's go back to our first webpage. Say we want to do something with the h1 header. There are multiple ways to do it.
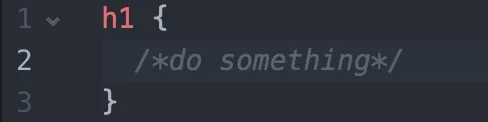
Here, we are selecting it based on what it is. This is so vague that it will choose every h1 header we have. As long as it doesn't get overwritten. Here, we are creating a class attribute in our HTML element. We then can use the class selector to select the element in our web page. Here is an example.

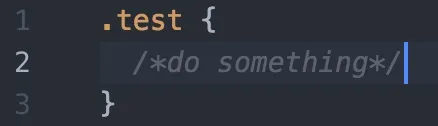
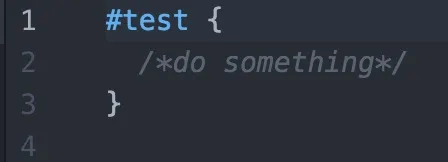
Here, we added the class attribute to our h1 header. Now, in CSS using the '.' and the class we set, we can add styles through that. Another way to add styles is with the id. It is similar to the class notation but carries more weight.

There is one more way we can add styling to an element. This carries the most weight and over writes everything. Using the style attribute.

Changing Fonts
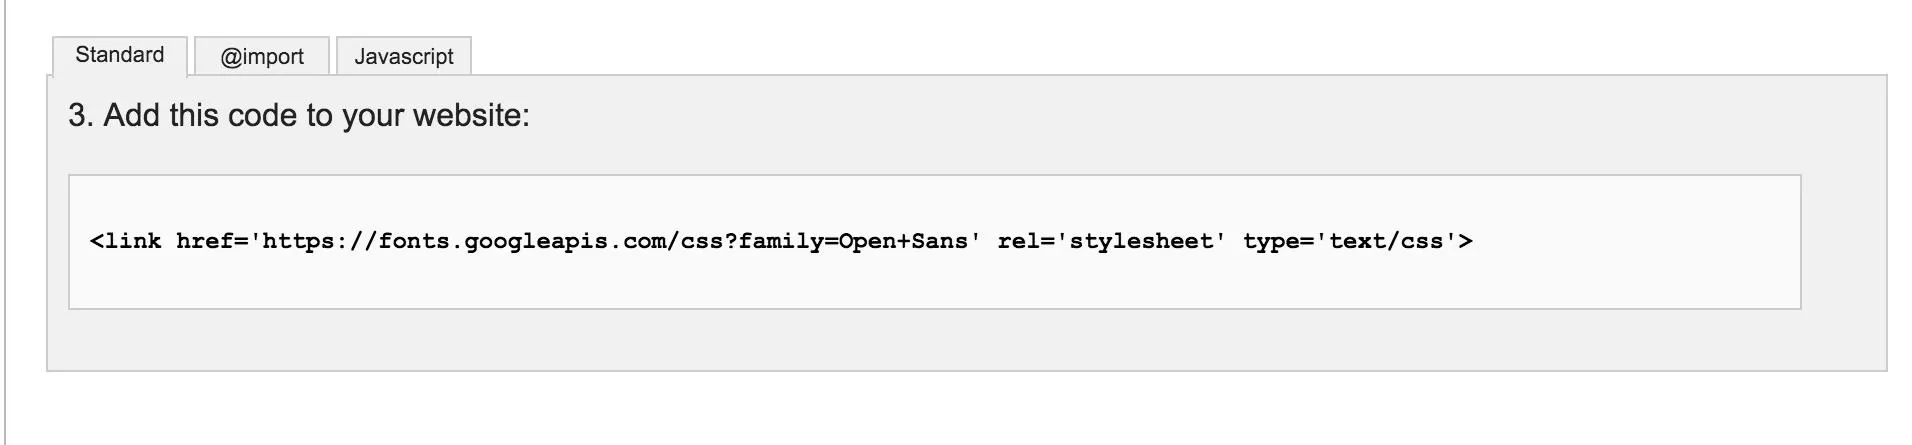
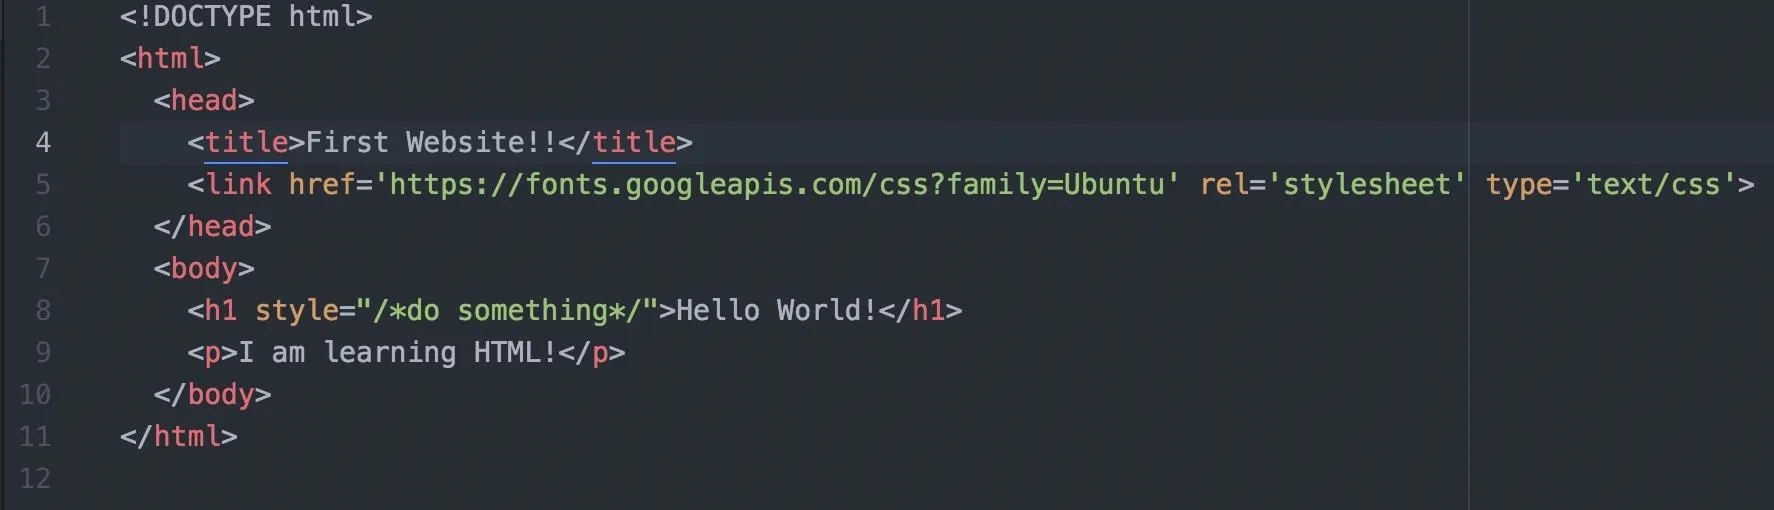
Now I think the default font is pretty bland. I want to add a font from Google Fonts! Because I am doing this on a linux machine, I think I will use Ubuntu.

Now click "Add to Collection". And you should see this popup. Hit use on the little bar in the top right.

You can choose the types you want. I will just use the regular one. Scroll down and it will give you a link tag. Copy and paste that into your head section on your web page.
You may be asking yourself, "How do I use this?". First, create a folder named css and add a file named master.css. Now, add a class attribute and name it something in the h1 header.

Now go into that master.css and setup a rule that will style through a class selector.
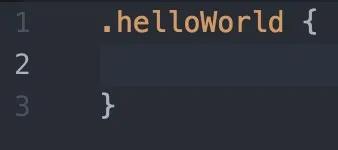
To add a new font, we need to use something called the font family. In css you just put font-family: 'Name of font', 'Backup font if the other fails';

Now you go over to your webpage and refresh to see your new font. Then you get disappointed because it didn't work. First, you have to link the css file over to your html. You just need to use the link tag. Now put this in your head tag:
- rel means the relationship. In this case, the file is a stylesheet so we put that down
- href mean hyper reference. This is the path to the file.
- media is something you can ignore for now
- title can also be ignored for now
- charset is just the characters used. Just set it to this to be sure there are no errors.

Now your new font works!

Sorry this was longer than my other ones. Next couple tutorials will be on CSS and HTML then we will move onto JavaScript and jQuery.
-Smit


Comments
Be the first, drop a comment!