Welcome fellow Null-Byters! Sorry for the delay, this time of the year can be hectic for all of us. Hopefully this will not happen again. In this "tutorial" we will go over more styling and make our page look even better!
In this "tutorial" we will be learning:
- Divs
- Aligning text
- Setting the background color
- Positioning
- Top, Left, Right, Bottom
Our end result will look like this:

I understand this doesn't look like much, but it is enough for now.
Another Font
So right now, the Ubuntu font is not really working. D: Therefore, we are going to be using a font called 'Slabo 27px'. The code for that is . Remove ubuntu and add that instead.
Use a Div
A very import part of programming in HTML are divs. These tags divy up the page and can make css styling much easier. To use it, just put a
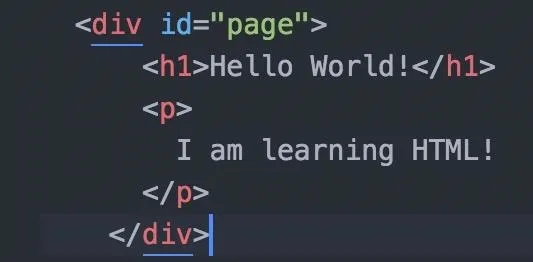
Here I used ids to allow that block of code to be styled.
Add the Font
We have already been through how to add fonts to elements. Use the id selector (#) and the id ('page') and add the font. If you don't remember, it is font-family. You can also go ahead and remove the h1 selector. We will no longer be needing it for now.
Centering It
Say we are making a website, and we want to center it. Just like making a title in a document. To do this, we are going to use a style called text-align:

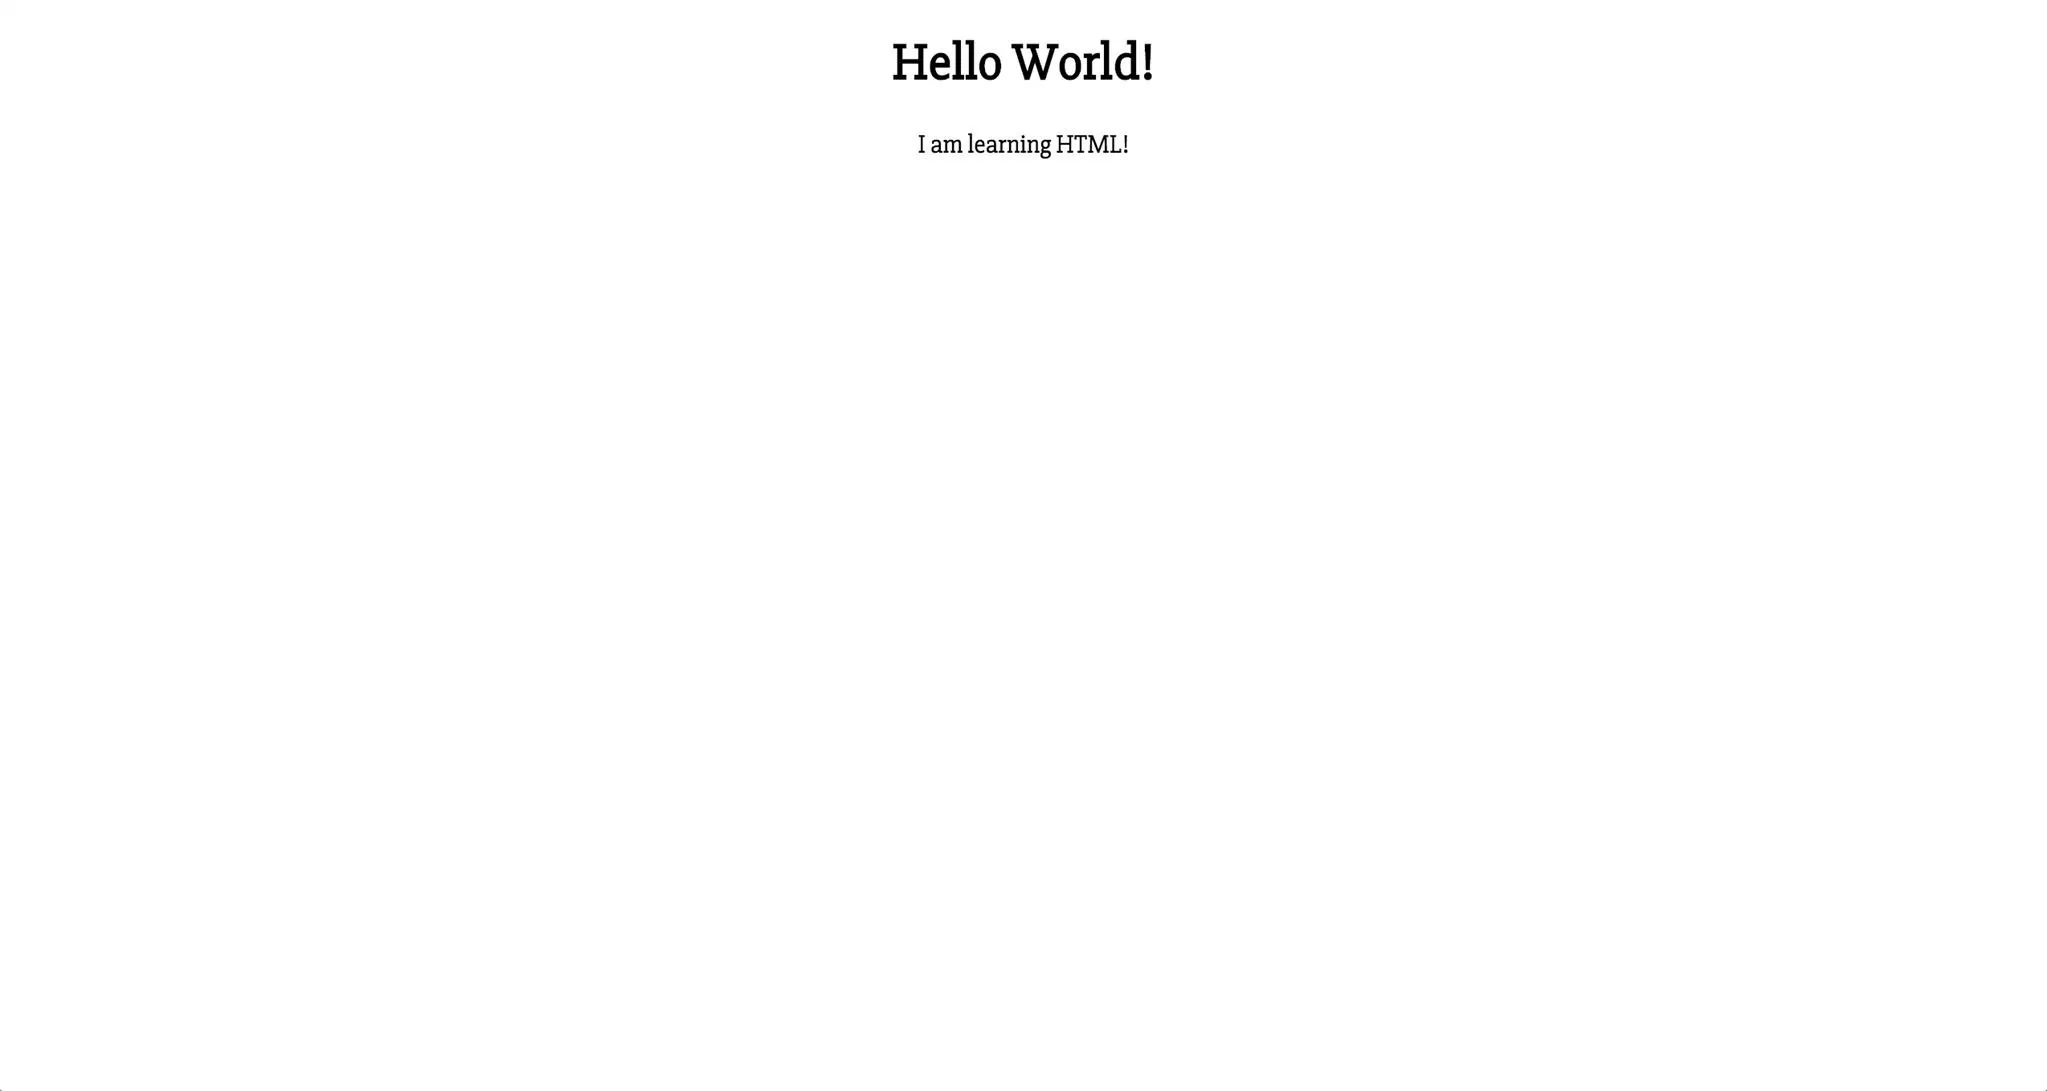
Can you guess what we are going to add? If you said center you are correct. This will center the paragraph and the h1. You should then get this result.
Adding the Background Color
This is okay... but not great. We want to add a color. Why not a lime green with a hex value of #3fe243. This is very easy to style and to remember. Background-color.

Also note that background-color excepts:
- rgb
- rgba
- hexadecimal
- hsl
- hsv
- vec
I prefer hex so I will stick to that. You can choose how you like. This will then color the background within the box of the elements. You should then get a result as such:
This still looks pretty ugly. It doesn't fit the screen!

Positioning
There are two ways we can fix this. Both rely on a style called position. According to w3schools, positioning is "a property that specifies the type of positioning method used for an element". You can look it up if you are confused (I was at first), but we will be using absolute. This allows us absolute control over positioning the element.

The output will look like such:
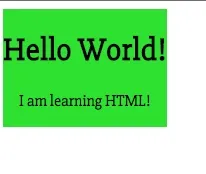
This is still not great because it is just a tiny box. We need to remove all the margins which is what we will be doing next.
Top, Left, Right, Bottom
Here are a couple links to define what these mean for you. But the basics are that is specifies the amount to the Margin that is specified.
top
left
right
bottom
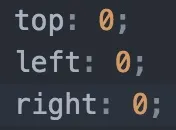
What we want to do is set the top, left, right to 0. This will allow it to expand to fit all the sides.
Finishing
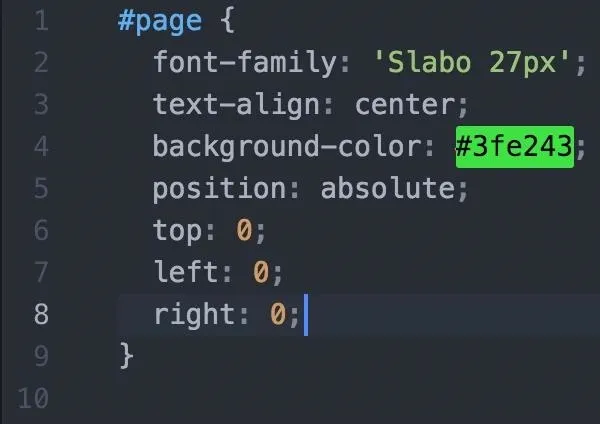
This should be the final code result that will end with the designate result. That wasn't so hard! In later tutorials we will be going more advanced tutorials and learning JavaScript as well. If you have any questions ask away.
Resources
There are many resources out there. The best and most extensive are CSS-tricks and MDN (Mozilla Developer Network).


Comments
Be the first, drop a comment!