Hello there, 'Flashers'!
Welcome to my 8th Post. This tutorial will explain how to flash Kali NetHunter on OnePlus (Tested) and Nexus Devices (Not Tested-Should work) as a secondary ROM, so that none of your personnel data/ROM gets affected.
NetHunter?
Refer to Ciuffy's Post, right here
Pre-Requisites:
1) Device should be rooted
2) Should have TWRP custom Recovery Installed/Flashed.
3) (Bootloader, should be unlocked, if locked)
4) A Back Up if anything goes wrong. (Make it using the recovery)
For OnePlus here is a guide on all of this from XDA.
Installing MultiROM :
Install MultiROM manager from Google Playstore
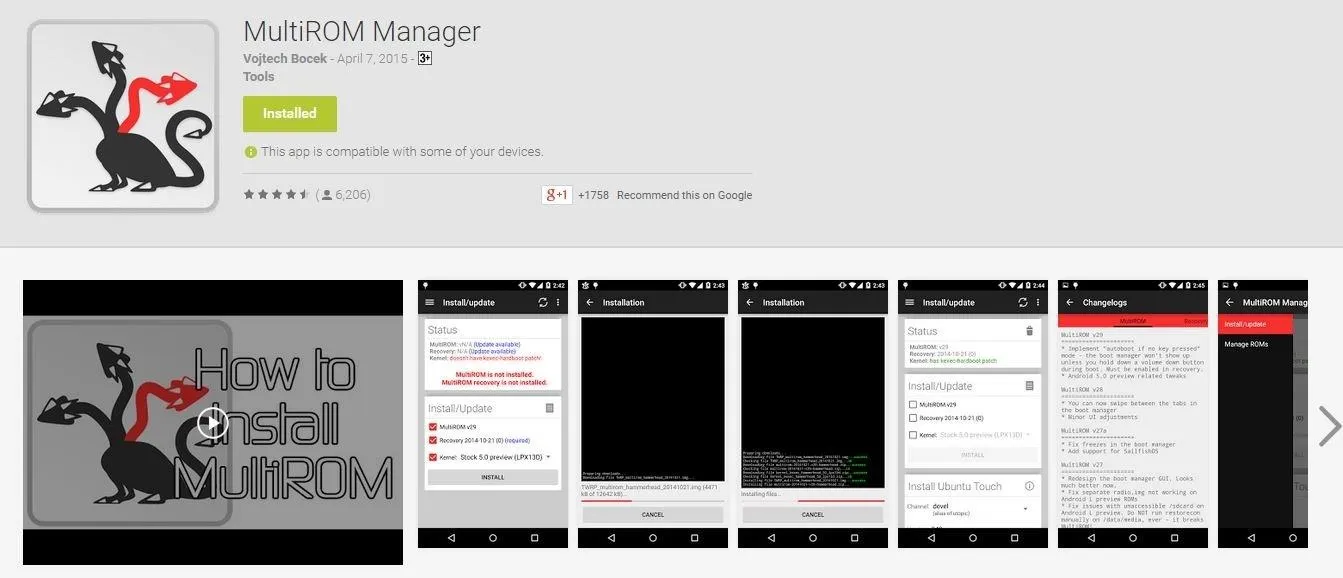
1) After installing, Open it.
2) Tick all the Check-boxes
3) In the last one choose the correct Kernel (Kitkat or Lollipop)
(WARNING: Check the Kernel Status: It should be in Green Letters, but if in RED then, ask about it in the comments section)
4) Tap Install
5) This will do everything for you, sit back and relax, it will take time.
6) After everything goes right, you should have:
- A modified custom recovery,
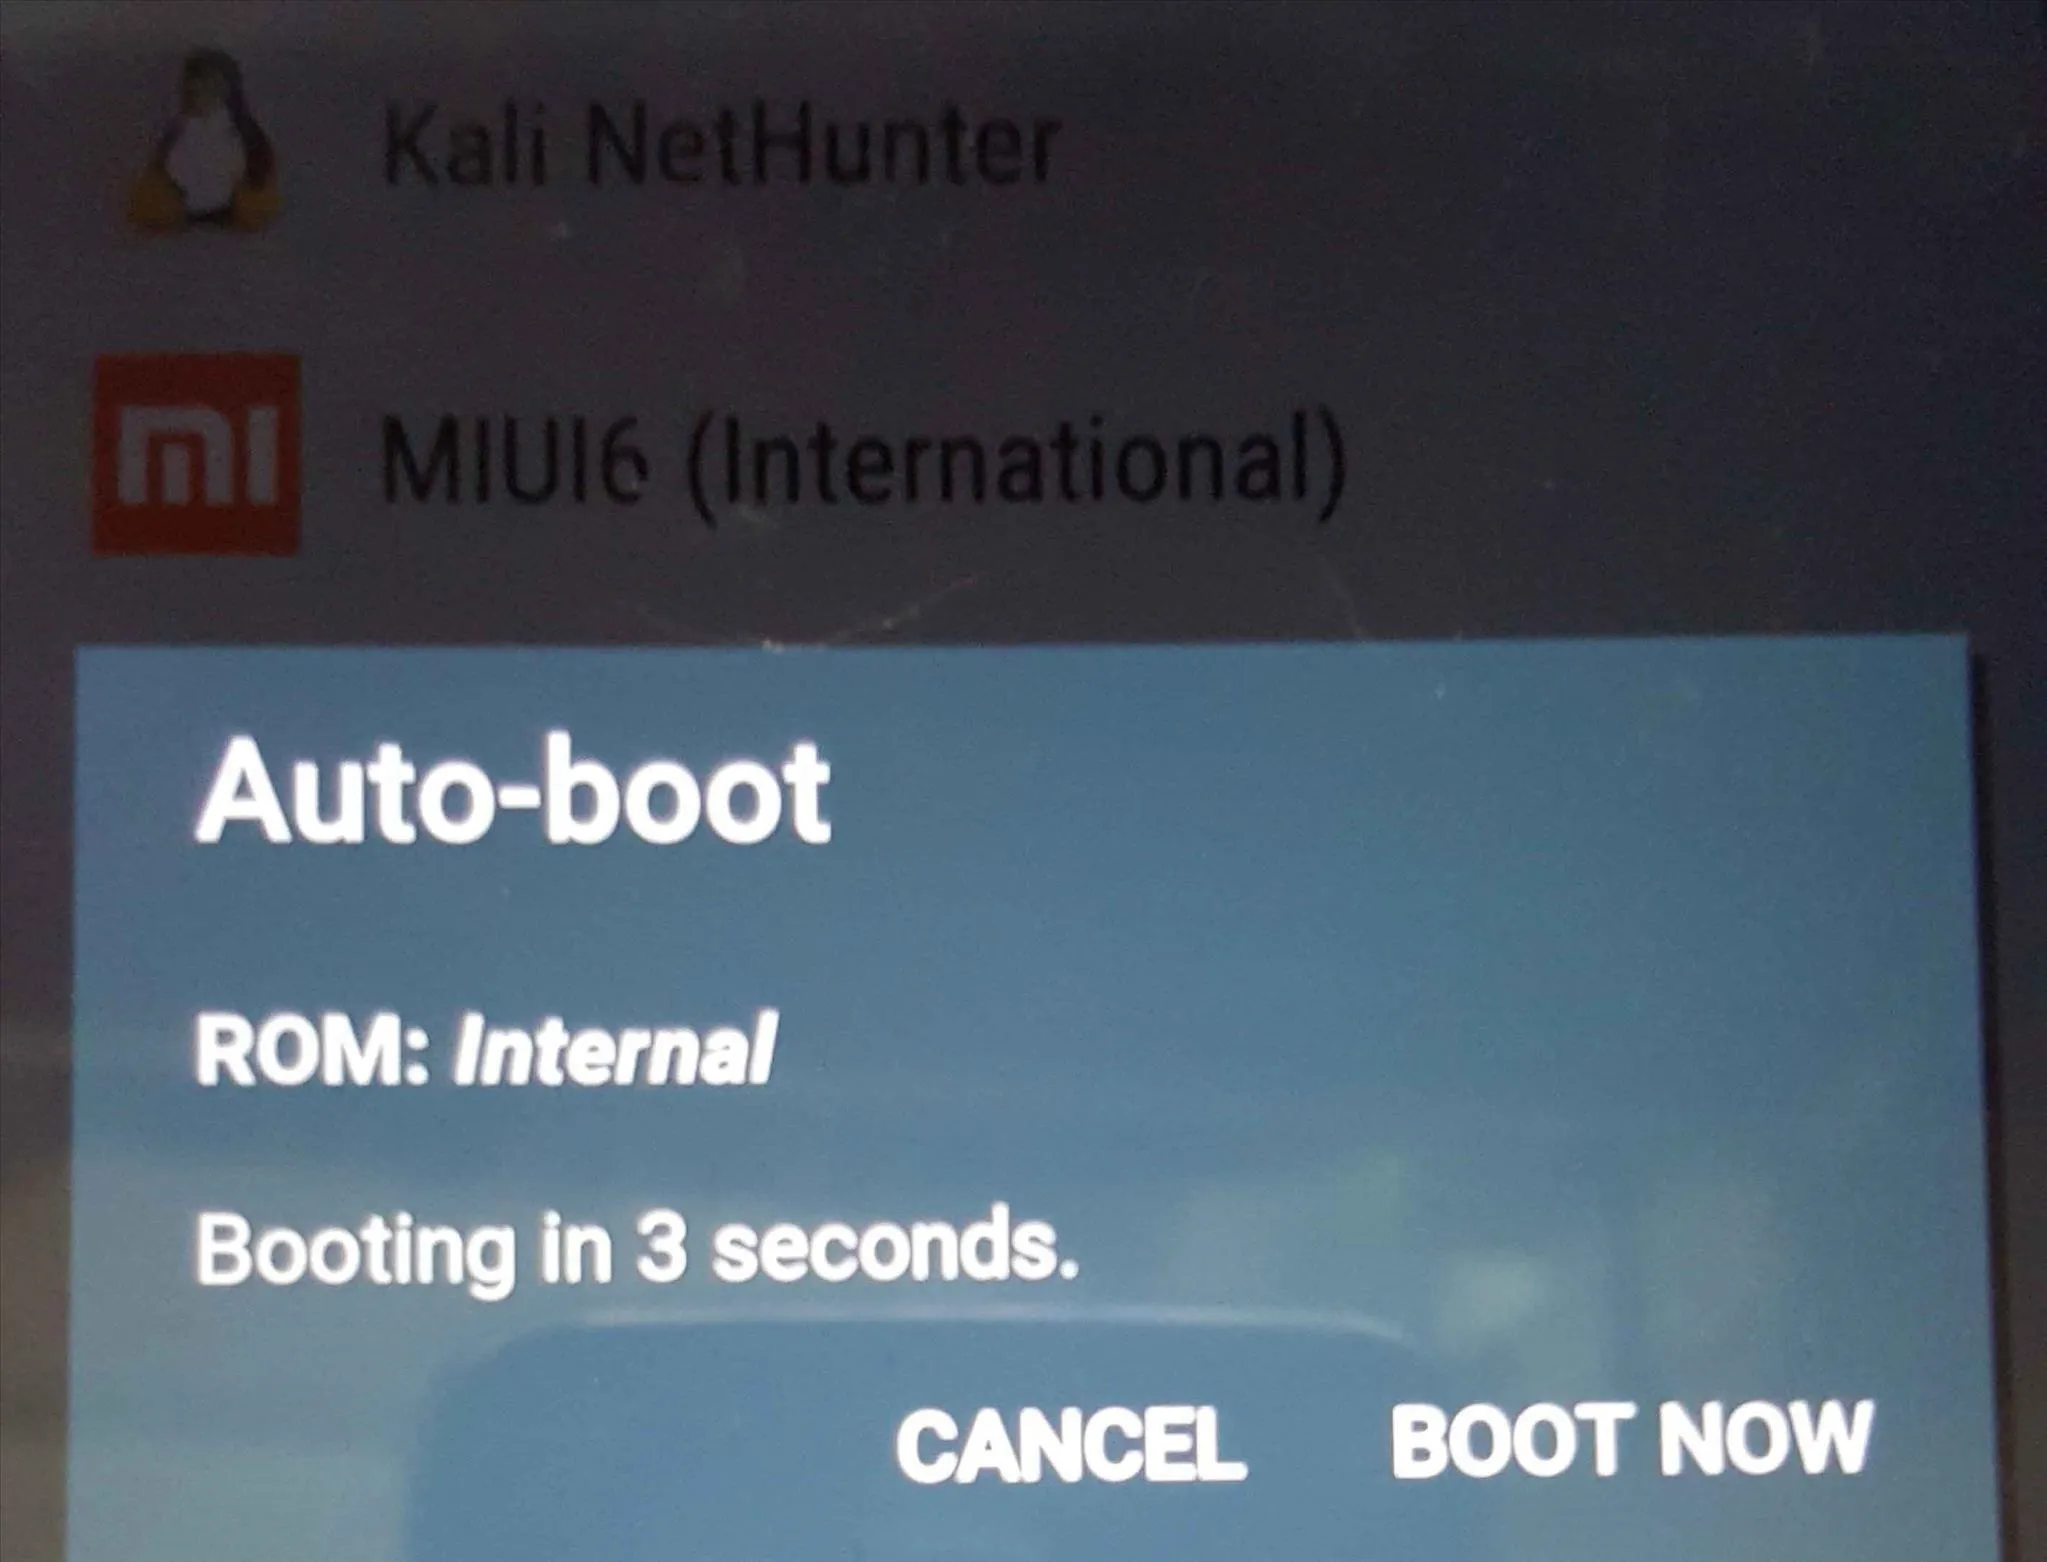
- A boot manager at start-up that asks, which ROM to boot into. (Press cancel so it won't automatically boot into the Internal ROM)
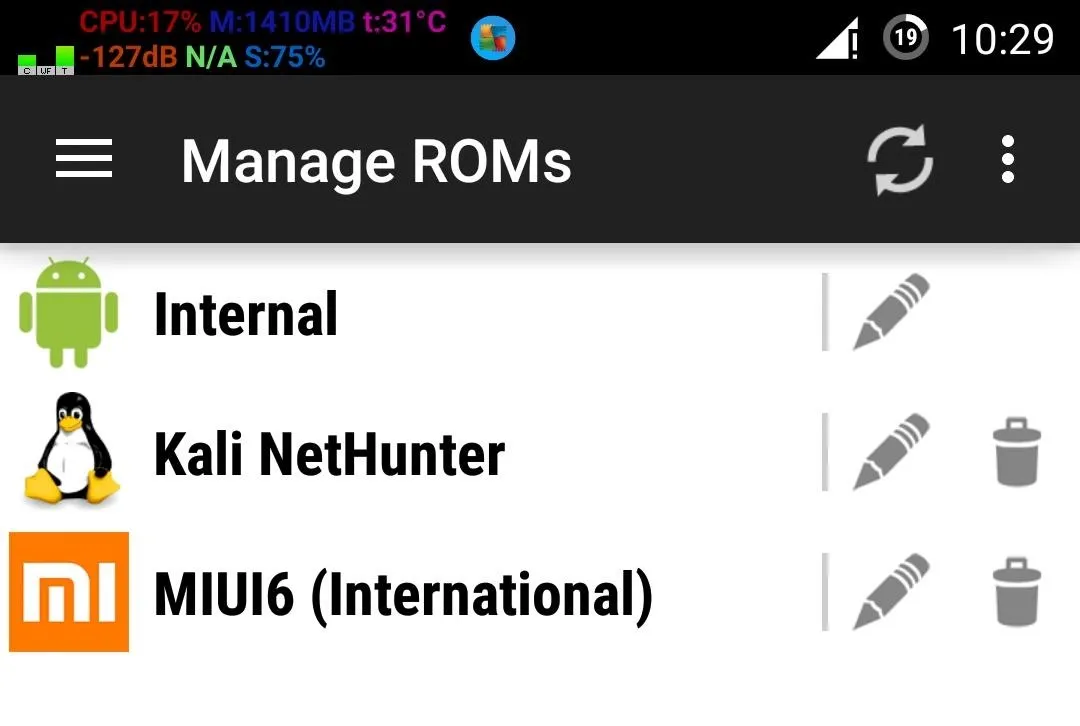
- The same application, in the internal ROM, which manages every ROM, and Check for Updates.
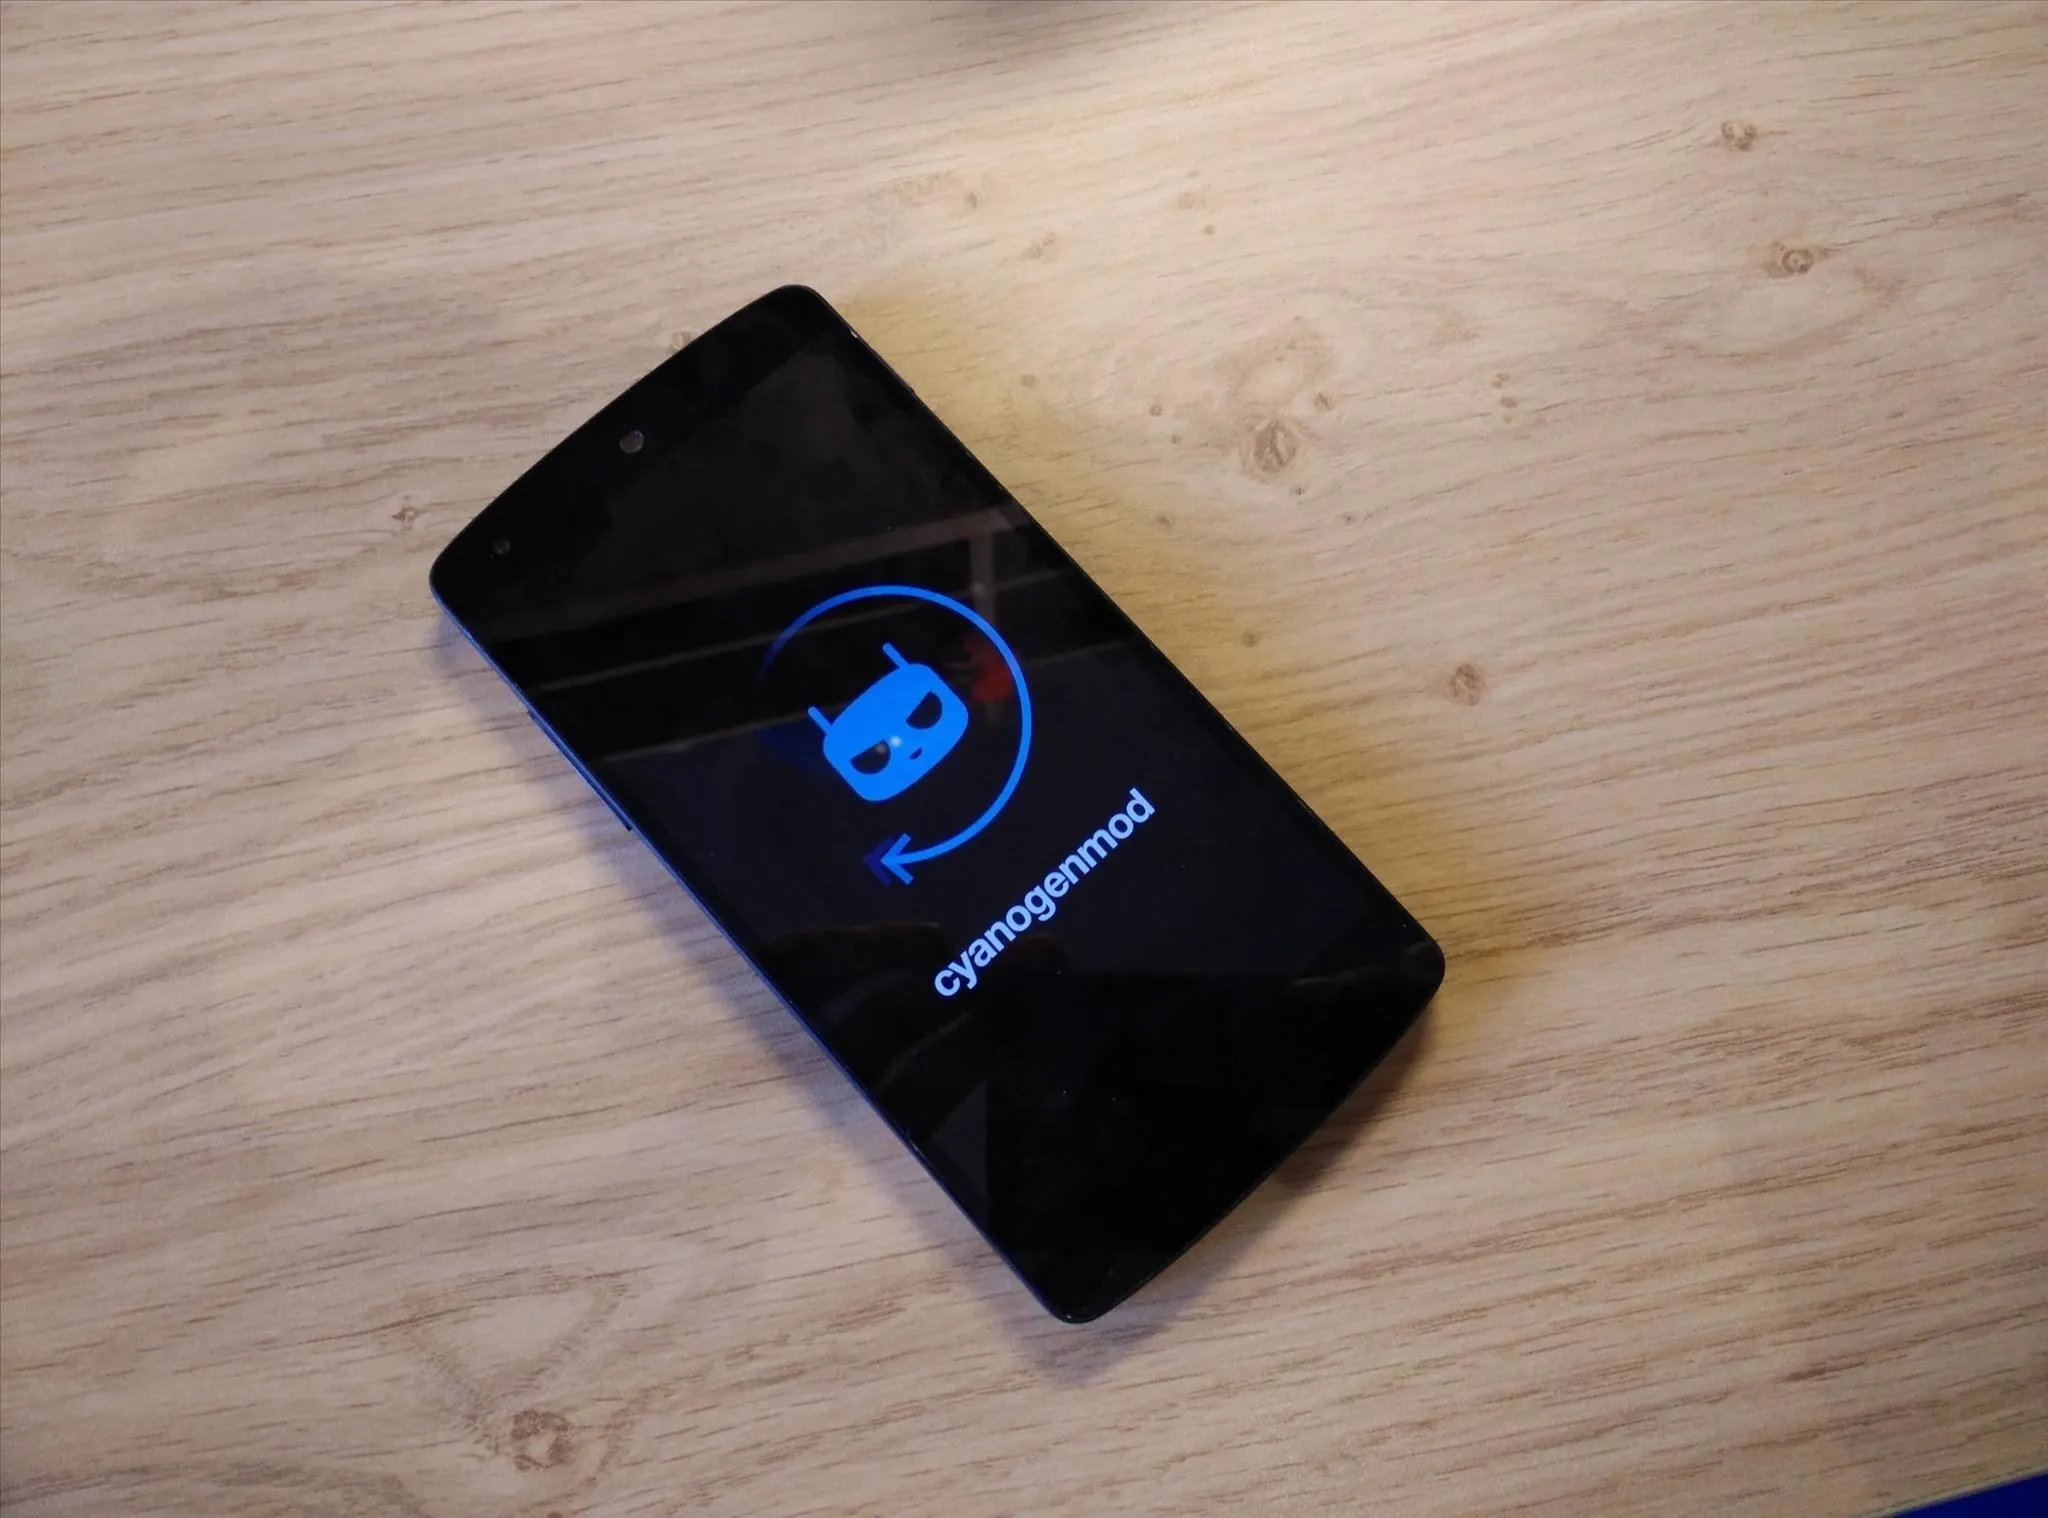
Downloading CM11-M11 ROM:
We will be using this because it is highly compatible with MultiROM.
Goto this website, and Download CM11 M11 ROM for OnePlus.
Click here for WiFi Model Nexus 2013
Click here for 4G/LTE Model Nexus 2013
Click here for LG Nexus 5
Click here for Nexus 4
Go to your default search engine (Google) and search this ROM for your Device if not listed here.
Downloading Kali NetHunter
Go to the Official website of Kali
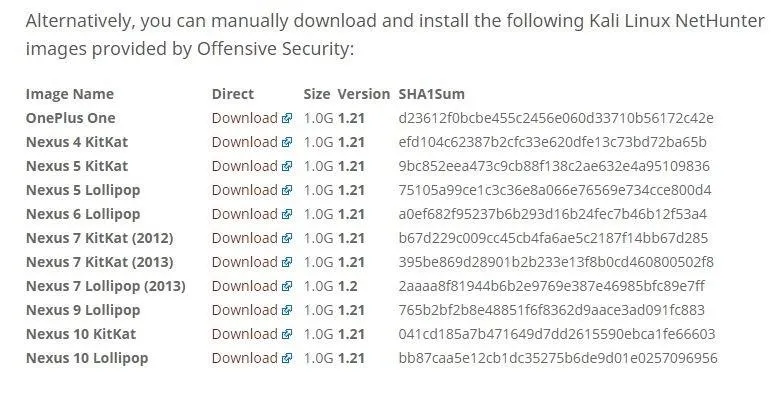
Scroll down to the bottom and download the correct image (actually .zip) for your Device.
Don't use the Windows Installer.
Downloading SuperSU.Zip and BusyBox:
Download this Super User update.
Also, Download BusyBox from Playstore or from here
FLASHING CM11-M11 as a Secondary ROM:
After all of your Weapons are ready, it's time to FIRE. (I mean Flash)
Move all the items to the root of your SD-card in your Device (or any other Folder)
- Reboot your system to Custom Recovery. (Vol-Down + Power, when device is turned off)
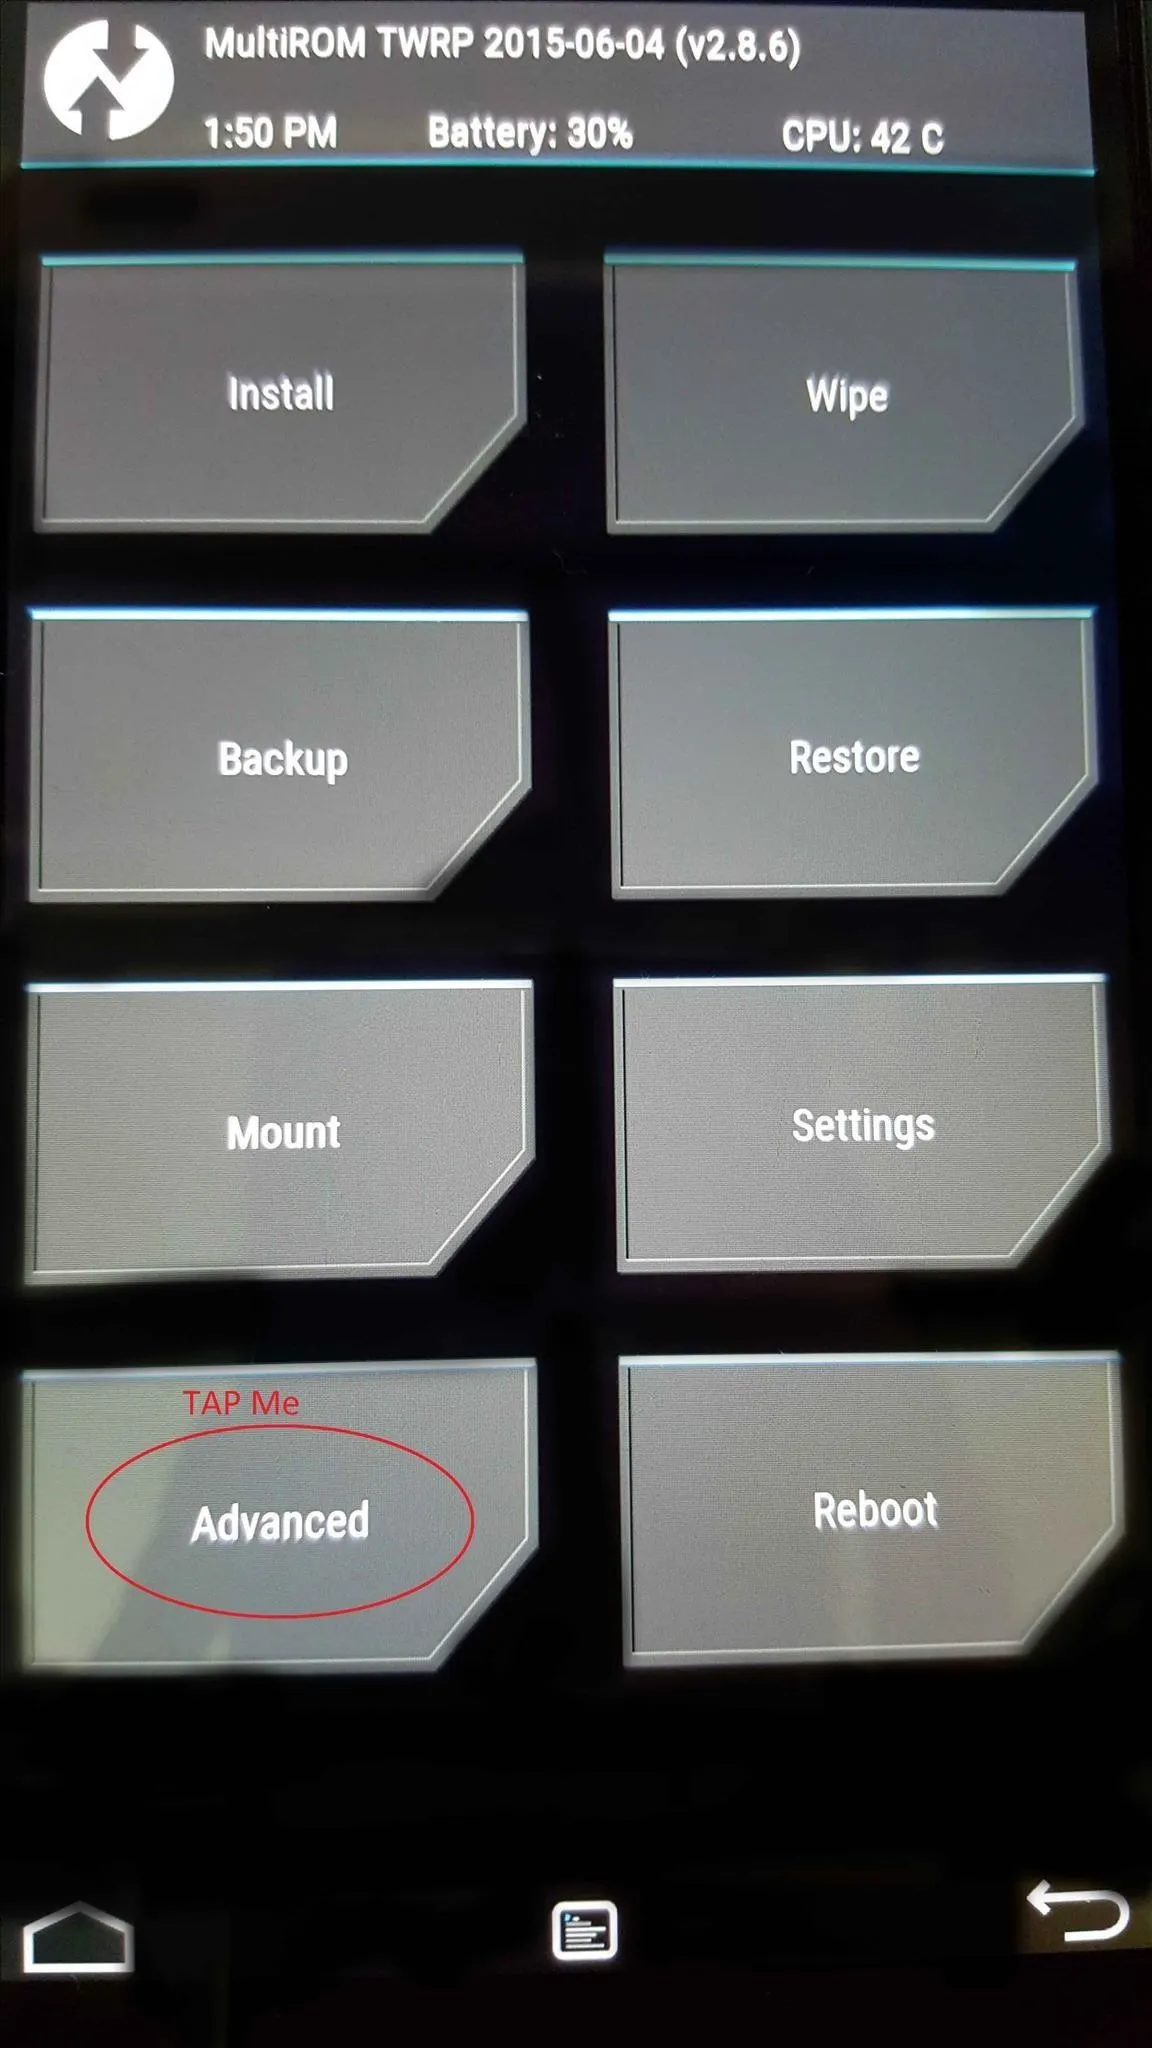
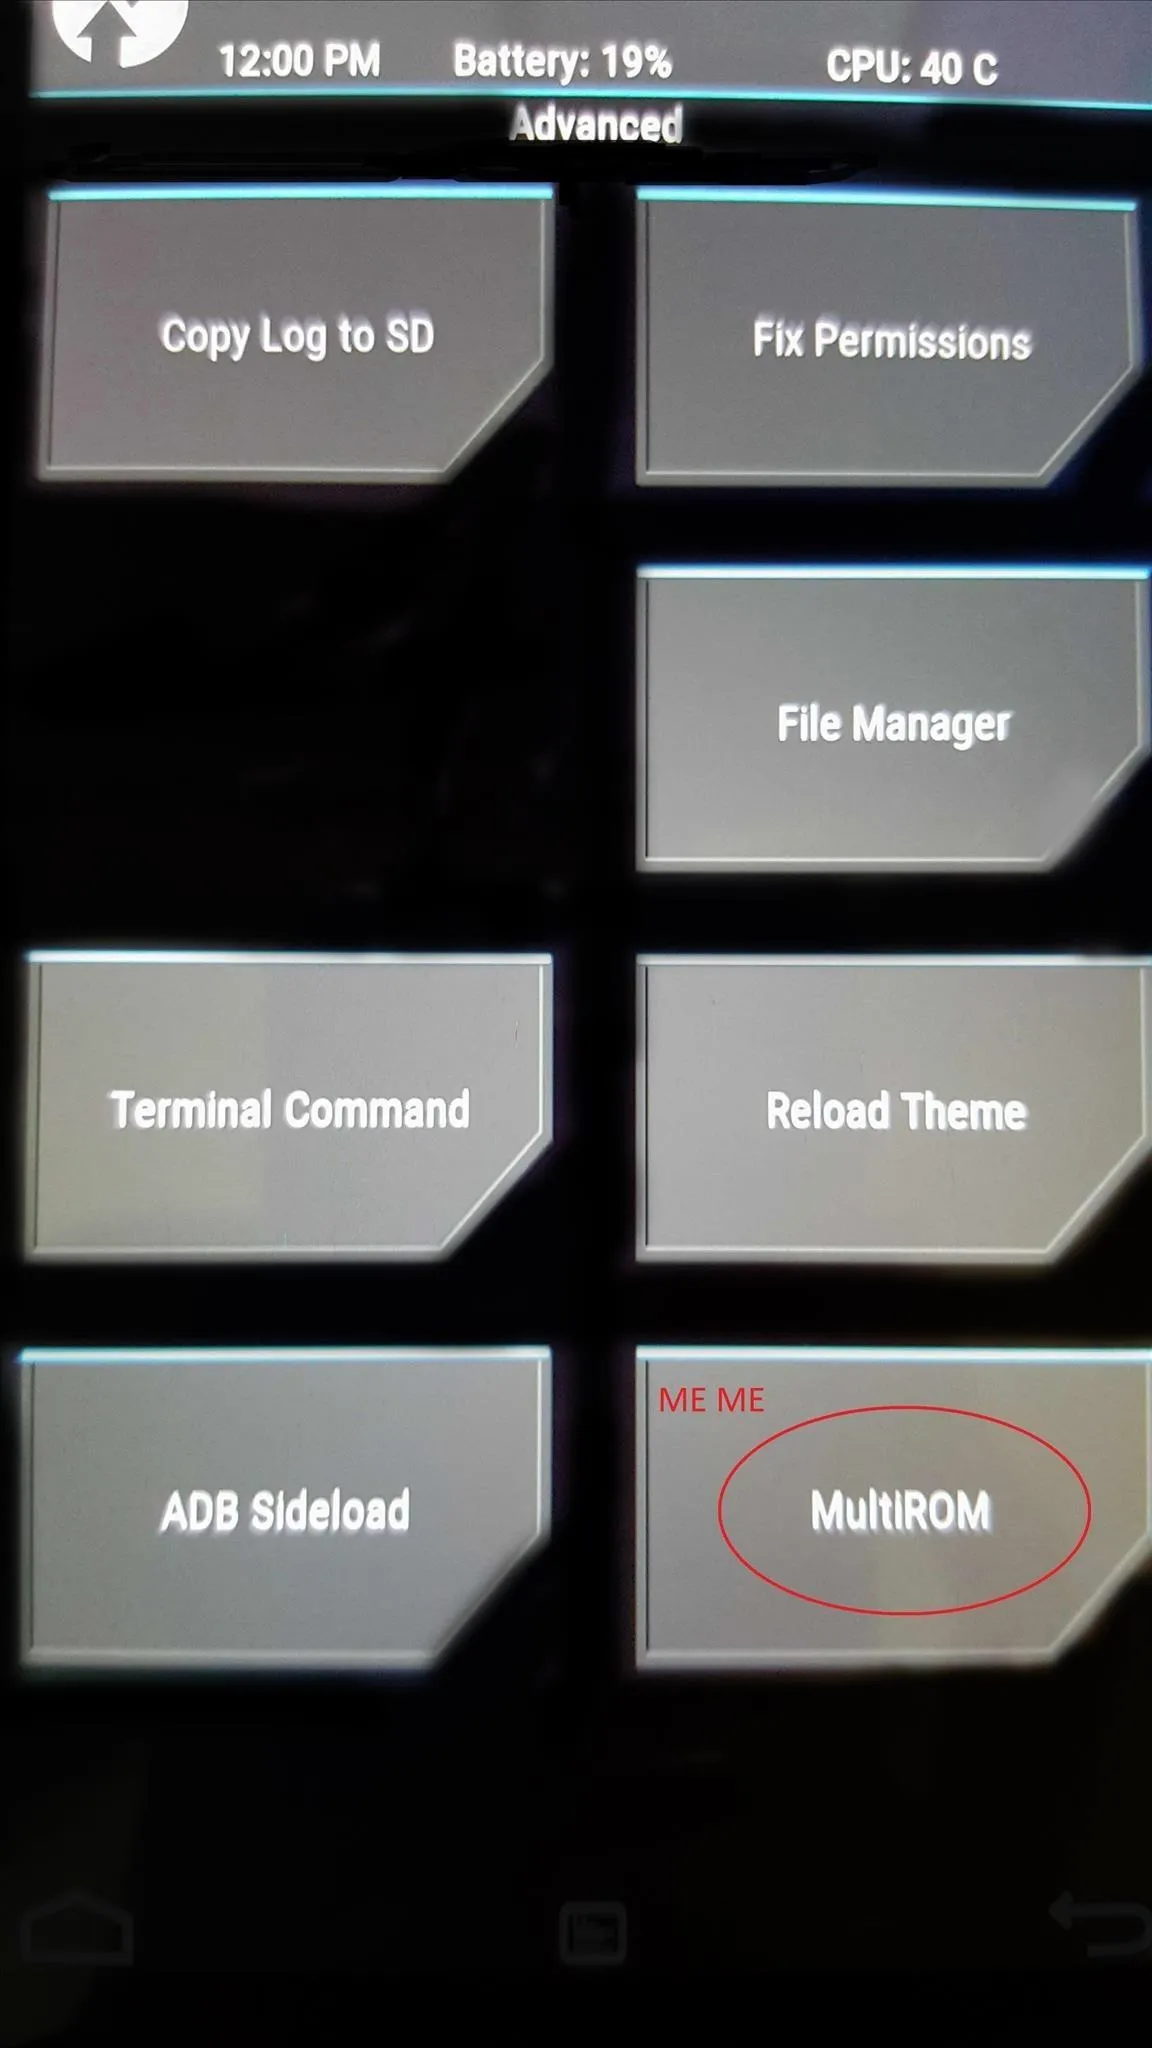
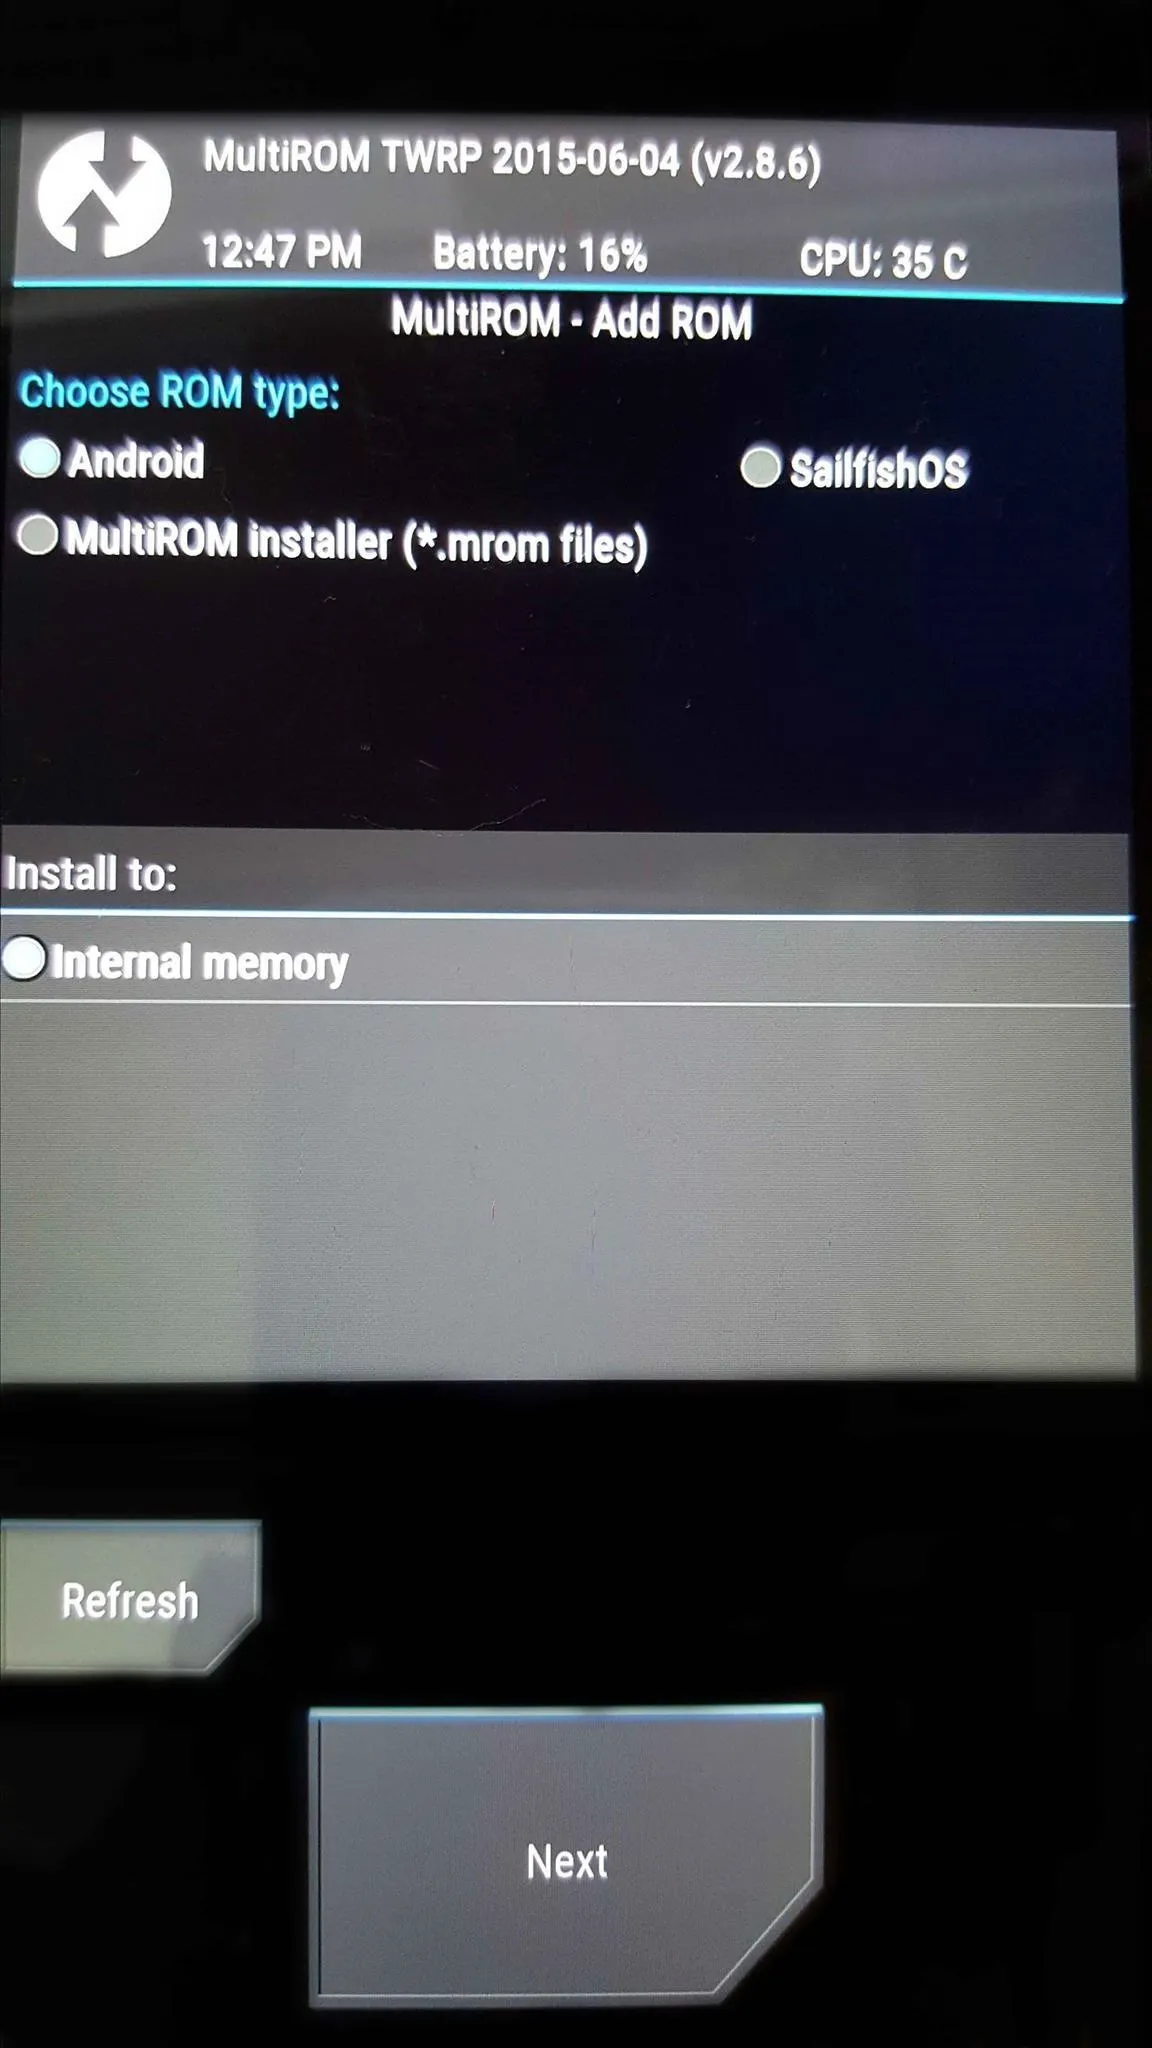
- Once booted, go to Advanced, then MultiROM settings, tap on add ROM
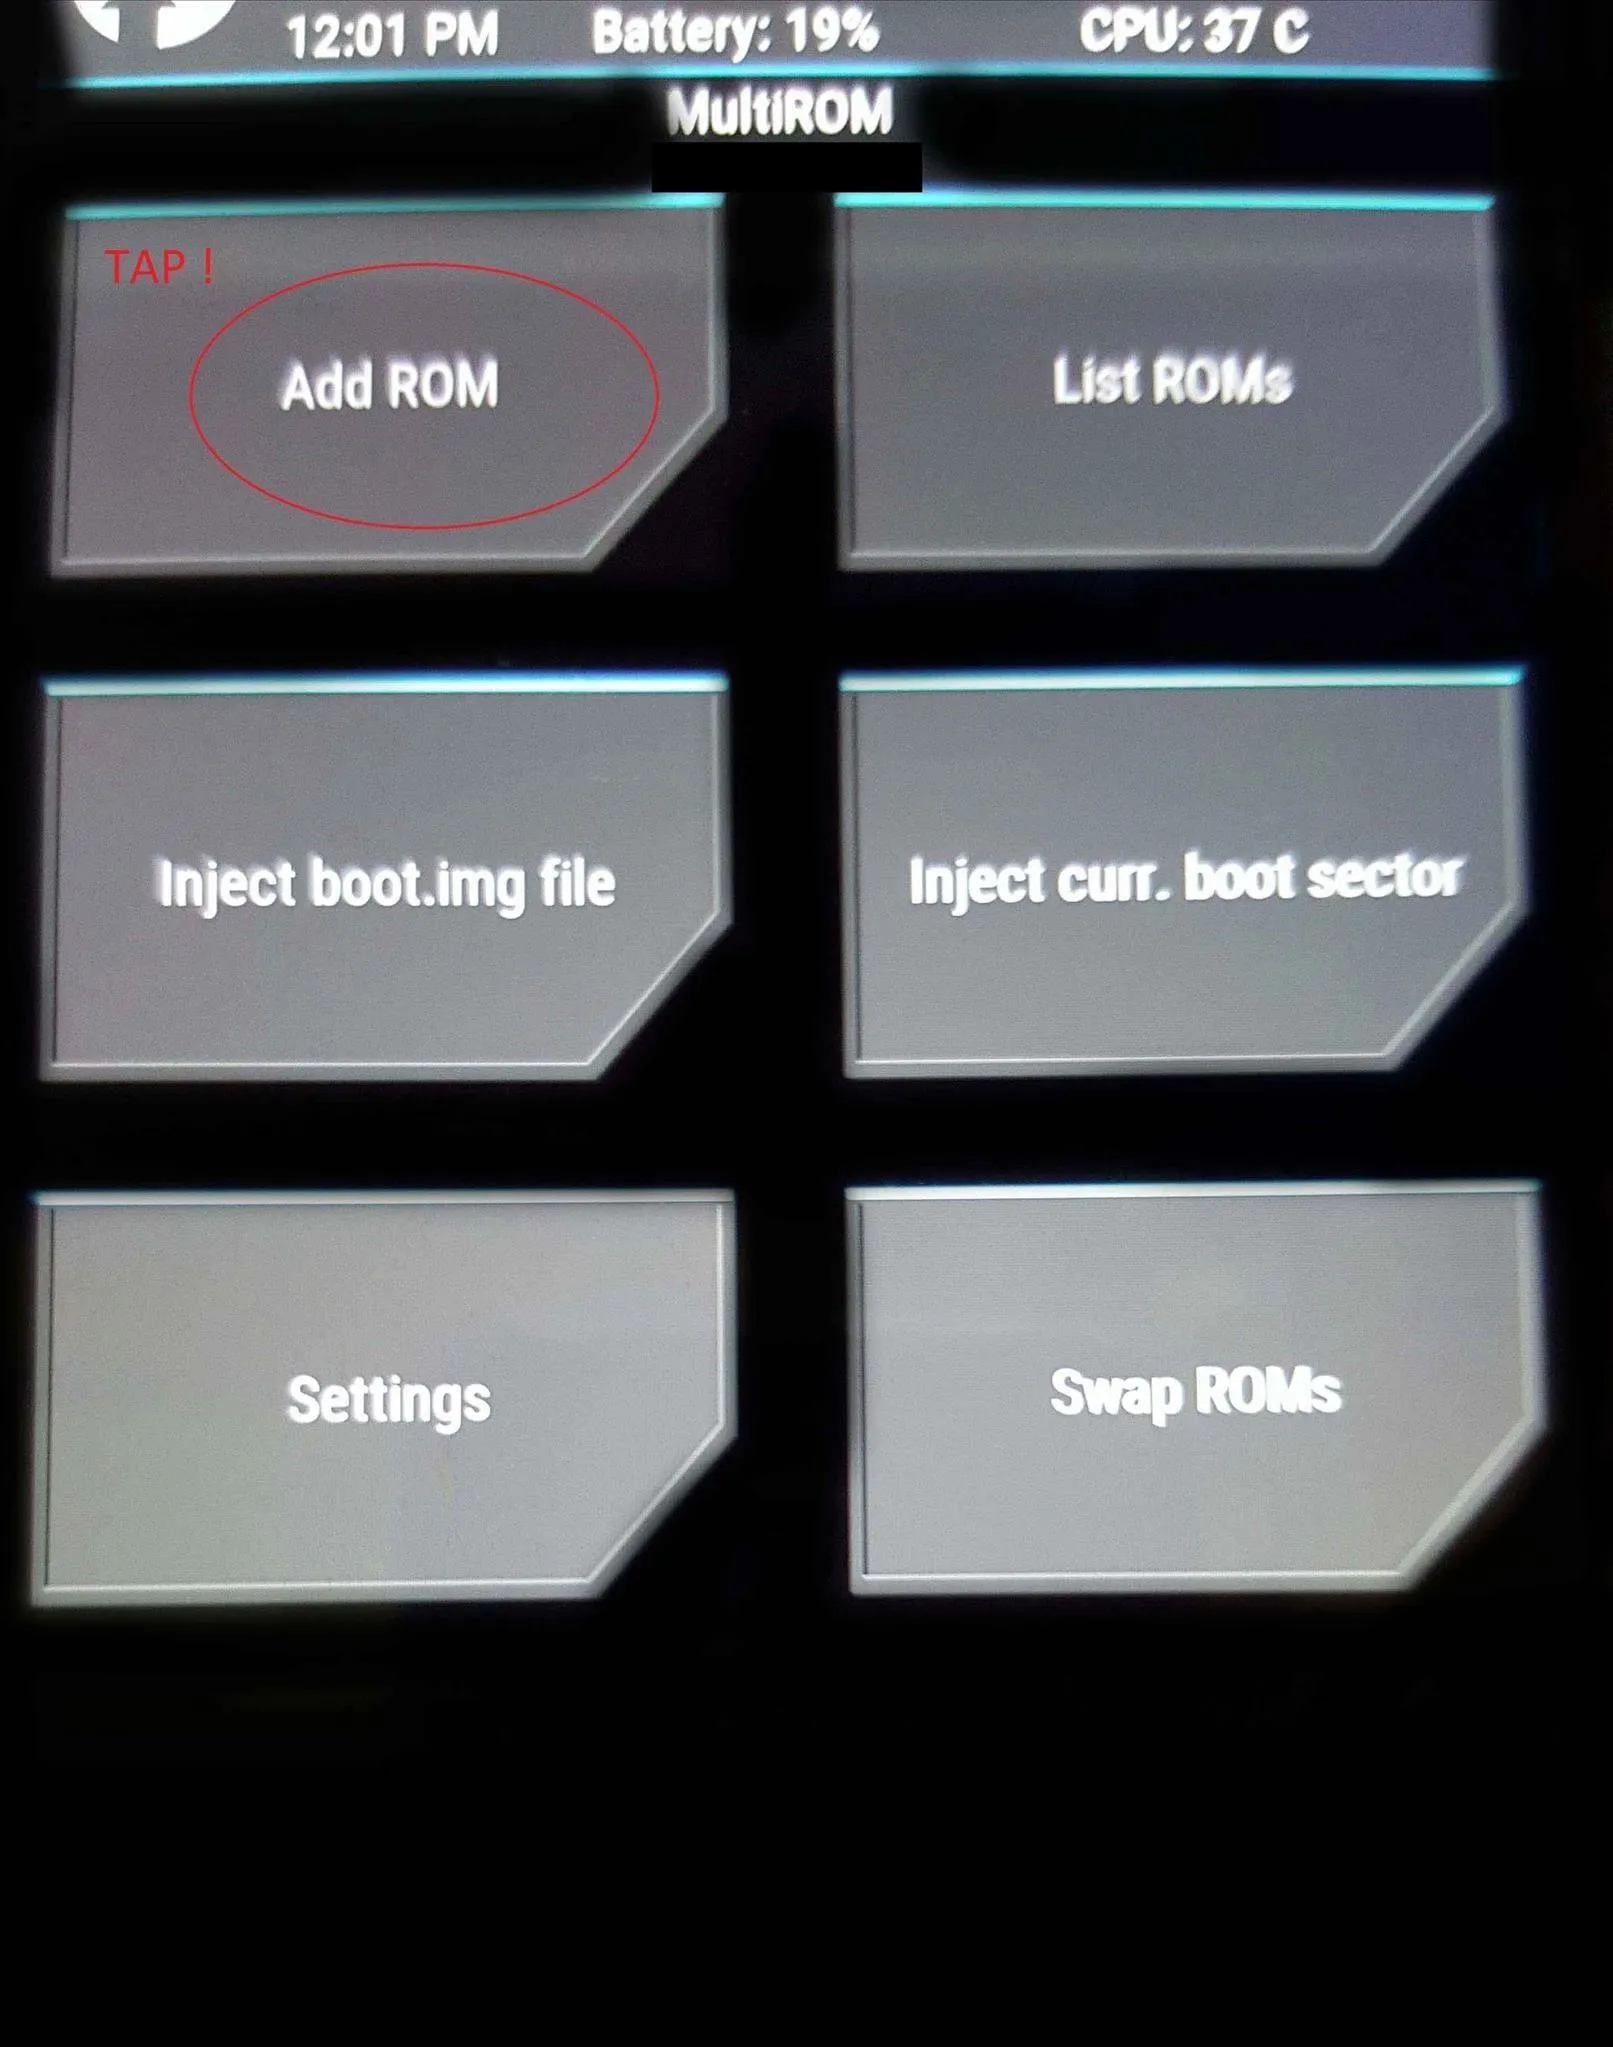


- Tap on Next. (Or choose where do you want to install the ROM Eg: A Flash/Pen Drive)
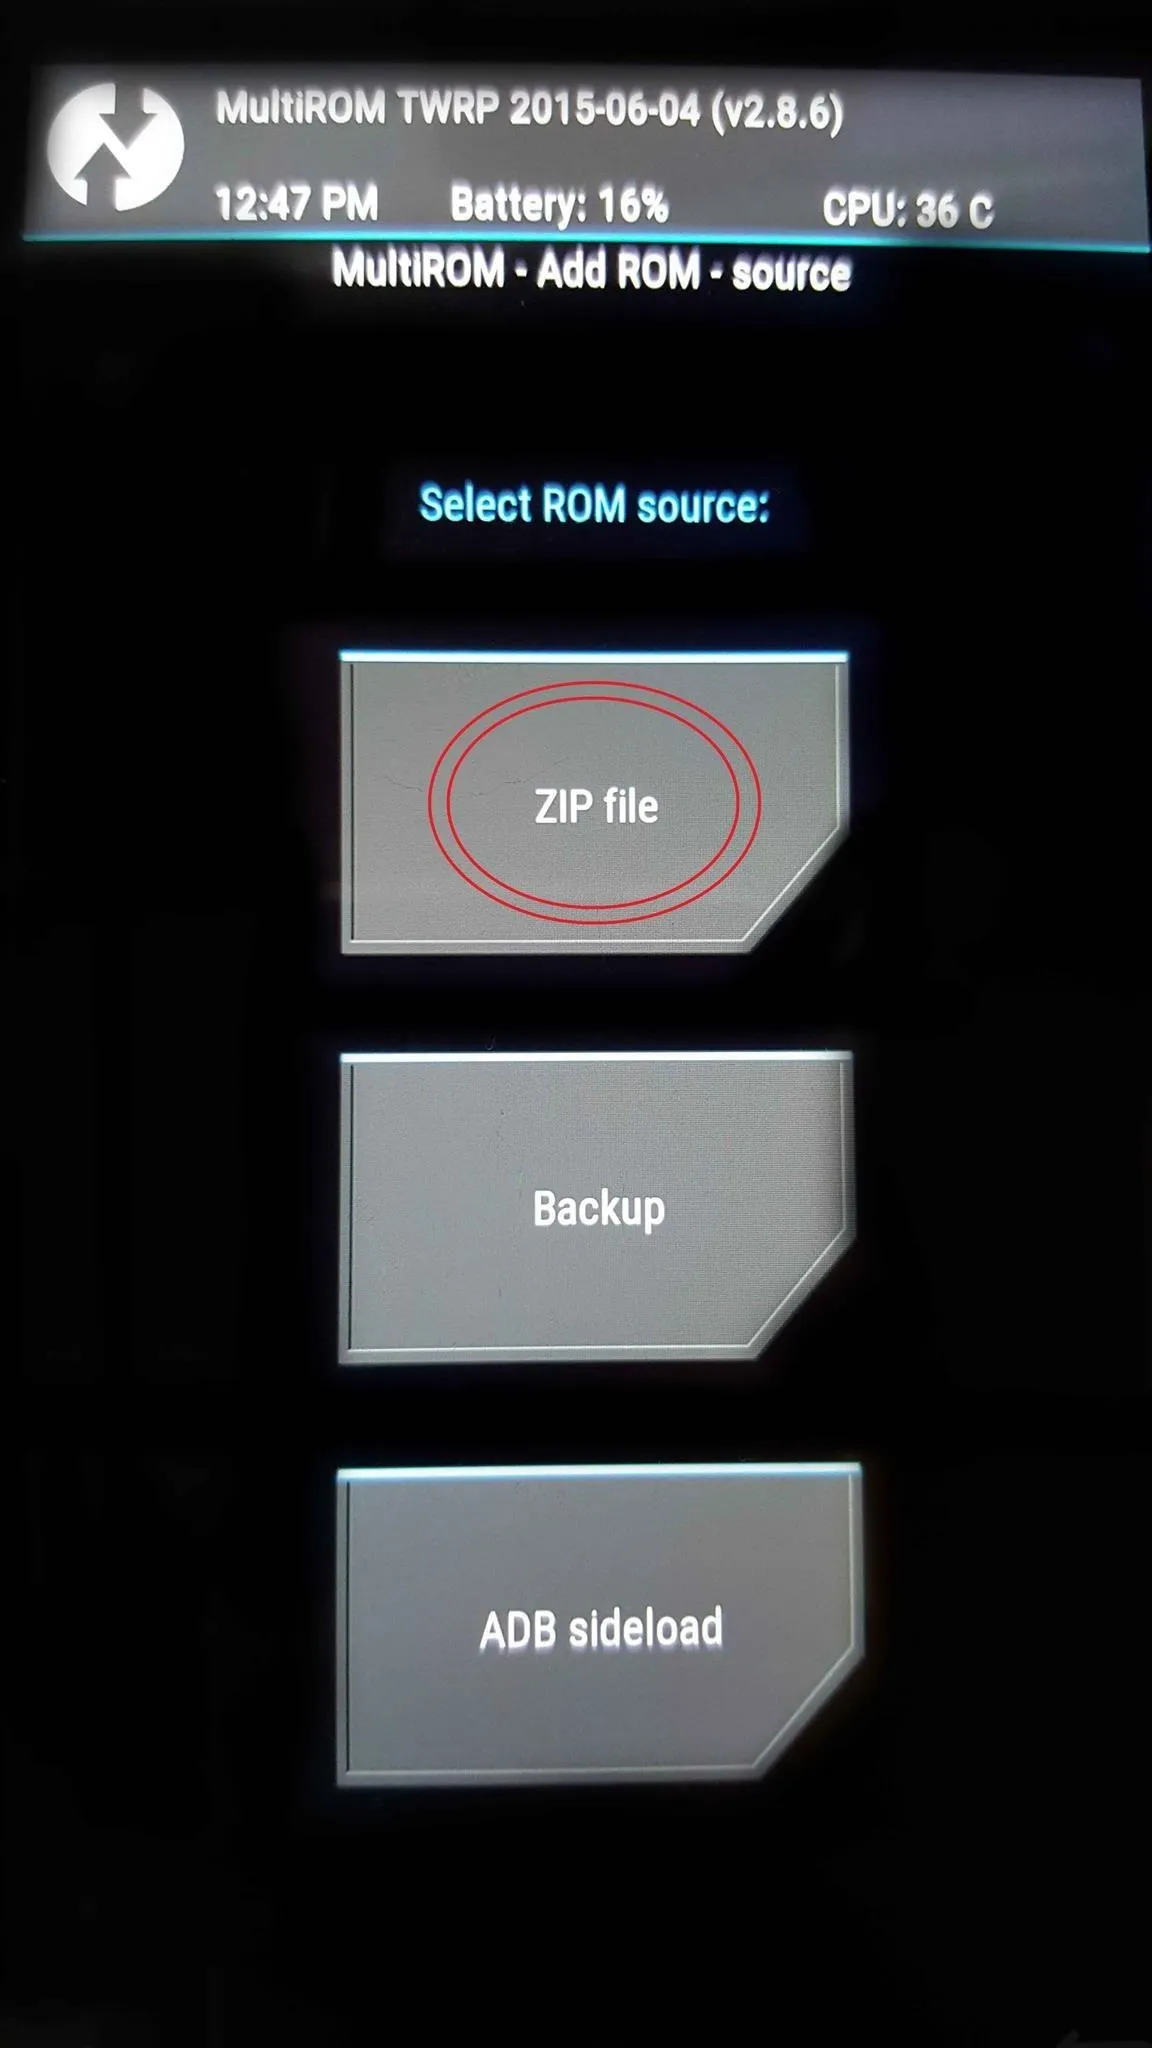
- Choose ZIP file
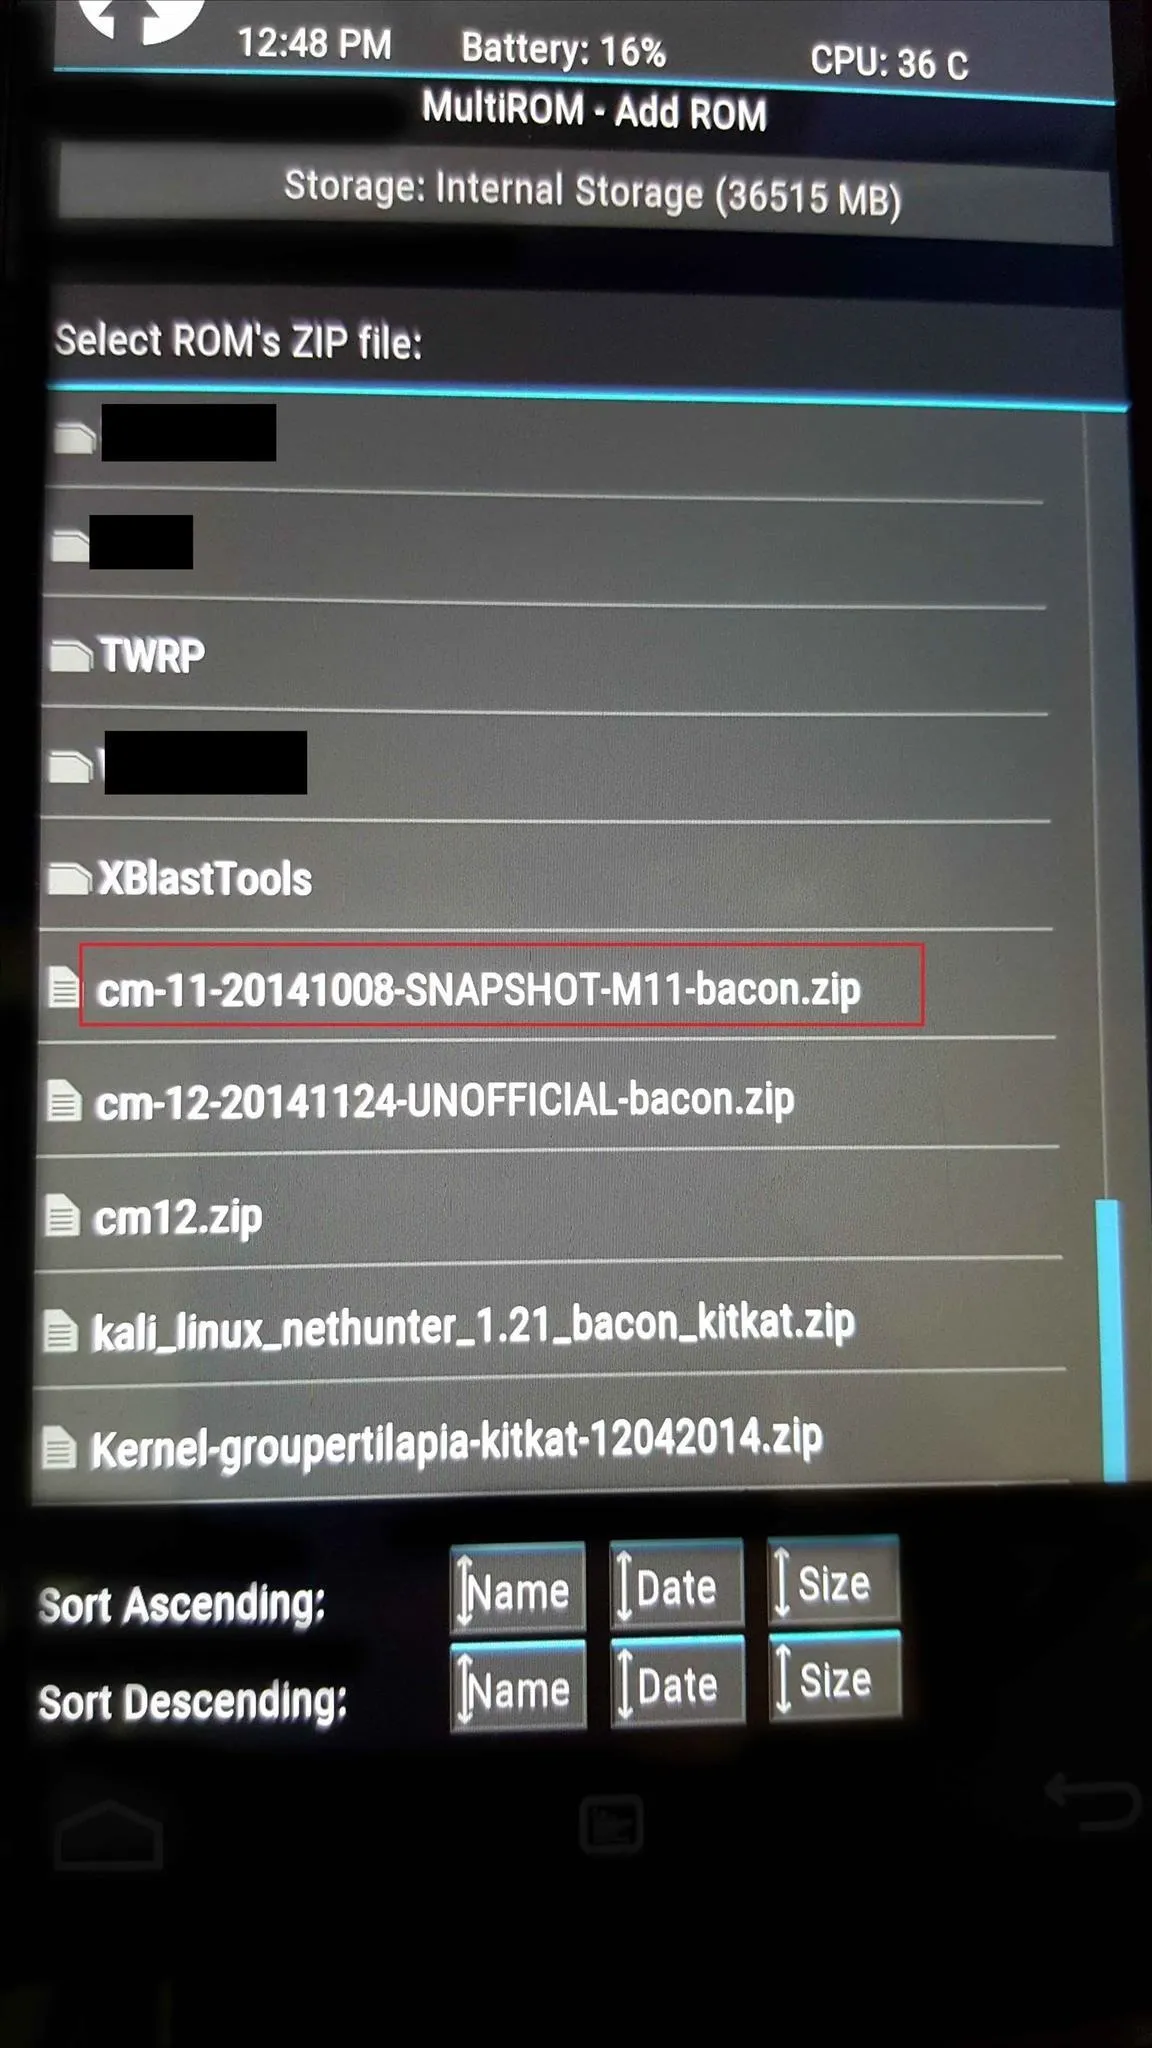
- Choose cm-11-20141008-SNAPSHOT-M11-xxxx.zip (The ROM you just Downloaded)
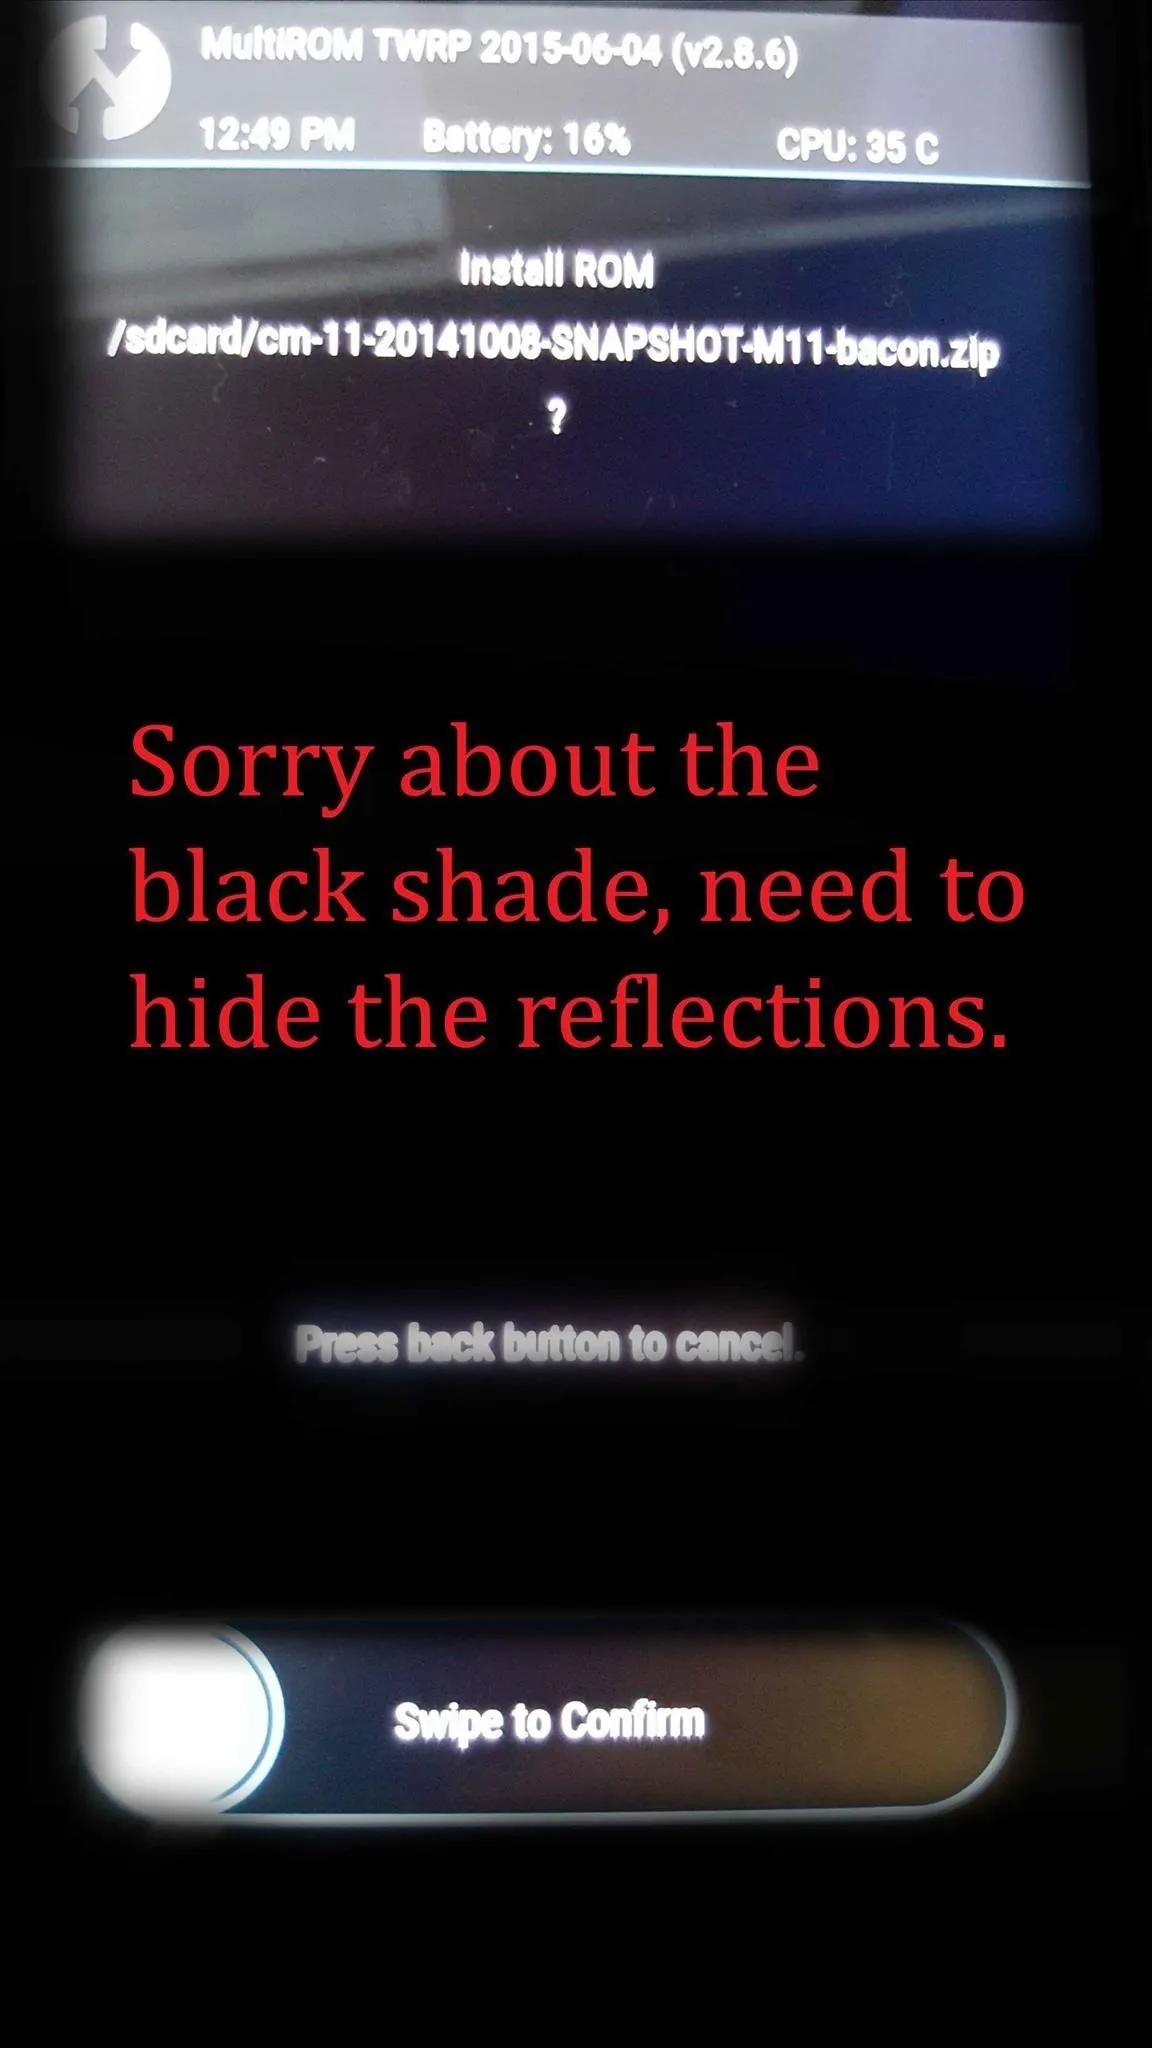
- Swipe to Confirm
- Once Finished, Reboot system.
------------------------------------------------Flashed--------------------------------------------
- Use the MultiROM manager at Start-up to boot into The Flashed ROM.
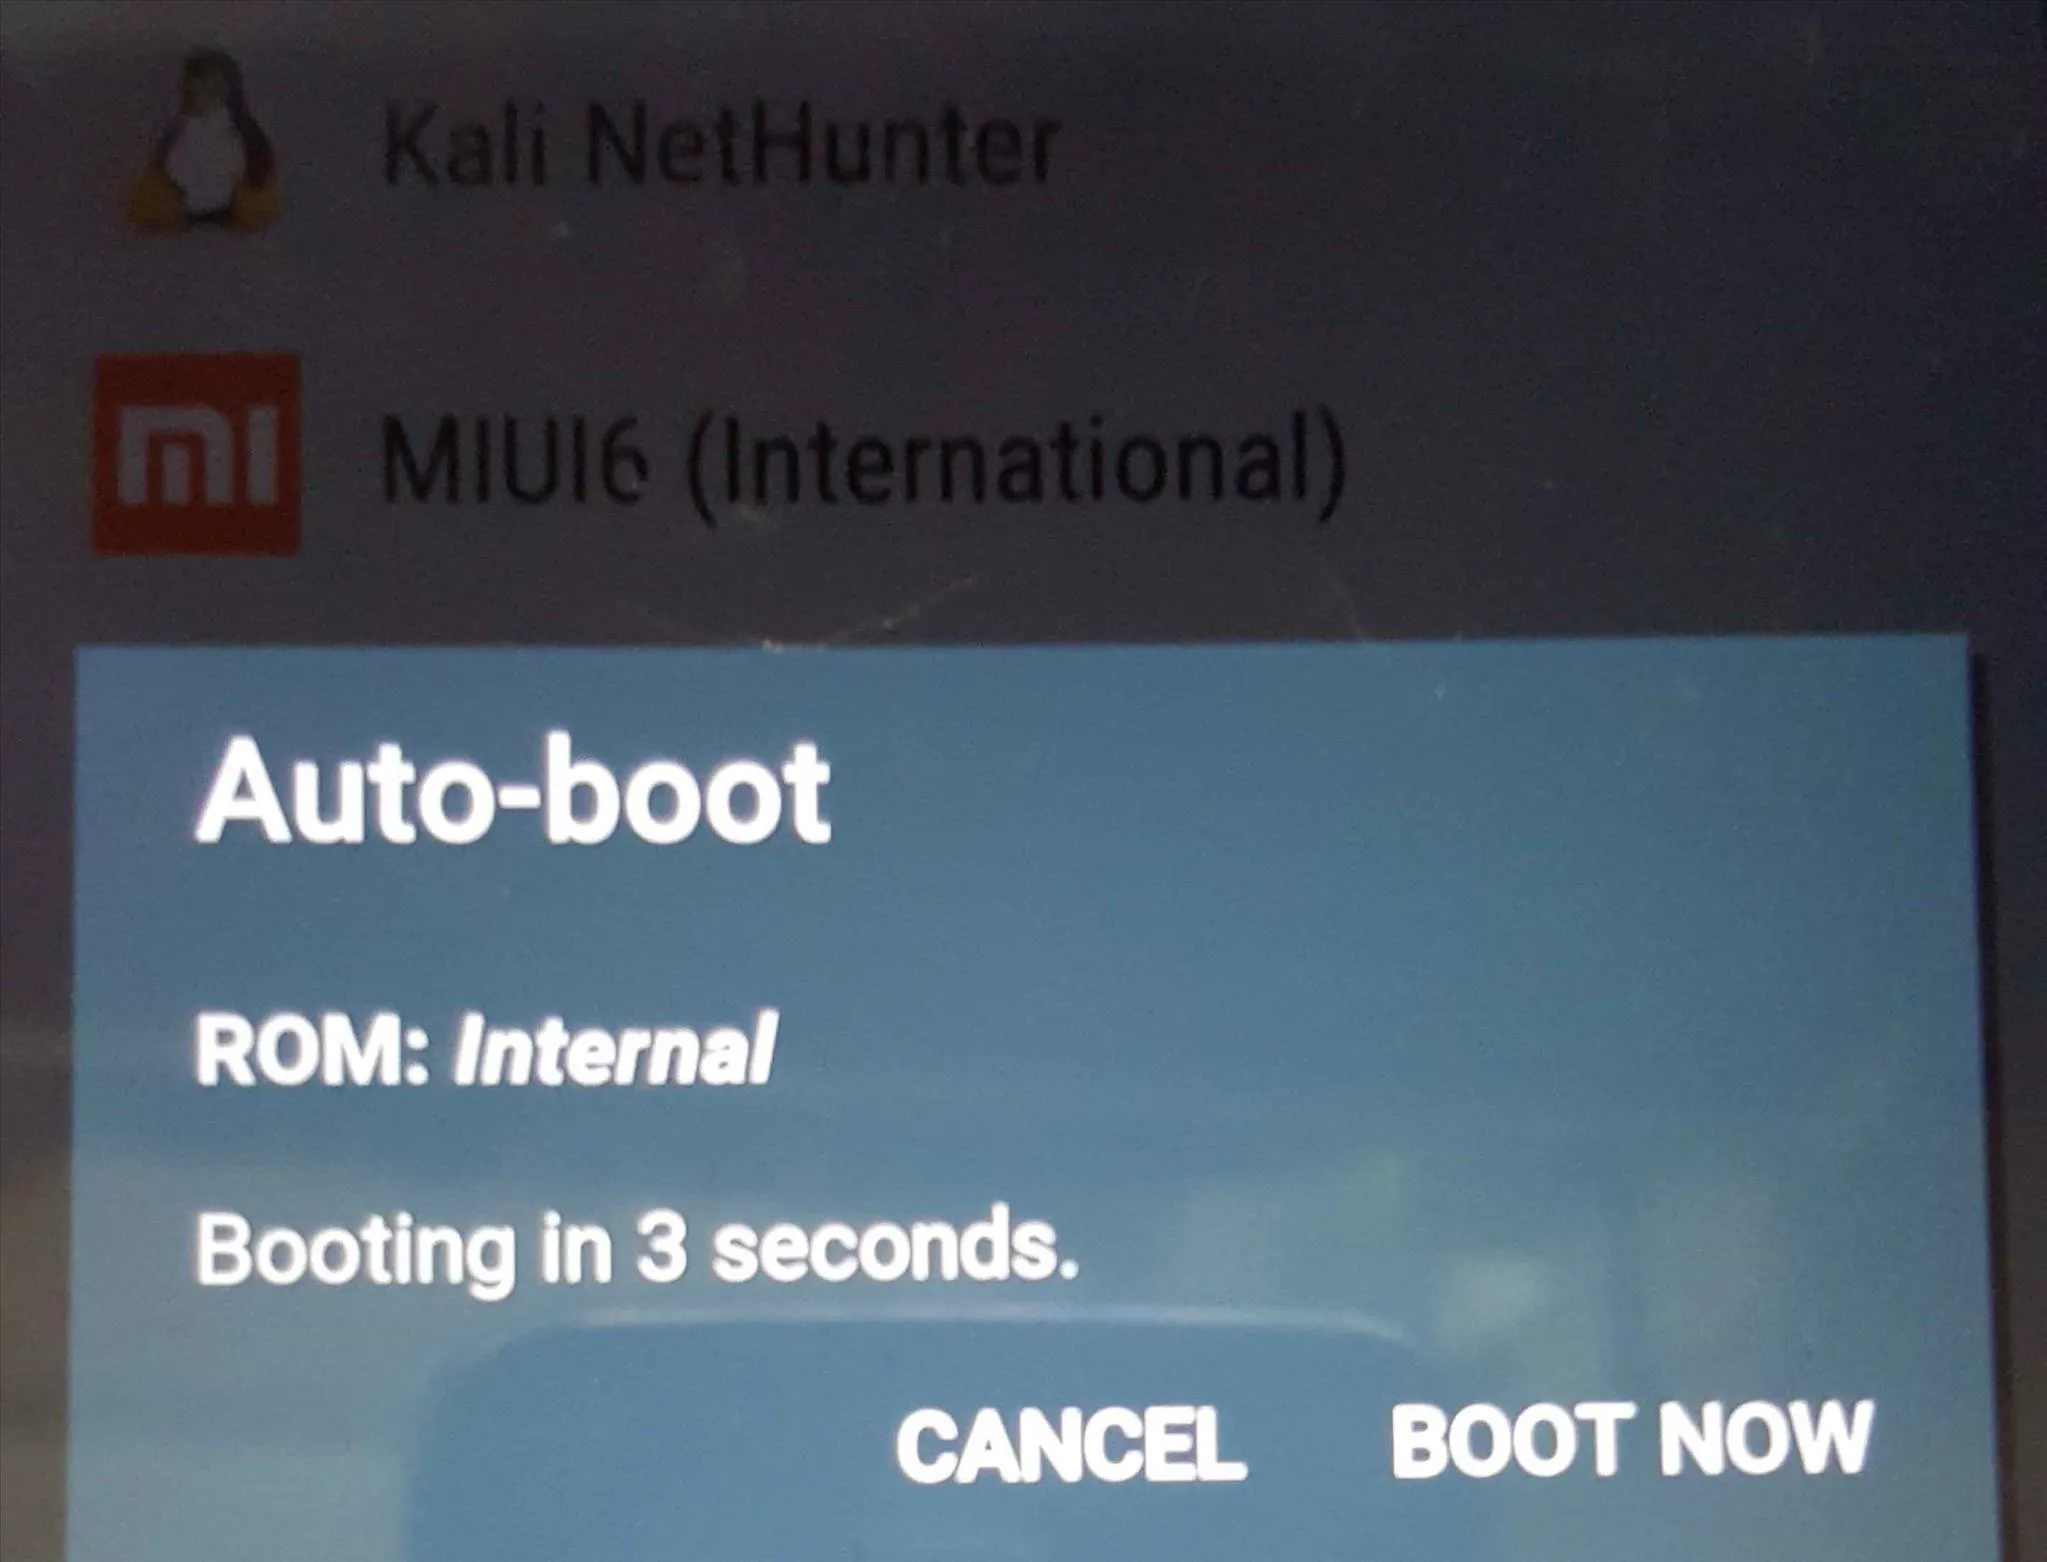
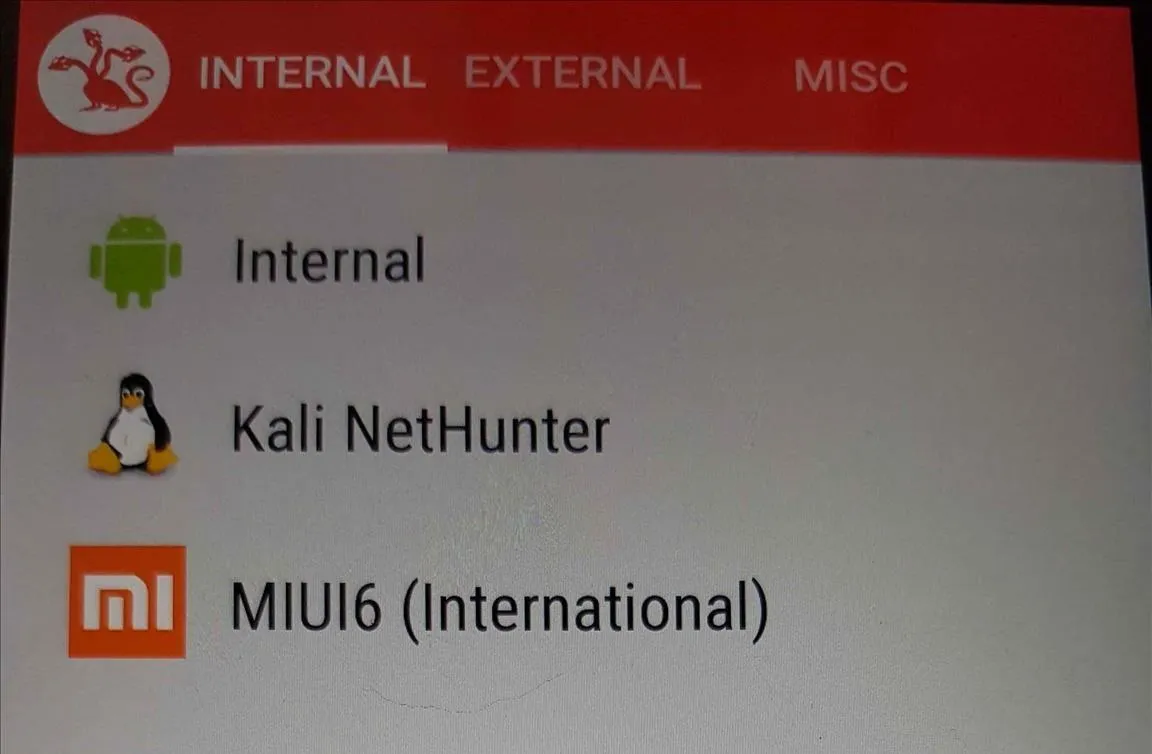
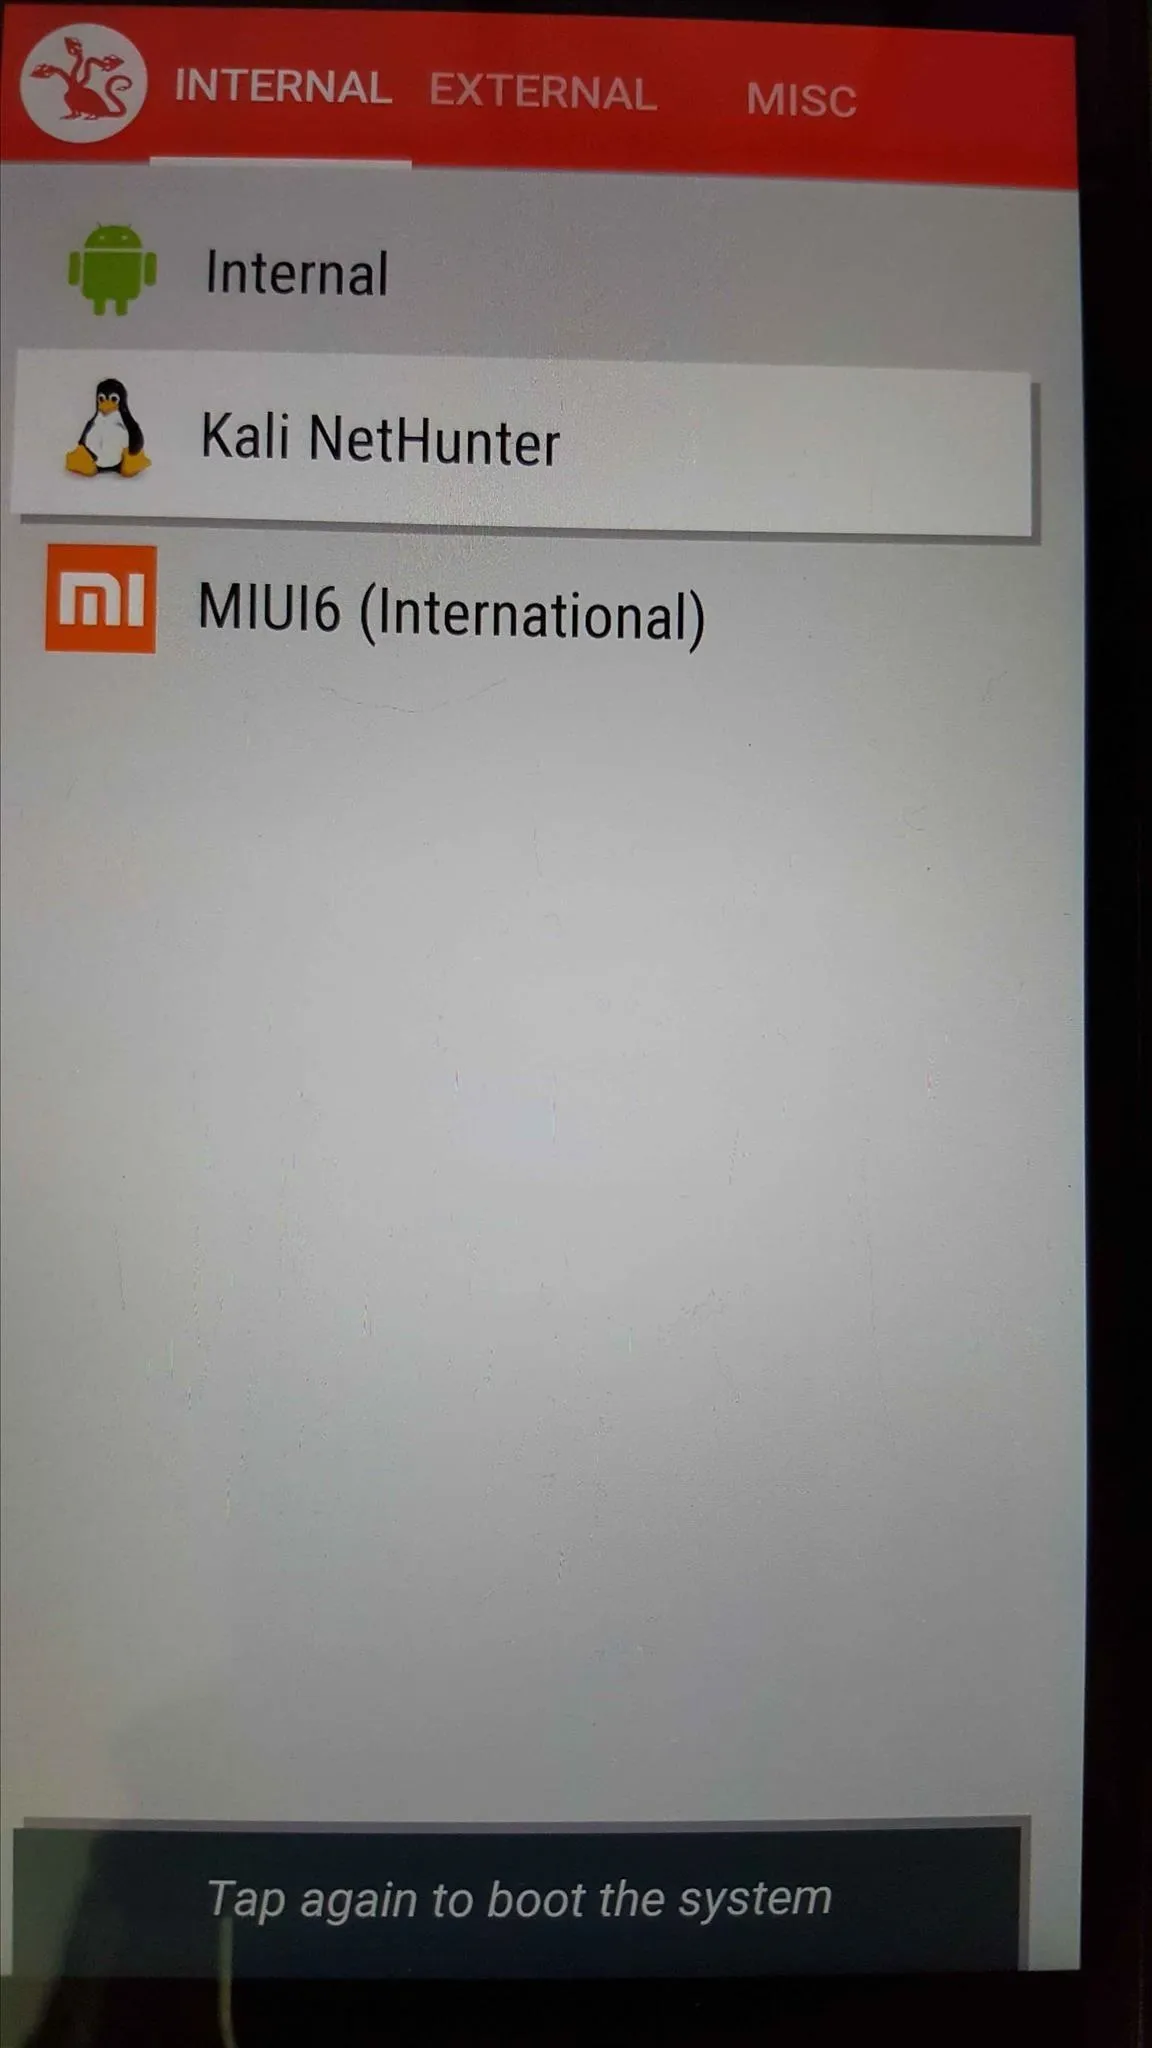


- Go out there and explore!
- Install BusyBox, open it and then Install it. (It may/will fail because the system is not rooted) (Don't worry its temporary, you may even skip this step)
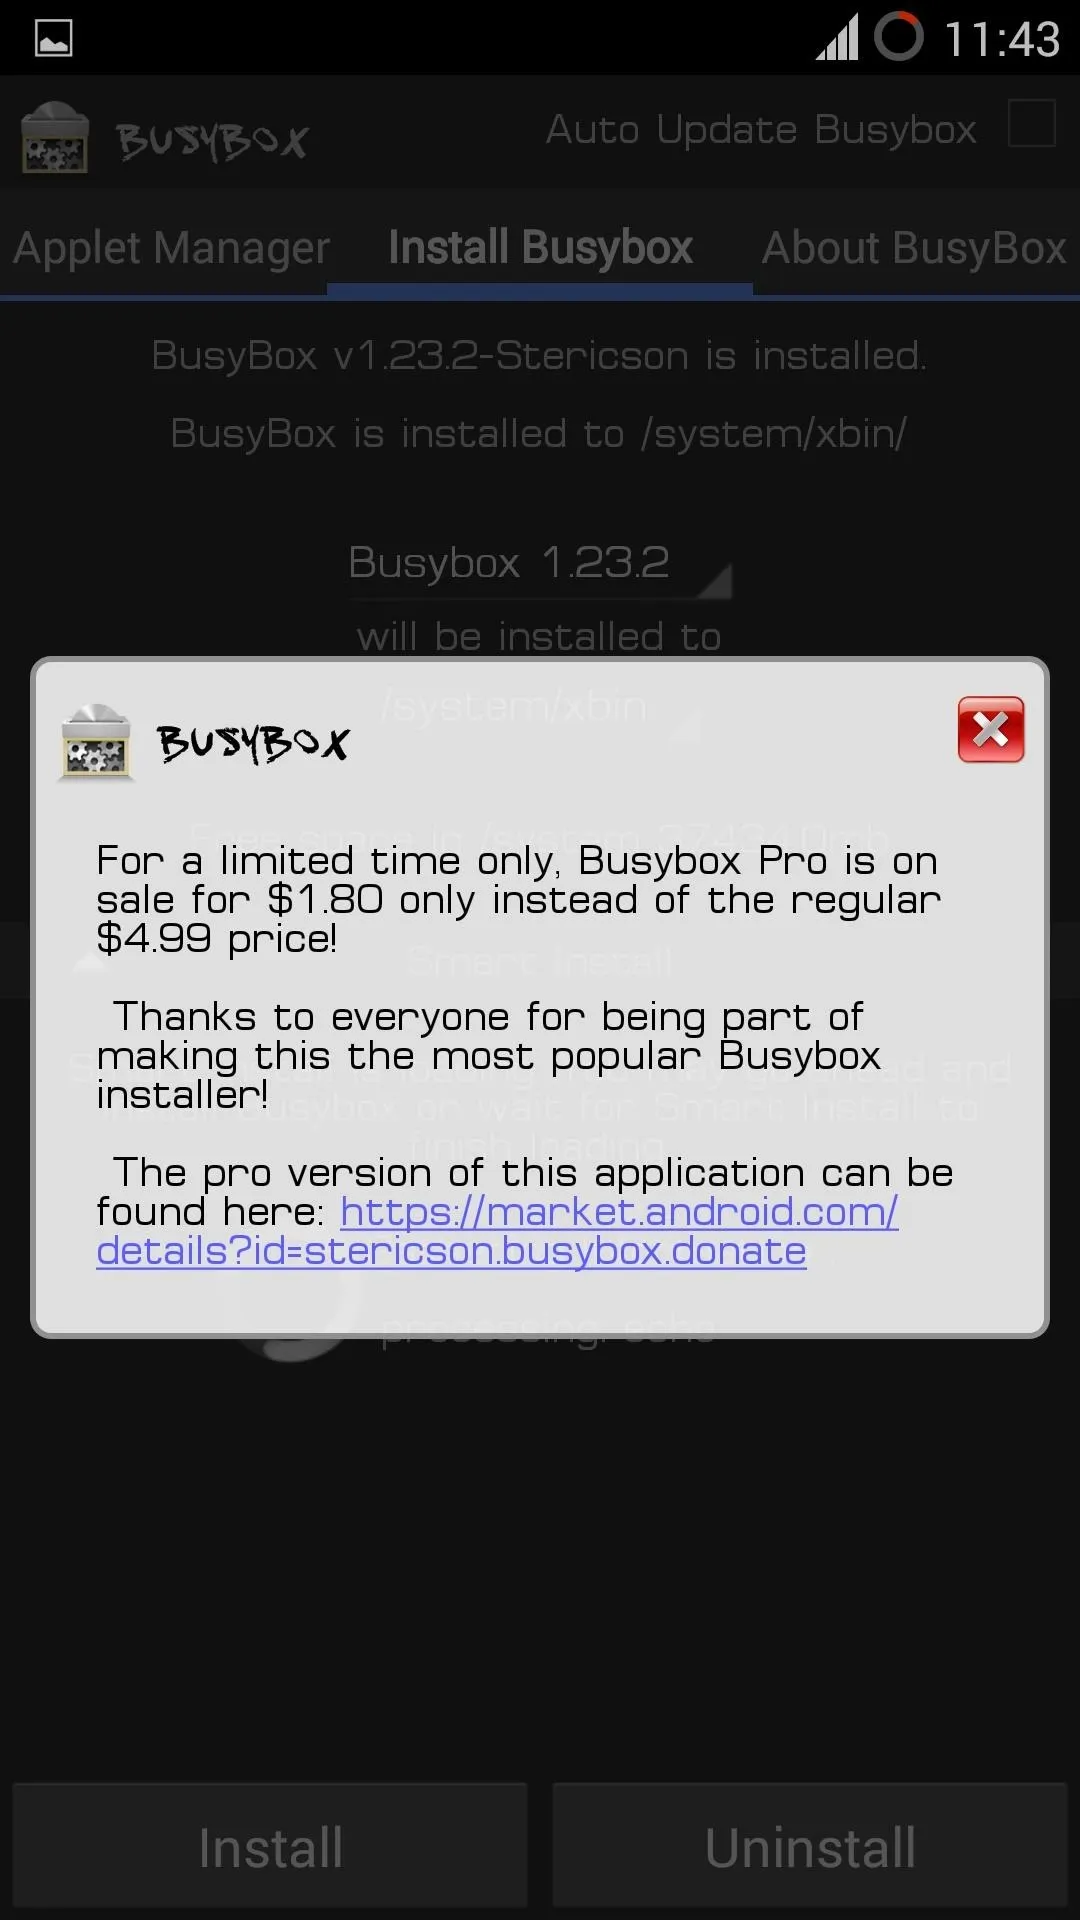
- Once you are happy, and want to move on, Follow the next step.
FLASH KALI NET-HUNTER!!!
- Reboot to Recovery.
- Go to MultiROM settings.
- Tap on 'List ROMs'
- Choose the CM11-M11 ROM
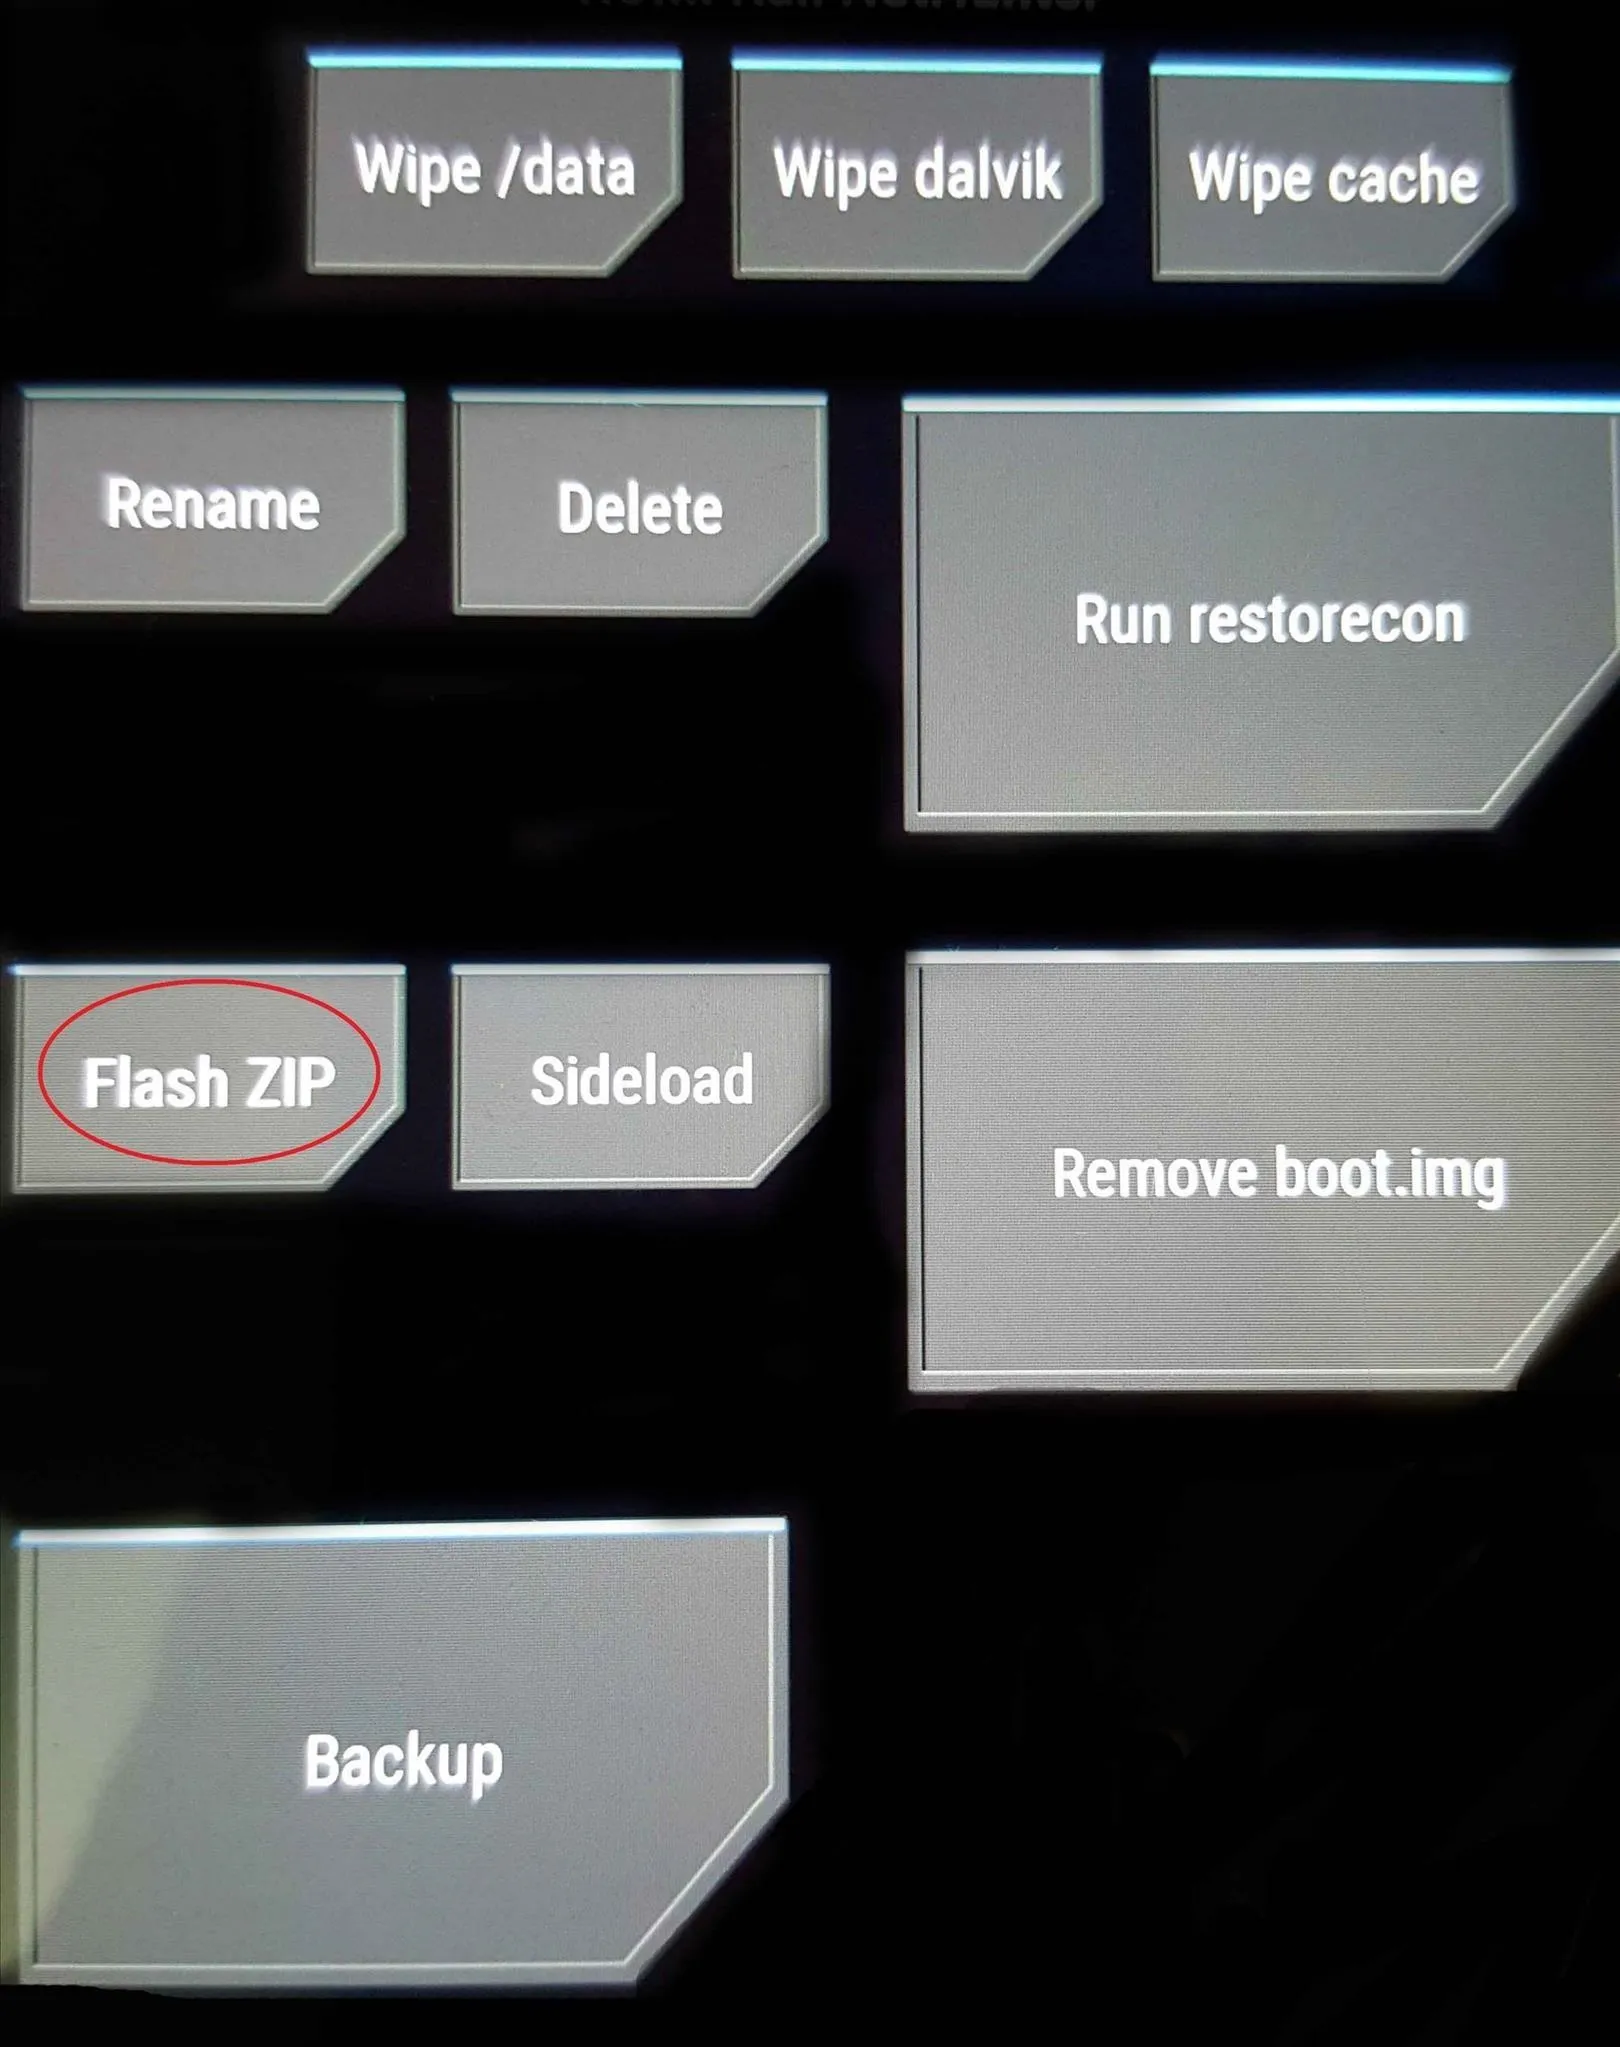
- Tap the small button stating 'Flash ZIP'
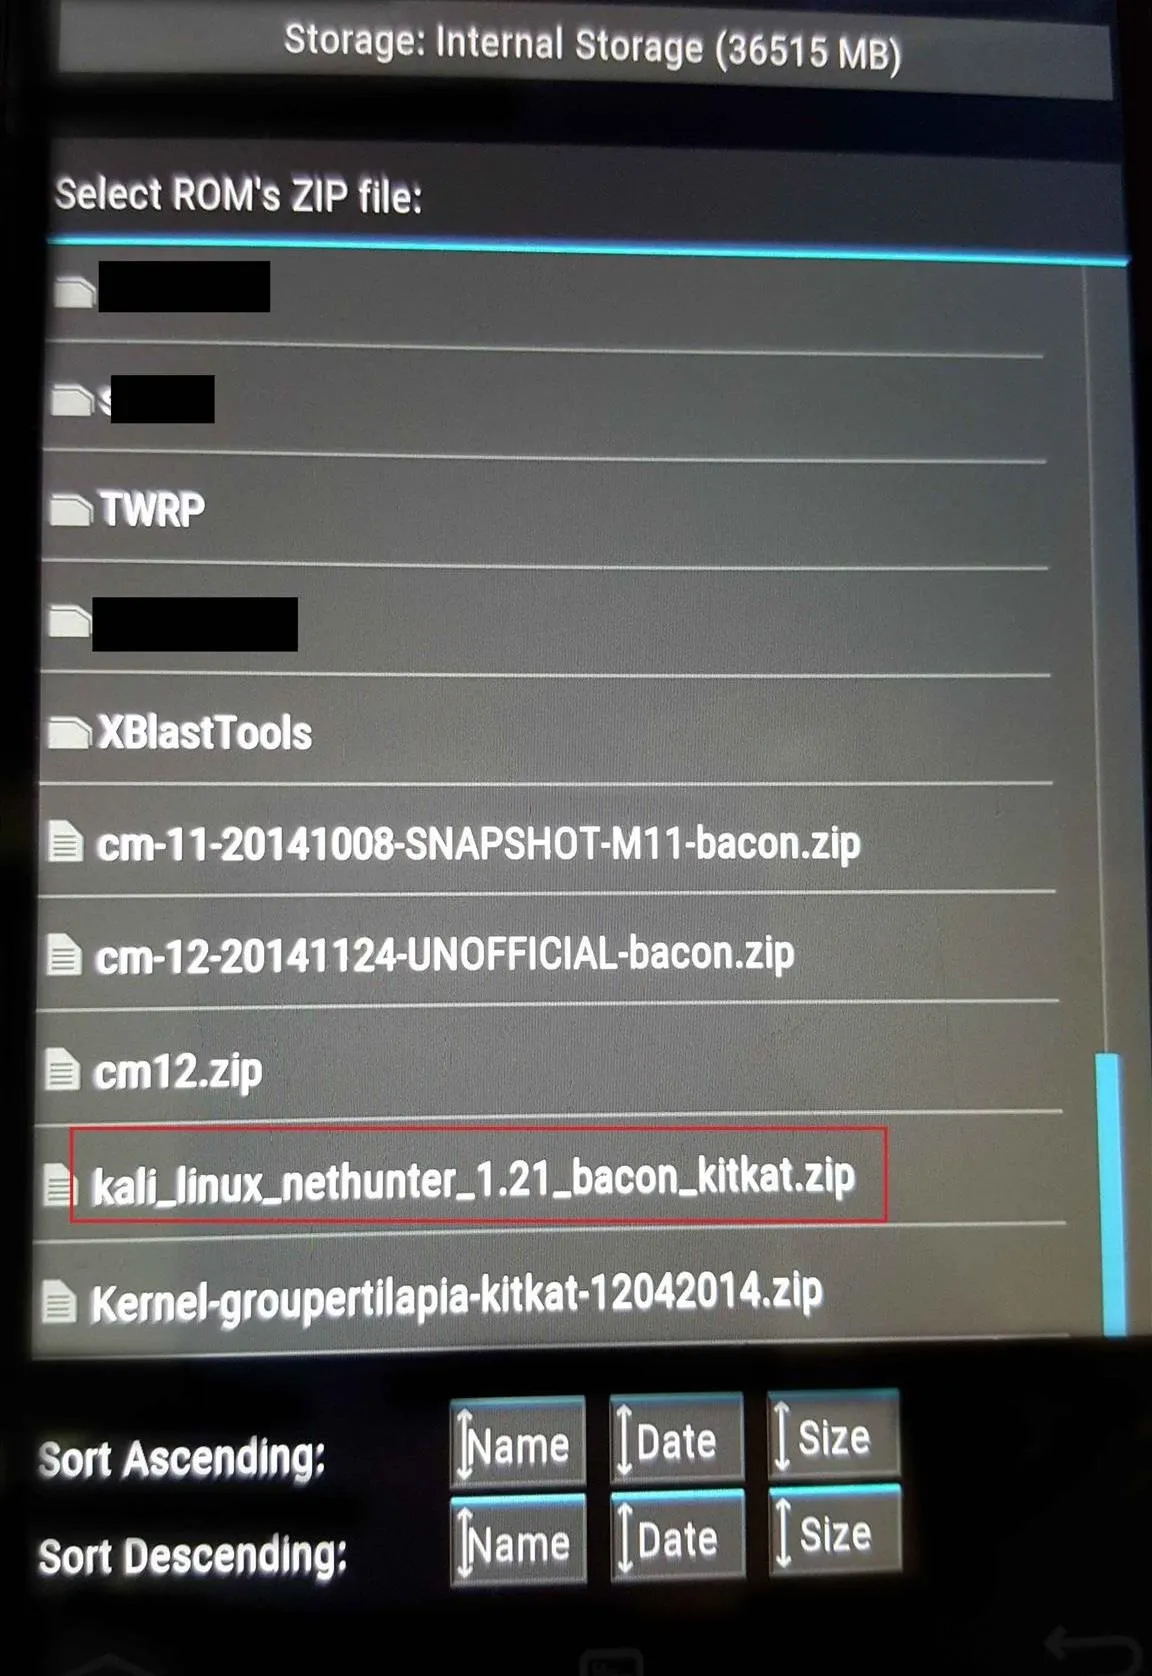
- Choose The Kali Nethunter.zip you just downloaded.
- Swipe to Confirm Flash
- After flashing, Reboot system.
-----------------------------------------FLASHED-------------------------------------------------
- Congratulations you Successfully Flashed Kali NetHunter!!
- Boot into the ROM
- EXPLORE! Go Go Go!
- Sort things out, install necessary apps, play-store, Google services etc..
- Tap on KaliNetHunter Home (App) and Explore it too!

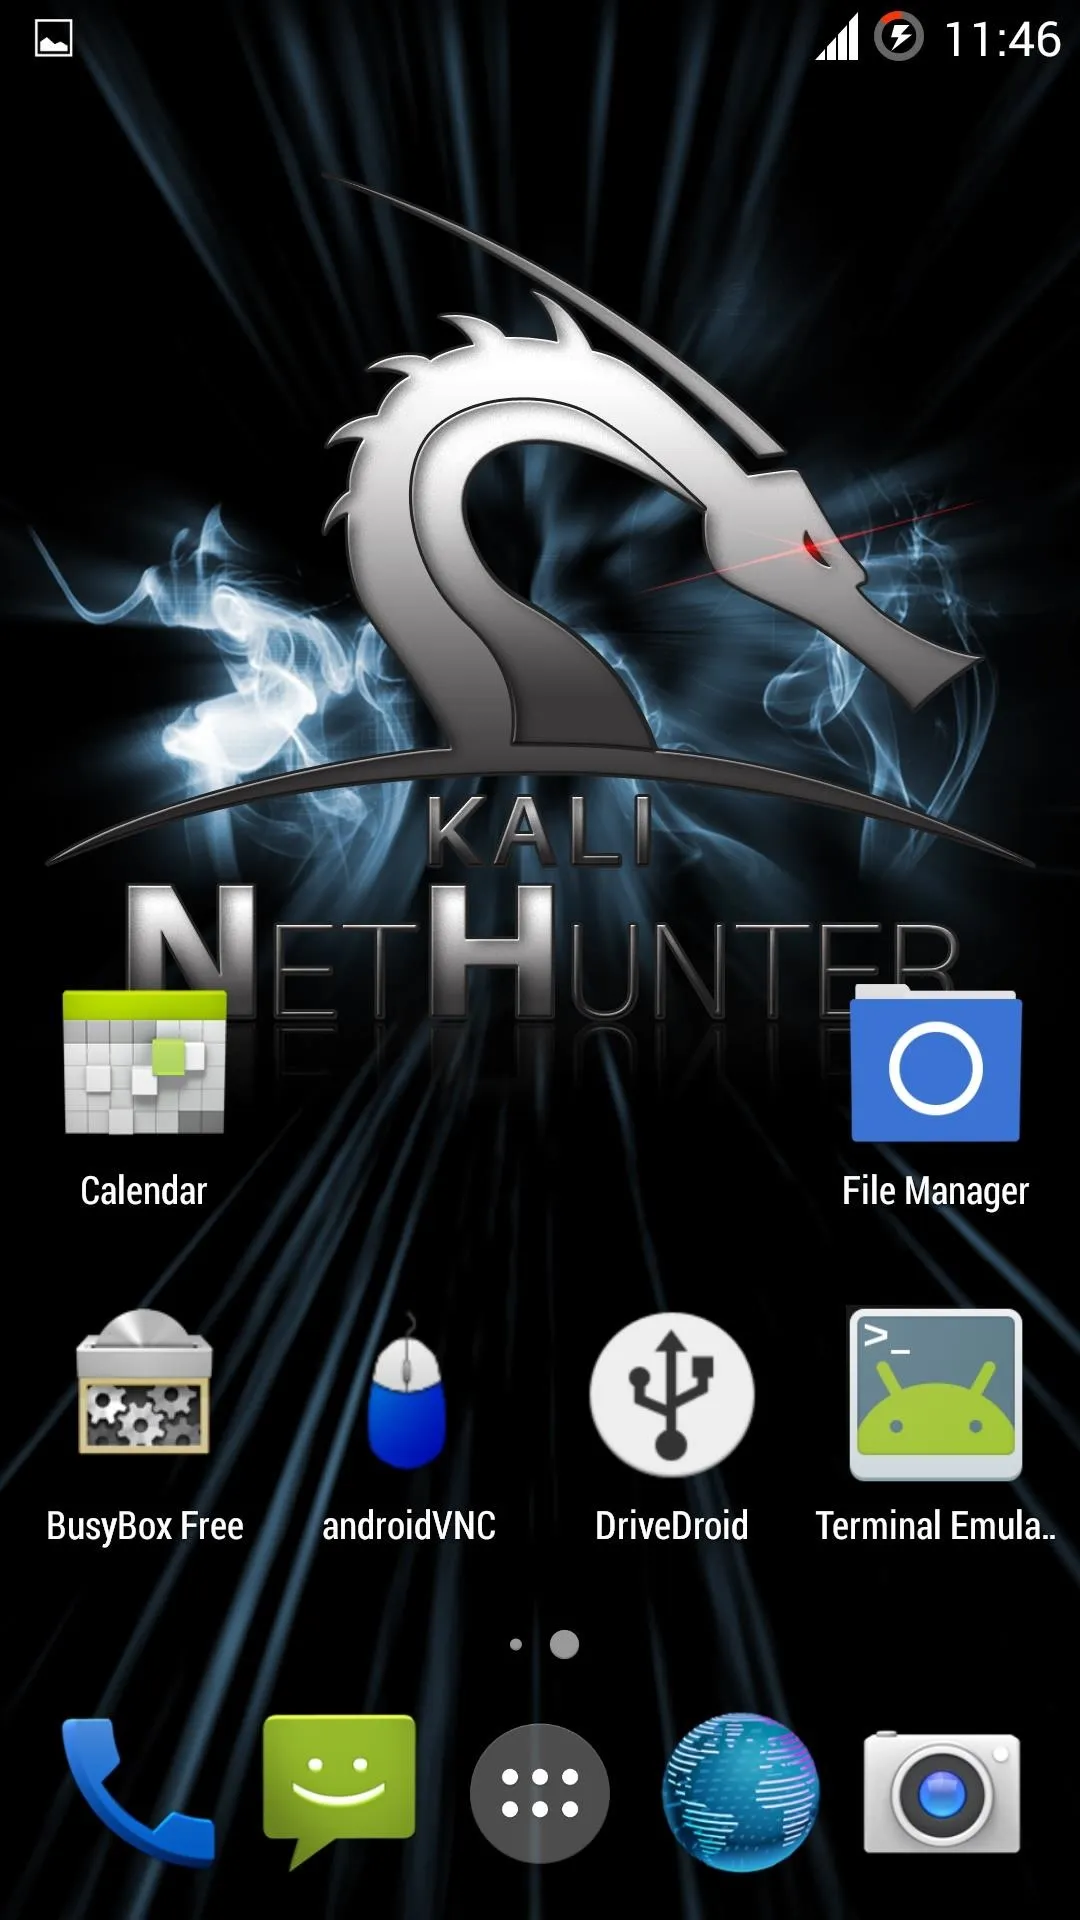
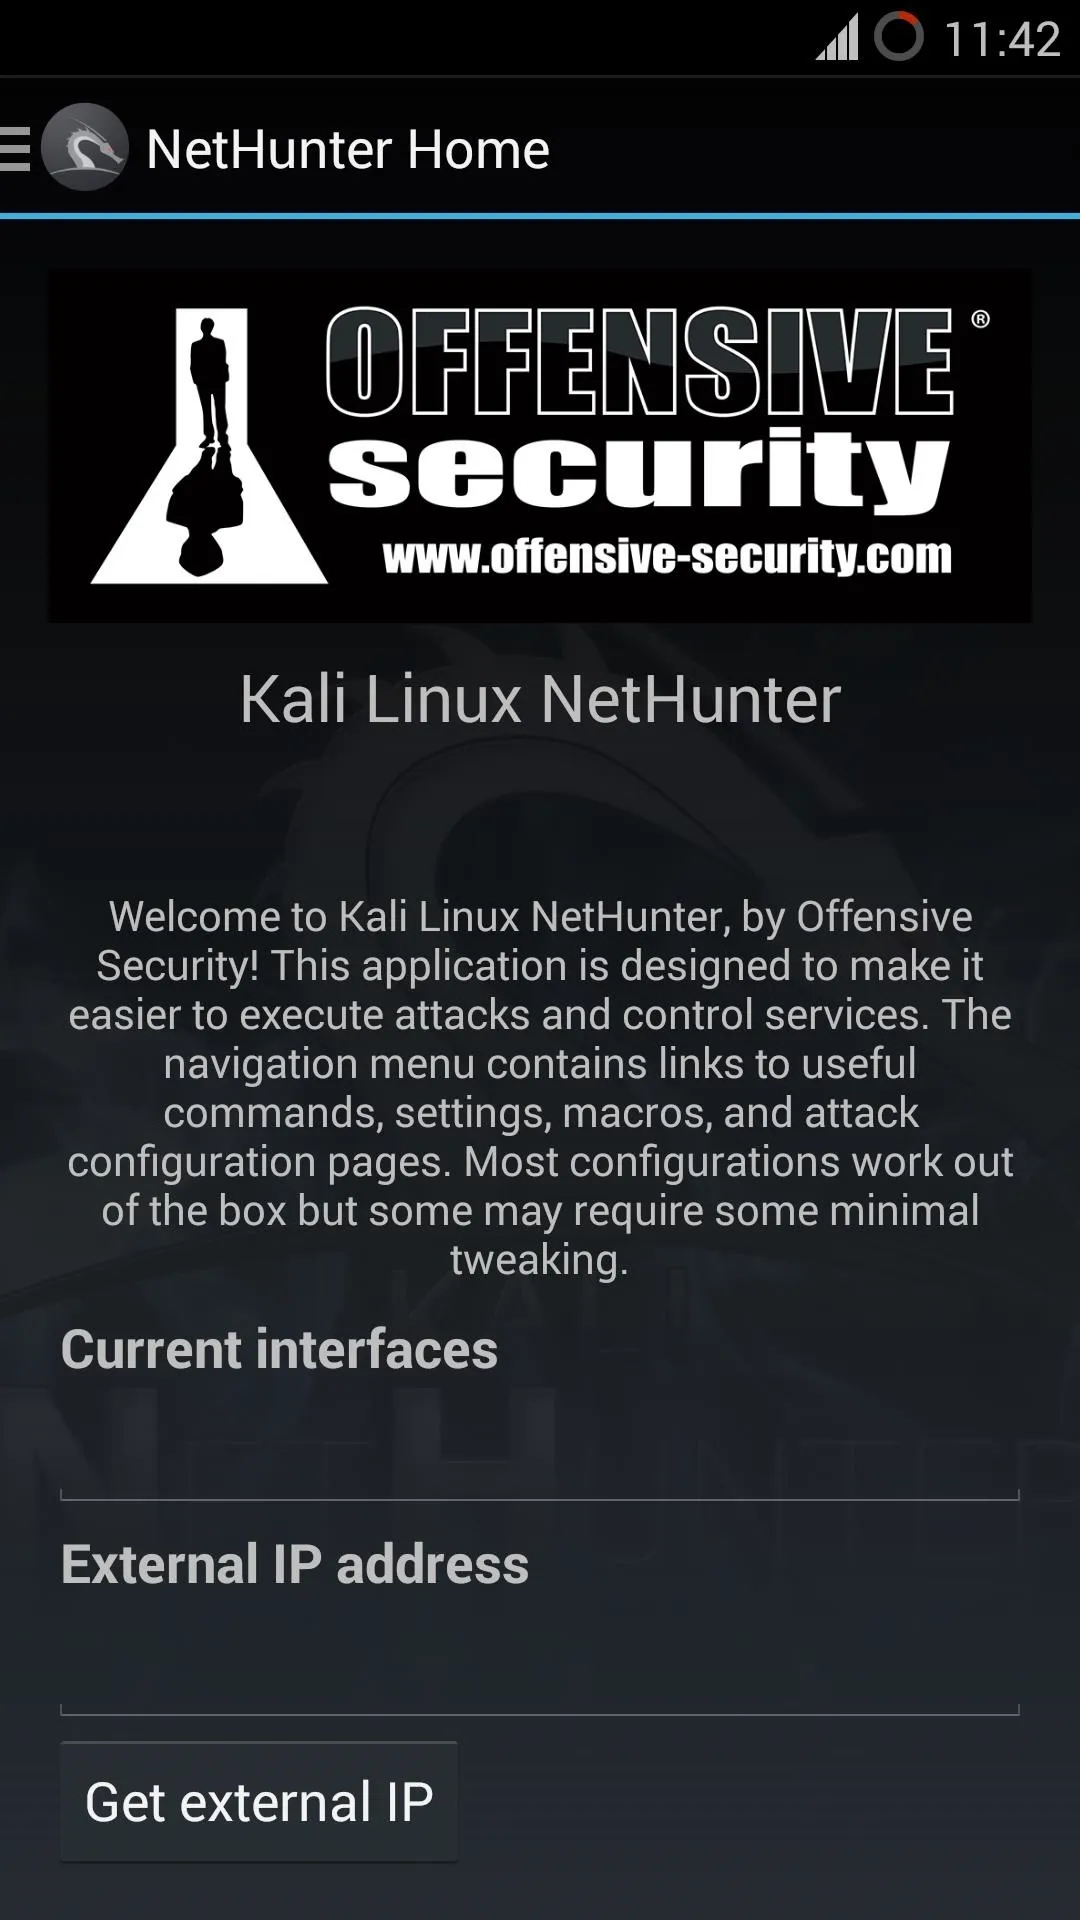
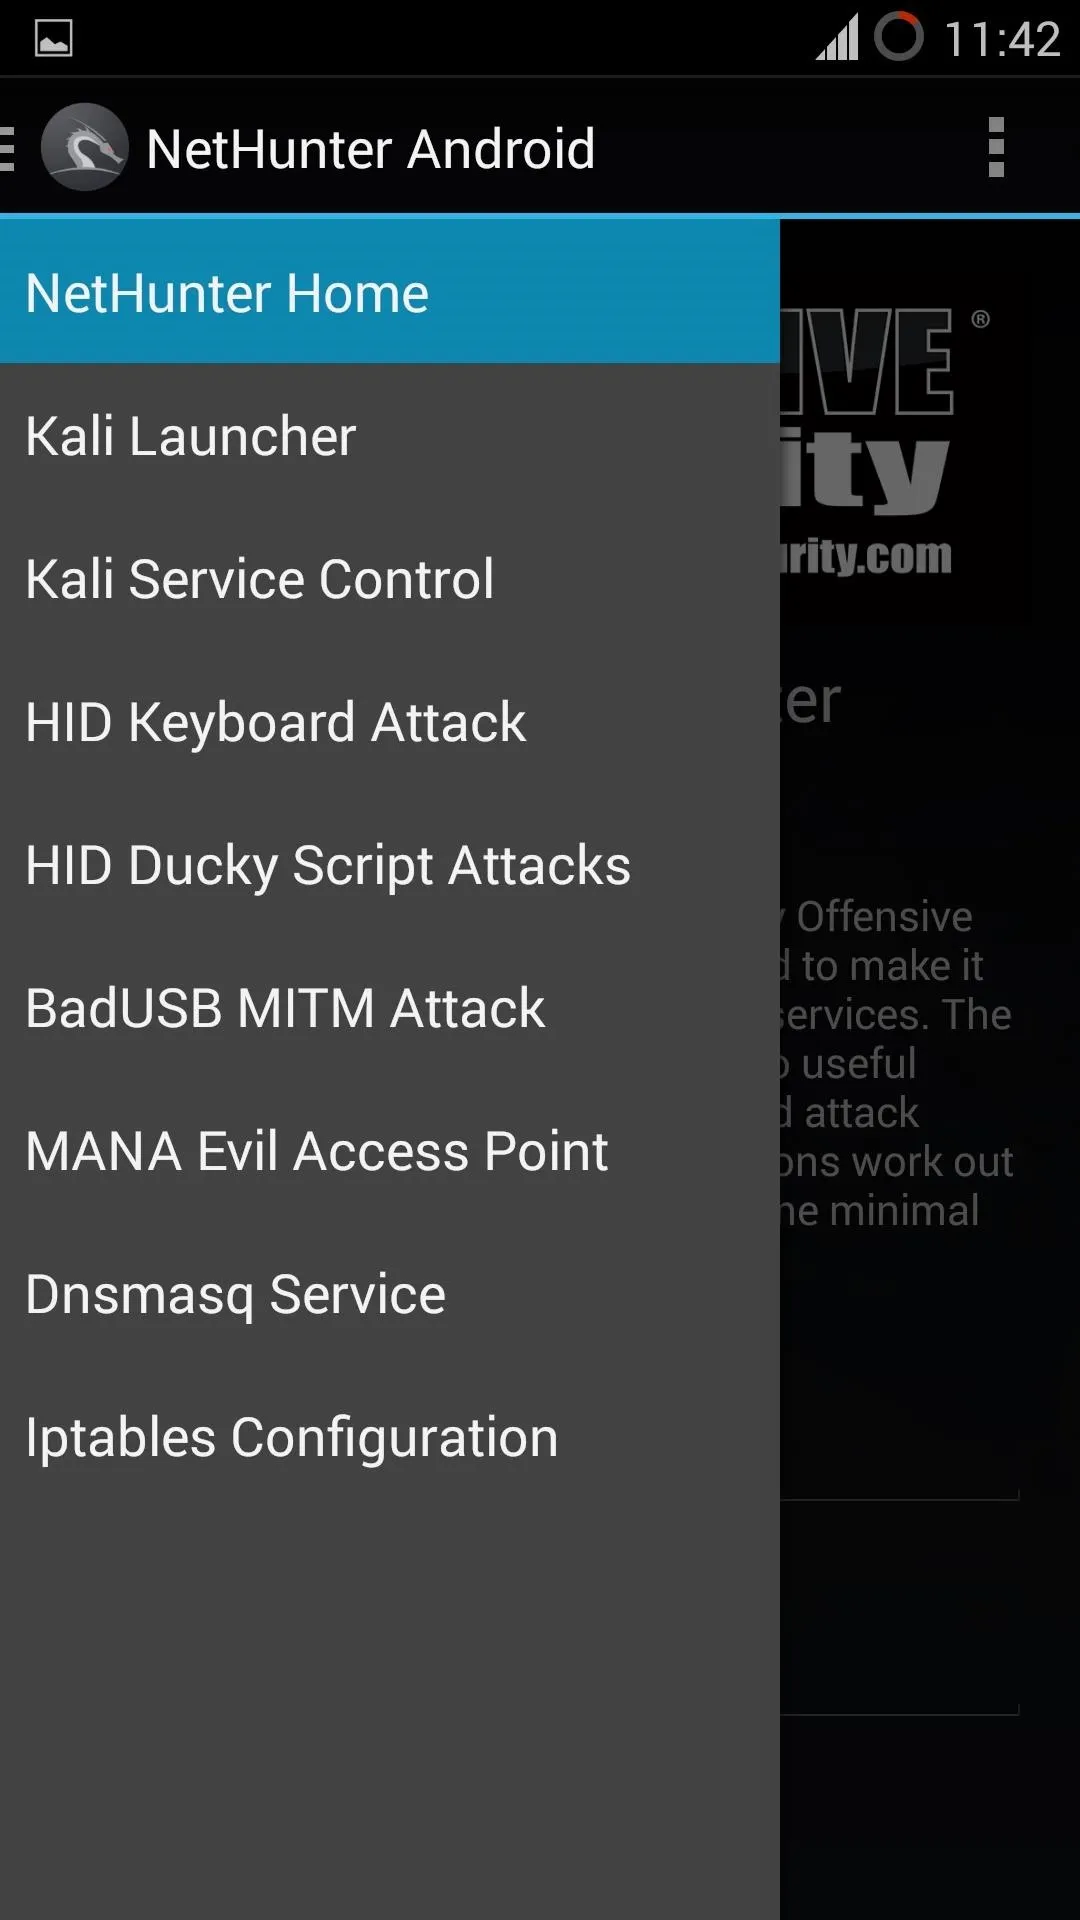


- However any service provided by it won't WORK, because the ROM is not Rooted.
- Then what are we waiting for? Let's gain the root access.
Rooting the ROM:
It's too easy! (Now that you have practice)
- Reboot to Custom/TWRP Recovery.
- Go to MultiROM settings.
- Then to 'List ROM'.
- Choose the same ROM
- Then to 'Flash ZIP'.
- Choose The SuperSU.zip that you downloaded.
- Swipe to Confirm Flash.
- After the Flash Reboot System.
--------------------------------------------FLASHED/ROOTED--------------------------------
The FUN Begins:
And now rename the ROM if you want to, using the manager in Internal ROM.
Boot into NetHunter.
So you are good to Go!
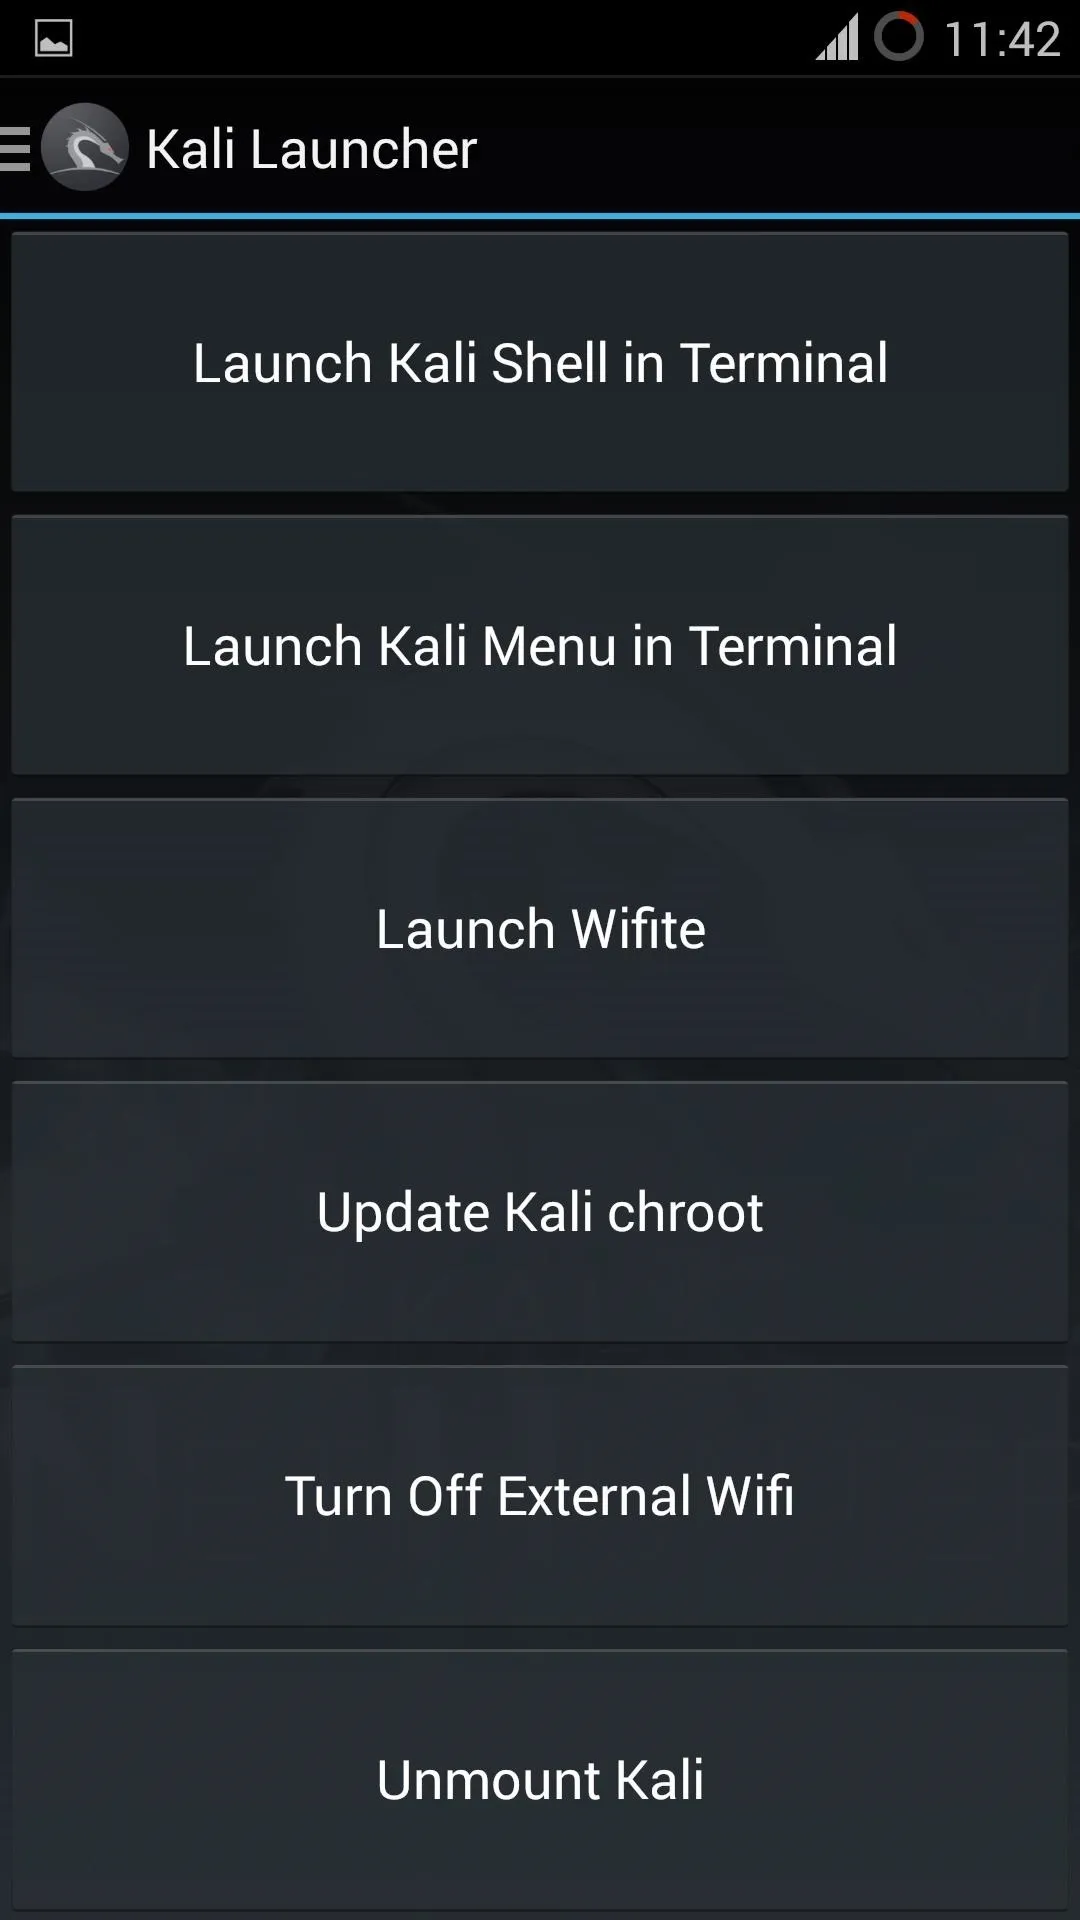
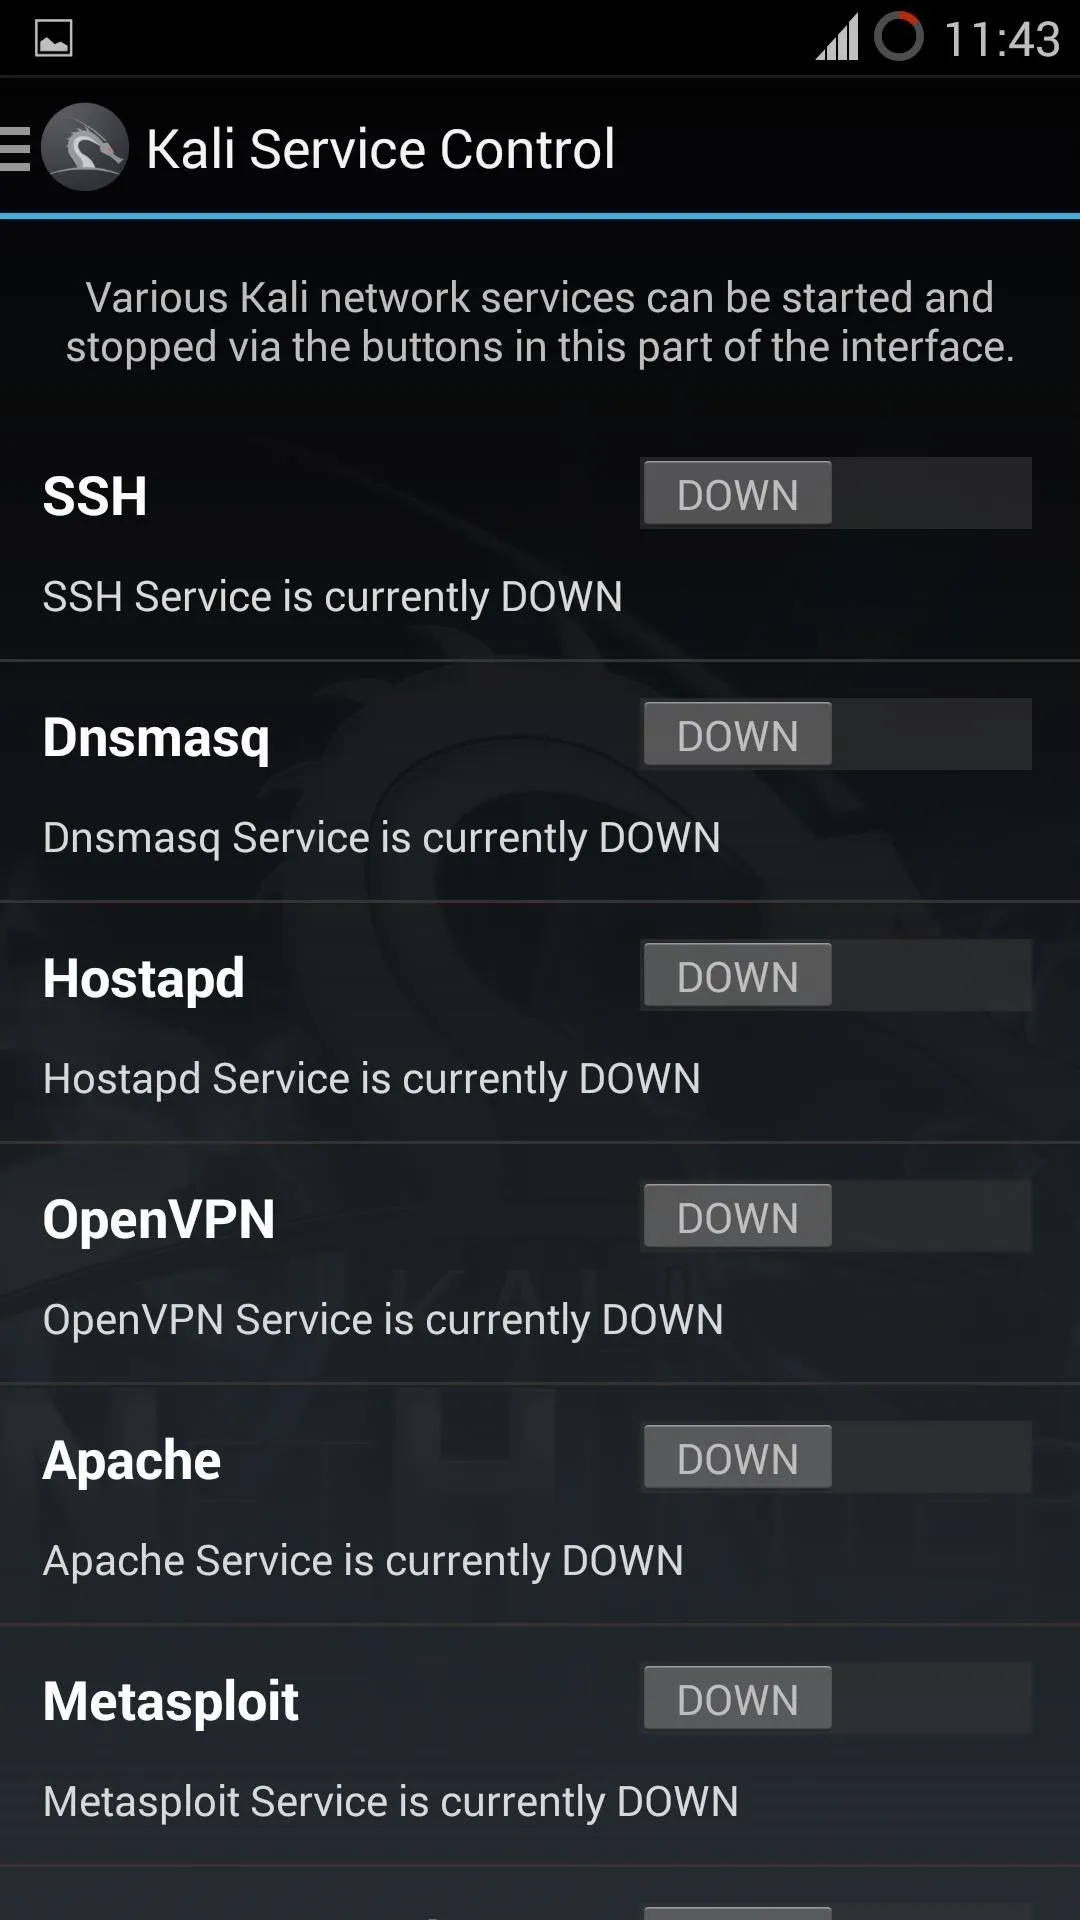
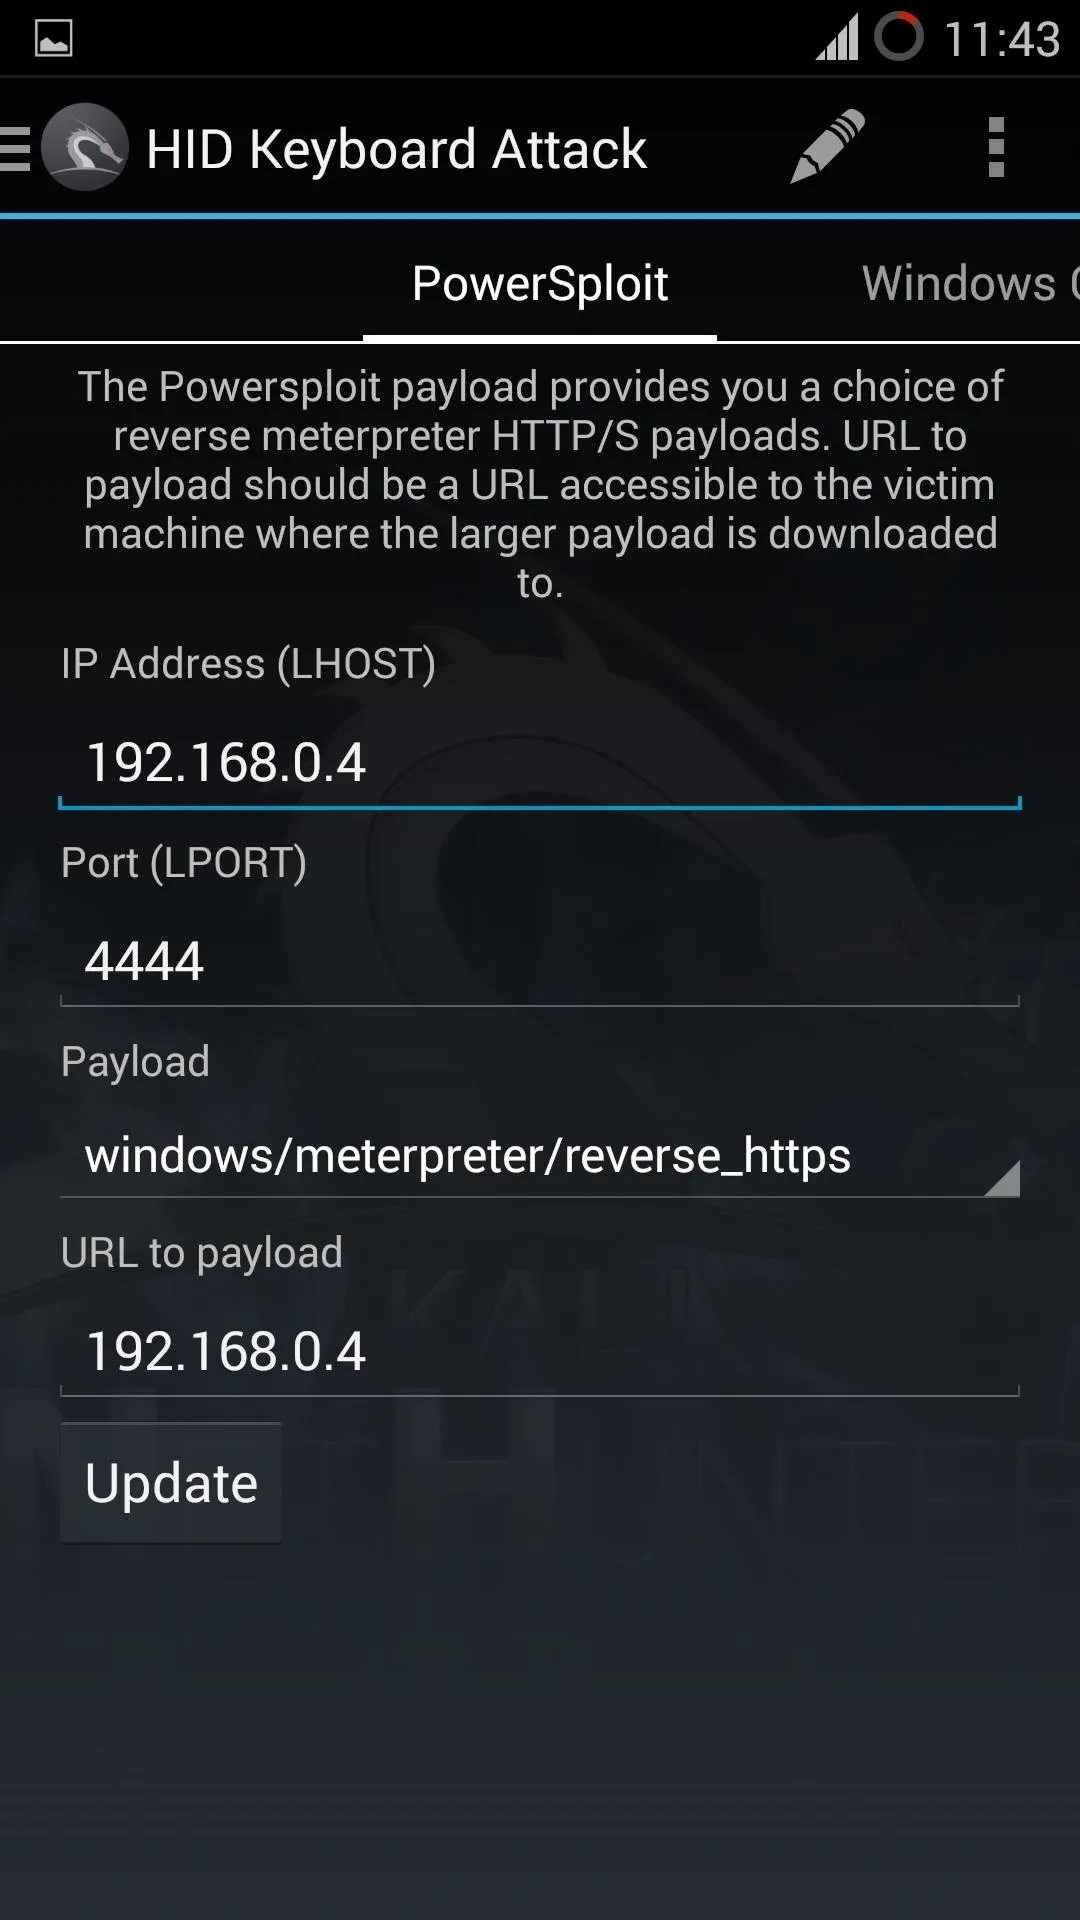
Every service offered by NetHunter can be accessed!
Also download SuperSU.apk from the playstore and Install BusyBox again.
ENJOY! EXPLOIT! HAVE FUN!


The Tutorial ENDS:
When following this tutorial, I hope you could learn something from it (me too) about Flashing and Roots. And now, I think you can Flash any ROMs that you need.
{When you are in the boot manager, at start-up, tap the top-left icon, of the MultiROM manager, see what happens (a little game! lol)}
Good Luck!

There is an issue with OnePlus I think, Sometimes, it may get suck into a boot-loop but that's Fine, just press the key combination for custom recovery until the device turns-off. Then release the buttons and press them again, once you get booted to custom recovery, reboot system from there.
Keep Coming back for more!!
Thank You,
F.3.A.R.


Comments
Be the first, drop a comment!