


Kali Linux has come a long way since its BackTrack days, and it's still widely considered the ultimate Linux distribution for penetration testing. The system has undergone quite the transformation since its old days and includes an updated look, improved performance, and some significant changes to how it's used.
Offensive Security is the team behind Kali Linux, a Debian-based system. Kali is the preferred weapon of choice on Null Byte, and you can install it as your primary system (not recommended), use it with dual boot, use it in a virtual workstation, or create a portable live version on a USB flash drive.
We'll be walking you through a very basic installation today, just enough to get you up and running to follow along with Null Byte guides. There are actually many things that can be done to customize the installation, but we just want the quick-and-dirty process.
What's New in Kali Linux?
In Kali Linux version 2019.4, released at the end of 2019, Offensive Security made significant changes to how Kali looks and feels. And its 2020.1 update, released in January 2020, built upon the new foundation.
Perhaps the most significant update is the default desktop environment, which is now Xfce, a change that was made mostly for issues related to performance. For most users, GNOME is overkill, and a lightweight desktop environment like Xfce provides lower overhead, leading to snappier and quicker performance. For all the die-hard GNOME fans out there, the previous desktop environment is still supported and even comes with an updated GTK3 theme.
Other new features include the introduction of undercover mode, new public packaging and documentation processes, an update to Kali NetHunter, the addition of PowerShell, non-root users are now the default, and other bug fixes and updates.
Choosing the Right Kali Linux
To get started, navigate to kali.org and go to the downloads page, where you can choose from a variety of images.
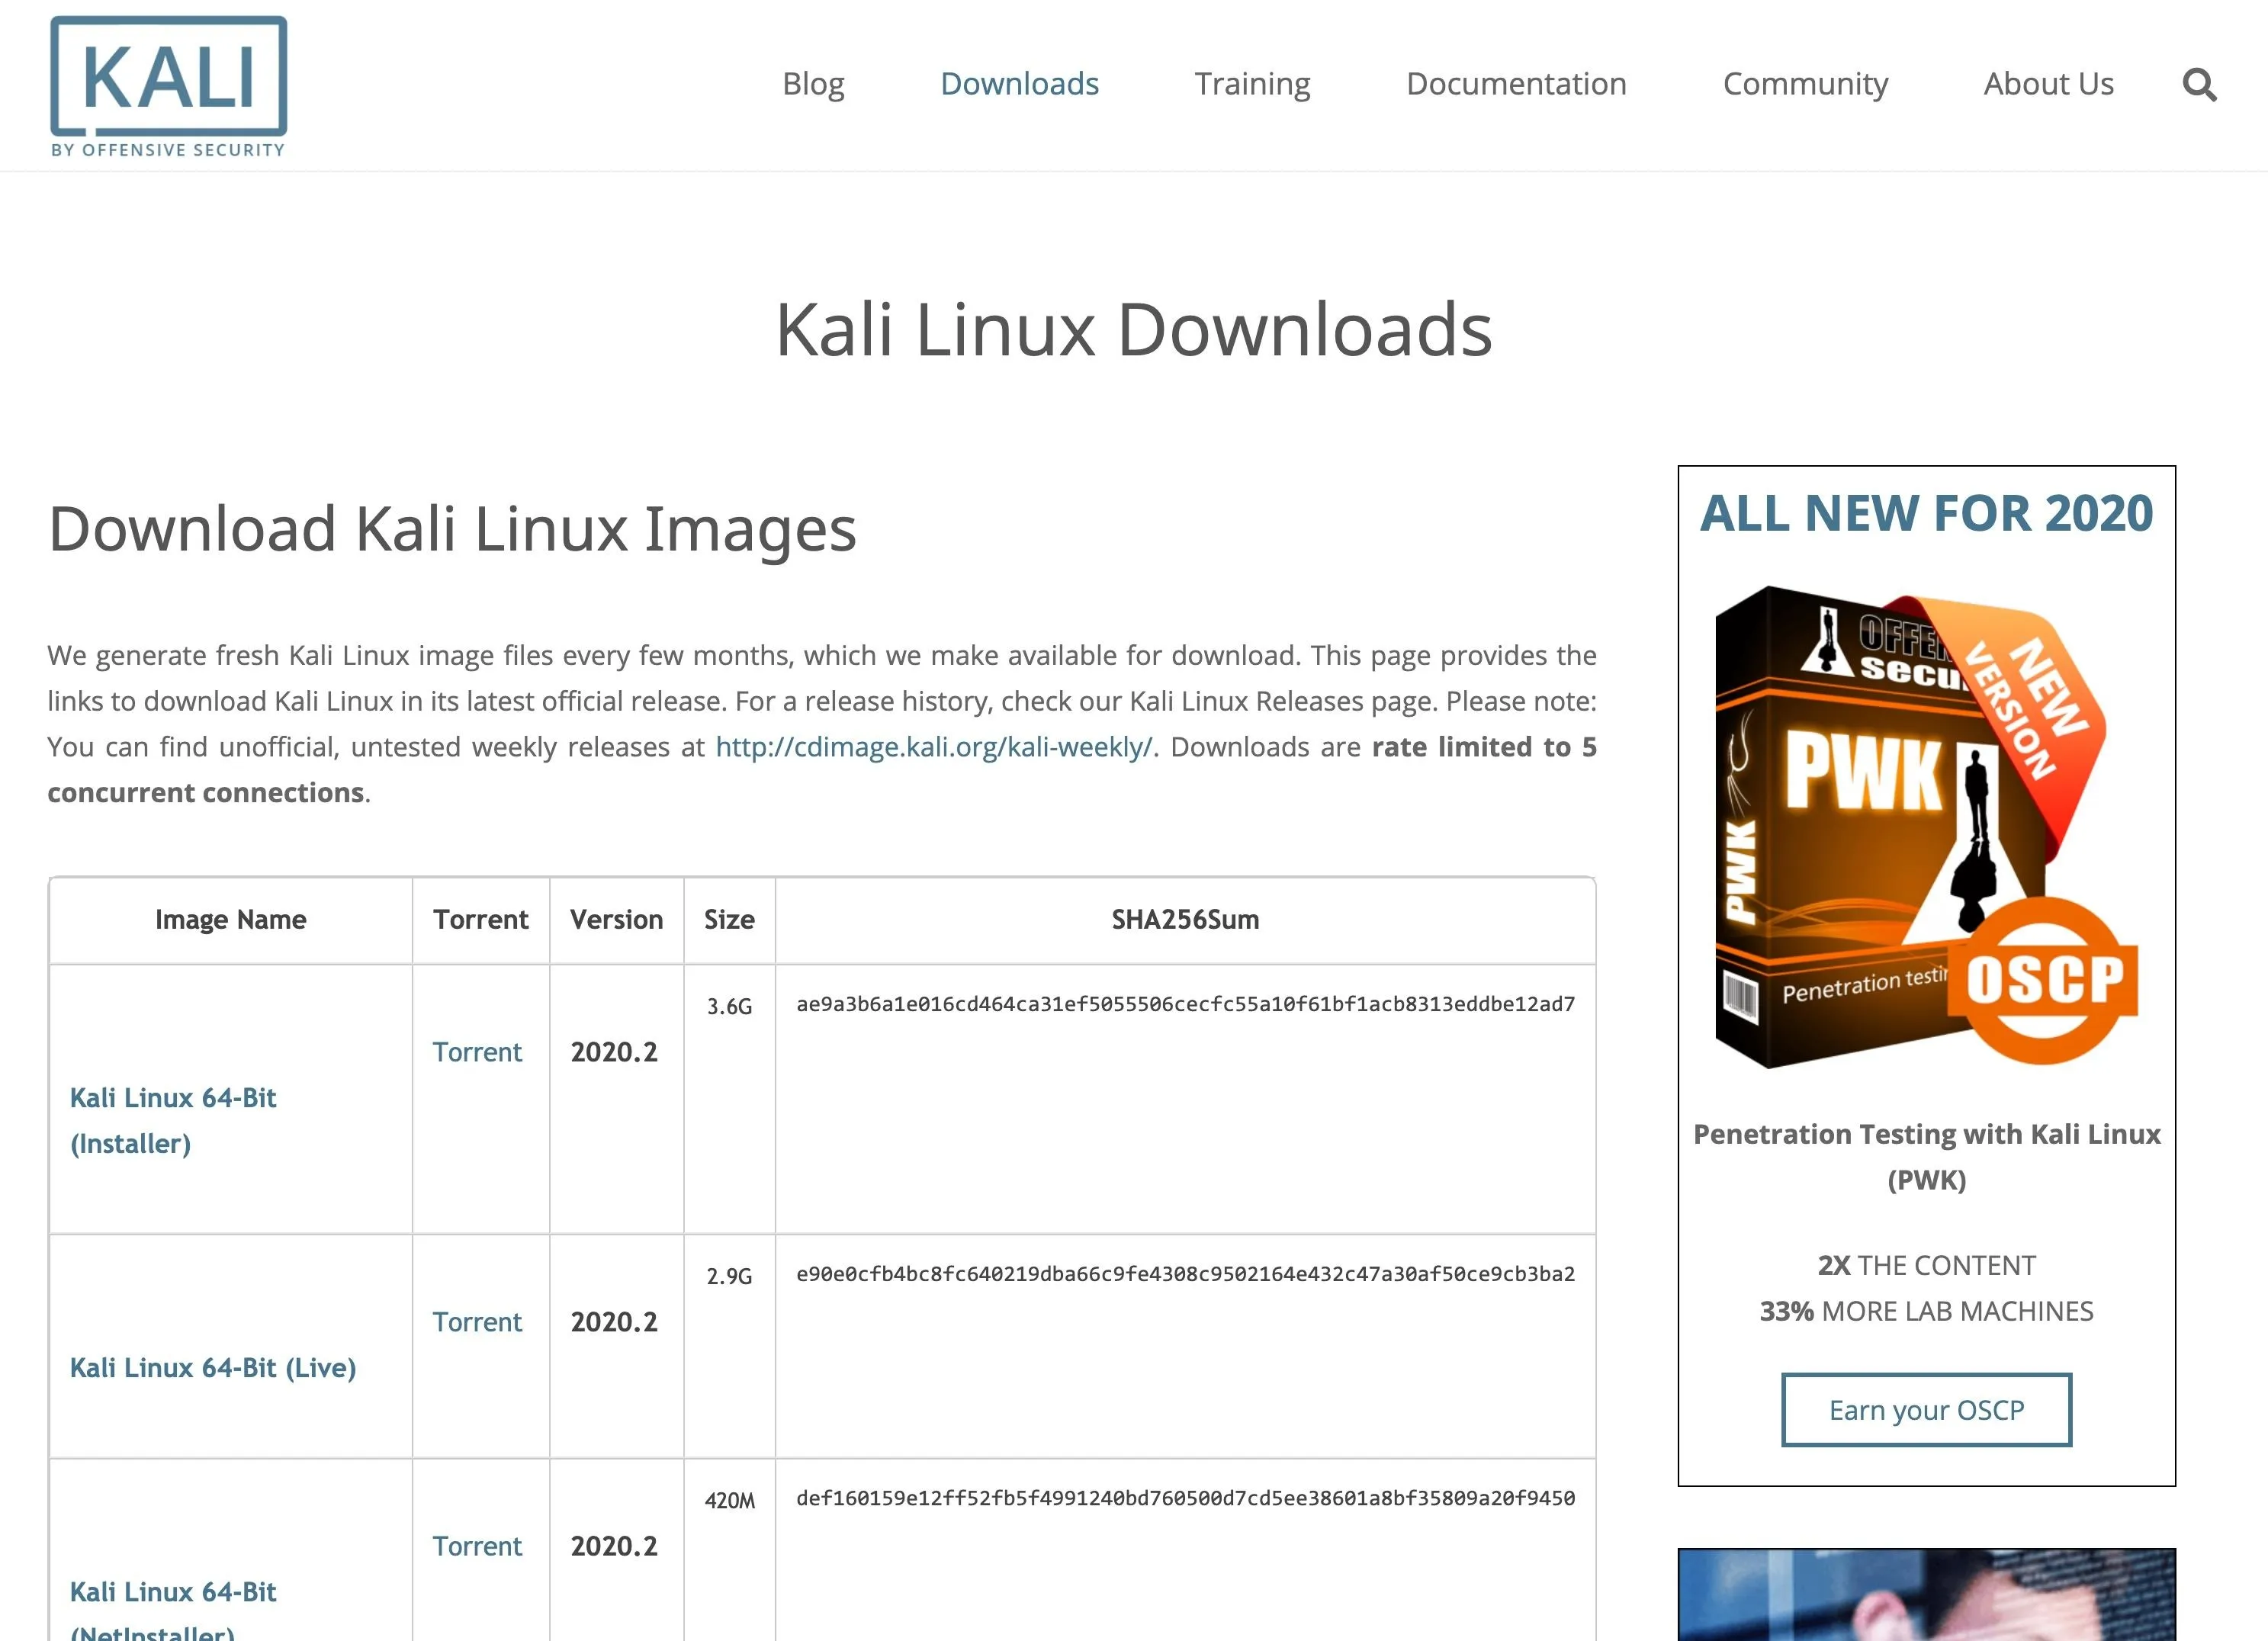
The images available include Kali Linux for both 64- and 32-bit architectures (via Installer), Lite editions (via NetInstaller), and Live versions, and there are links to downloads for the ARM architecture and VMware and VirtualBox virtual machines. How you want to use Kali is entirely up to you.
- The "Installer" links are for Intel-based computers and include a copy of the default packages. You can install Kali later using them without an internet connection. These are good if Kali will be your primary OS or part of a dual-boot system. For the best performance without sacrificing your preferred primary system, dual-booting is best.
- The "NetInstaller" links are much smaller than the Installer ones since they don't contain copies of the packages to install. These are only recommended if you don't have enough bandwidth to download a full version, as you'll probably want to install the missing packages at a later time.
- The "Live" links are for running Kali off a USB flash drive or disc. These are good if you want a portable hacking machine to plug into any computer.
- The "VM" links are for installing Kali as a virtual machine on your primary system. The two virtual environments compatible are VirtualBox (free) and VMware Workstation (not free). These are good options for Null Byte readers, as you can practice hacking between systems on one computer, which can prevent you from breaking any cybersecurity laws. Keep in mind, however, that a decent amount of RAM is needed for everything to run smoothly, and to perform any wireless hacks, you'll need an external wireless adapter, one that you can put in monitor mode, preferably.
- The "ARM" links are only for devices such as devices that use the ARM architecture, like Pinebooks, Raspberry Pis, and the CuBox-i.
- Not listed are Kali NetHunter images for mobile devices, but you can find those on Offensive Security's site. They work on a variety of Android devices, such as OnePlus, Sony Xperia, and Nexus models.
If you want to run an older version of Kali, you can visit its index of older image versions. While Kali 2020.1 replaced root users with non-root users as the default, you may want to install the last 2019 version instead, which will still give you most of the newest features offered. In this guide, I'll be installing the 2019.4 version as my primary system since I want to keep the root user default.
Once you've decided how you want to run Kali, click the image name to download it. You can also hit the "Torrent' link instead if that will get the job done better.
Installing Kali Linux
The process for installing Kali Linux will be different depending on what version you chose. For help on installing Kali in VirtualBox, see our past article on using Kali in VirtualBox on a Mac; the article is slightly old, but the process is generally the same and works similarly on Windows. For help on installing Live images, the guide by Kitten, a Null Byte reader, may be of some help, as well as Kali's own documentation.
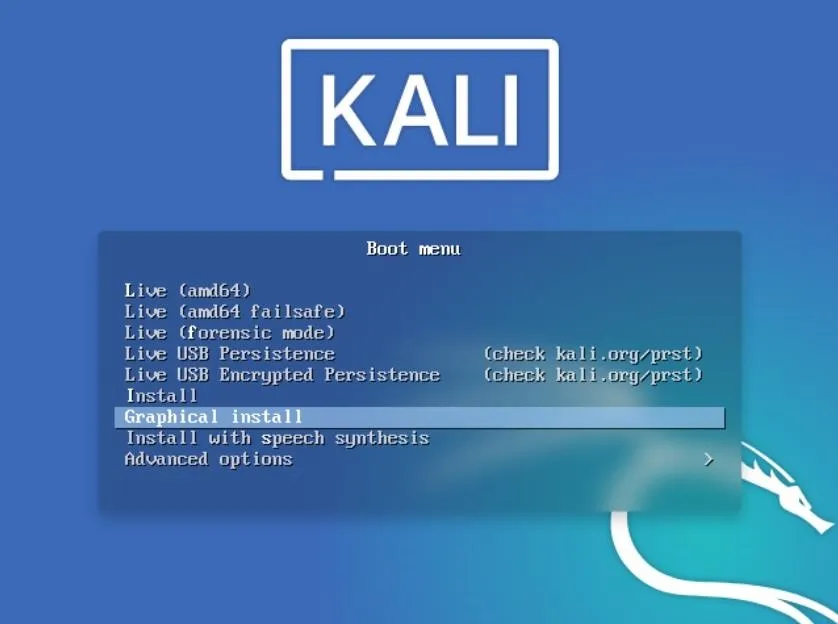
I've downloaded the Kali 2019.4 64-Bit Installer image and burned the ISO to a disk, and that's what I'll be showing off today. After opening the installer, the boot menu offers several options. We'll keep it simple and do the graphical install. A minimum of 20 GB disk space is recommended. But just so you know:
- The "Live (amd64)" option will boot you into Kali directly, but anything saved will save to RAM, not your hard drive, so when you shut down Kali, everything is lost.
- The "Live (amd64 failsafe)" option is the same as above, only if the host computer shuts down suddenly, your device will not be harmed. If you're troubleshooting a buggy computer, it's a good option.
- The "Live (forensic mode)" option is used primarily to recover files, gather evidence, etc. on a host machine. The "the internal hard disk is never touched," and "if there is a swap partition it will not be used and no internal disk will be auto mounted." Also, the auto-mounting of removable media is disabled. You can read more about it on Kali's site.
- The "Live USB Persistence" option is for when you want to install Kali on a USB flash drive, allowing you the chance to inspect the host system without worrying about running or locked processes. Any files saved to your desktop, such as reports, logs, dumps, etc., will save to the thumb drive and will be available the next time you boot Kali. You can read more about it on Kali's site.
- The "Live USB Encrypted Persistence" option is the same as above, only the drive is also encrypted using LUKS encryption. If you're using a Live USB, why not make it secure? You can read more about it on Kali's site.
- The "Install" option is for installing Kali on your internal hard drive, but you'll only get the classic text-mode installer to guide you through the process.
- The "Graphical Install" option gives you the Kali installer with a graphical user interface, which is a little easier to follow along with. This is the one I'm using below.
- The "Install with speech synthesis" option is just like the Install one, only the text on the screen is also read out loud to you. This is useful if you have a hard time seeing what's on the screen.
- The "Advanced options" menu item contains options for the "Hardware Detection Tool" and "Memory Diagnostic Tool," which are useful for diagnostics only.
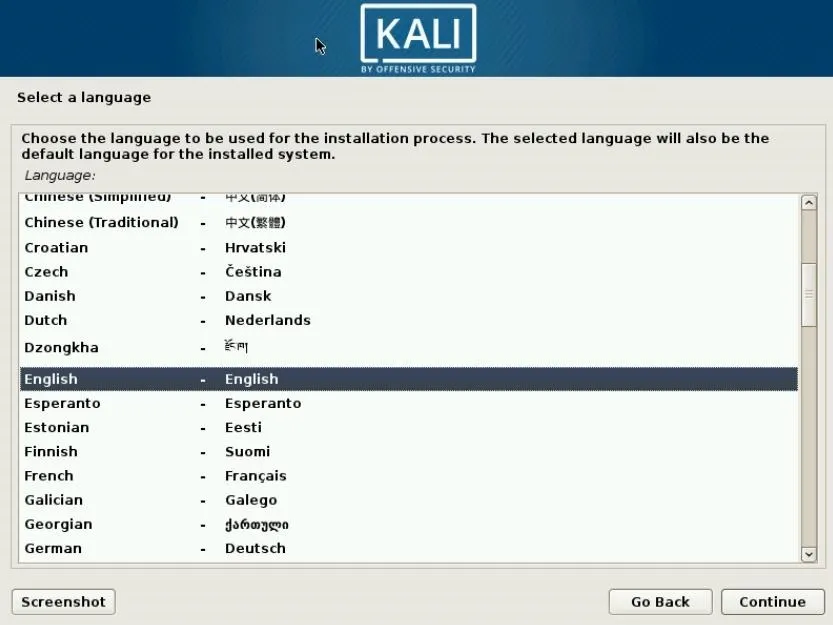
Next, select language and keyboard layout options.
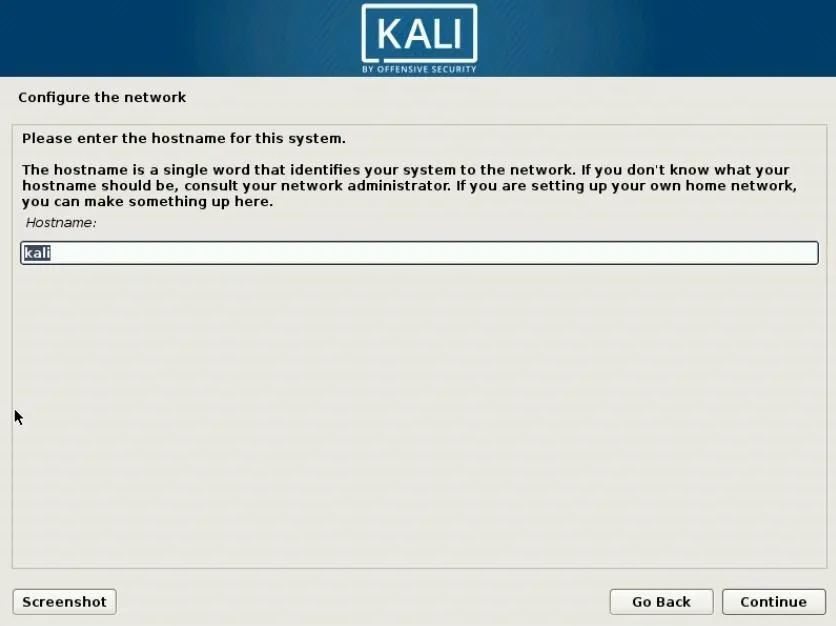
Then, enter a hostname for the system.
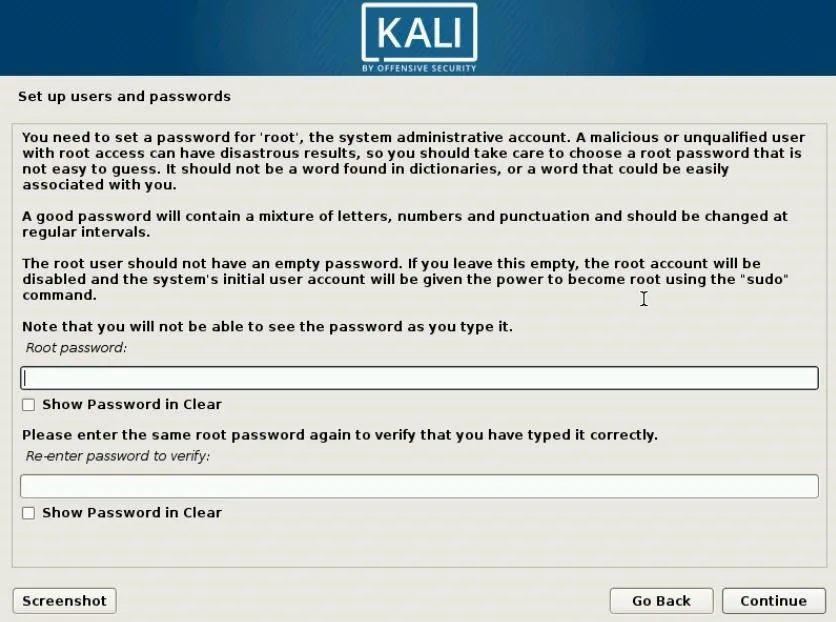
Then, set a password for the root user. Remember, if you're installing 2020.1 or higher, there is no root user by default, only a non-root user, but you can set up a custom password for the user as well.
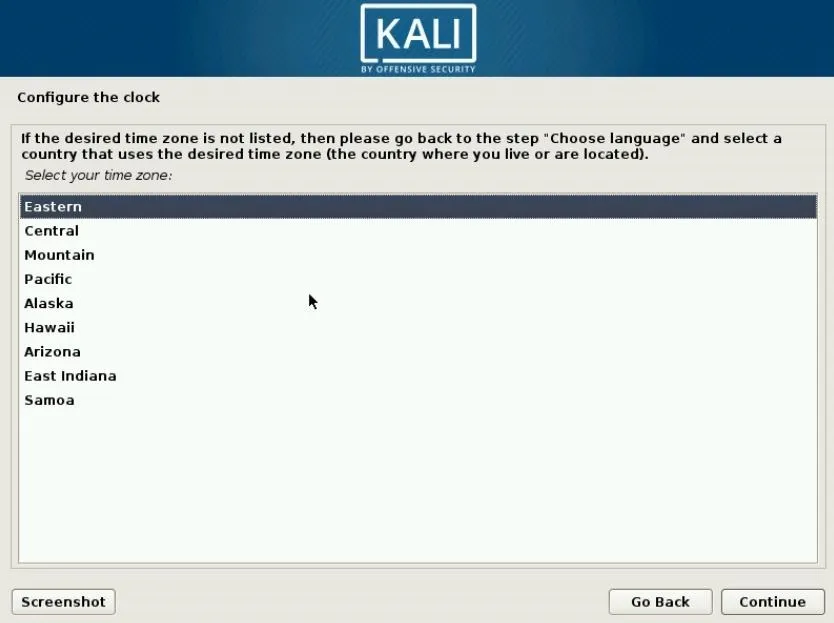
Now, set the desired time zone to configure the clock:
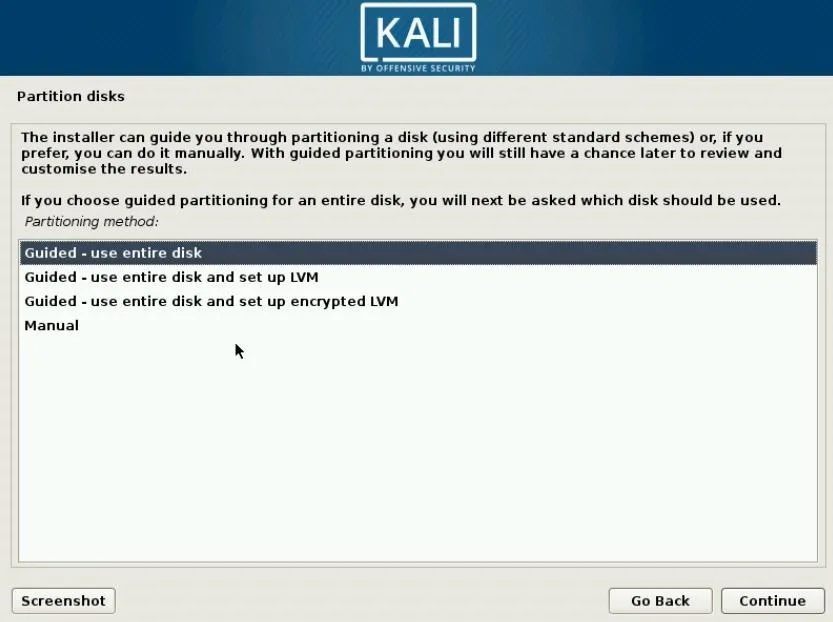
After that, we can begin to partition the disk. We'll keep it simple again and use the "Guided" method. In my case, the "user entire disk" method.
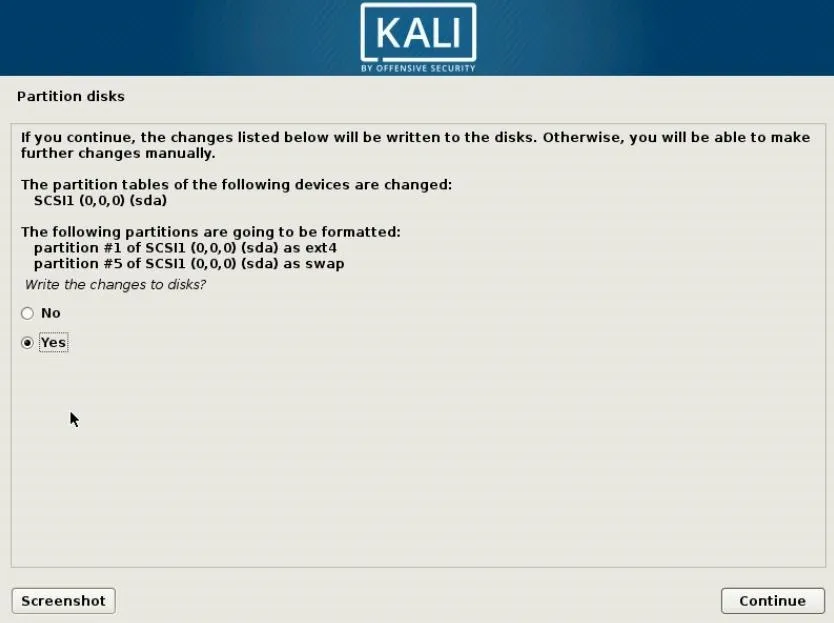
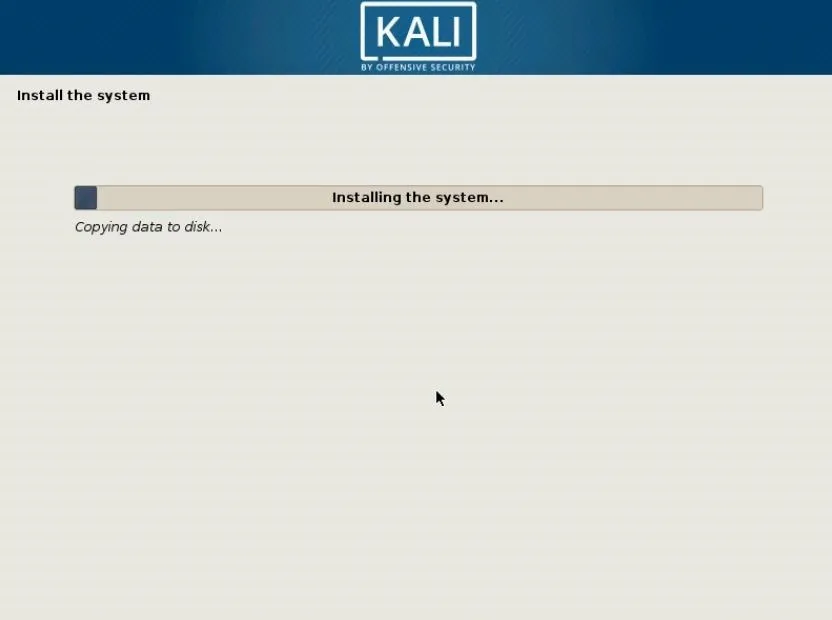
Once everything is configured, the changes will be written to the disk.
And the installation will begin. It may take some time to do so.
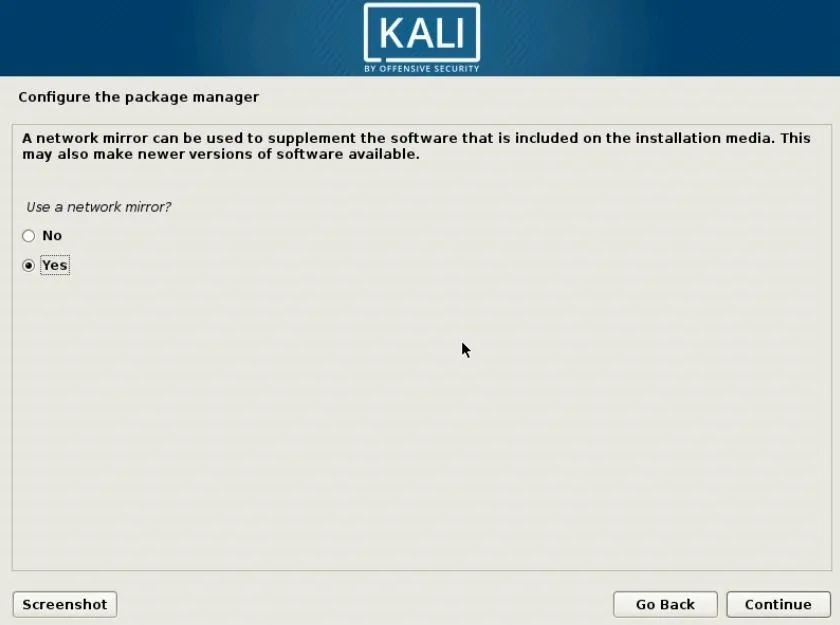
A network mirror can be used to update the software during the installation. If you are connected to a network, it usually makes sense to do so.
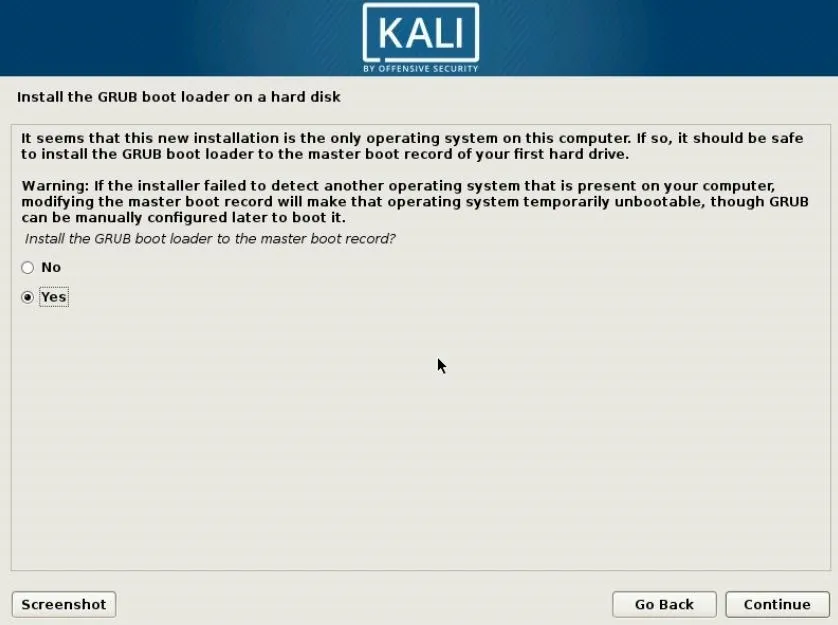
The GRUB bootloader also needs to be installed so the operating system can boot.
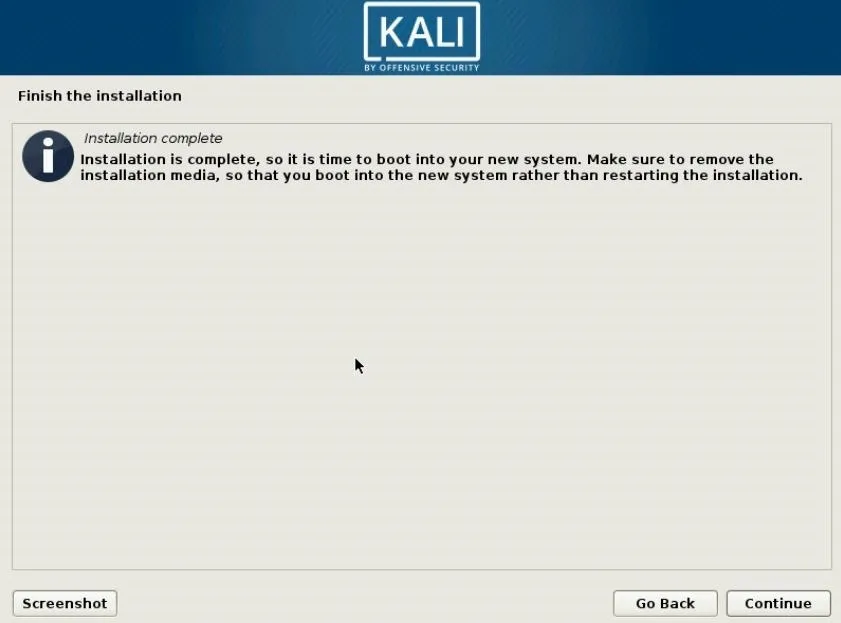
Finally, the installation is complete. Now we can restart the machine and boot into the new system.
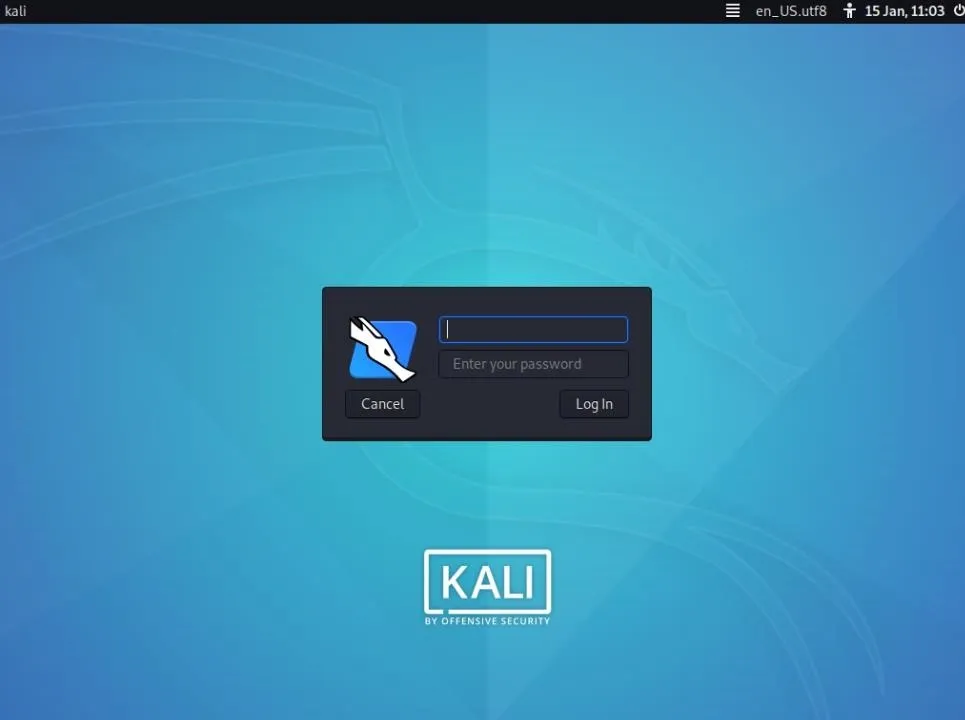
Once Kali boots, we'll be presented with a new login prompt, which looks much different than on Kali version 2019.3 and older. If you installed 2019.4, the credentials would be the hostname you chose and the root password you created, or the non-root user and password you created. For 2020.1 and later, "kali" and "kali" are the default standard user credentials for certain installs like in VirtualBox. (The default root user credentials used to be "root" and "toor.")
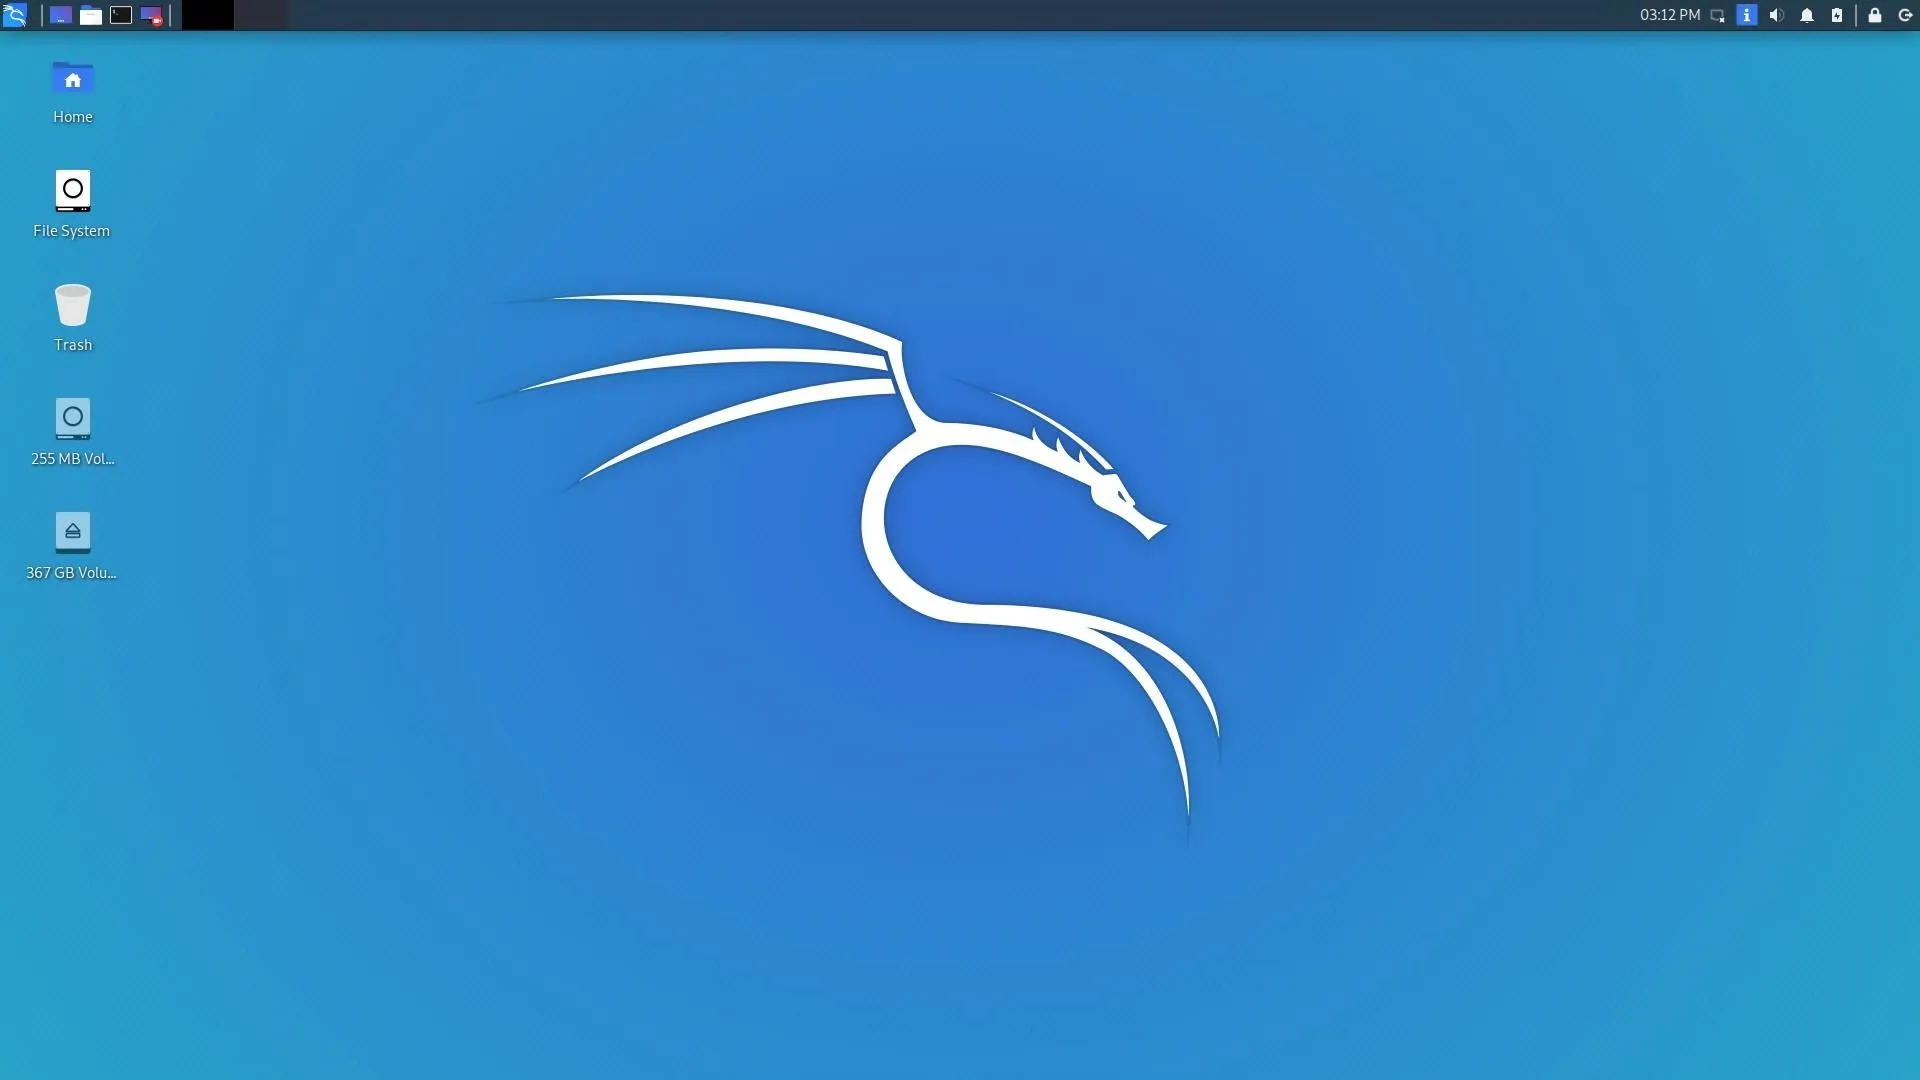
Now we can see the newly redesigned desktop, which uses the Xfce environment.
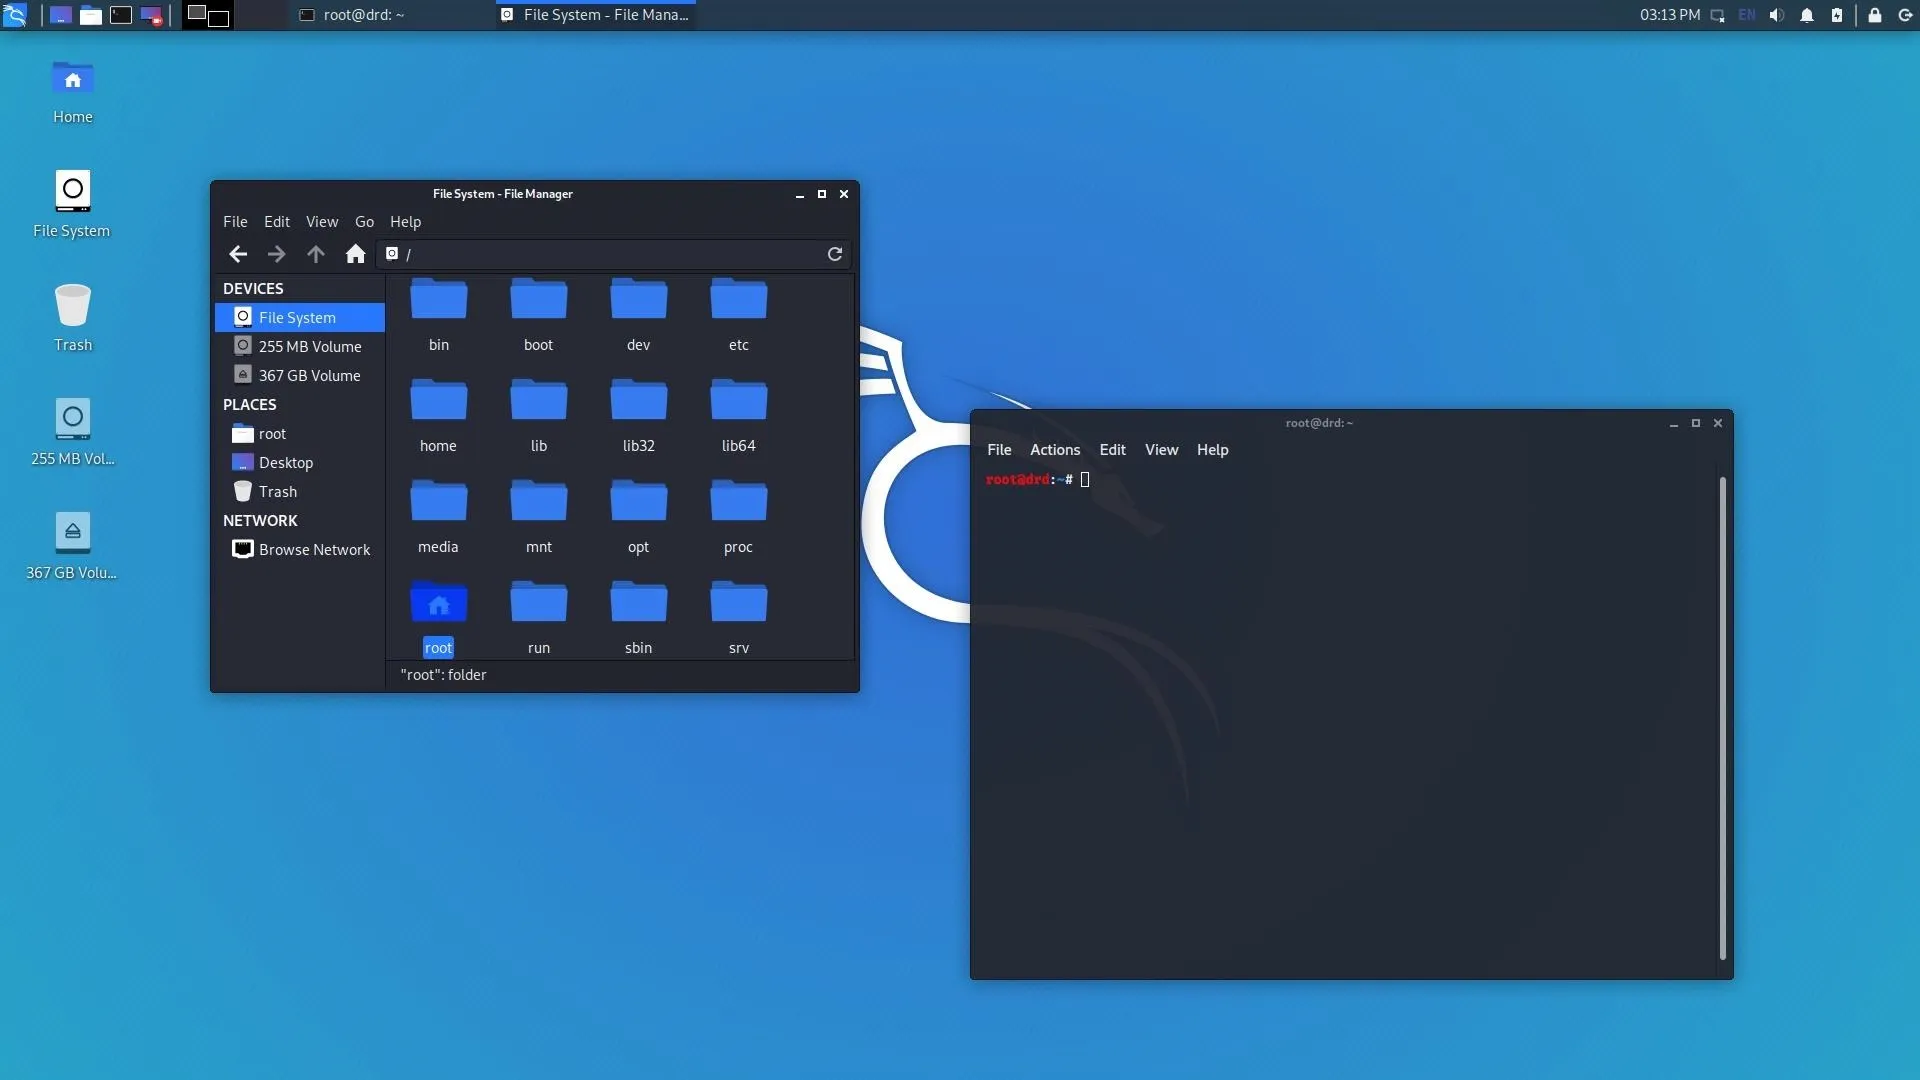
The icons, file system, and terminal all come with new themes. You may want to take some time to find your way around the new environment. Also, there are tools we suggest you install right away on your Kali build, including Git, a terminal multiplexer, Tor, a code editor, and so on.
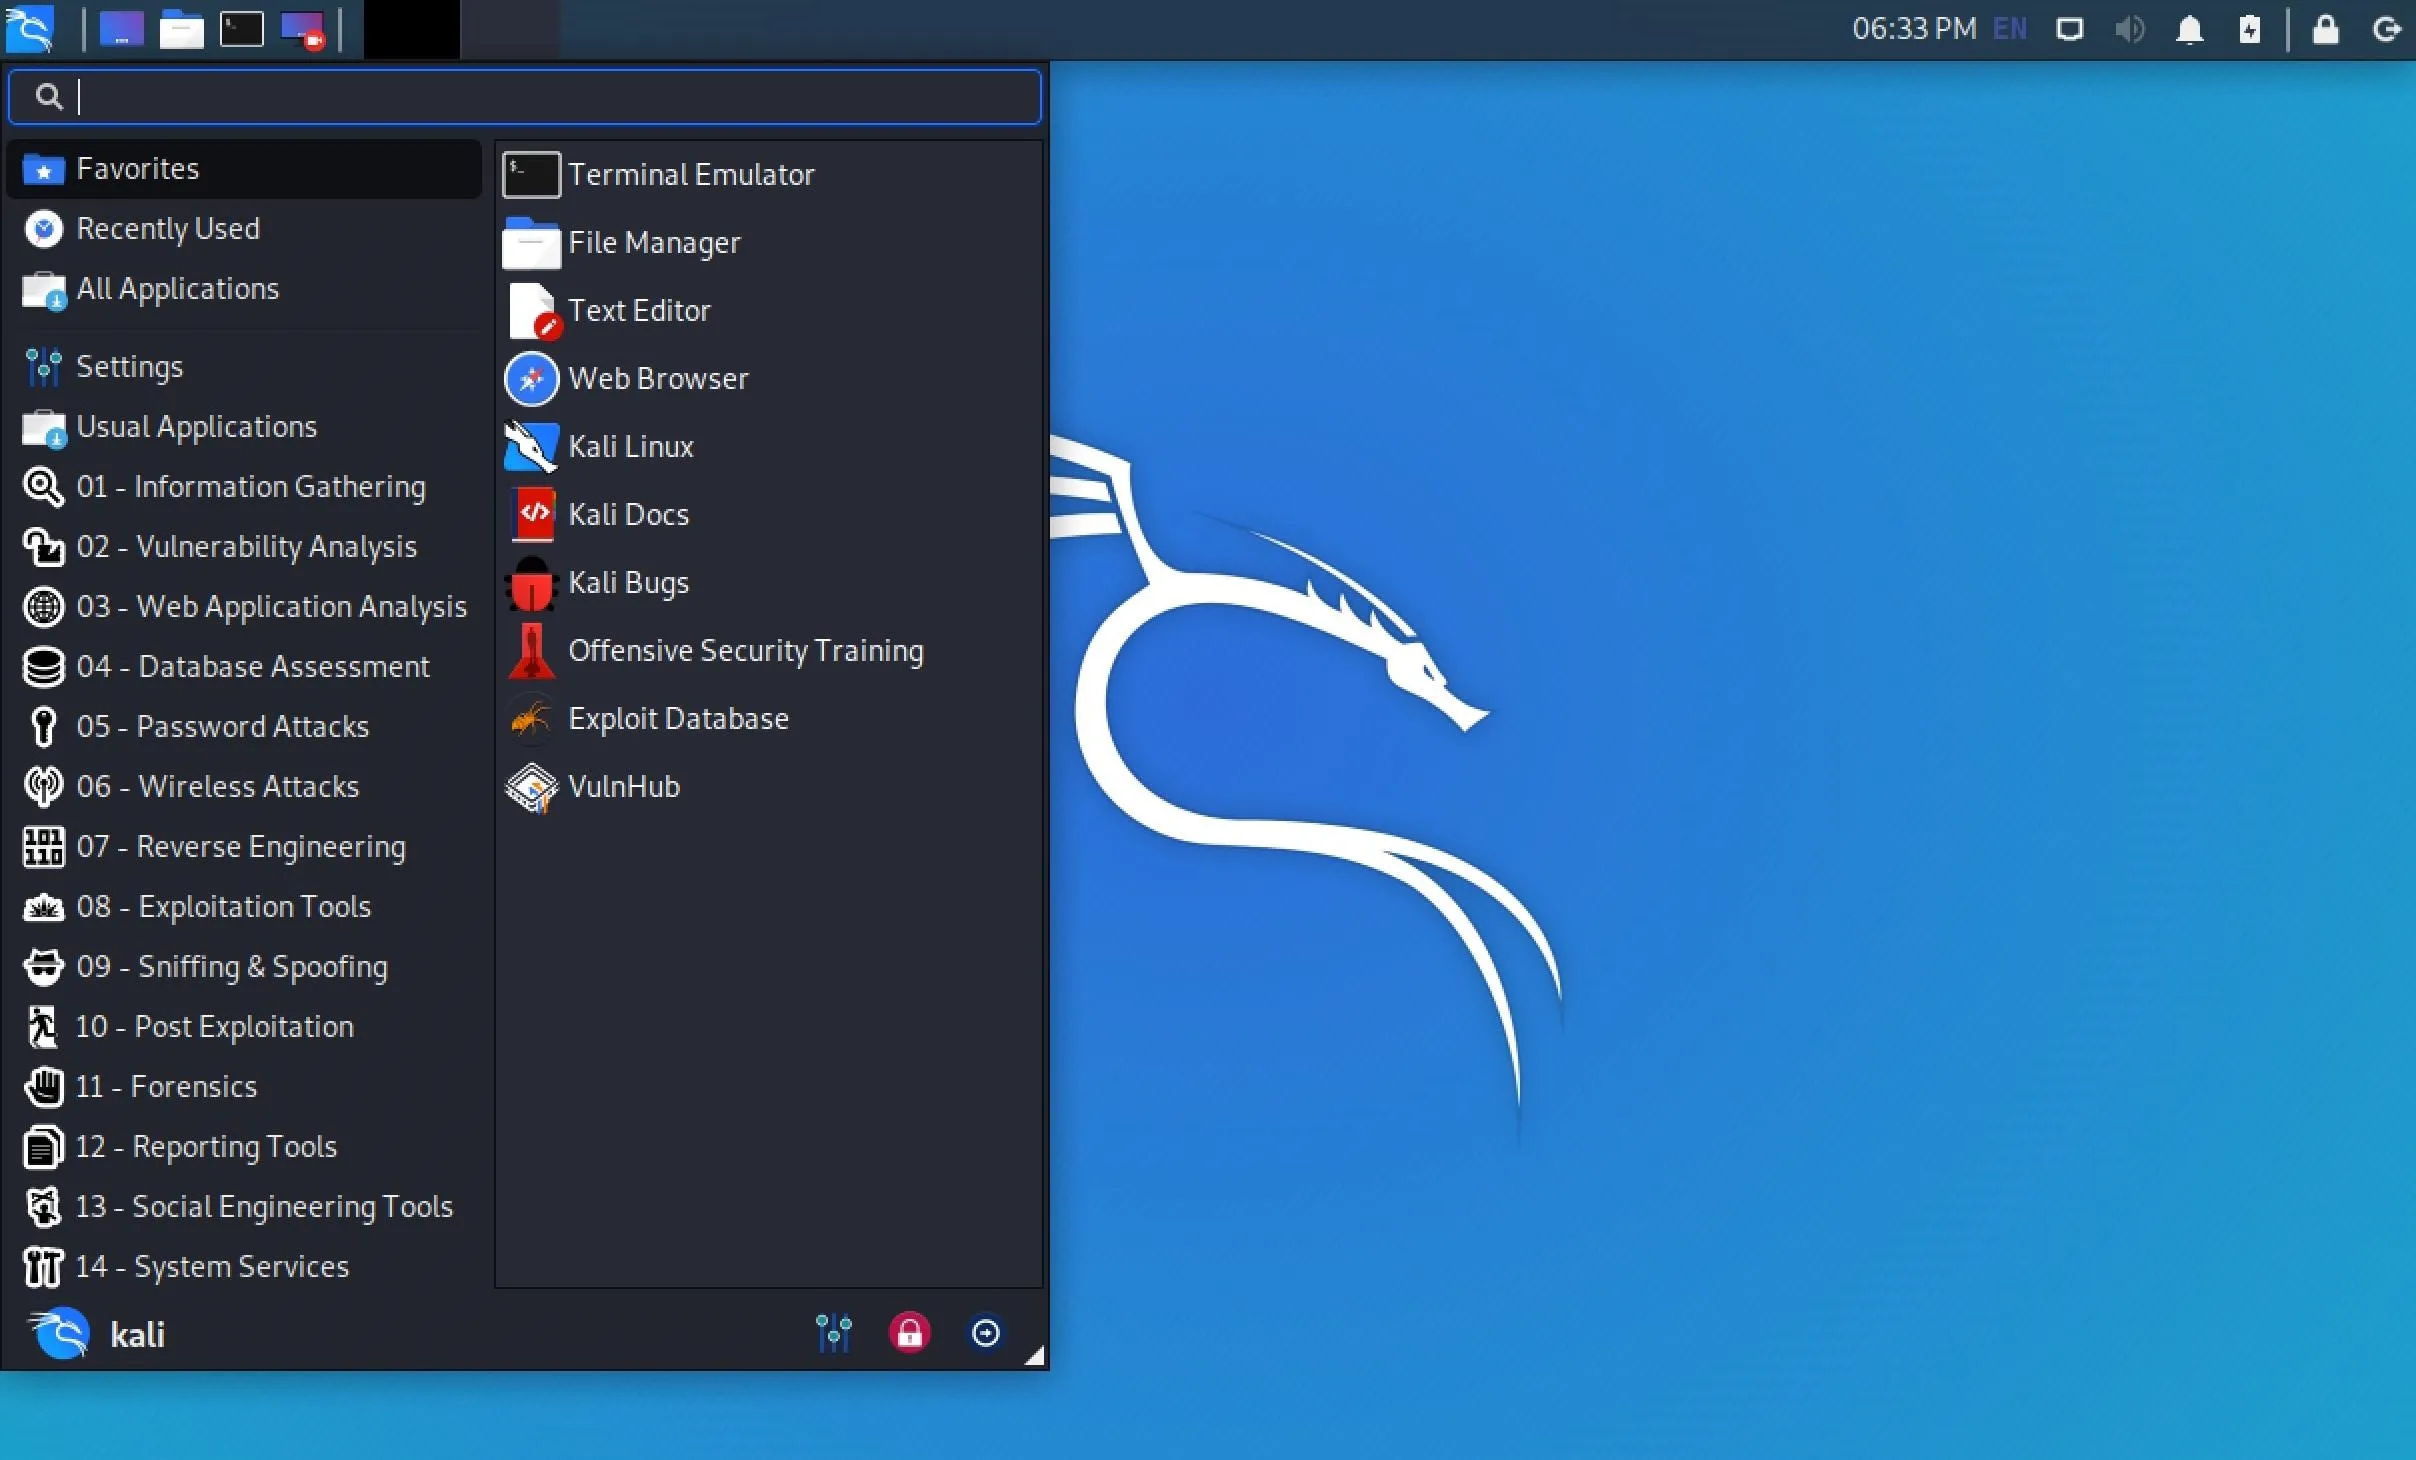
The applications menu in the top left, depicted by the Kali icon, is where all of your tools and settings are housed. Hacking tools are categorized by topics ranging from social engineering to post-exploitation and password attacks. While the graphic user interface menu for applications is nice, you could also start any of these tools from the command-line interface in a terminal window.
How the New Undercover Mode Works
Kali now comes with an undercover mode, designed to look like Windows to the casual viewer. This is handy if you need to look less suspicious, whether in public or during a professional pentest. Simply enter kali-undercover in the terminal to run the script and transform the environment.
Even the menu and file manager are designed to look like Windows.

To change back to the normal desktop environment, just enter the command in the terminal again.
How PowerShell Works in the New Kali
Kali now includes PowerShell, making it easy to work with and execute PowerShell scripts right on the system. It can be installed with the package manager. If you're not a root user, add sudo to the beginning of the command below.
~# apt install powershell

Reading package lists... Done
Building dependency tree
Reading state information... Done

...
To run it, simply enter pwsh in the terminal, and we are dropped into a PowerShell prompt.
~# pwsh

PowerShell 6.2.3
Copyright (c) Microsoft Corporation. All rights reserved.

https://aka.ms/pscore6-docs
Type 'help' to get help.

PS /root>
Docs & Public Packaging
Kali now puts more power into the hands of the community by allowing the public to get more involved. All documentation is now available in markdown in a public Git repository — anyone can contribute through merge requests. There are also plans for all documentation to be included in every image of Kali, making it possible to access offline.
Another change involves how packaging new tools takes place. There is now documentation on how to create new packages to be included with Kali. Once a new tool is packaged up, it can be submitted for approval.
The Default Non-Root User in 2020.1 & Up
If you installed 2020.1 or higher, you had to create an admin user versus a root user. To use Kali at the root level, you can use sudo -s or sudo -i or sudo su to get it in your current shell. You could also create a password for root once you have the root prompt; use passwd root and create the password. Afterward, you can just use su to open root access in your shell.
Alternatively, you can set up password-less permissions when using sudo with the following command.
~$ sudo apt install -y kali-grant-root && sudo dpkg-reconfigure kali-grant-rootOther Features
Kali has a few other new features as well. The kernel had been updated to version 5.3.9 in 2019.4, but it's now currently at 5.5.17 as of May 13, 2020. Another addition is the use of BTRFS (b-tree file system), which allows the ability to roll back changes on a bare metal install, much like the snapshot feature used in a VM.
The 2019.4 version of Kali is also the last release that supports 8 GB SD cards for ARM, so if it's 2020.1 or higher you want, you'll need a 16 GB card. Kali NetHunter gets an update as well. With the new NetHunter Kex, an HDMI output can be connected to an Android device, plus Bluetooth keyboard and mouse. — it essentially creates a full Kali desktop experience straight from your phone.
The 2020.1 build introduced three regular Nethunter versions, one for rooted devices with custom recovery and patched kernel, one for rooted devices with custom recovery and no custom kernel, and one for unrooted devices.
Wrapping Up
In this article, we covered the latest Kali Linux releases, their new features, and walked through the basic installation any newbie could work with. For more advanced installations, for example, if you want to verify the checksum, dual-boot Kali with Windows, Mac, or Linux, encrypt the disk, and so on, check out Kali's official documents.
It's the same old Kali you know and love, but with new looks and better performance. With these exciting new changes, one thing is certain — Kali Linux remains the king of pentesting distros.
Cover image and screenshots by drd_/Null Byte


Comments
Be the first, drop a comment!