


Withstanding an attack from a motivated hacker is one of the most important responsibilities a system administrator must undertake. This is especially true for websites that may contain sensitive customer information and a high volume of users. So it's important for a sysadmin to take proactive measures to find and fix vulnerabilities in their websites.
One tool that can help with this is Vega Vulnerability Scanner, a free, open-source, graphical web-auditing tool developed by the security company Subgraph. This tool contains several interesting features, such as a proxy scanner, but we'll be focusing on the automated security testing aspect that can help us find and validate SQL injection, cross-site scripting (XSS), inadvertently disclosed sensitive information, and many other vulnerabilities.
There are similar web application scanners to Vega. Portswigger's Burp Suite Scanner and Netsparker's Security Scanner both ofter premium vulnerability scanners, but Vega's scanner can perform many of the same tasks at no cost. Vega's scanner makes finding and understanding the severity of web application vulnerabilities simple by clearly and concisely displaying useful resources with every scan.
Install Vega
The Vega Vulnerability Scanner used to come preinstalled on older versions of Kali Linux, but if you're on a newer OS version, you'll likely need to install it. But there's a way to check real quick. First, make sure your packages are all up to date with:
~$ sudo apt update && sudo apt upgrade

Hit:1 http://kali.download/kali kali-rolling InRelease
Reading package lists... Done
Building dependency tree
Reading state information... Done
7 packages can be upgraded. Run 'apt list --upgradable' to see them.
Reading package lists... Done
Building dependency tree
Reading state information... Done
Calculating upgrade... Done
The following package was automatically installed and is no longer required:
  libexo-1-0
Use 'sudo apt autoremove' to remove it.
The following packages have been kept back:
  crackmapexec libpython2-stdlib php-common python2 python2-minimal
  python3-pandas python3-pandas-lib
0 upgraded, 0 newly installed, 0 to remove and 7 not upgraded.
Now, check to see if you have Vega installed already with:
~$ sudo install vegaIf you get an error, there are a few steps you can take to try and remedy it (see the comments on a previous version of this article), but it's easier to use the following process to prevent any hiccups.
To install Vega, you'll need to download the Vega file and unzip it. But first, to make sure you don't get any further errors, configure dpkg. Then, we need to install some dependencies and tools. Vega needs WebKit 1.0, or it won't install; Java is also needed; and unzip will unzip the Vega file that'll be downloaded.
~$ sudo dpkg --configure -a
~$ sudo apt install libwebkitgtk-1.0-0 default-jdk unzip

Reading package lists... Done
Building dependency tree
Reading state information... Done
default-jdk is already the newest version (2:1.11-72).
unzip is already the newest version (6.0-25).
libwebkitgtk-1.0-0 is already the newest version (2.4.11-3).
0 upgraded, 0 newly installed, 0 to remove and 34 not upgraded.
If you get an error installing libwebkitgtk-1.0-0, try adding the following line to your /etc/apt/sources.list file with nano or another editor, then try installing libwebkitgtk-1.0-0 again after a quick sudo apt update.
deb http://cz.archive.ubuntu.com/ubuntu bionic main universeNow, if everything installed correctly, head to Subgraph's website, the maker of Vega, to get the download link for the correct version of Vega that you need. Don't download it here — copy the link. If you need the 64-bit Linux version, you can use the link in the next command below.
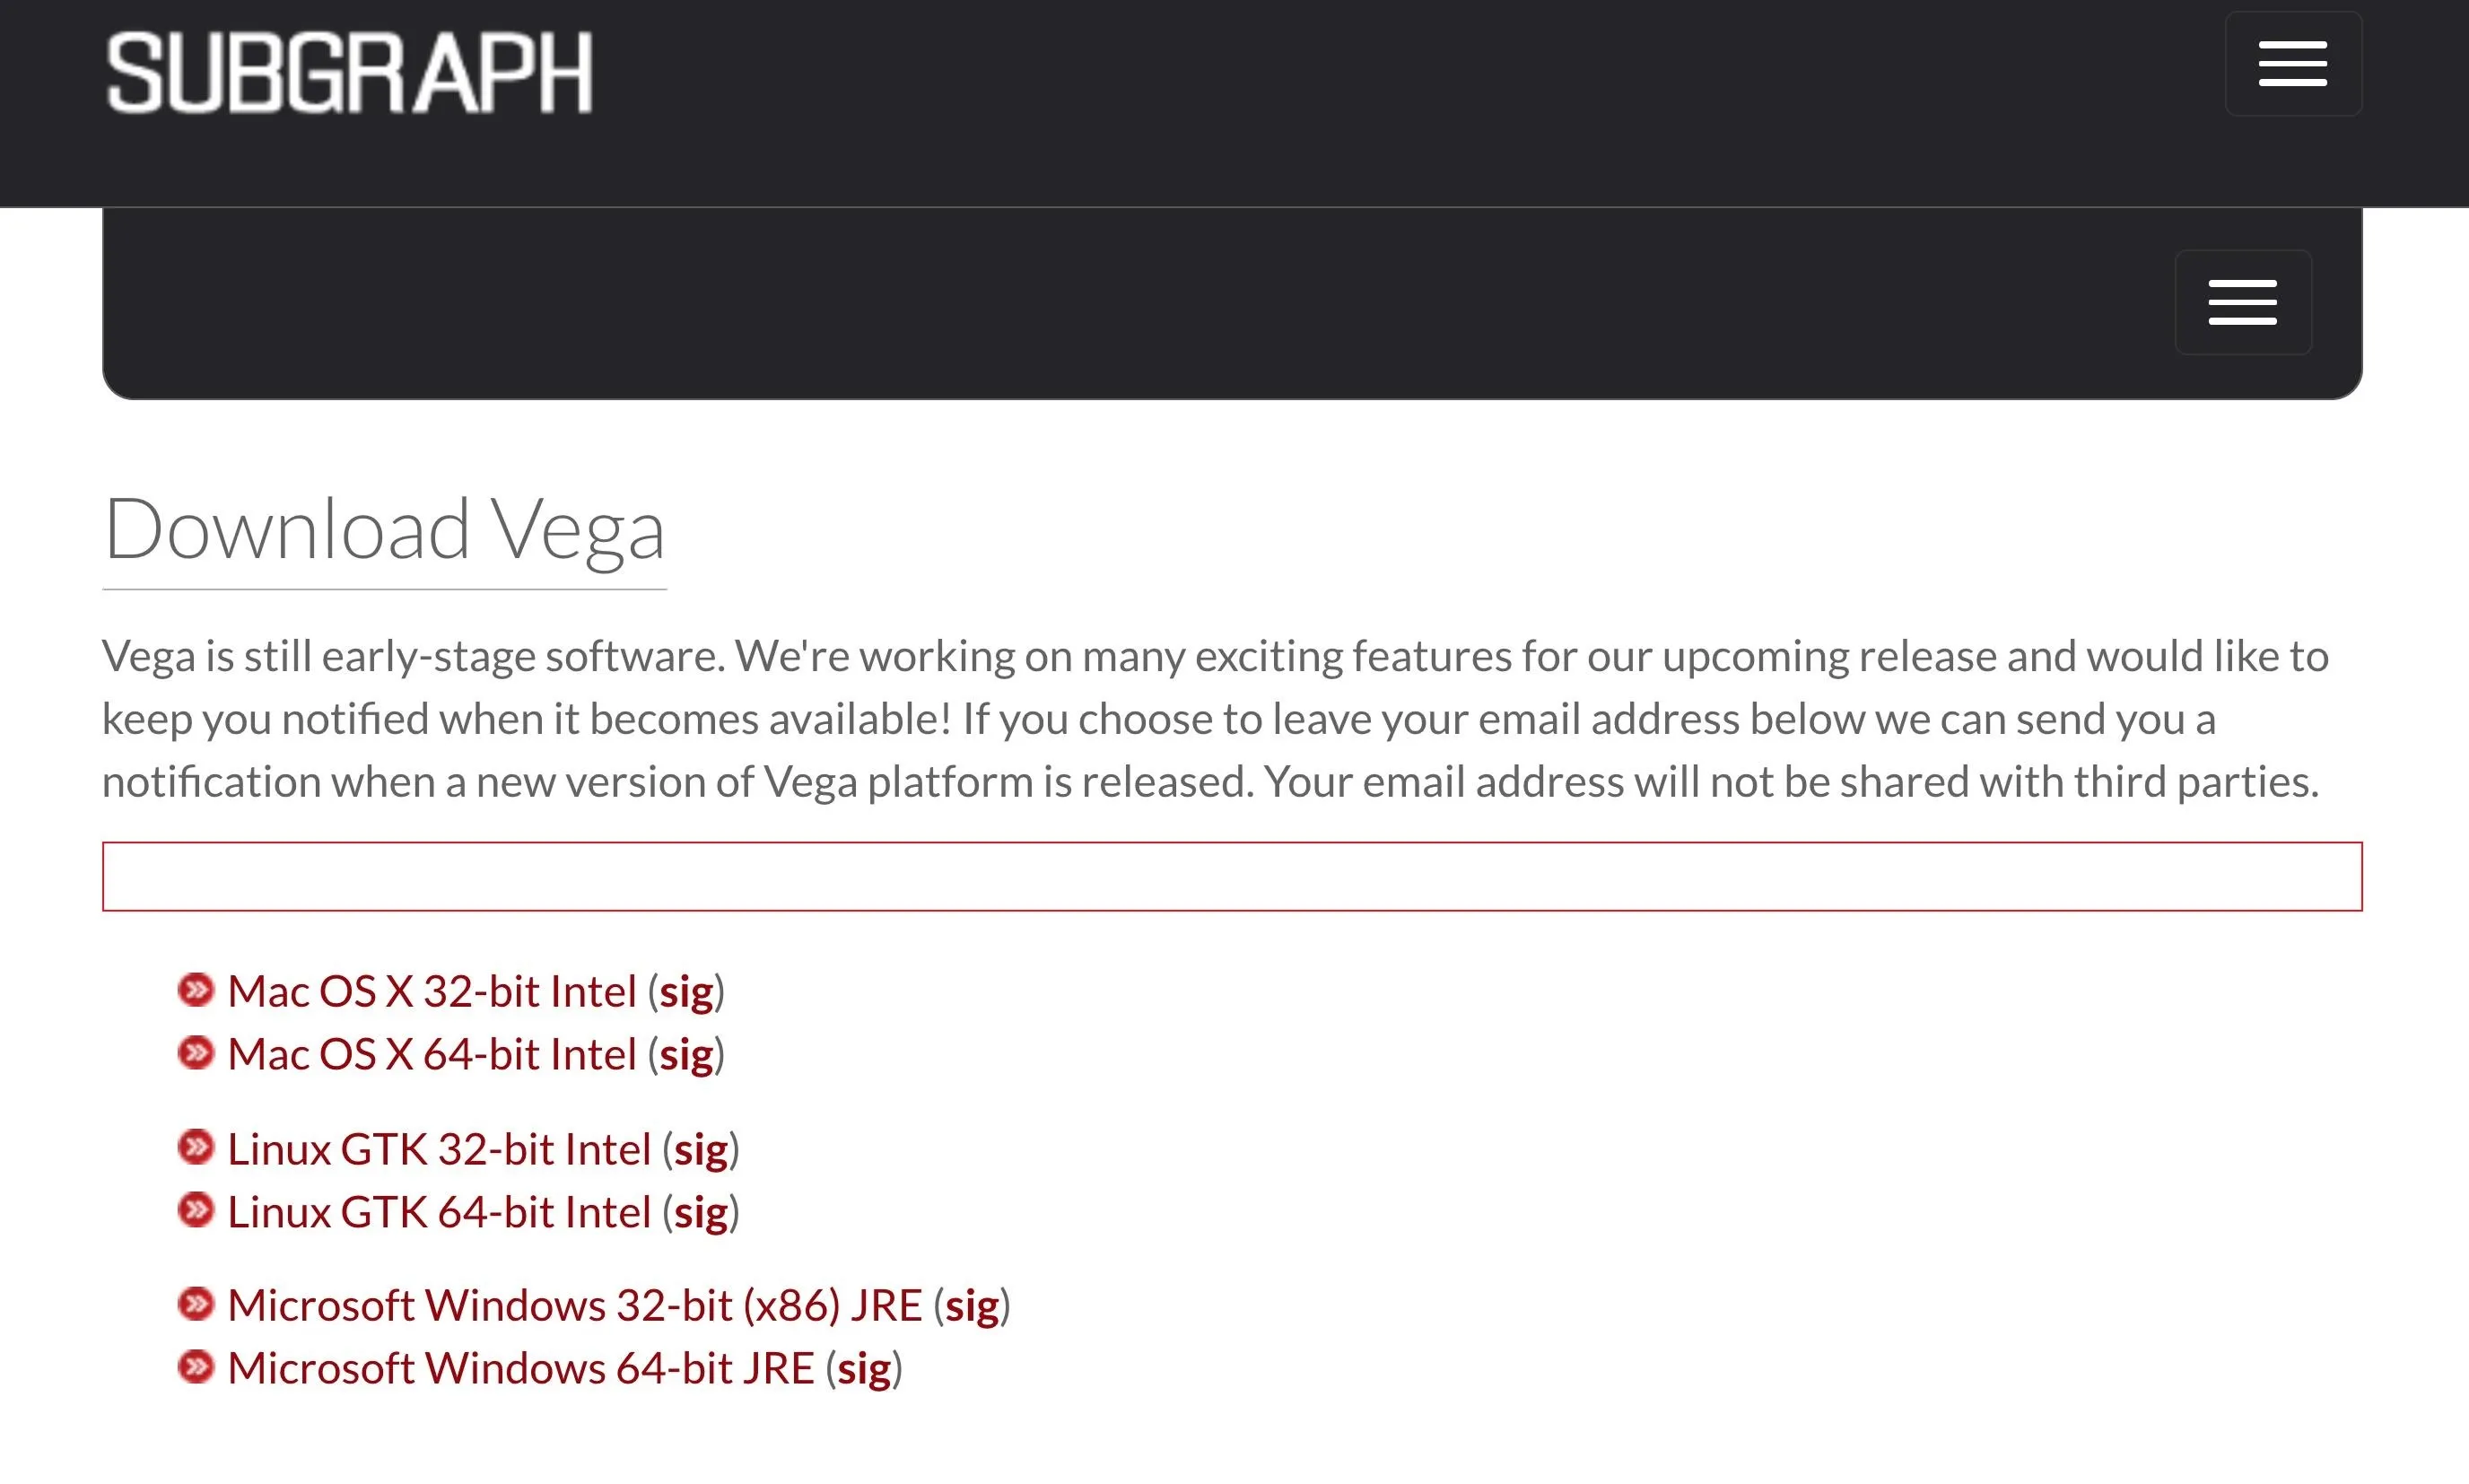
Now, use wget to install the zip file on your system. You can first cd into the folder that you want the download to be saved if you want.
~$ wget https://support.subgraph.com/downloads/VegaBuild-linux.gtk.x86_64.zip

--2020-11-25 11:20:33--  https://support.subgraph.com/downloads/VegaBuild-linux.gtk.x86_64.zip
Resolving support.subgraph.com (support.subgraph.com)... 185.26.124.87
Connecting to support.subgraph.com (support.subgraph.com)|185.26.124.87|:443... connected.
HTTP request sent, awaiting response... 200 OK
Length: 28680291 (27M) [application/zip]
Saving to: ‘VegaBuild-linux.gtk.x86_64.zip’

VegaBuild-linux.gt 100%[===============>]  27.35M  8.93MB/s    in 3.1s

2020-11-25 11:20:37 (8.93 MB/s) - ‘VegaBuild-linux.gtk.x86_64.zip’ saved [28680291/28680291]
Then, to see what the zip file is called, do a listing with ls to copy the file's name.
~$ ls

'>'
 CHANGELOG.md
 DeadManSwitch
 Desktop
 Documents
 Downloads
'e-ng(8)'
 ExtAnalysis
 ffuf
 ffuf_1.1.0_linux_amd64.tar.gz
 LICENSE
'manual page was written by David Francos Cuartero. Permis‐'
 Music
 Pictures
 Public
 pycharm-community-2020.2.3
 pycharm-community-2020.2.3.tar.gz
 PycharmProjects
 README.md
 sparrow-wifi
 spiderfoot
 Templates
 VegaBuild-linux.gtk.x86_64.zip
 Videos
Then unarchive it with the unzip utility we installed.
~$ unzip  VegaBuild-linux.gtk.x86_64.zip

Archive:  VegaBuild-linux.gtk.x86_64.zip
   creating: vega/
   creating: vega/plugins/
  inflating: vega/plugins/com.google.guava_14.0.1.jar
  inflating: vega/plugins/org.jsoup_1.7.3.SNAPSHOT.jar

[...]

  inflating: vega/xml/alerts/vpii-cc.xml
  inflating: vega/xml/alerts/vpii-ssnsin-sin.xml
  inflating: vega/xml/alerts/vpii-ssnsin-ssn.xml
  inflating: vega/xml/alerts/vvcs-users.xml
  inflating: vega/xml/alerts/xs-script-include.xml
And that's it for installing Vega on your Kali or other Linux system. However, for Vega to open successfully later, you may need to switch what version of Java you're using. If you think you're already running Java 8 in manual mode, you don't need to do this. If you're not sure, use this to switch to Java 8 in manual mode since newer Java versions won't work with Vega:
~$ sudo update-alternatives --config java

There are 2 choices for the alternative java (providing /usr/bin/java).

  Selection    Path                                            Priority   Status
------------------------------------------------------------
* 0            /usr/lib/jvm/java-11-openjdk-amd64/bin/java      1111      auto mode
  1            /usr/lib/jvm/java-11-openjdk-amd64/bin/java      1111      manual mode
  2            /usr/lib/jvm/java-8-openjdk-amd64/jre/bin/java   1081      manual mode

Press <enter> to keep the current choice[*], or type selection number: 2
update-alternatives: using /usr/lib/jvm/java-8-openjdk-amd64/jre/bin/java to provide /usr/bin/java (java) in manual mode
Start Vega
In previous versions of Kali that had Vega preinstalled, you could go to Applications –> Web Application Analysis —> Vega. But now, cd into the Vega folder, then do an ls of it.
~$ cd vega
~/vega$ ls

about_files    features         plugins    Vega      xml
about.html     icon.xpm         scripts    Vega.ini
configuration  libcairo-swt.so  templates  Vega.png
The tool we need in there to start Vega is "Vega," so start it with:
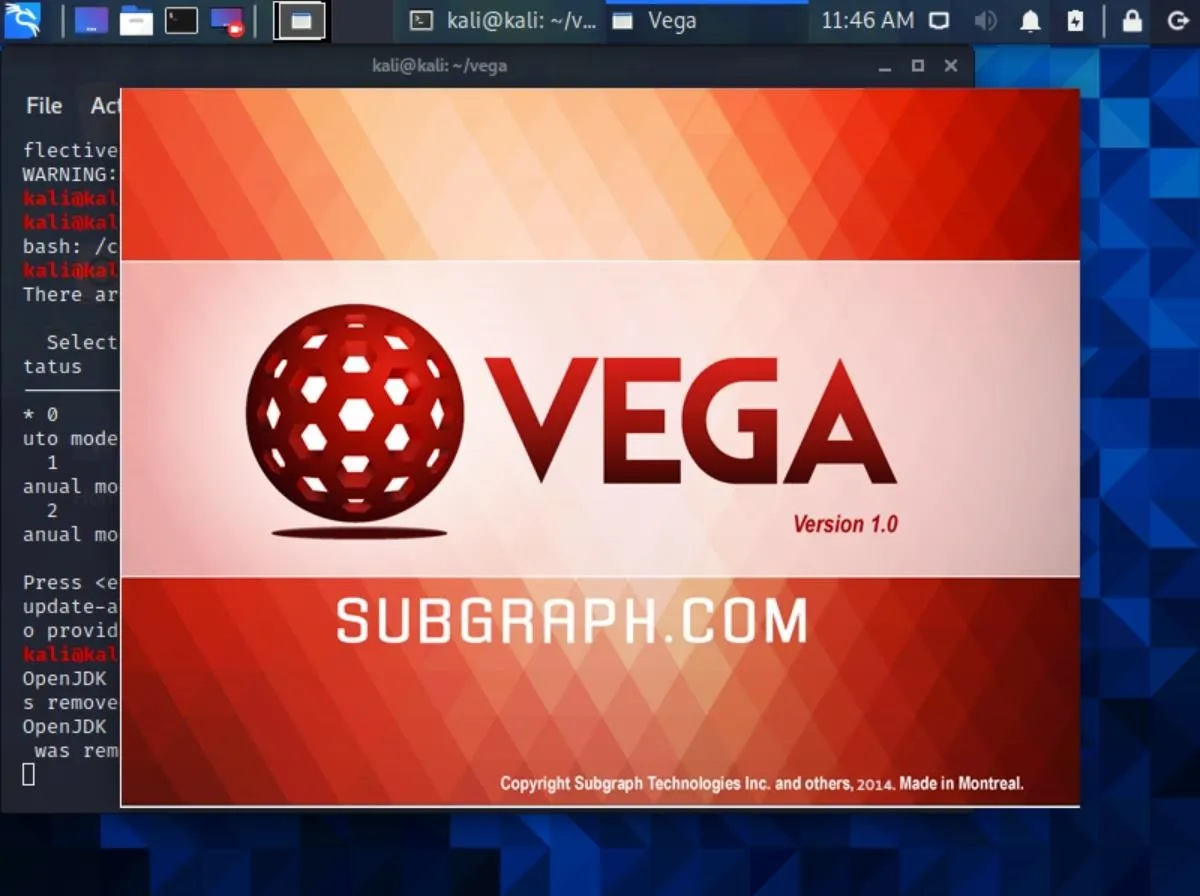
~/vega$ sudo ./VegaIf it worked, great, you should see Vega's start screen before Vega opens all the way. If it didn't, make sure you're using the right Java version as described in Step 1.
Configure Vega
After starting an application for the first time, I like to view the available preferences and options. In the top-left corner, click on the "Window" menu, then view the "Preferences," which I'll walk you through in the next two sections.
Proxy Vega HTTP Requests (Optional)
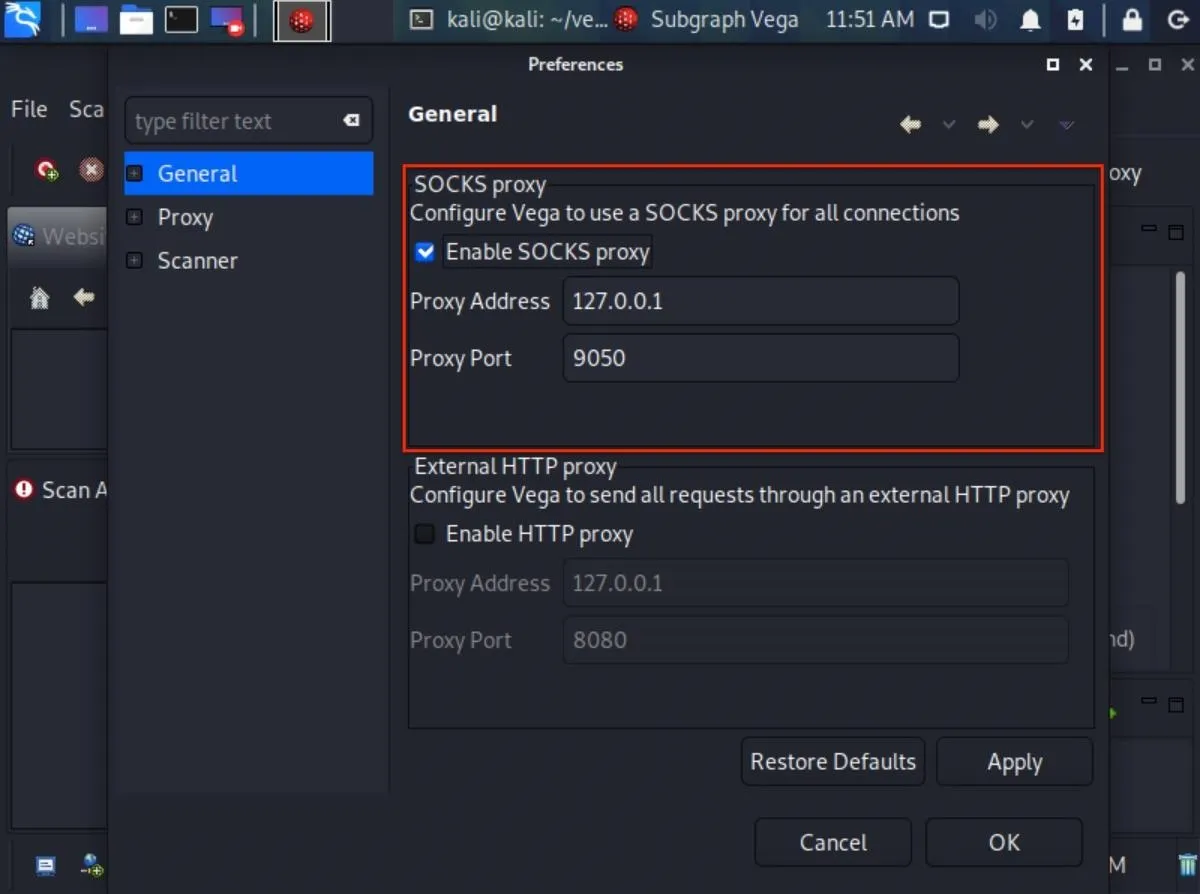
If you prefer to anonymize your Vega scans and proxy all connections, check the "Enable SOCKS proxy" option under "General," and enter a proxy address and port. If you're using Tor, enter the default Tor address and port (127.0.0.1:9050), which should be auto-populated already. This will help conceal the origin of your scans. Otherwise, if you're using a free or premium proxy service, choose the address and port you prefer.
- Don't Miss: Fully Anonymize Kali with Tor, Whonix & PIA VPN
Use Tor's User-Agent (Optional)
If you decide to proxy Vega scans over Tor, you may also consider changing Vega's user-agent to the Tor Browser user-agent. This will help you access some (but not all) websites that block Tor HTTP requests.
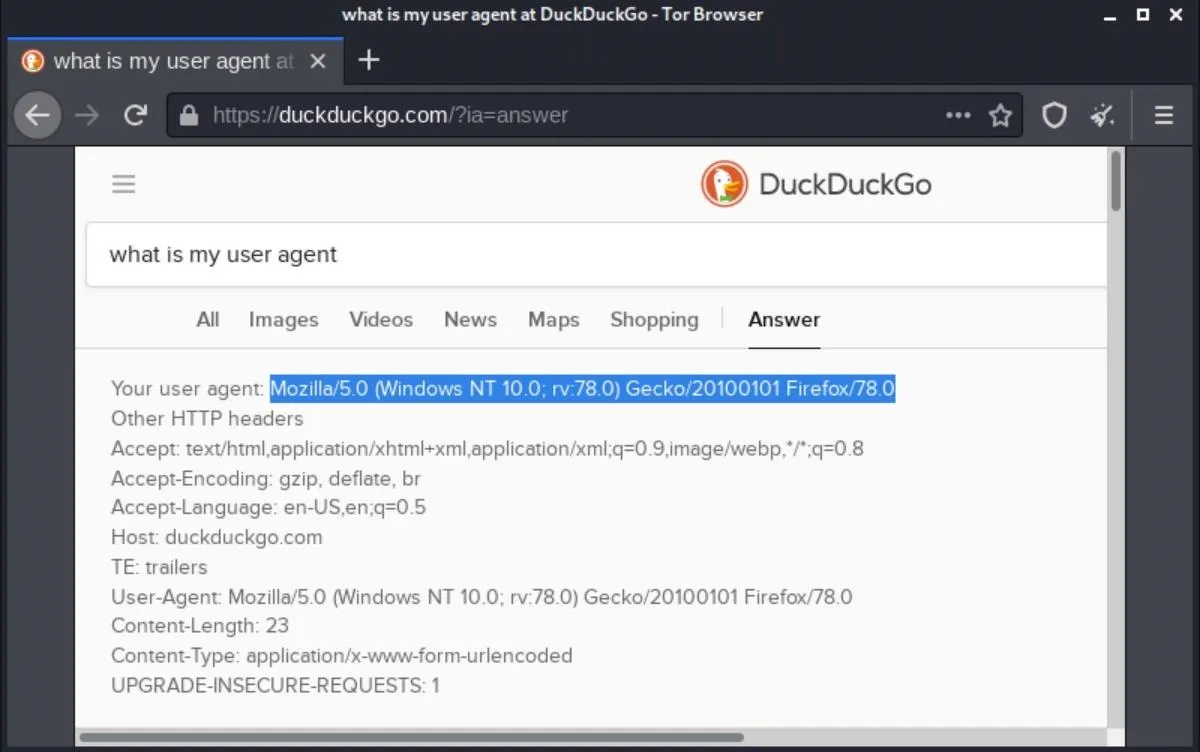
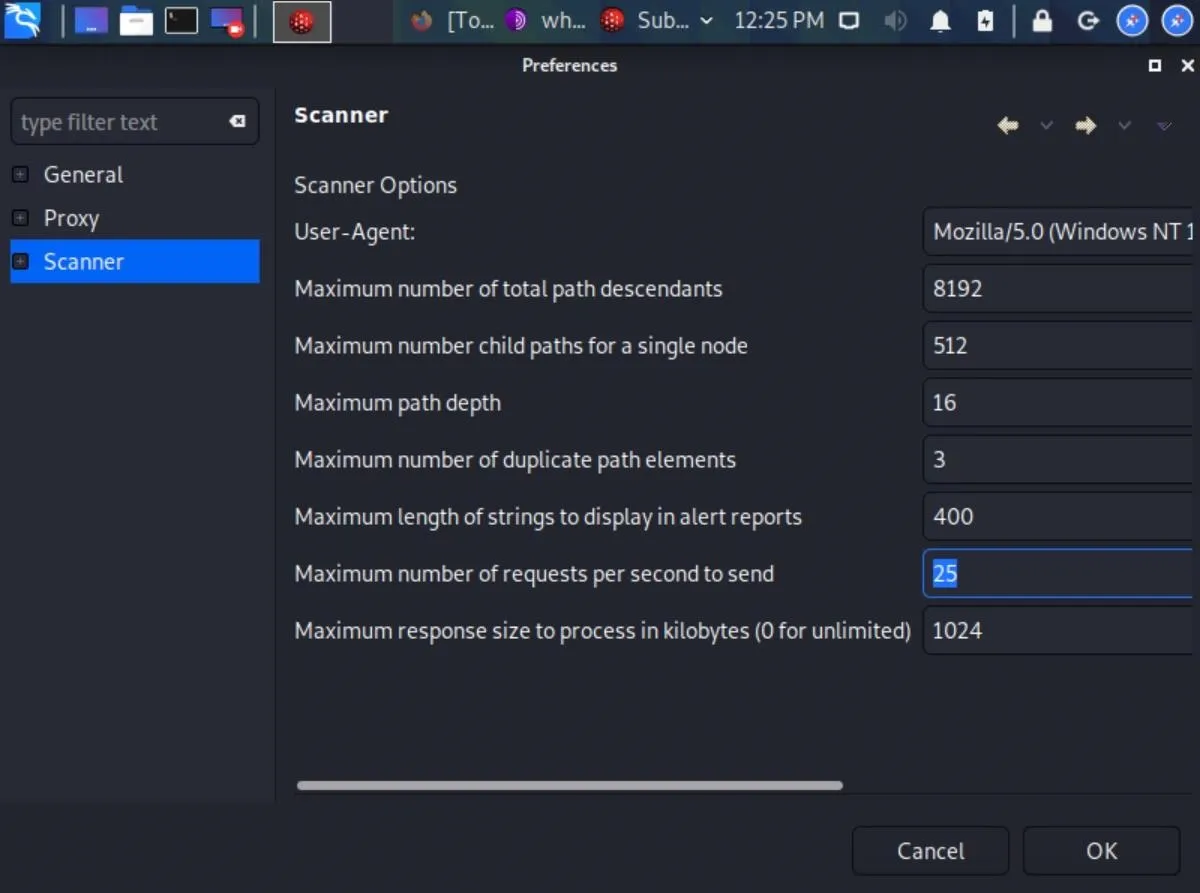
To modify the Vega user-agent, click on the "Scanner" category and enter the Tor Browser user-agent next to "User-Agent." Then click "Apply" and "OK" to save the changes. Below is the current Tor Browser user-agent as of November 2020.
Mozilla/5.0 (Windows NT 10.0; rv:78.0) Gecko/20100101 Firefox/78.0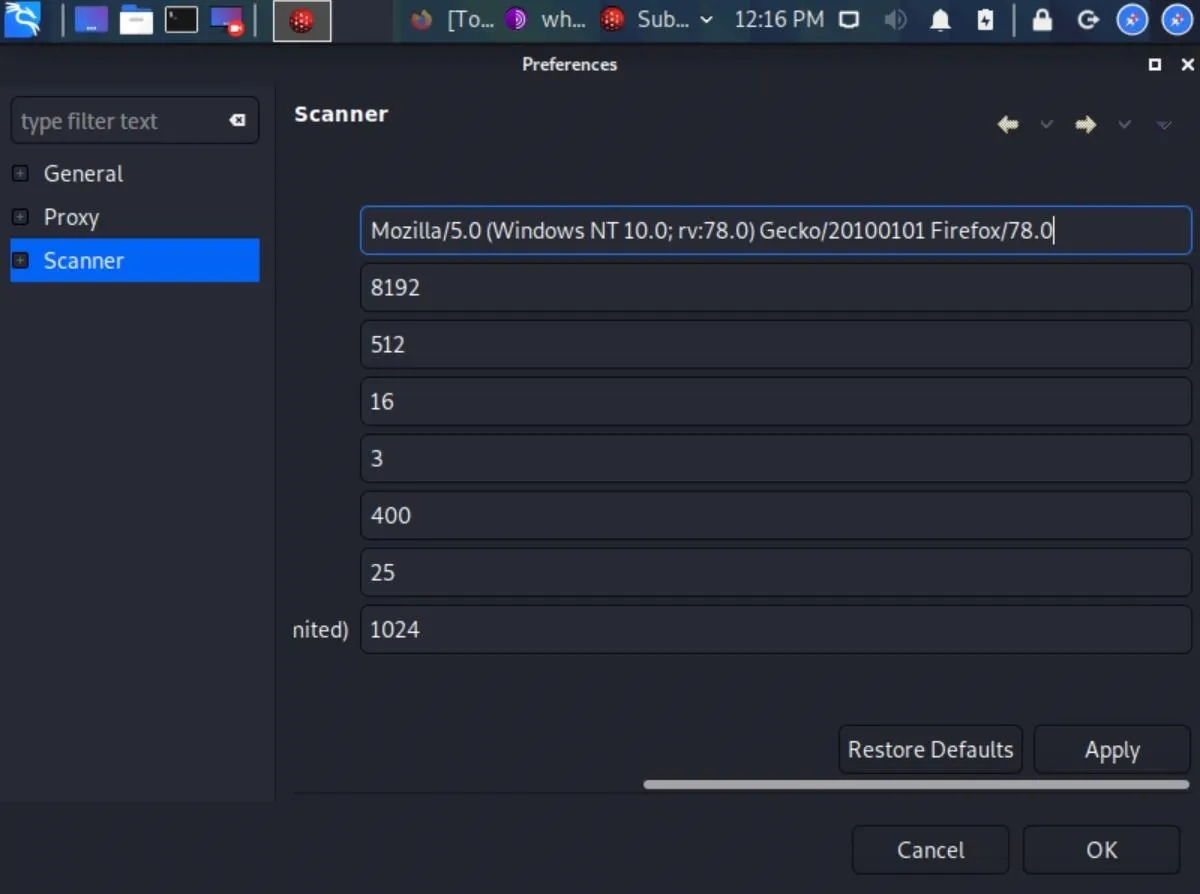
The Tor Browser user-agent will change with every major Tor Browser update. To find the latest user-agent, you used to be able to go to about:config in the Tor Browser and double-click on general.useragent.override. But that option has been gone since Firefox 71. Instead, open a Tor tab, and ask "What's my user agent" in the search bar, and it should tell you if you're using DuckDuckGo.
Moderate HTTP Requests (Optional)
Another thing in the "Scanner" menu you may want to modify is the "Maximum number of requests per second to send" option. By default, the software is set to 25 requests per second.
Depending on the scenario, this might be too many or too few requests per second. Assuming you have permission to scan a website with Vega, ten requests per second is probably a good place to start. With sites you own, 100 requests per second might be more appropriate. It's entirely up to you.
You won't notice much increase in processing power using more requests per second, so it's safe to set that number to something high. Don't worry; Vega isn't a DDoS tool. Your internet bandwidth and the bandwidth of the website will automatically throttle the requests.
That's about it for Vega's preferences. The Listener settings in "Proxy" are preferences unrelated to the scanner. The "Debug" preferences in the Scanner section are there for Vega developers.
Scan a Website with Vega
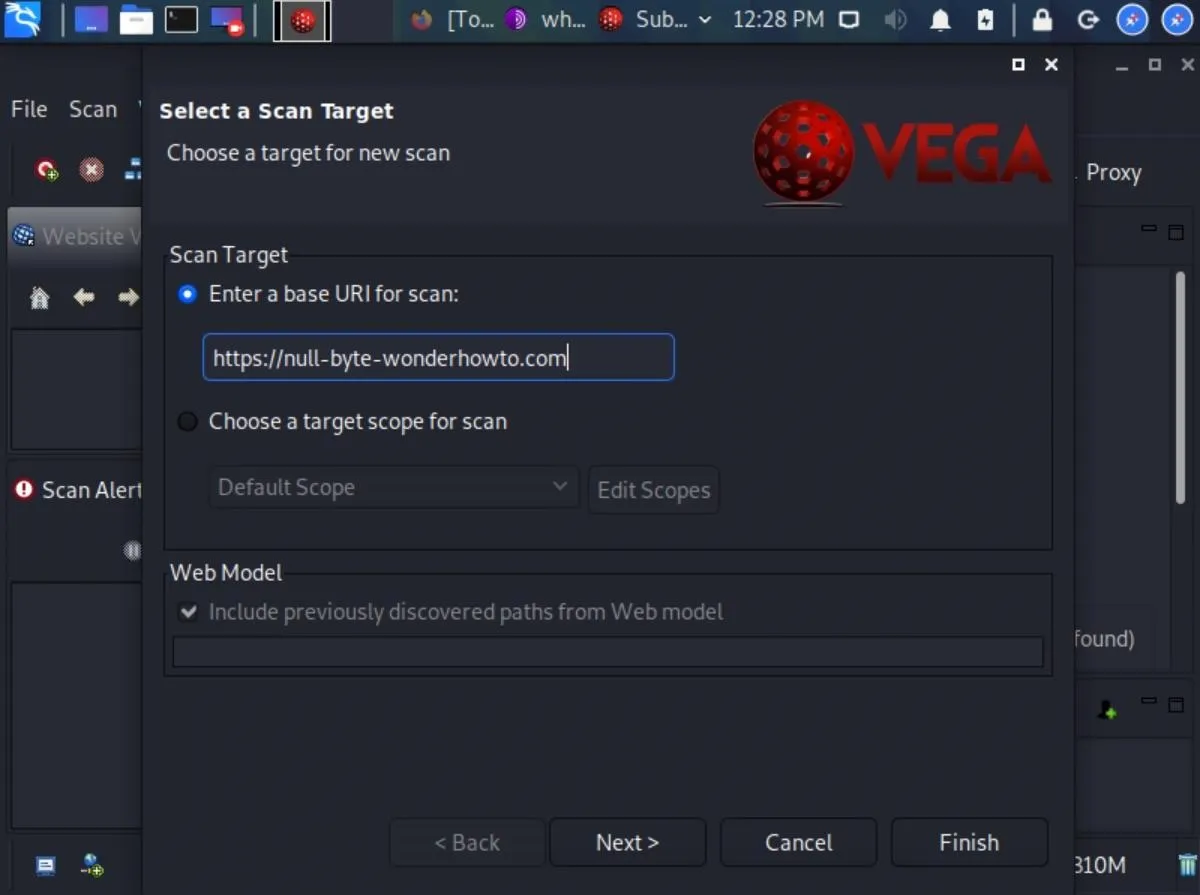
Now that we have Vega installed and configured, we're now ready to start scanning a website. To start scanning, use the Control-N shortcut, click the Start New Scan icon in the top left, or click on "Scan" in the menu bar and choose "Start New Scan." Vega will prompt us with the Select a Scan Target window. Enter your target URL into the box under "Scan Target," then hit "Next."
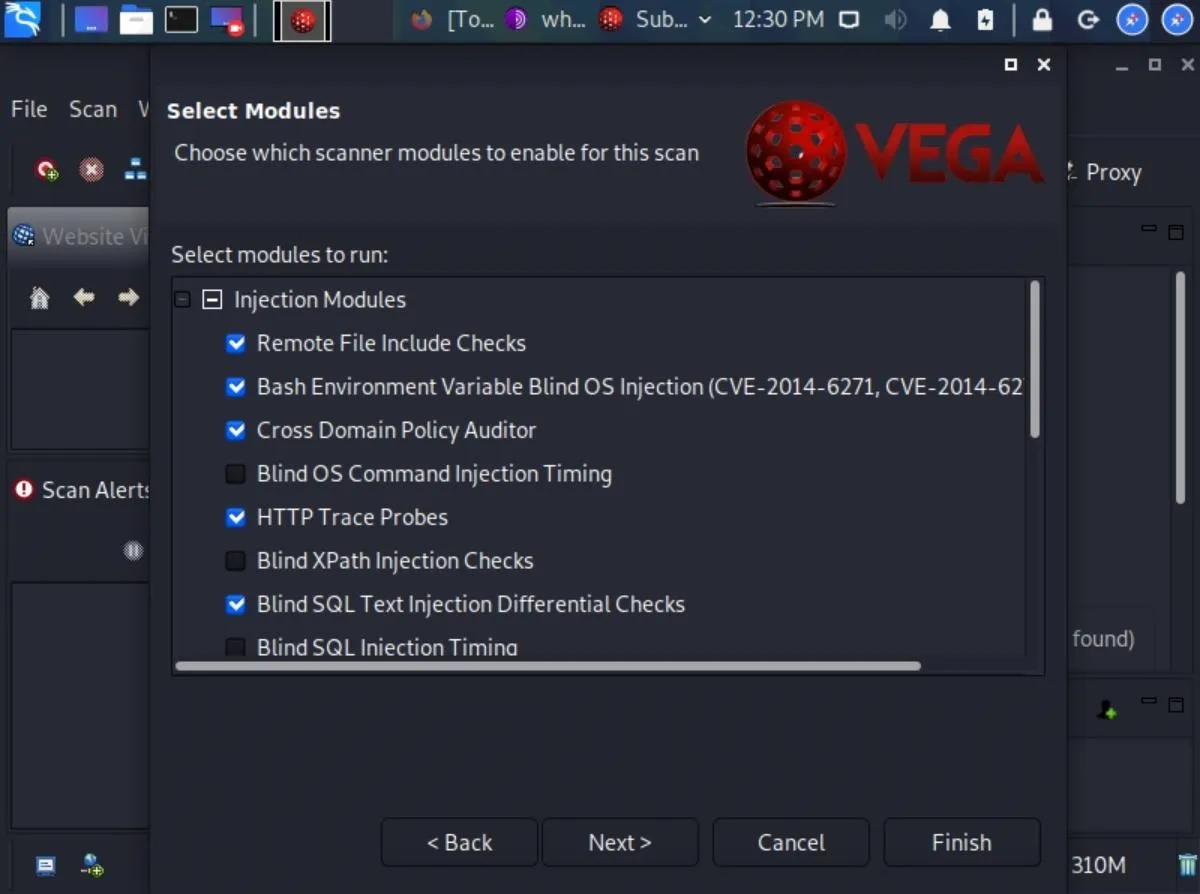
Vega has dozens of modules designed to find a wide range of common web server vulnerabilities such as SQL, XSS, and XML injection vulnerabilities. If you want to enable all of the scanner modules, make sure "Injection Modules" is checked. If not, expand "Injection Modules" and select the ones you want, and deselect the ones you don't.
You could click "Next" a few times to adjust Authentication Options or Parameters, but we don't need to. So instead, click "Finish" to start scanning the website.
A scan can take anywhere from two minutes to eight hours to complete depending on the website's size and the requests per second we set earlier in the article. You'll know the scan has started when the website appears in the Scan Alerts tab and alerts begin to propagate. When the scan is done running, you'll get a report detailing any vulnerabilities found.
Interpret Vega's Alerts
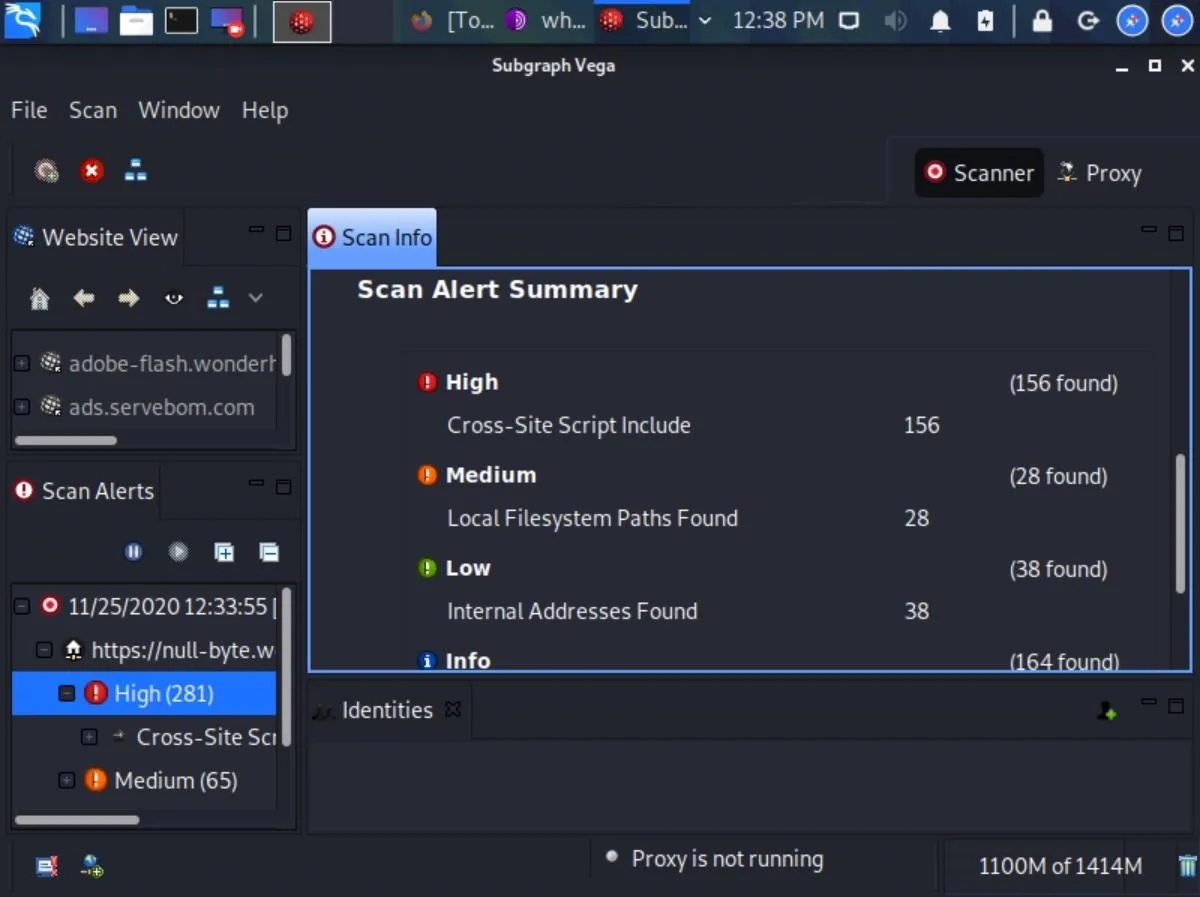
When the scan is complete, Vega will clearly and concisely display a summary of the alerts.
If Vega reports a "High" alert, don't panic. Vega's modules are sensitive and sometimes produce false positive alerts for vulnerabilities that may not actually exist. False positives aren't necessarily a bad thing. That being said, it's a good idea to comb through the report and manually investigate each alert. Think of these alerts as areas worth further investigating and not definitive indications that something needs to be fixed.
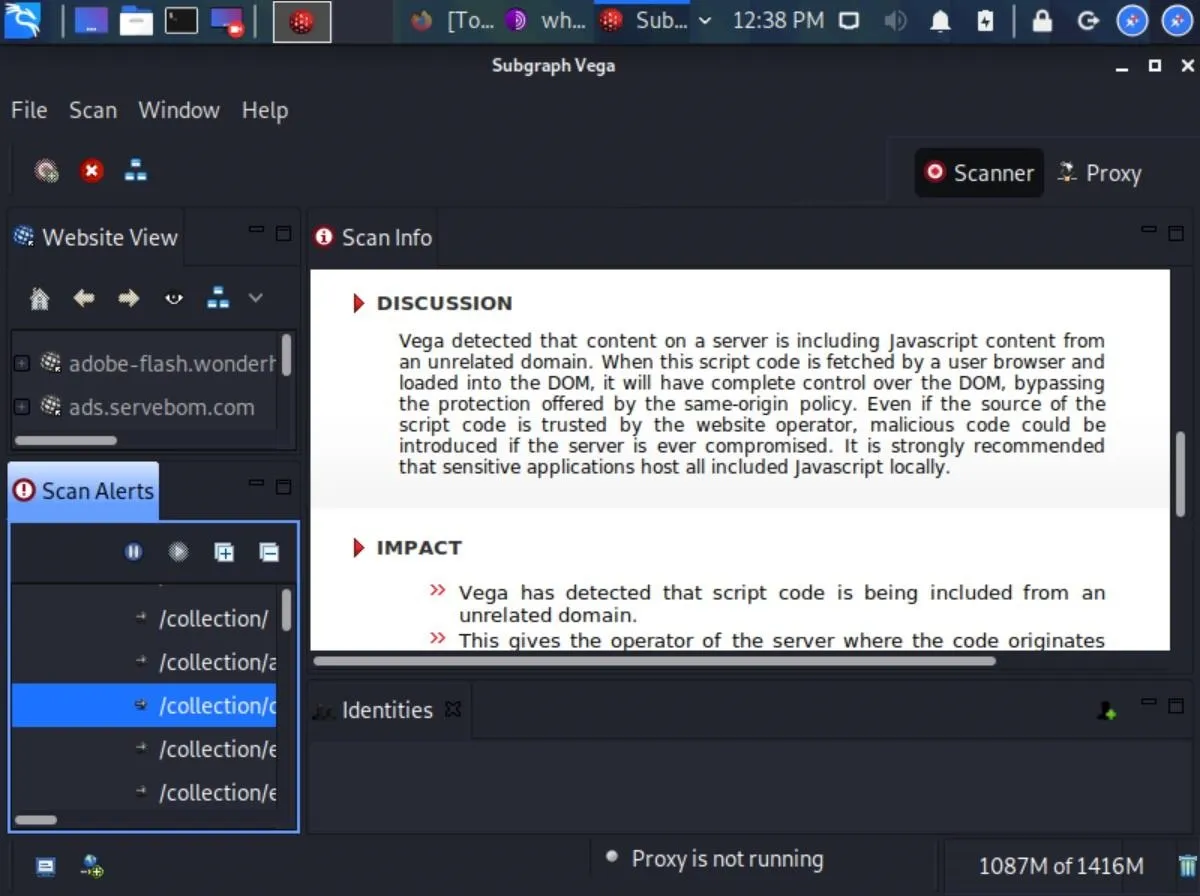
Vega does a fantastic job explaining what each alert means, their impact on our websites, and ways to remedy the vulnerabilities. It also includes useful references that may help us better understand how to deal with the vulnerabilities.
Clicking on one of the alerts will display tons of useful information.
Vega Can Help Keep Your Website Secure
Vega is an excellent tool to help security researchers better understand web application penetration testing. Its vast selection of modules allows even novice users to dig deep into potential security risks and assess their severity to websites. Anyone interested in improving their website's security and enhancing their web hacking skills will come to love Vega and its ease of use.
Follow me on Twitter @tokyoneon_ and GitHub to see more of my work. And feel free to leave a comment below or message me on Twitter if you have any questions.
Cover image by Negative Space/Pexels; Screenshots by tokyoneon/Null Byte


Comments
Be the first, drop a comment!