Welcome back, my hacker trainees!
A number of you have written me regarding which operating system is best for hacking. I'll start by saying that nearly every professional and expert hacker uses Linux or Unix. Although some hacks can be done with Windows and Mac OS, nearly all of the hacking tools are developed specifically for Linux.

There are some exceptions, though, including software like Cain and Abel, Havij, Zenmap, and Metasploit that are developed or ported for Windows.
When these Linux apps are developed in Linux and then ported over to Windows, they often lose some of their capabilities. In addition, there are capabilities built into Linux that simply are not available in Windows. That is why hacker tools are in most cases ONLY developed for Linux.
To summarize, to be a real expert hacker, you should master a few Linux skills and work from a Linux distribution like BackTrack or Kali.
For those of you who've never used Linux, I dedicate this series on the basics of Linux with an emphasis on the skills you need for hacking. So, let's open up BackTrack or your other Linux distribution and let me show you a few things.
Boot Up Linux
Once you've booted up BackTrack, logged in as "root" and then type:
- bt > startx
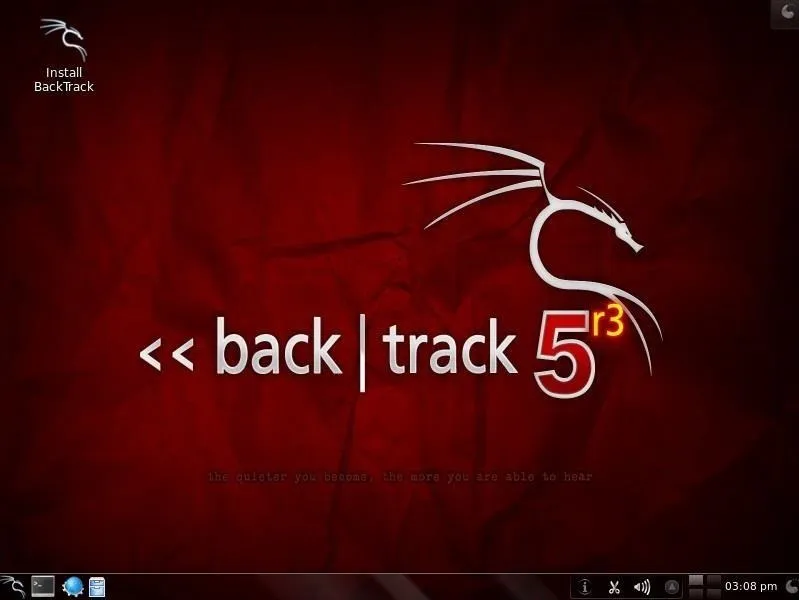
You should have a screen that looks similar to this.
Open a Terminal
To become proficient in Linux, you MUST master the terminal. Many things can be done now in the various Linux distributions by simply pointing and clicking, similar to Windows or Mac OS, but the expert hacker must know how to use the terminal to run most of the hacking tools.
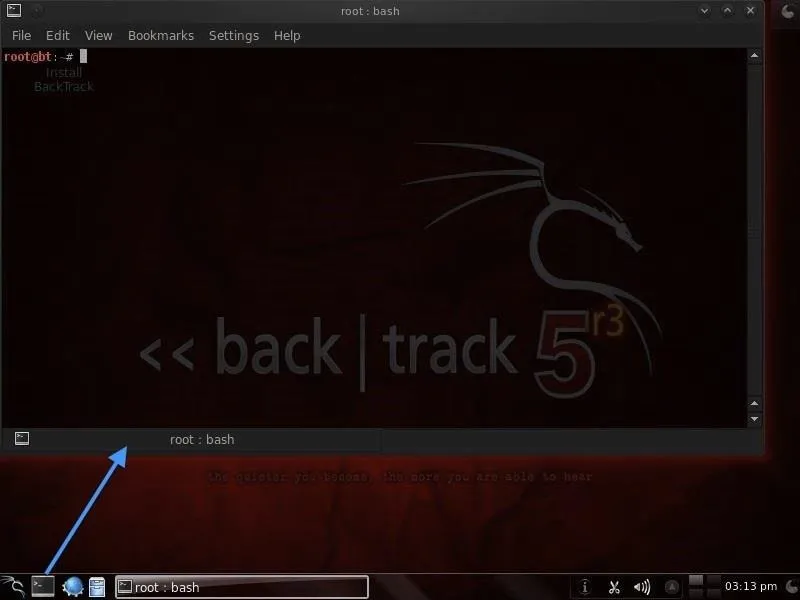
So, let's open a terminal by clicking on the terminal icon on the bottom bar. That should give us a screen that looks similar to this.
If you've ever used the command prompt in Windows, the Linux terminal is similar, but far more powerful. Unlike the Windows command prompt, you can do EVERYTHING in Linux from the terminal and control it more precisely than in Windows.
It's important to keep in mind that unlike Windows, Linux is case-sensitive. This means that "Desktop" is different from "desktop" which is different from "DeskTop". Those who are new to Linux often find this challenging, so try to keep this in mind.
Examine the Directory Structure
Let's start with some basic Linux. Many beginners get tripped up by the structure of the file system in Linux. Unlike Windows, Linux's file system is not linked to a physical drive like in Windows, so we don't have a c:\ at the beginning of our Linux file system, but rather a /.
The forward slash (/) represents the "root" of the file system or the very top of the file system. All other directories (folders) are beneath this directory just like folders and sub-folders are beneath the c:\ drive.
To visualize the file system, let's take a look at this diagram below.
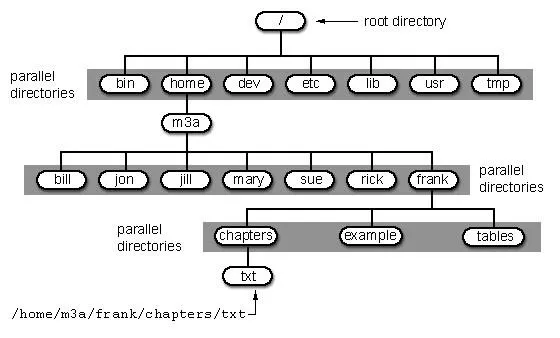
It's important to have a basic understanding of this file structure because often we need to navigate through it from the terminal without the use of a graphical tool like Windows Explorer.
A couple key things to note in this graphical representation:
- The /bin directory is where binaries are stored. These are the programs that make Linux run.
- /etc is generally where the configuration files are stored. In Linux, nearly everything is configured with a text file that is stored under /etc.
- /dev directory holds device files, similar to Windows device drivers.
- /var is generally where log files, among other files, are stored.
Using Pwd
When we open a terminal in BackTrack, the default directory we're in is our "home" directory. As you can see from the graphic above, it's to the right of the "root" directory or one level "below" root. We can confirm what directory we are in by typing:
- bt > pwd
pwd stands for "present working directory" and as you can see, it returns "/root" meaning we're in the root users directory (don't confuse this with the top of the directory tree "root." This is the root users directory).
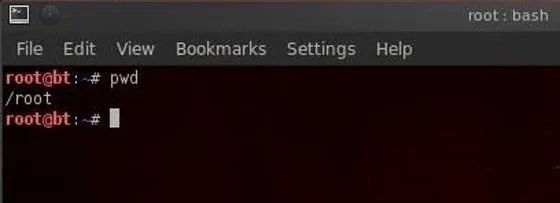
pwd is a handy command to remember as we can use it any time to tell us where we are in the directory tree.
Using Cd Command
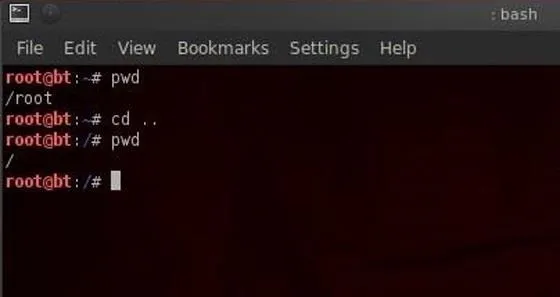
We can change the directory we're working in by using the cd (change directory) command. In this case, let's navigate "up" to the top of the directory structure by typing:
- bt > cd ..
The cd command followed by the double dots (..) says, "move me up one level in the directory tree." Notice that our command prompt has changed and when we type pwd we see that Linux responds by telling us we are in the "/" or the top of the directory tree (or the root directory).
- bt > pwd
Using the Whoami Command
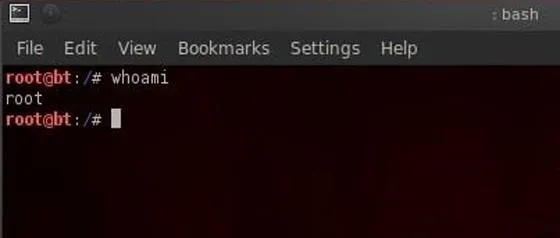
In our last lesson of this tutorial, we'll use the whoami command. This command will return the name of the user we're logged in as. Since we're the root user, we can log in to any user account and that user's name would be displayed here.
- bt > whoami
That's it for now. In the next several tutorials, I will continue to give you the basics of Linux that you'll need to be a pro hacker, so keep coming back!
Cover image by BotheredByBees/Flickr


Comments
Be the first, drop a comment!