


Security-minded users can reduce the risk of phishing by enabling Advanced Protection on important Google accounts, requiring a U2F security token to log in. Using these keys isn't intuitive on most popular smartphone platforms, and you can find yourself locked out if you don't plan ahead. You'll need to learn and practice using U2F keys on your device before enabling this layer of security.
Smartphones are an important part of our daily lives, but due to their small size and high value, they can go missing more often than our other computers. If you've enabled Advanced Protection, you'll need to be able to comfortably add any replacement device using your U2F key or risk being locked out of your data.
The process for accessing your Google account isn't the same for both Android and iOS, so depending on which operating system you use, you may be limited in the types of U2F devices you can use. You can jump to the 11:05 mark in the video below to watch our guide on setting these up on smartphones or continue reading underneath the video.
Google's Advanced Protection on Smartphone Devices
Android devices are perhaps the easiest to use with Advanced Protection, able to use both NFC-type keys like the Yubikey Neo and Bluetooth-type tokens like the Feitian Bluetooth Dongle to authenticate to your Google account.
Android has supported NFC for quite some time, so the average user should have no issue using the sturdy and reliable NFC-enabled USB security key option. The somewhat less reliable Bluetooth tokens can still be used with Android, but sometimes run into pairing issues.
Kody/Null Byte
If you're using iOS, your options are more limited. Apple does not implement NFC the same way as Android, and because of this, you can't simply use a Yubikey Neo to add an iOS device. You're left with the Bluetooth token option. It's not too difficult to connect an iOS device to your account with a Feitian Bluetooth U2F token. The biggest change to get used to will be using only Google apps to connect to your Advanced Protected account, since Apple apps (like Mail) will no longer be able to access your account data.
First, we'll cover setting everything up on Android, so if you're an iOS user, skip to that section.
Add an Advanced Protected Account on Android
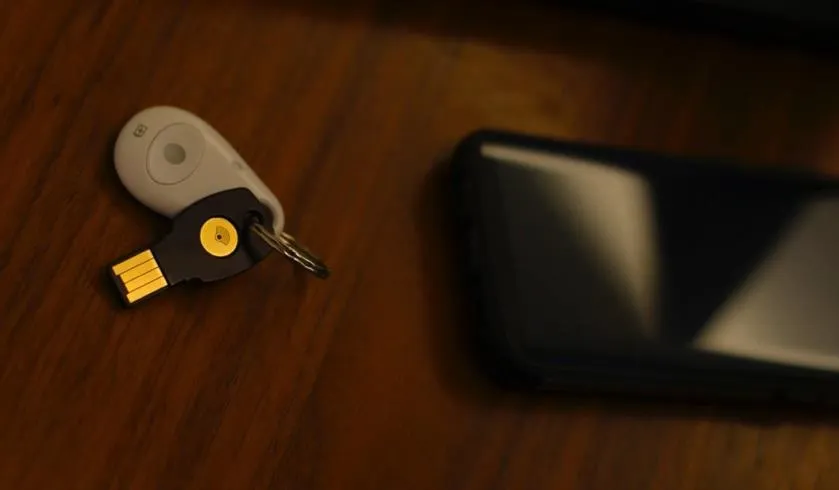
Android users will want to check out the most sturdy and simple U2F form factor, the USB security key. Often embedded with an NFC antenna, these polymer keys have reviews online detailing surviving abuse that physically destroyed regular, metal keys. Like regular keys, these USB keys are designed to ride with you on a keyring and survive day-to-day abuse. The ability to pair with the key via NFC makes this choice an obvious option, as they require no battery to use. The Yubikey Neo comes with some slick features, but for users on a budget, you can check out a $16 NFC-enabled key as well.
Kody/Null Byte
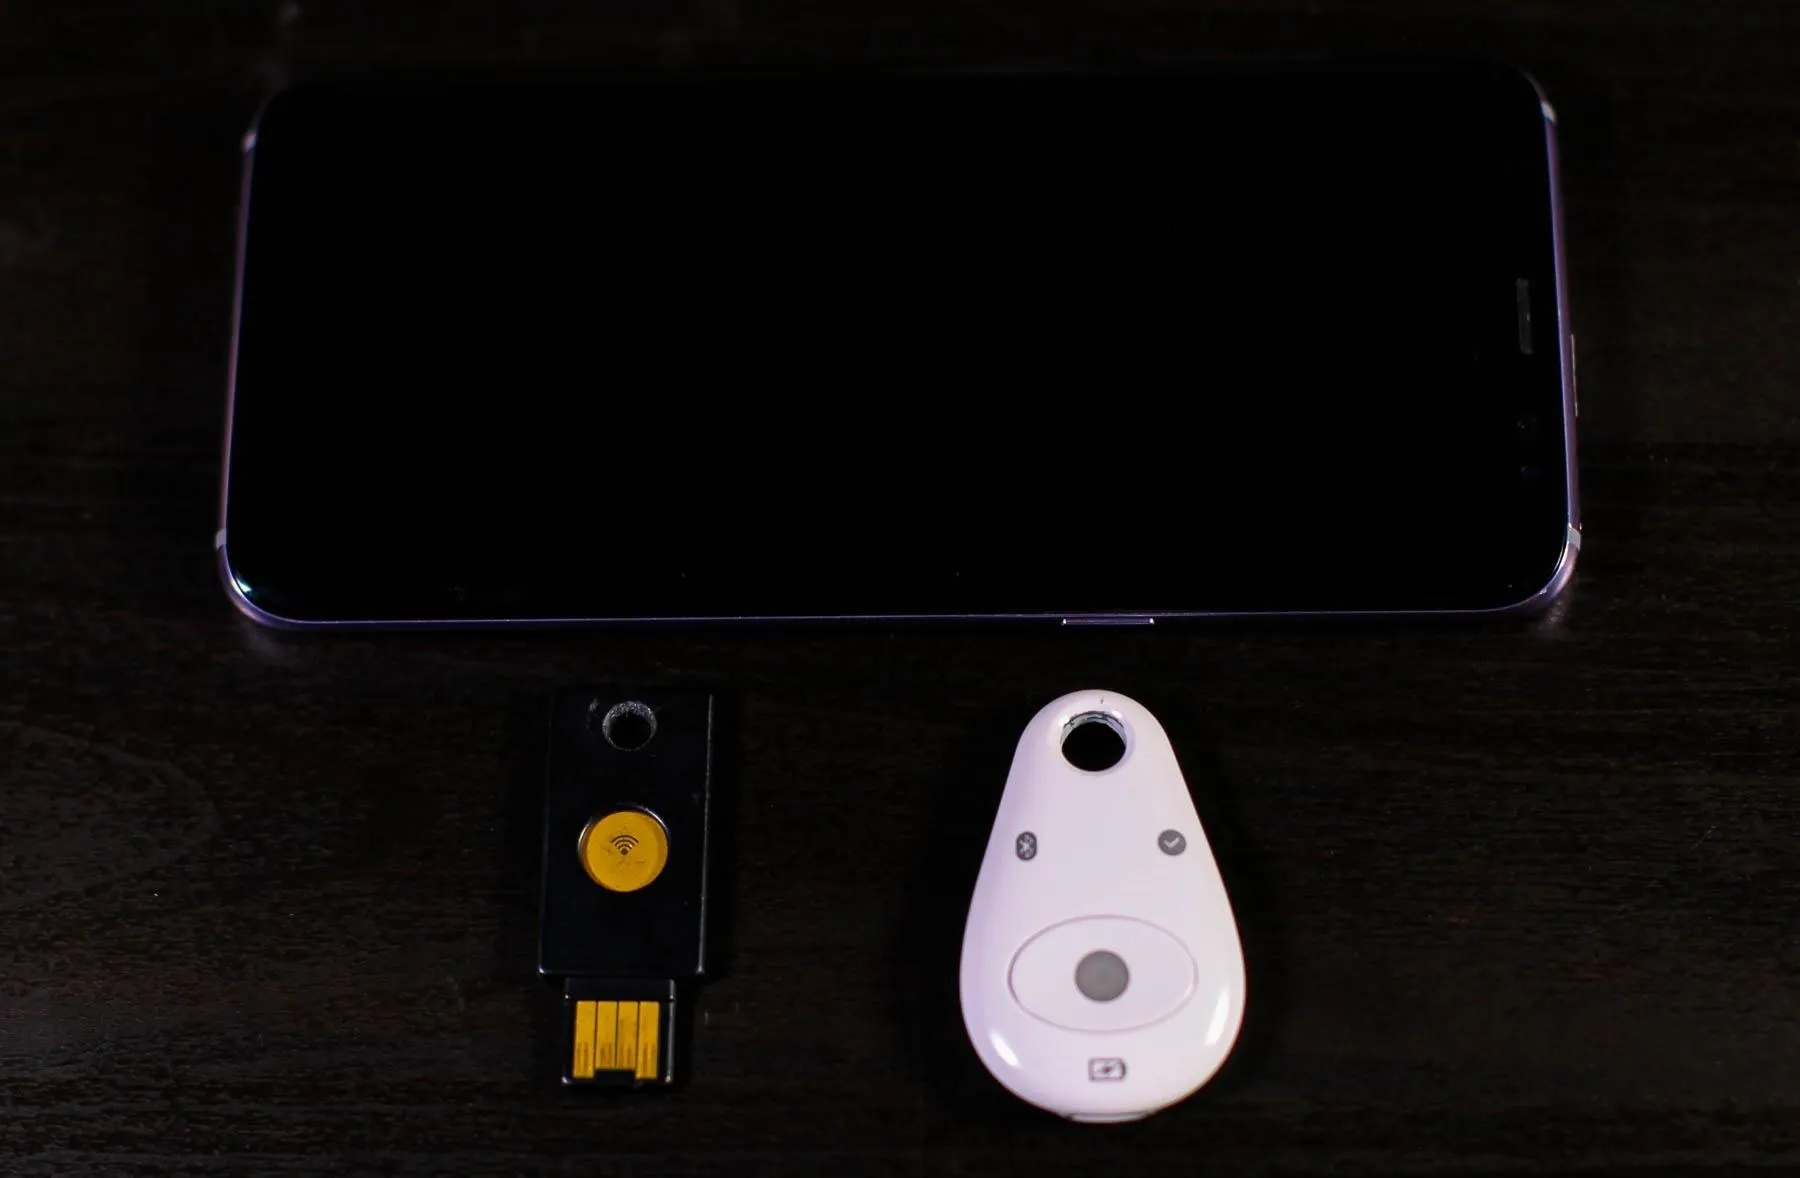
Bluetooth tokens like the Feitian MultiPass FIDO Security Key can be used with Android devices, but have drawbacks in needing to pair and occasionally having connection issues. You'll need to make sure your Bluetooth token is charged to use it because it requires an internal rechargeable battery connect. If your token was to die while you were traveling, you might need to find a way to change it before you can get back in. This option also feels a lot more flimsy, and I wouldn't expect one to survive being run over by a truck.
Turn NFC On
To begin the process of adding an Android device to your Google account with Advanced Protection enabled, first make sure you turn on NFC on your device. On a Samsung Galaxy device, the NFC option can be found in the "Connections" section of the main settings menu, while on stock Android, it will likely just be in "Connected Devices."
Add Your Google Account
Next, head to the "Cloud and accounts" or "Users and accounts" section of your main settings menu. If using a Galaxy, you'll also need to tap on "Accounts." Here, you'll find a list of accounts that have been added to your Android device. At the very bottom of this list, you should see a small "Add account" option with a plus symbol next to it. Tap it to add a new account.

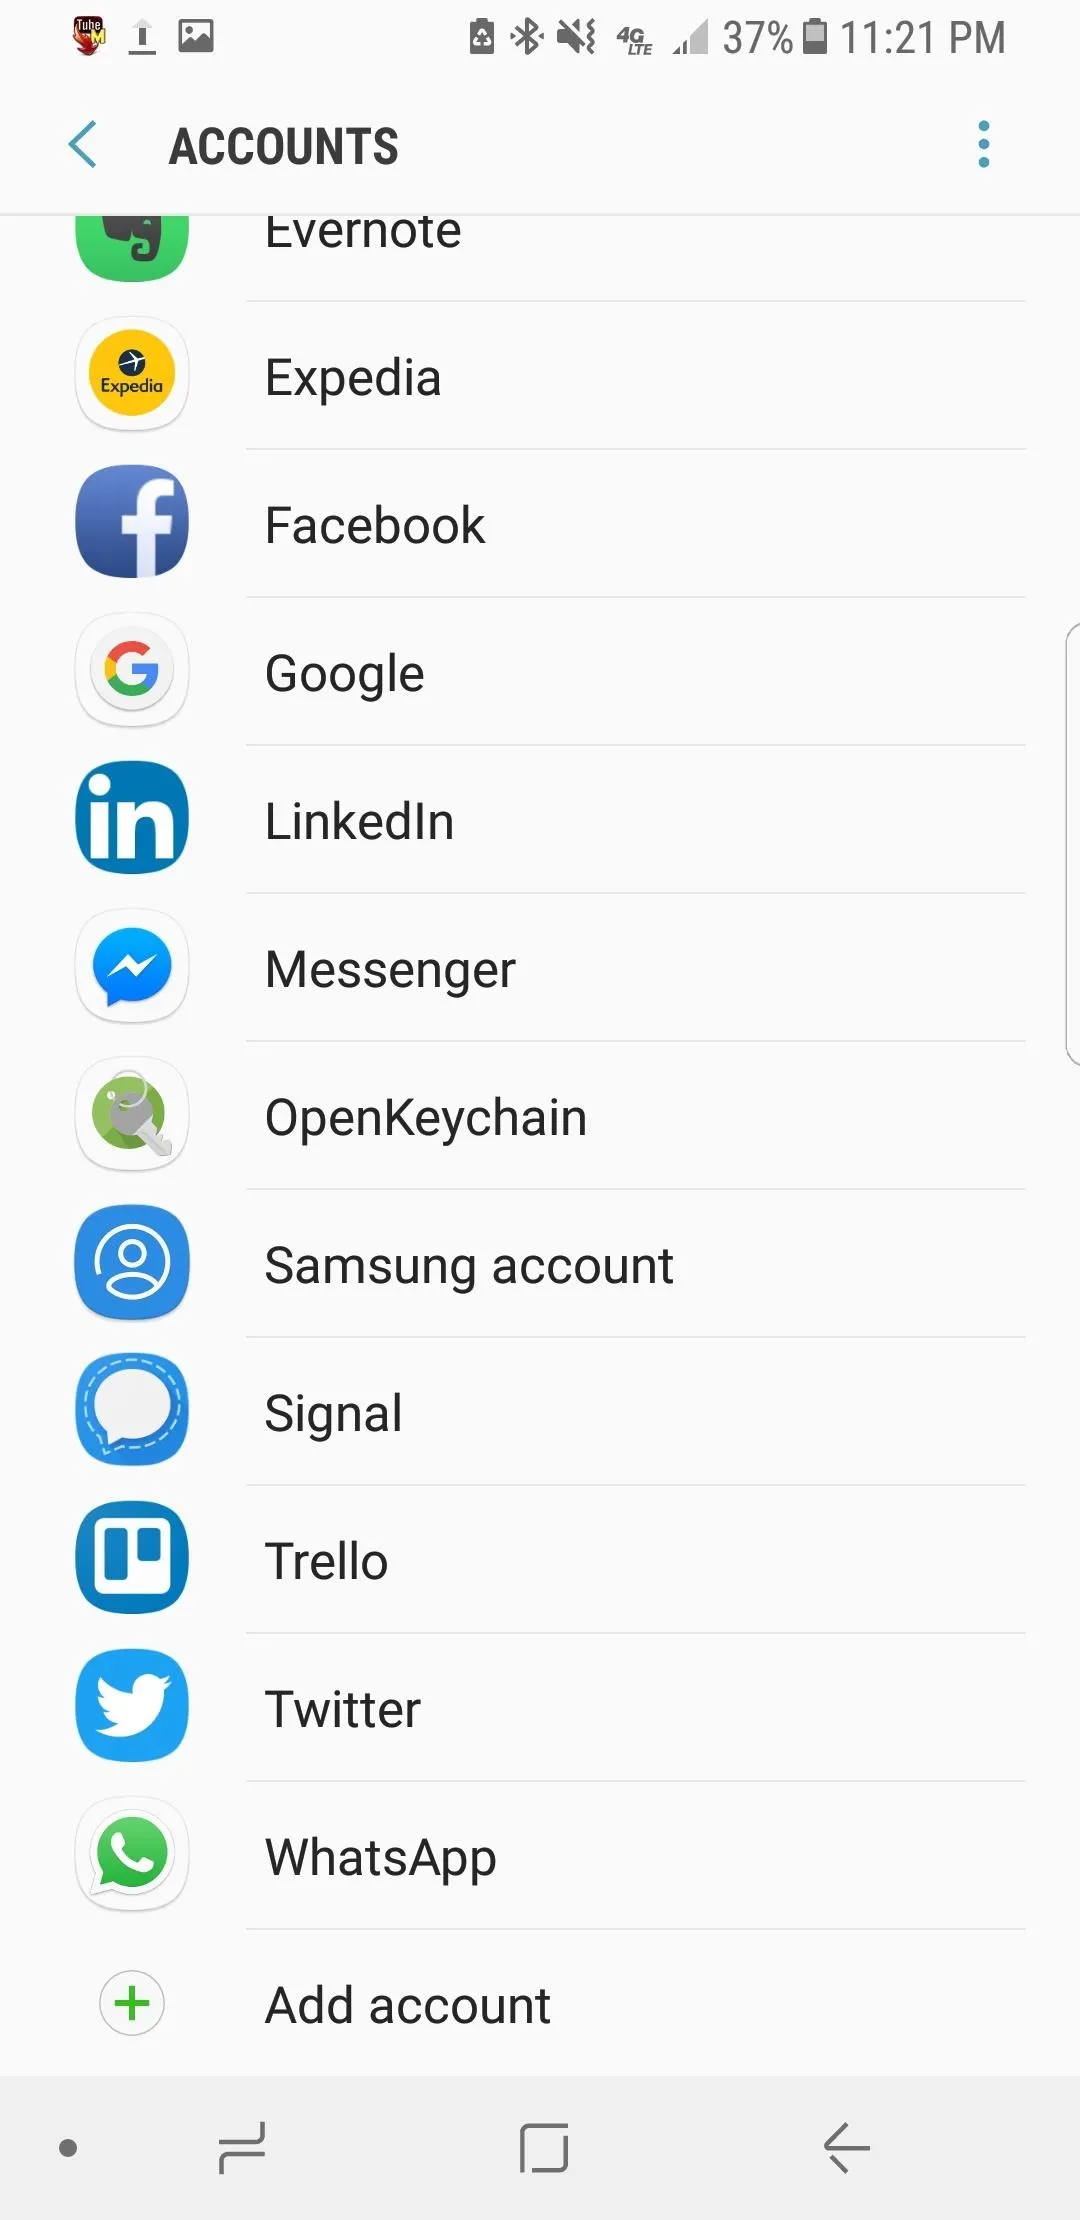
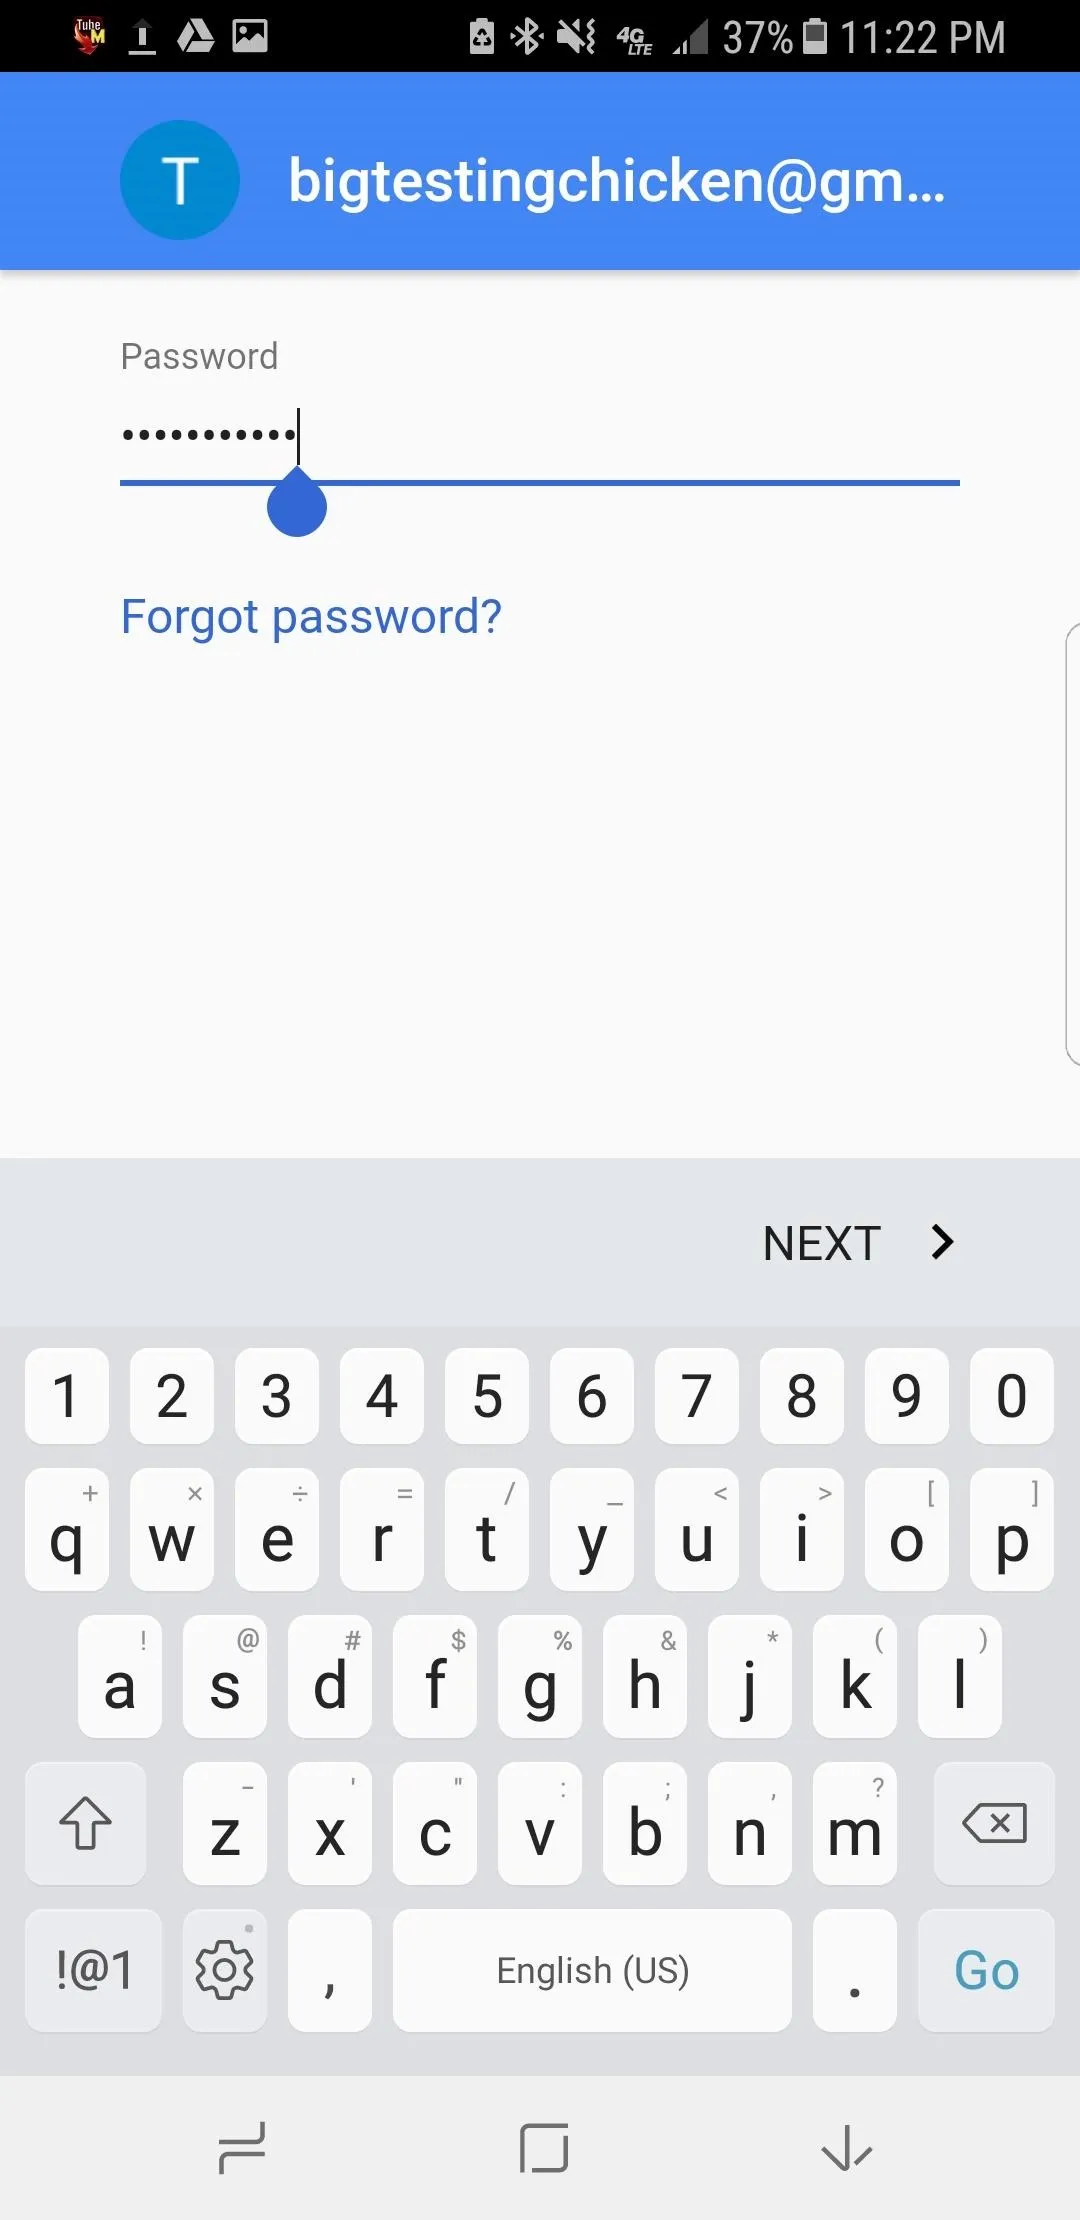
Next, you'll be asked what kind of account you want to add. We'll select "Google" to begin adding our Advanced Protected account. This will bring us to the log-in window for our Google account. Go ahead and enter the login information for your Google account, and hit "Next" to proceed to the security challenge.
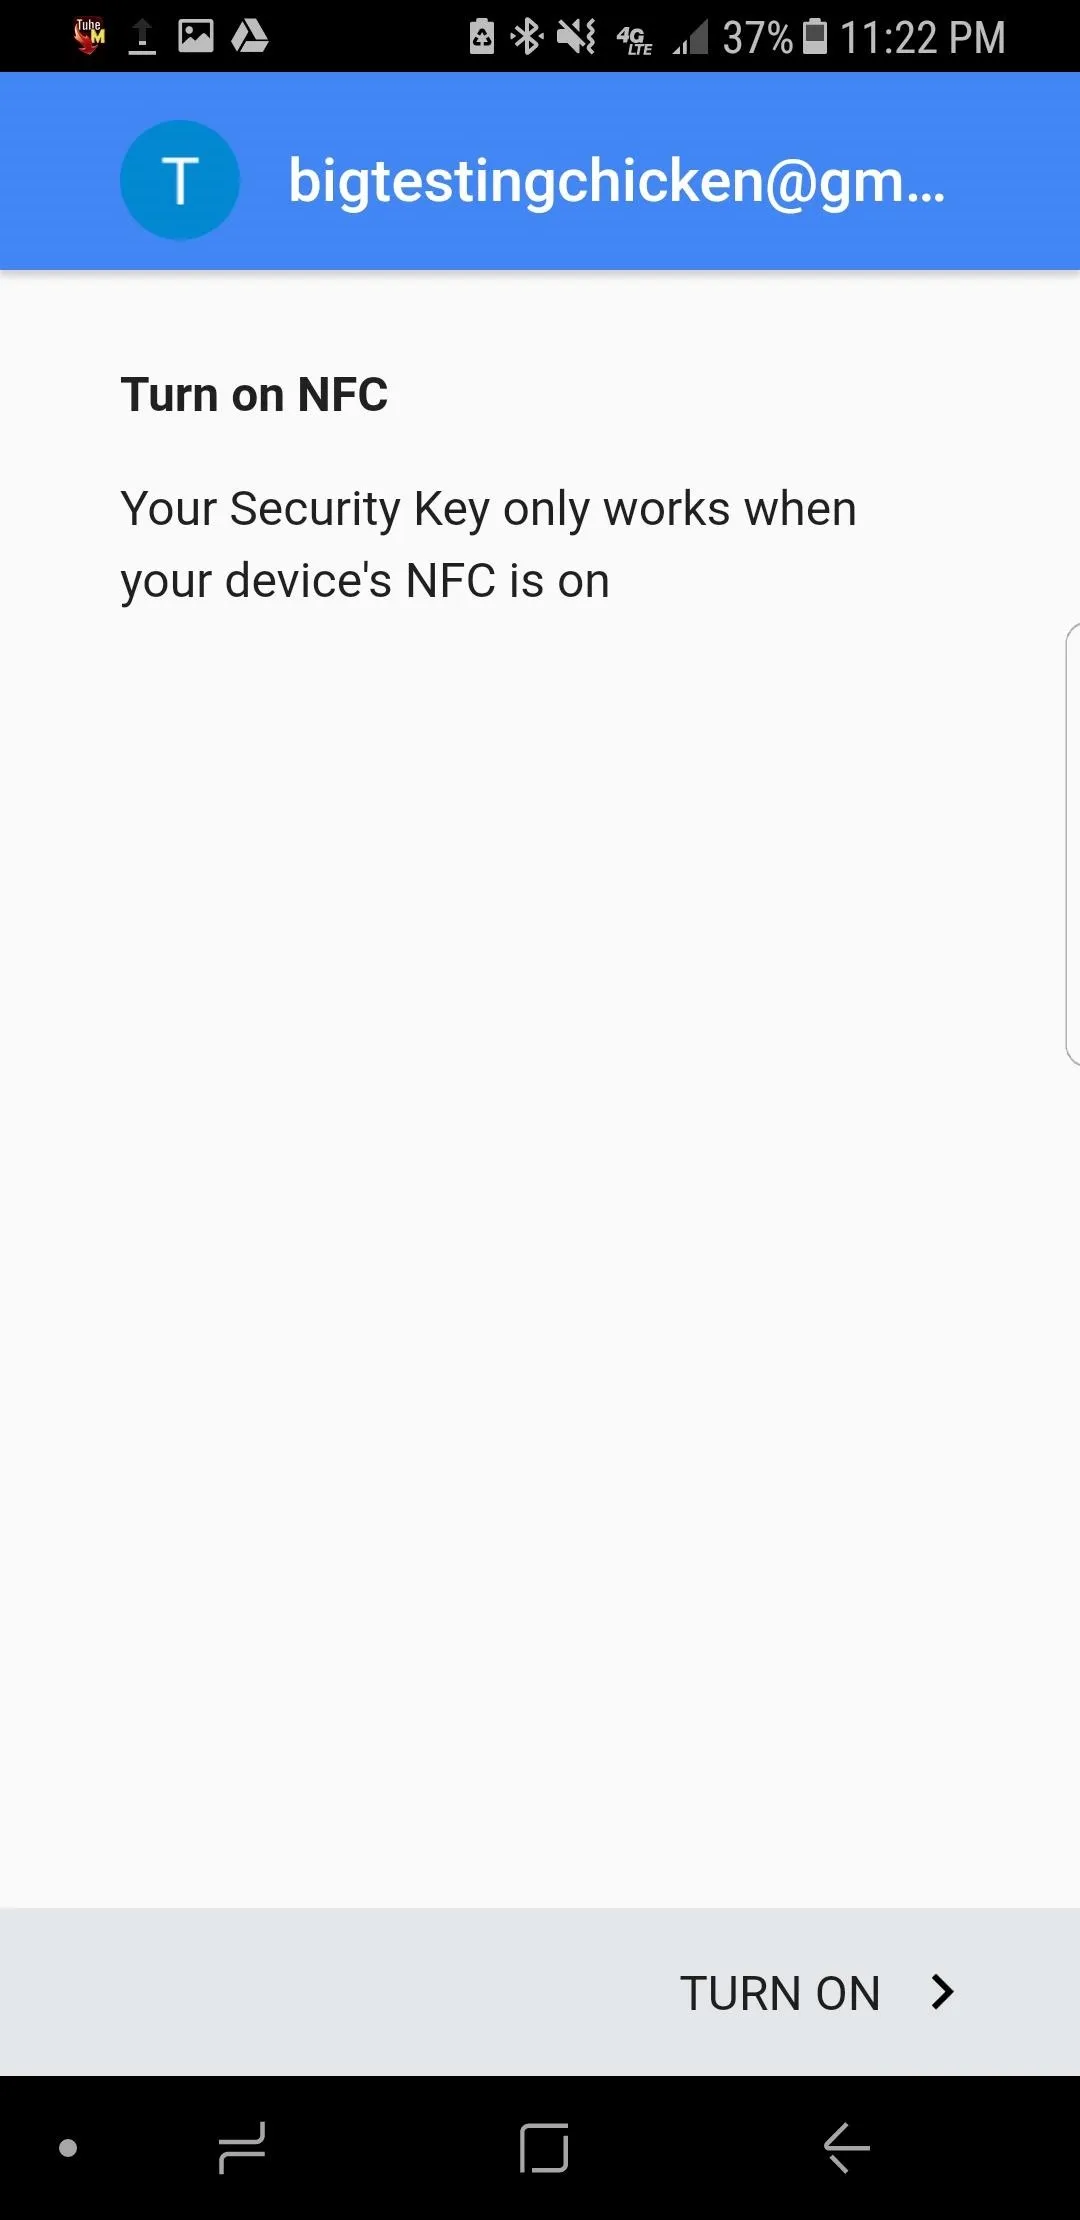
Now, unless you already turned it on, your phone should display a challenge from Google prompting you to turn on the NFC on our Android phone to authenticate into the account. You can turn on NFC from your menu settings or by tapping on the "Turn On" button at the bottom of the screen.
Scan Your U2F Security Key
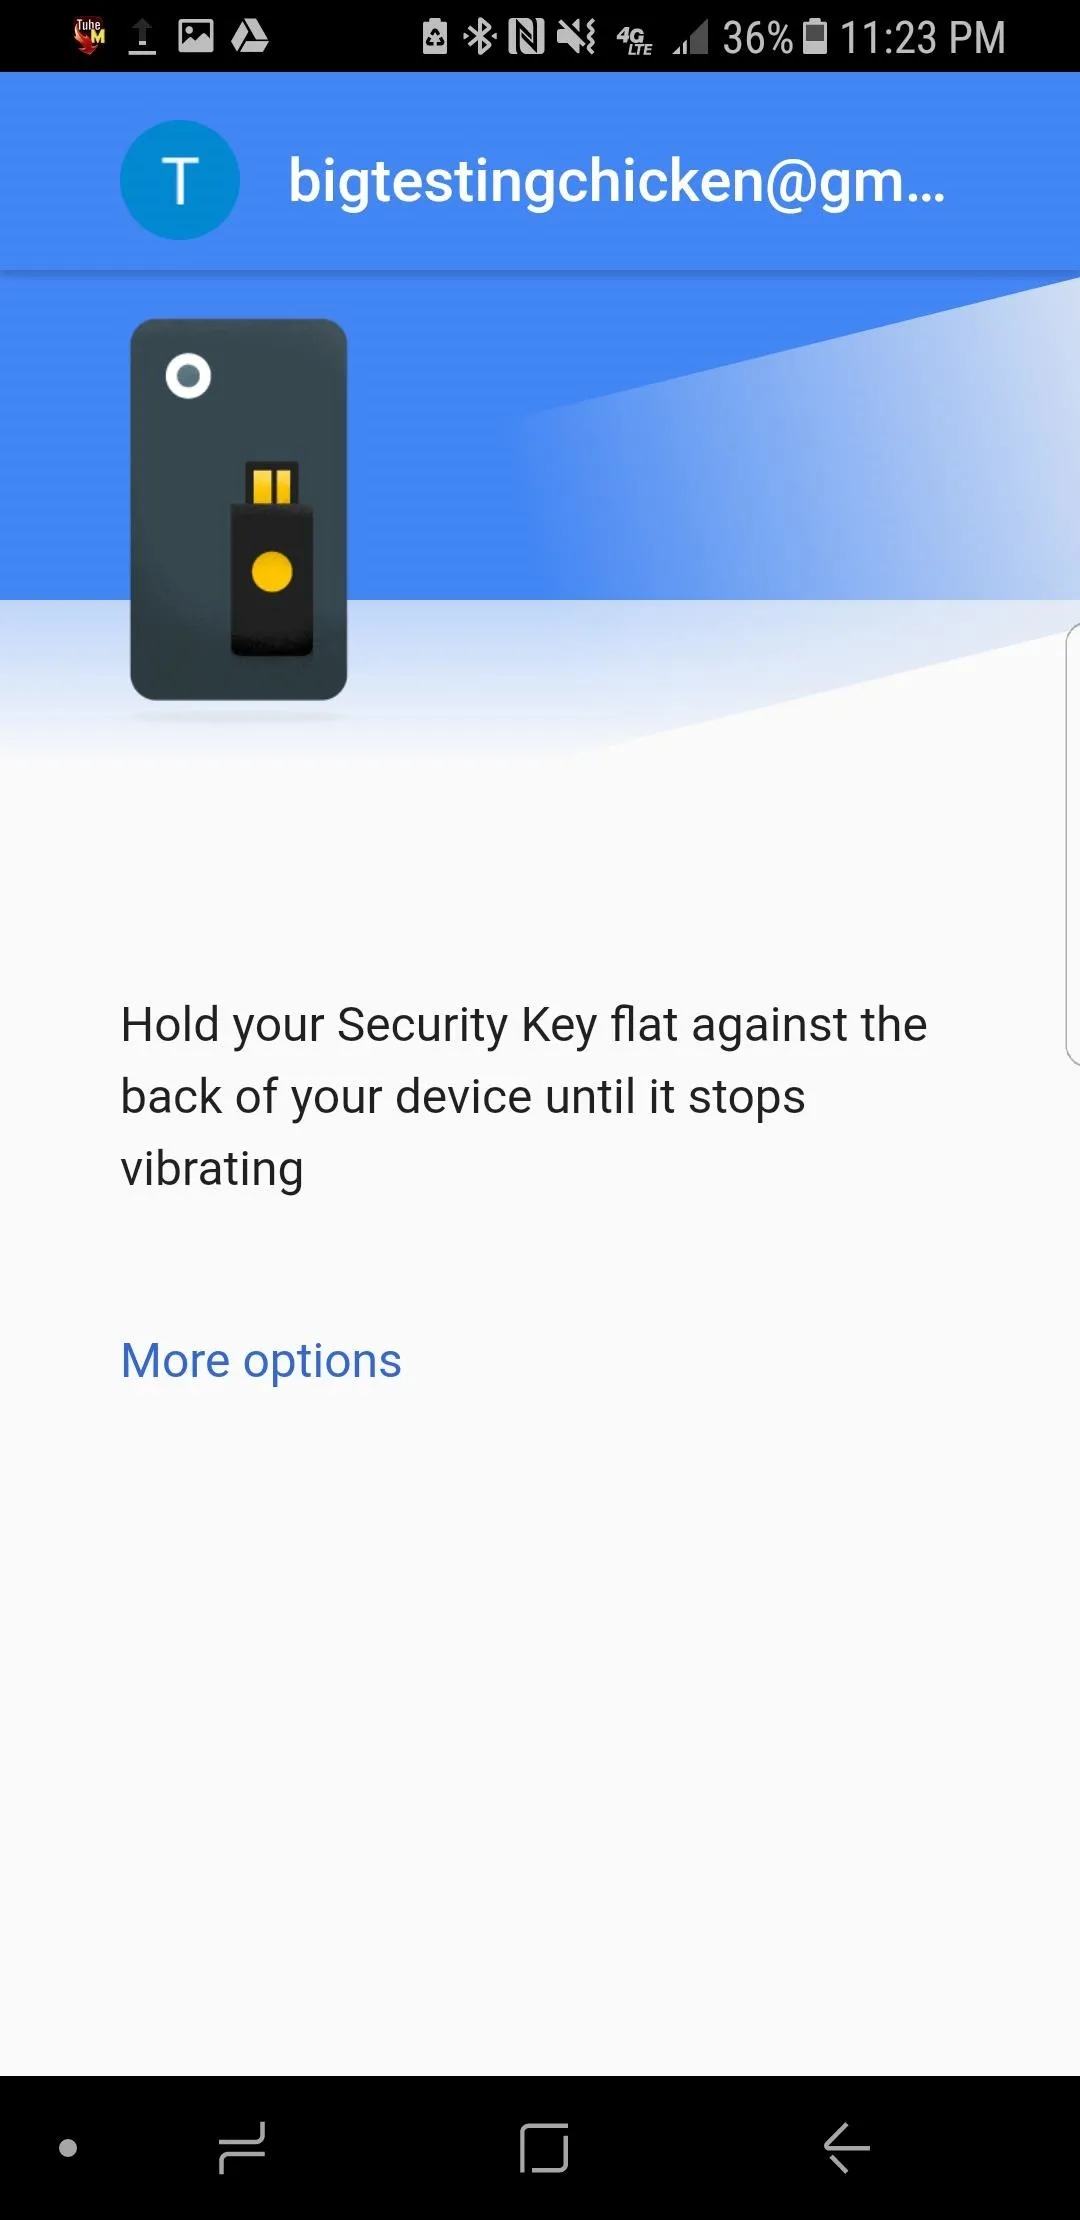
When NFC is activated, you'll be able to scan your key. When you see a screen that looks like the first one in the image gallery below, you're ready to press your U2F security key against the back of your phone.
You'll need to line up the key with the NFC chip on your phone, so slowly move the key around the back of the phone at first until you're familiar with where the contact is made. It only takes a second to register, but make sure you don't move the key away too quickly.
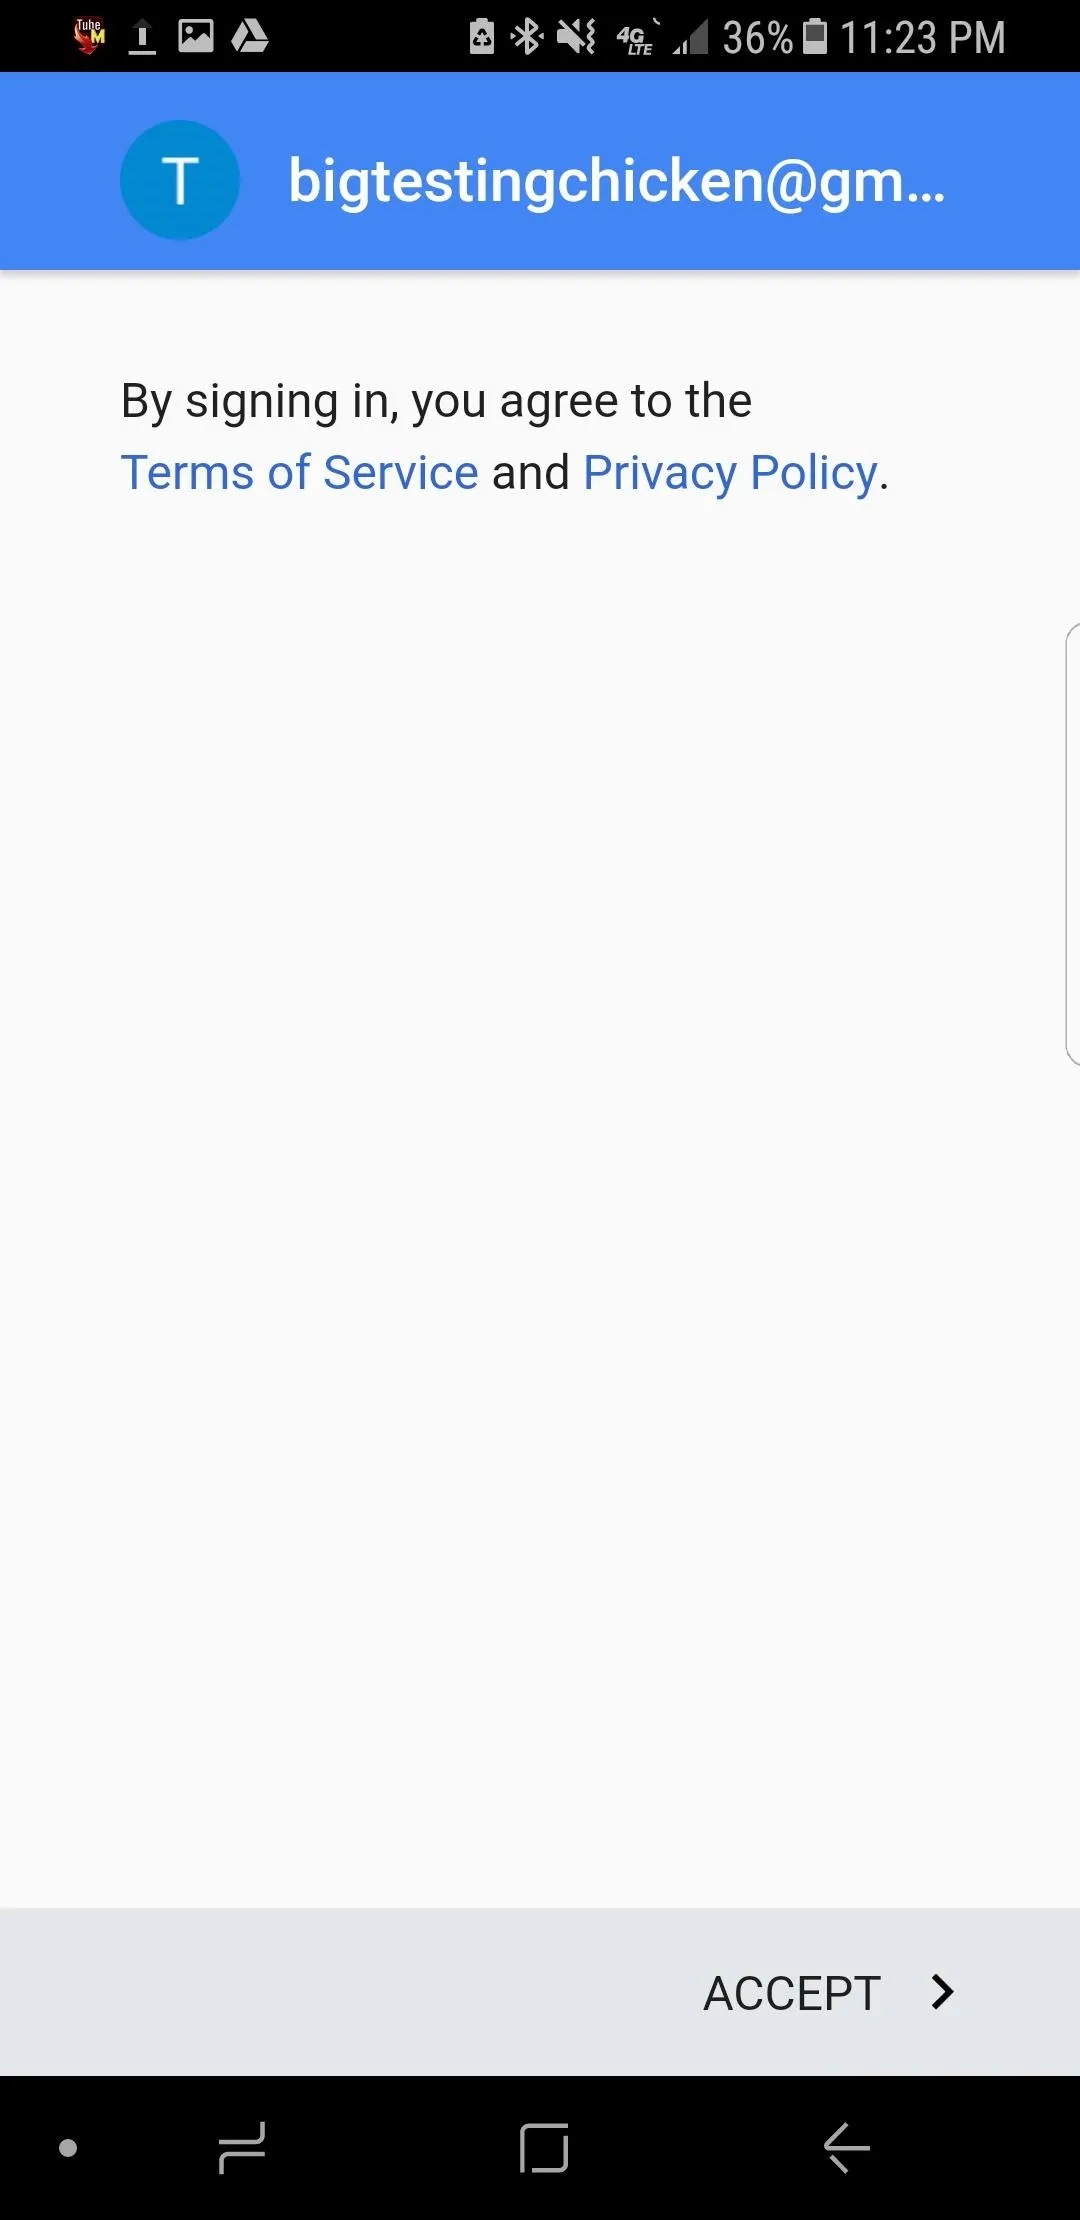
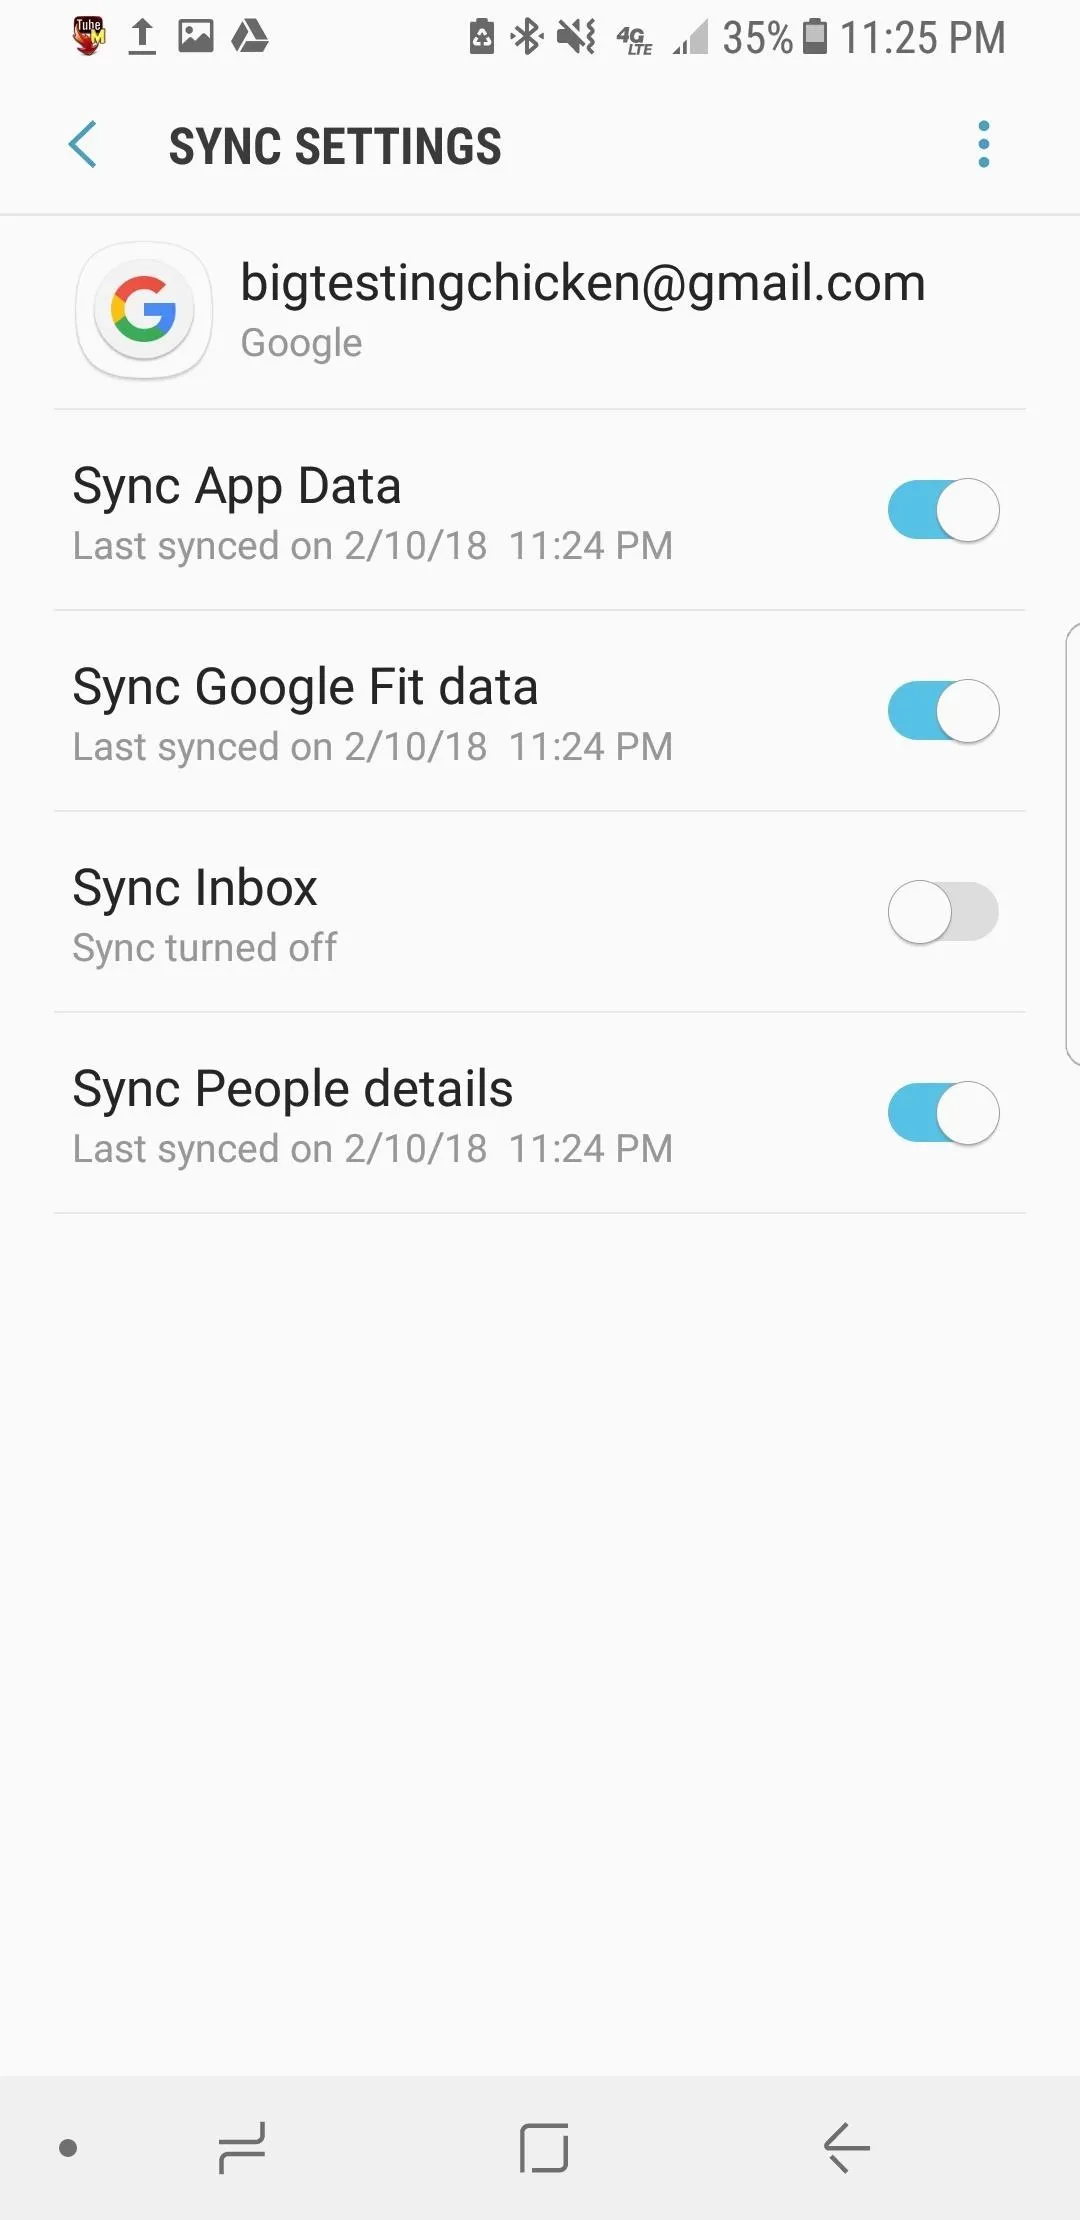
When your key is recognized, your device should be authenticated and ready add your account. If this was successful, you'll see the sign-in agreement (middle image below). You'll be signed in to your account after tapping "Accept." After this, you should be able to tap on the newly added account listed under "Google" accounts to access your sync settings and confirm your account is syncing properly.
That's it! It's as simple as that to add a new Android device. With NFC enabled, it takes only a second to respond to the login challenge.
Add an Advanced Protected Account on iOS
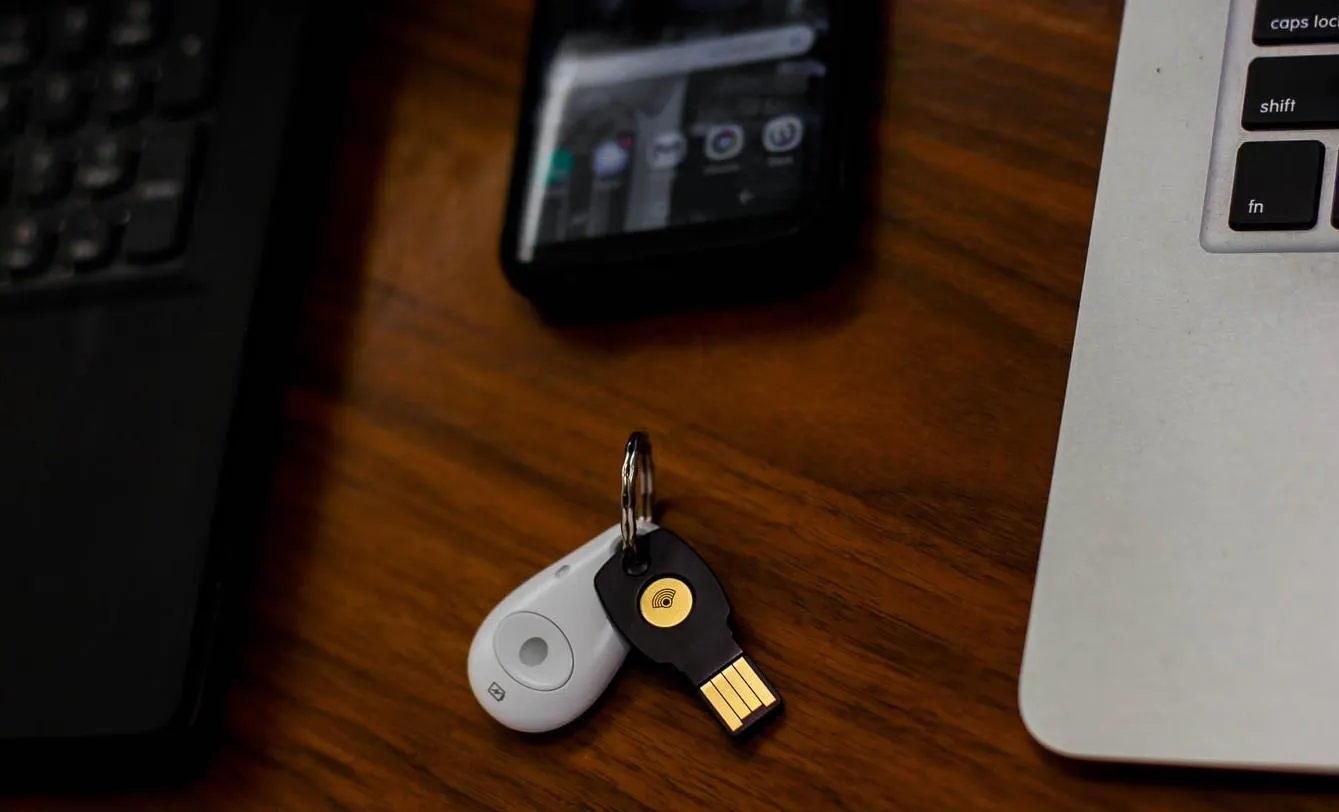
For iPhones and other iOS devices, Bluetooth will be the way you communicate with your U2F token. You'll need to pair your device with your Bluetooth token after installing an iOS app called Google Smart Lock. Once this is done, adding your device to a new account is as easy as pressing the button on your U2F token when prompted. This button gets pressed by random things all the time if you carry it with you, and is very easy to press by accident, which may reduce the battery life a bit.
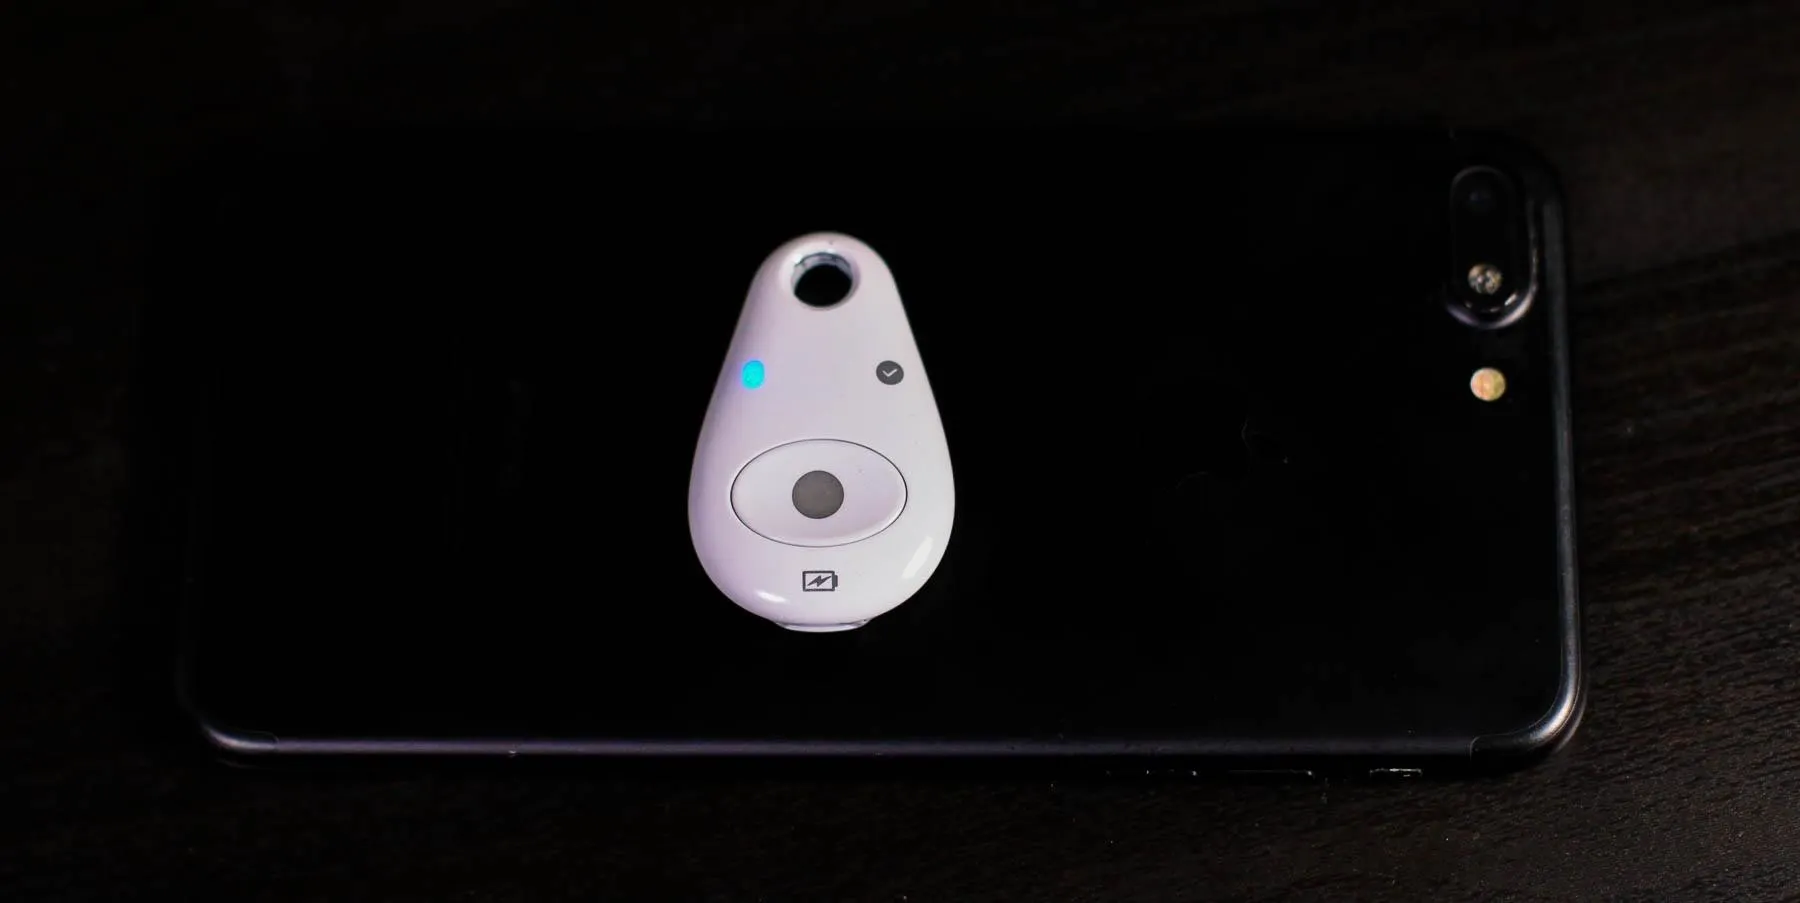
Kody/Null Byte
If you use primarily Apple devices, you should invest in at least one Bluetooth token. Due to their more fragile and battery-powered nature, you should still keep a USB-style key for your desktop and laptop devices as a backup for getting into your account from a desktop computer. If your Bluetooth U2F keys get wet, smashed, burned, or otherwise damaged, you'll be happy you did so to allow you to access your account and enroll a replacement security key.
As I mentioned previously, Apple devices use a different standard of NFC that isn't compatible with the NFC enabled security keys, so we'll need to switch to a Bluetooth token to connect our iOS devices. The Feitian MultiPass FIDO Security Key is pretty easy to set up on iOS.
Turn Bluetooth On
Likely, you already have this turned on if you connect to wireless speakers or headphones, connect to a stereo in your car, use a wireless keyboard, etc. But just in case, you can check by bringing up the Control Center, then making sure the "B" icon is blue (on). Alternatively, you can go to Settings –> Bluetooth to make sure it's toggled on.
Add Your Google Account
Hopefully, you already installed Google Smart Lock using the link above, but if not, go ahead and do that now. When you have it installed, open it to get started, then go ahead and tap "Sign In" to begin connecting to your Google account with Advanced Protection enabled.
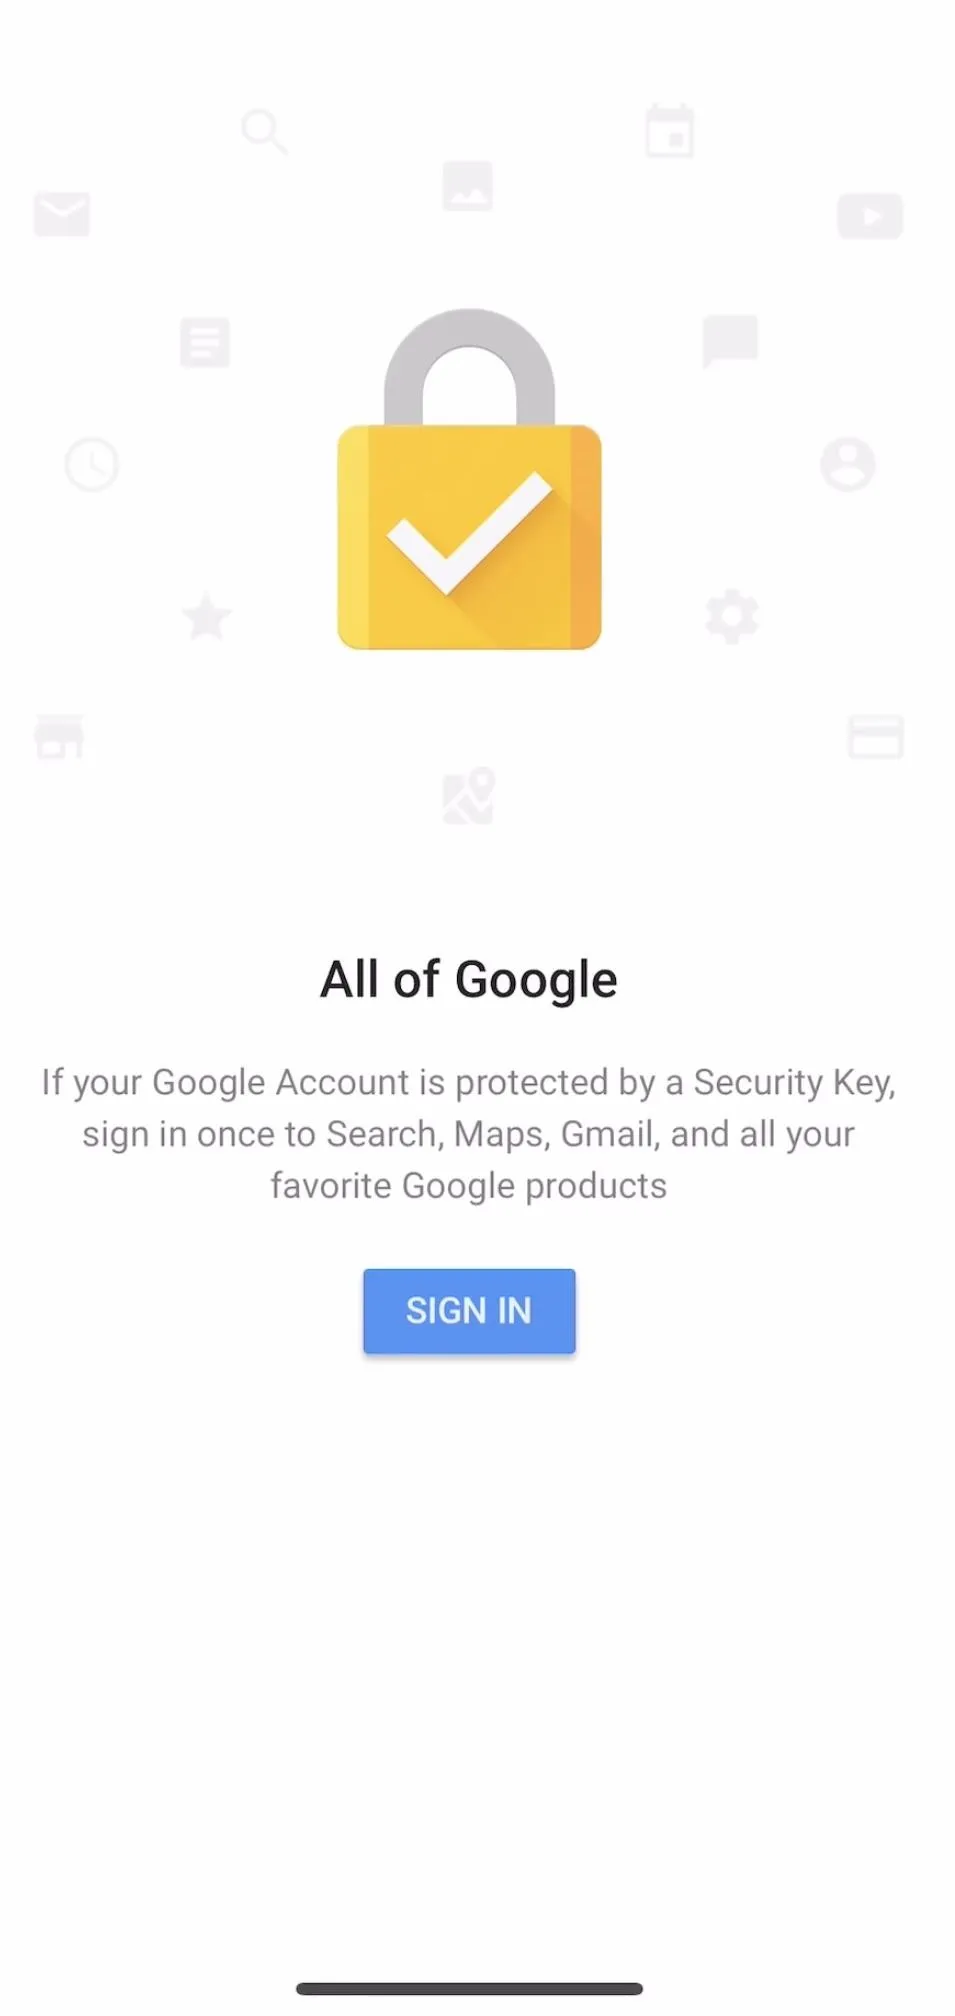
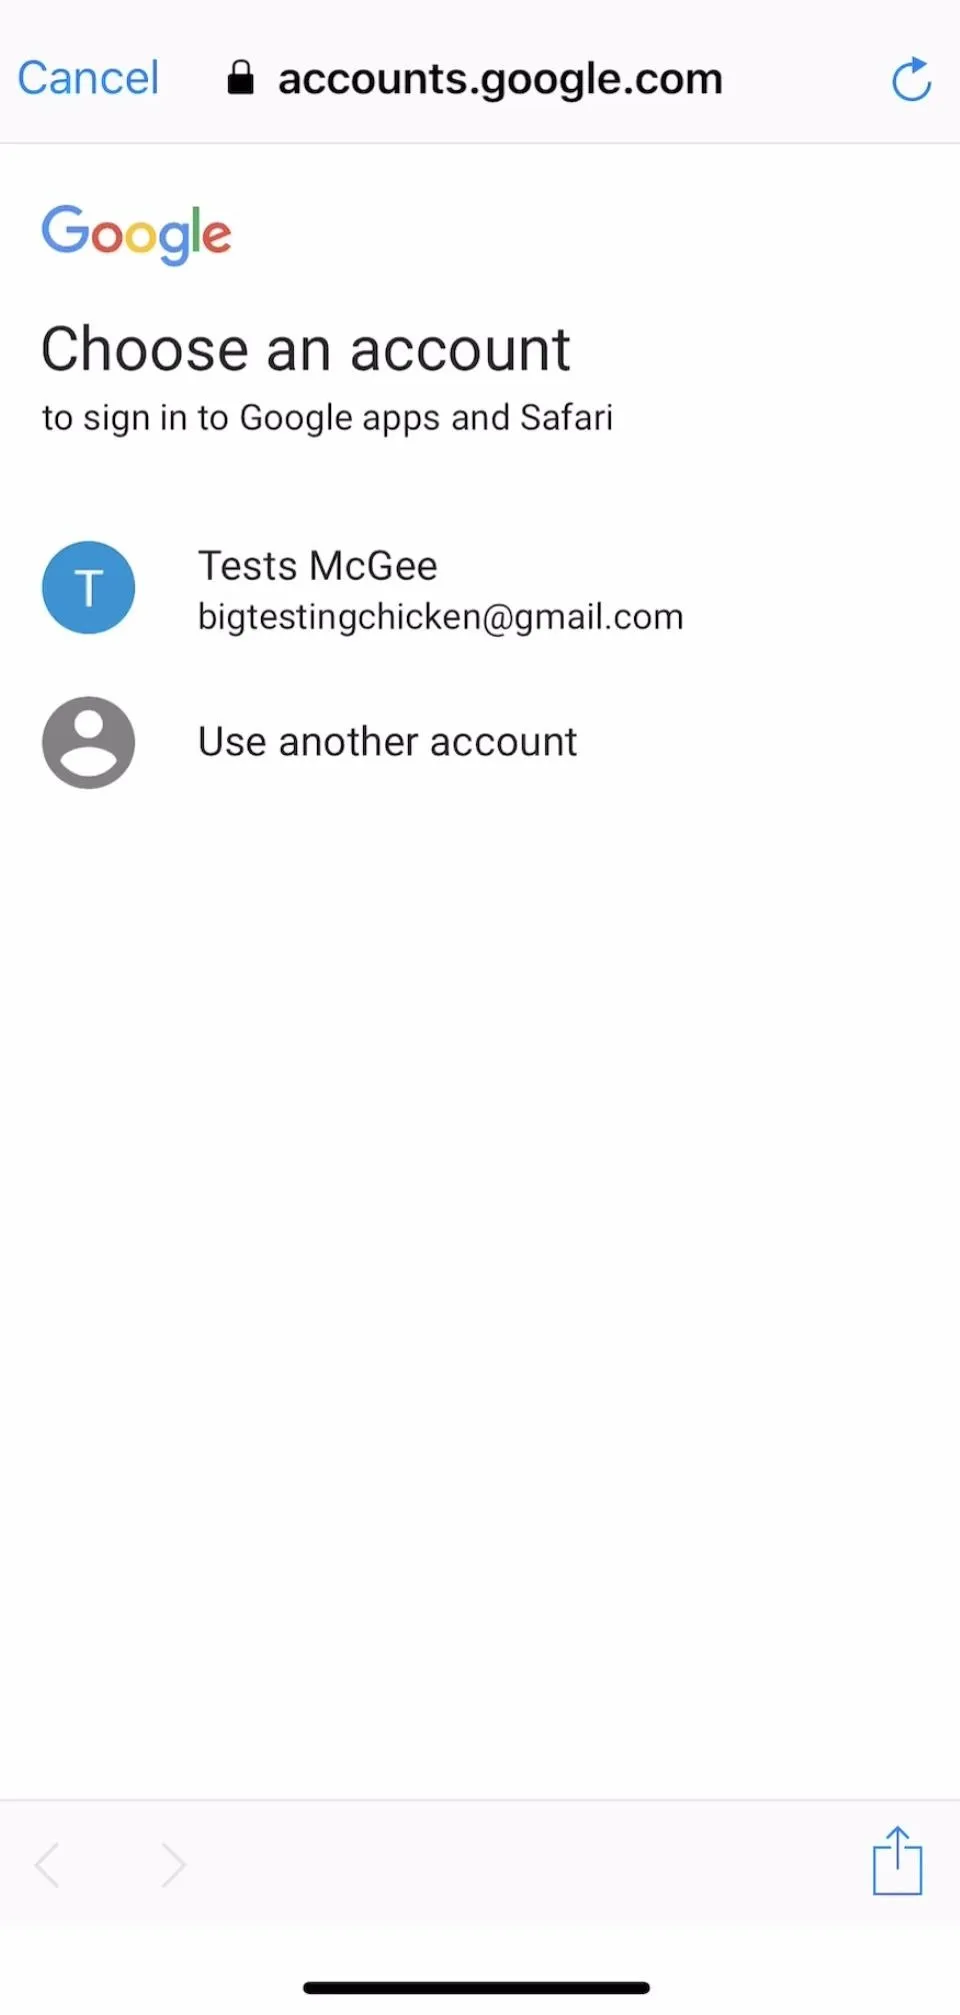
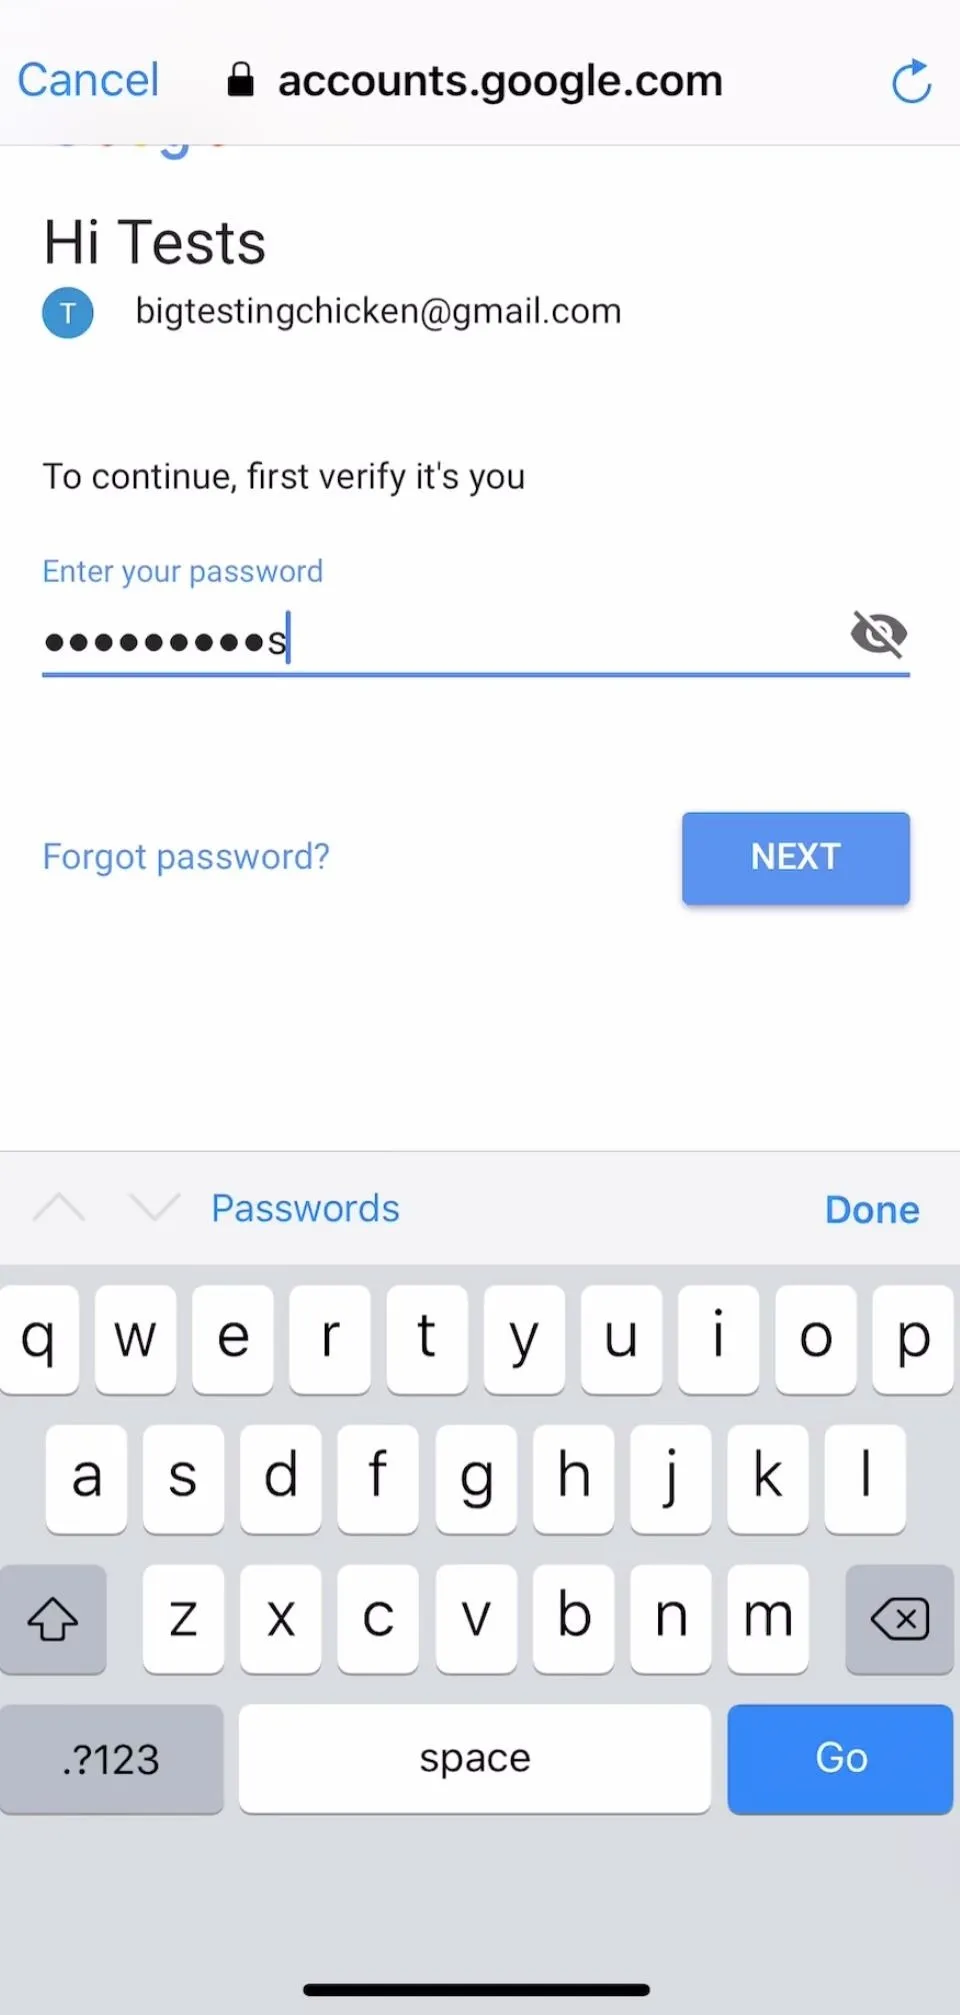
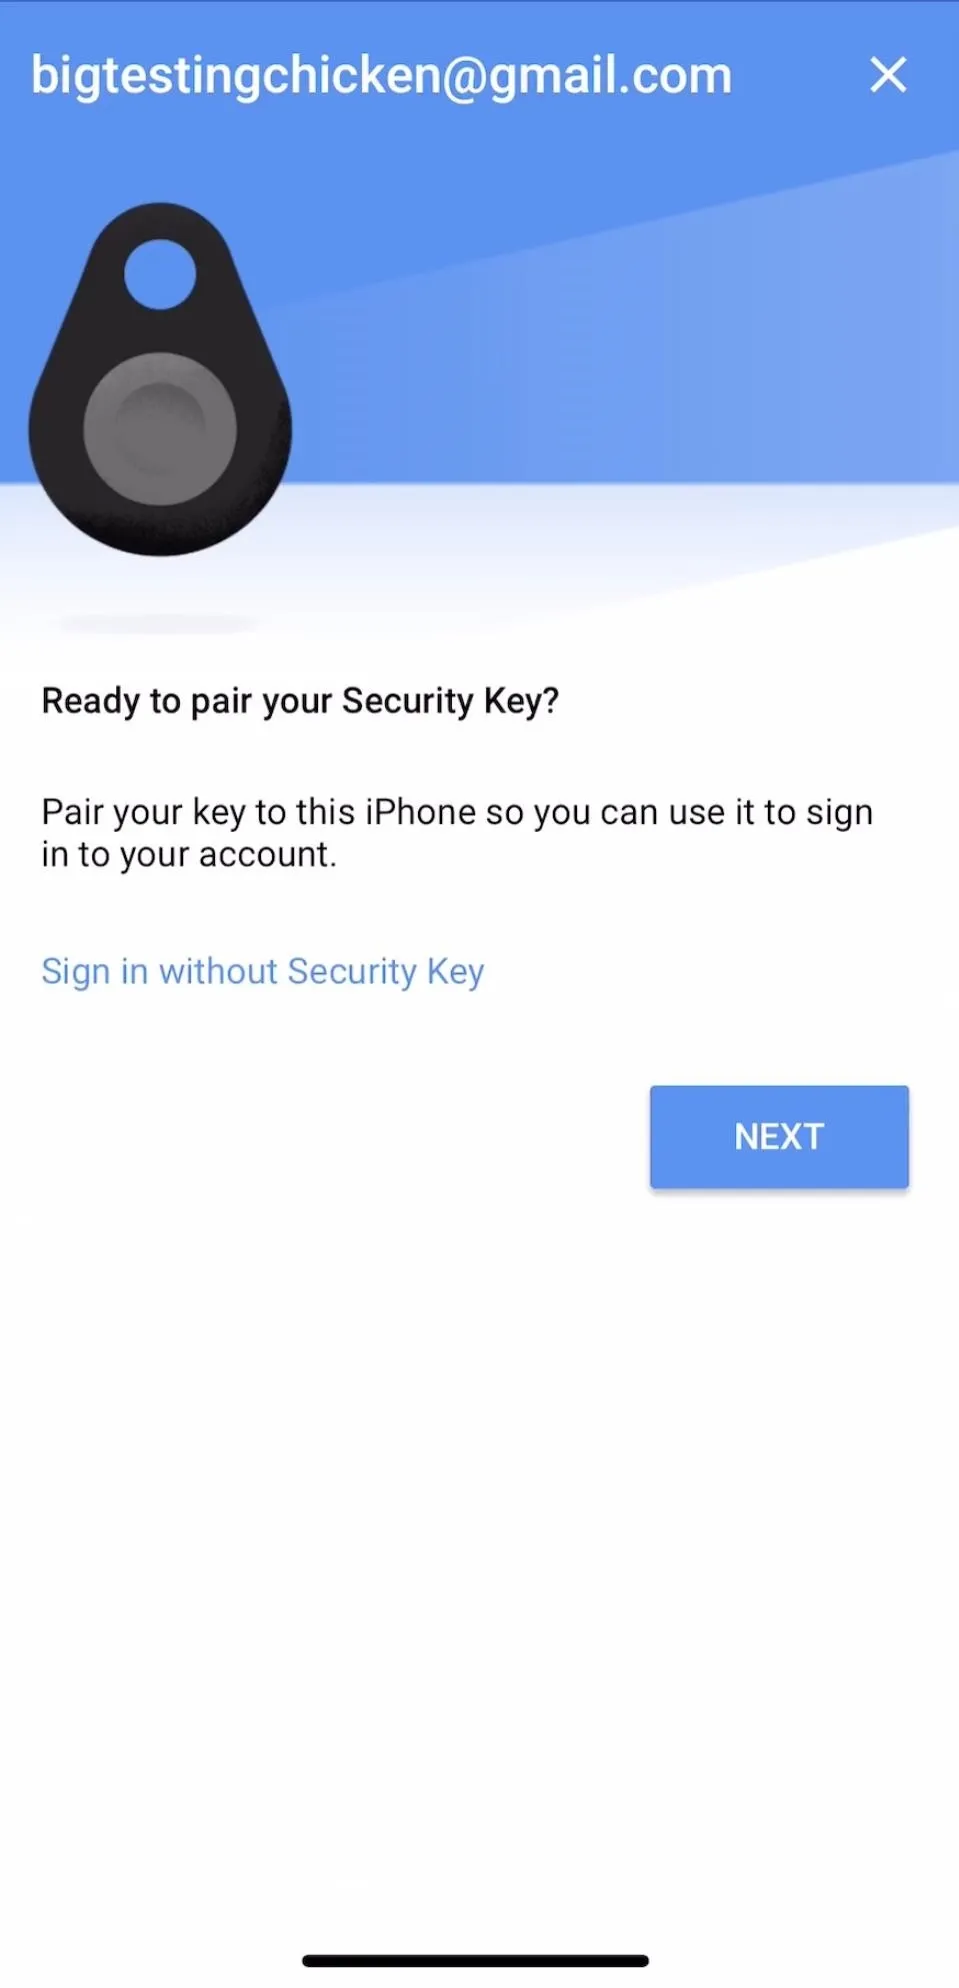
On the next screen, enter your login credentials for the account you wish to add. If Advanced Protection is successfully enabled on the account you are adding, you will see the challenge below. Tap the lock to begin pairing your Bluetooth 2FA key.

Pair Your U2F Bluetooth Token
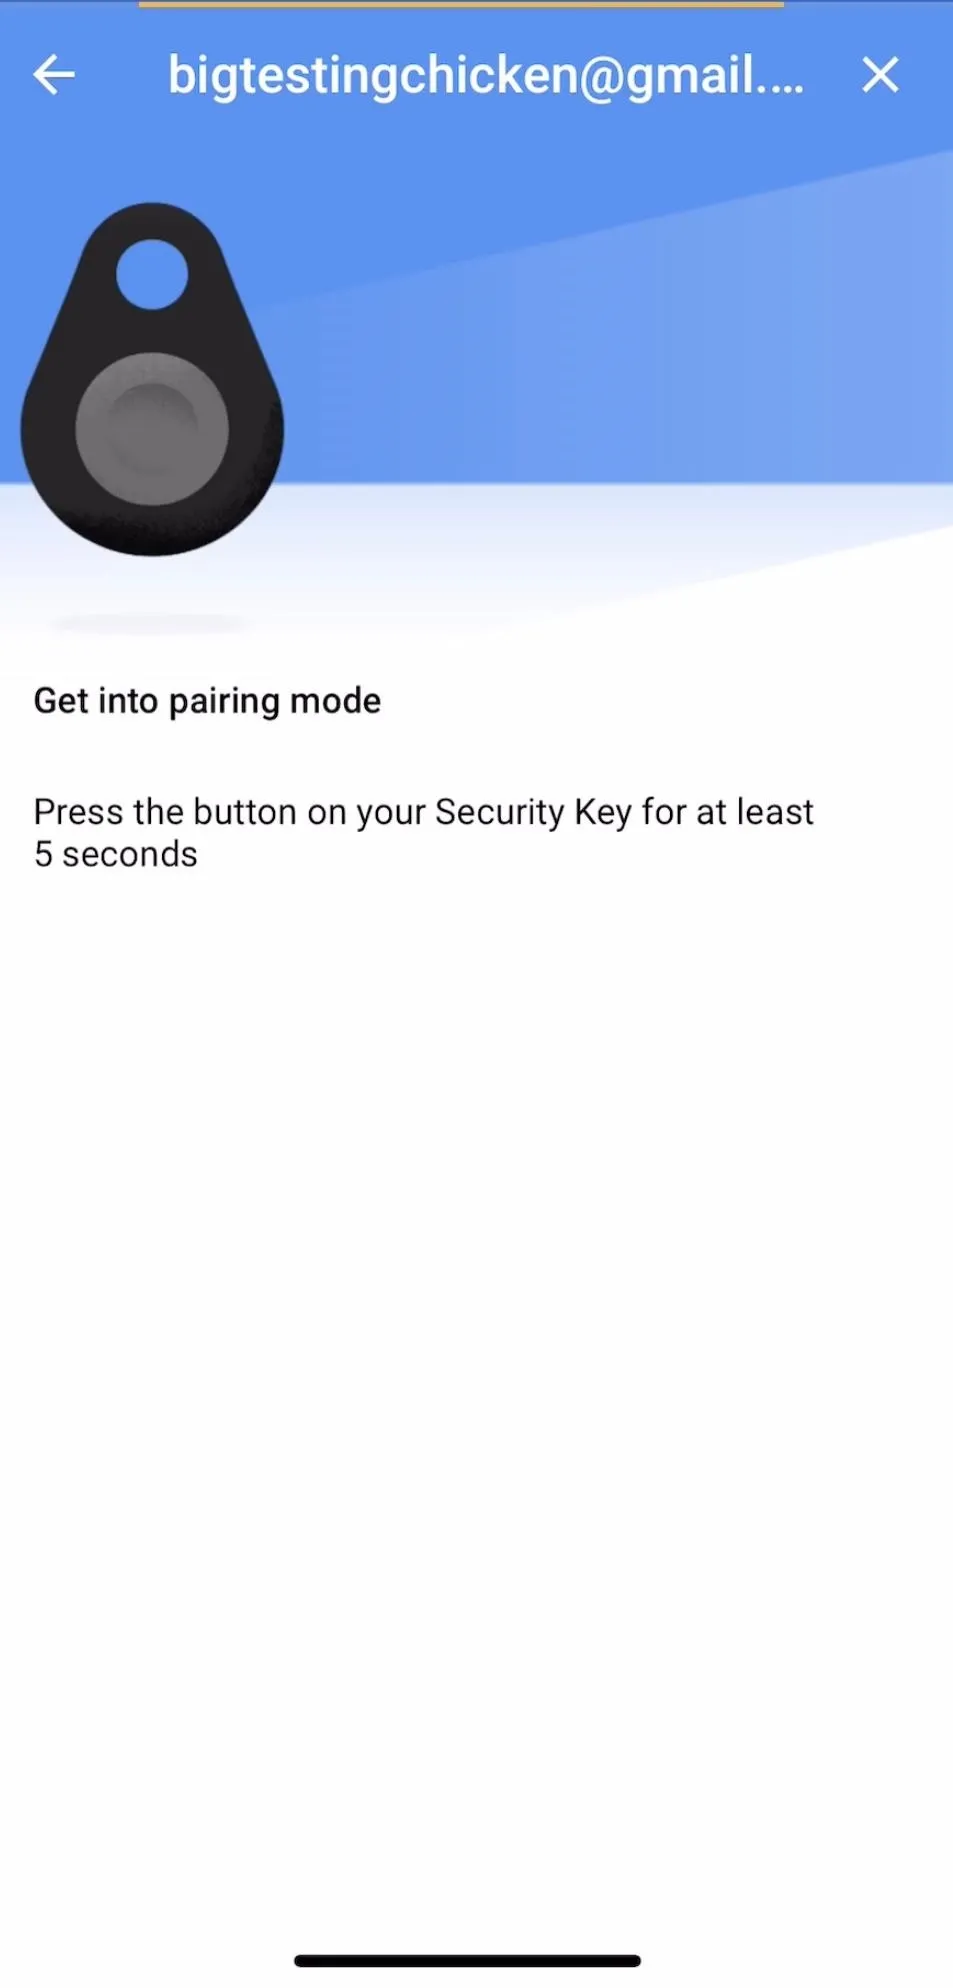
After hitting the lock icon, you'll be directed to the screen below. Make sure you have your Bluetooth U2F token handy, and tap "Next" to begin the pairing process. Ensure your Bluetooth on your iPhone is turned on, and then hold down the button on your Bluetooth U2F token until the blue LED begins to blink. That will put your Bluetooth key into pairing mode.
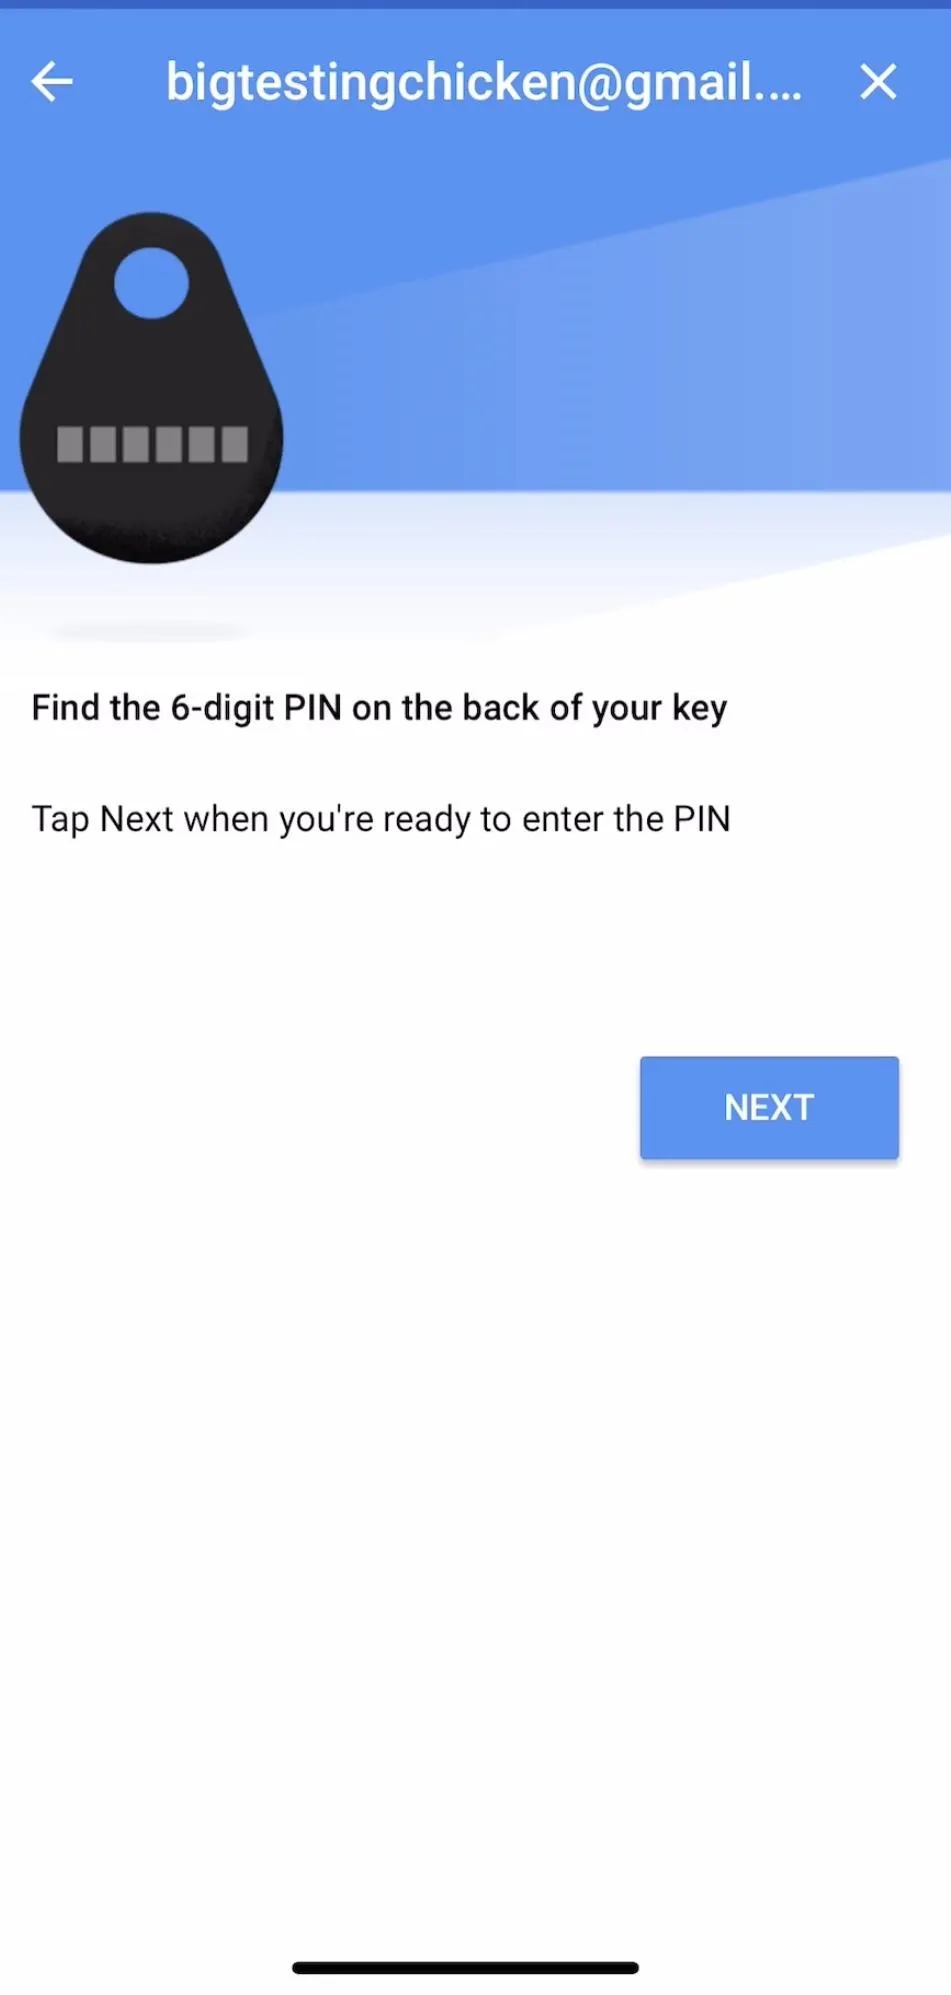
Your iPhone should detect the key when it is in pairing mode and redirect you to the next screen. Here, you will confirm the device you want to pair with by tapping on it. Once you have selected your key, you'll need to enter the PIN to pair them. The PIN number will be written on the back of the U2F device. Select "Next" to continue.

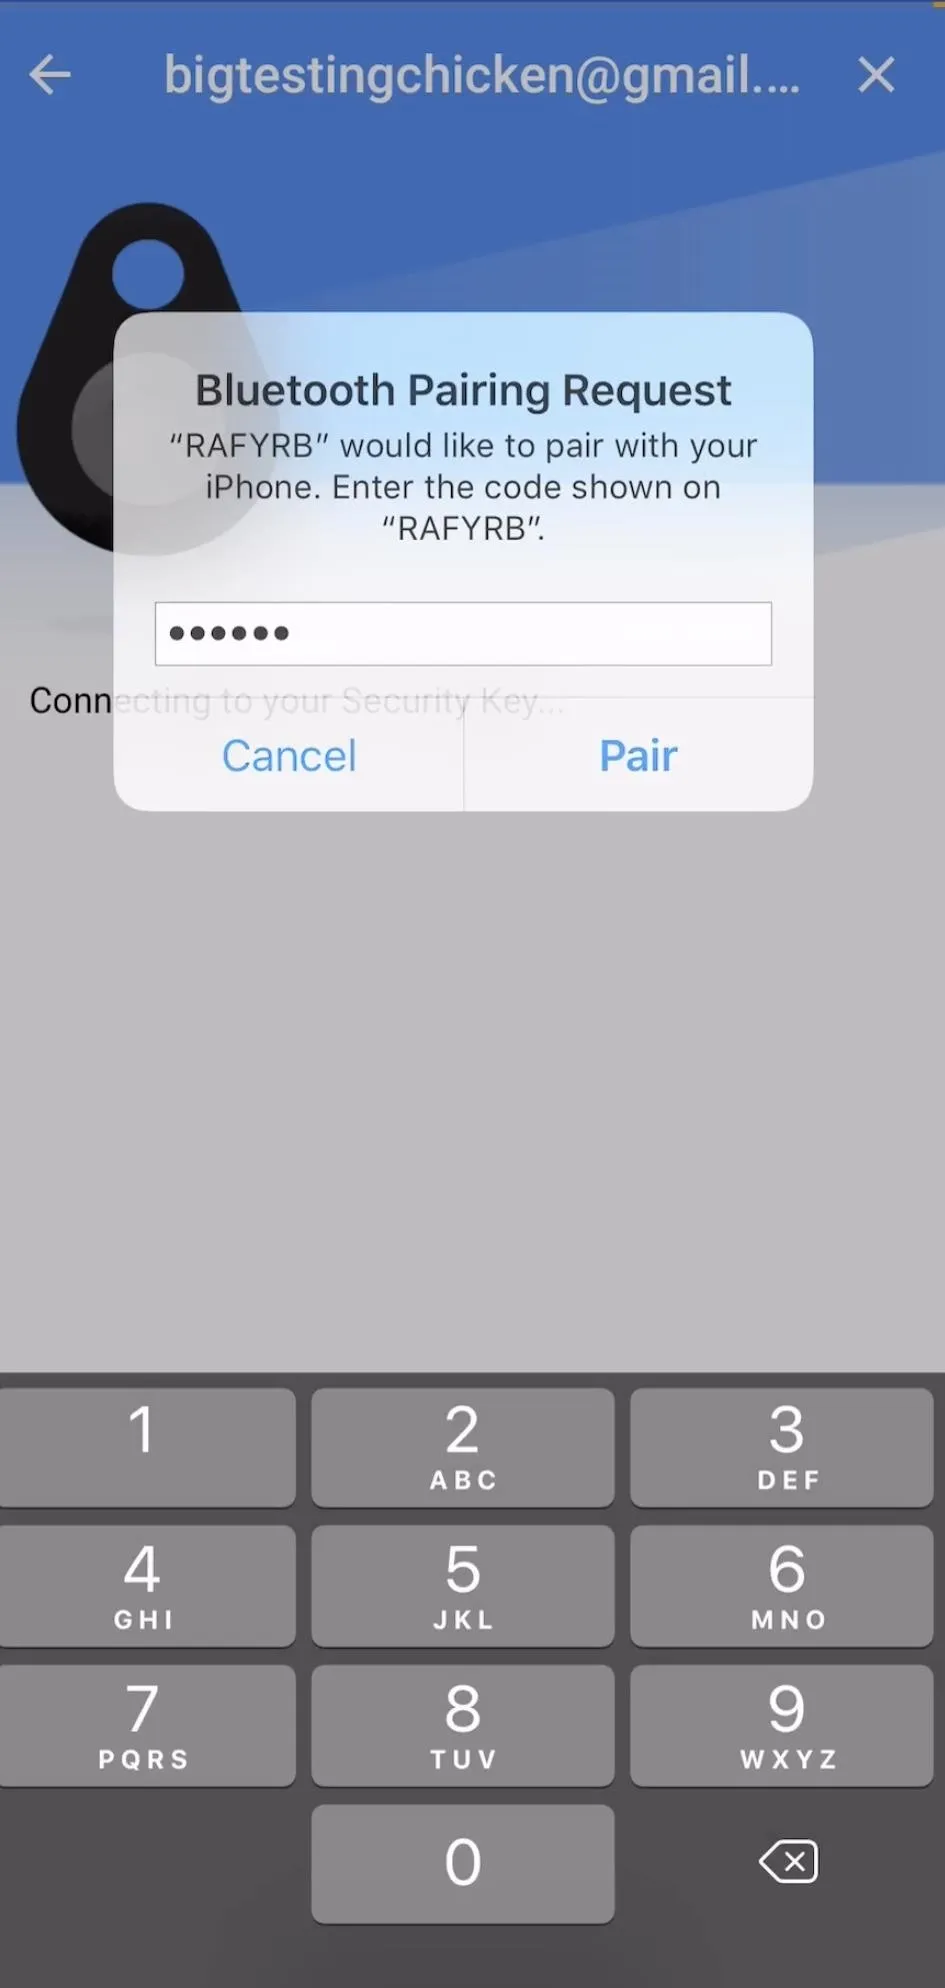
Enter the PIN into the "Bluetooth Pairing Request" window that opens and tap "Pair." Once the key has paired, tap the button on your U2F key to respond to the challenge and log in to your account.
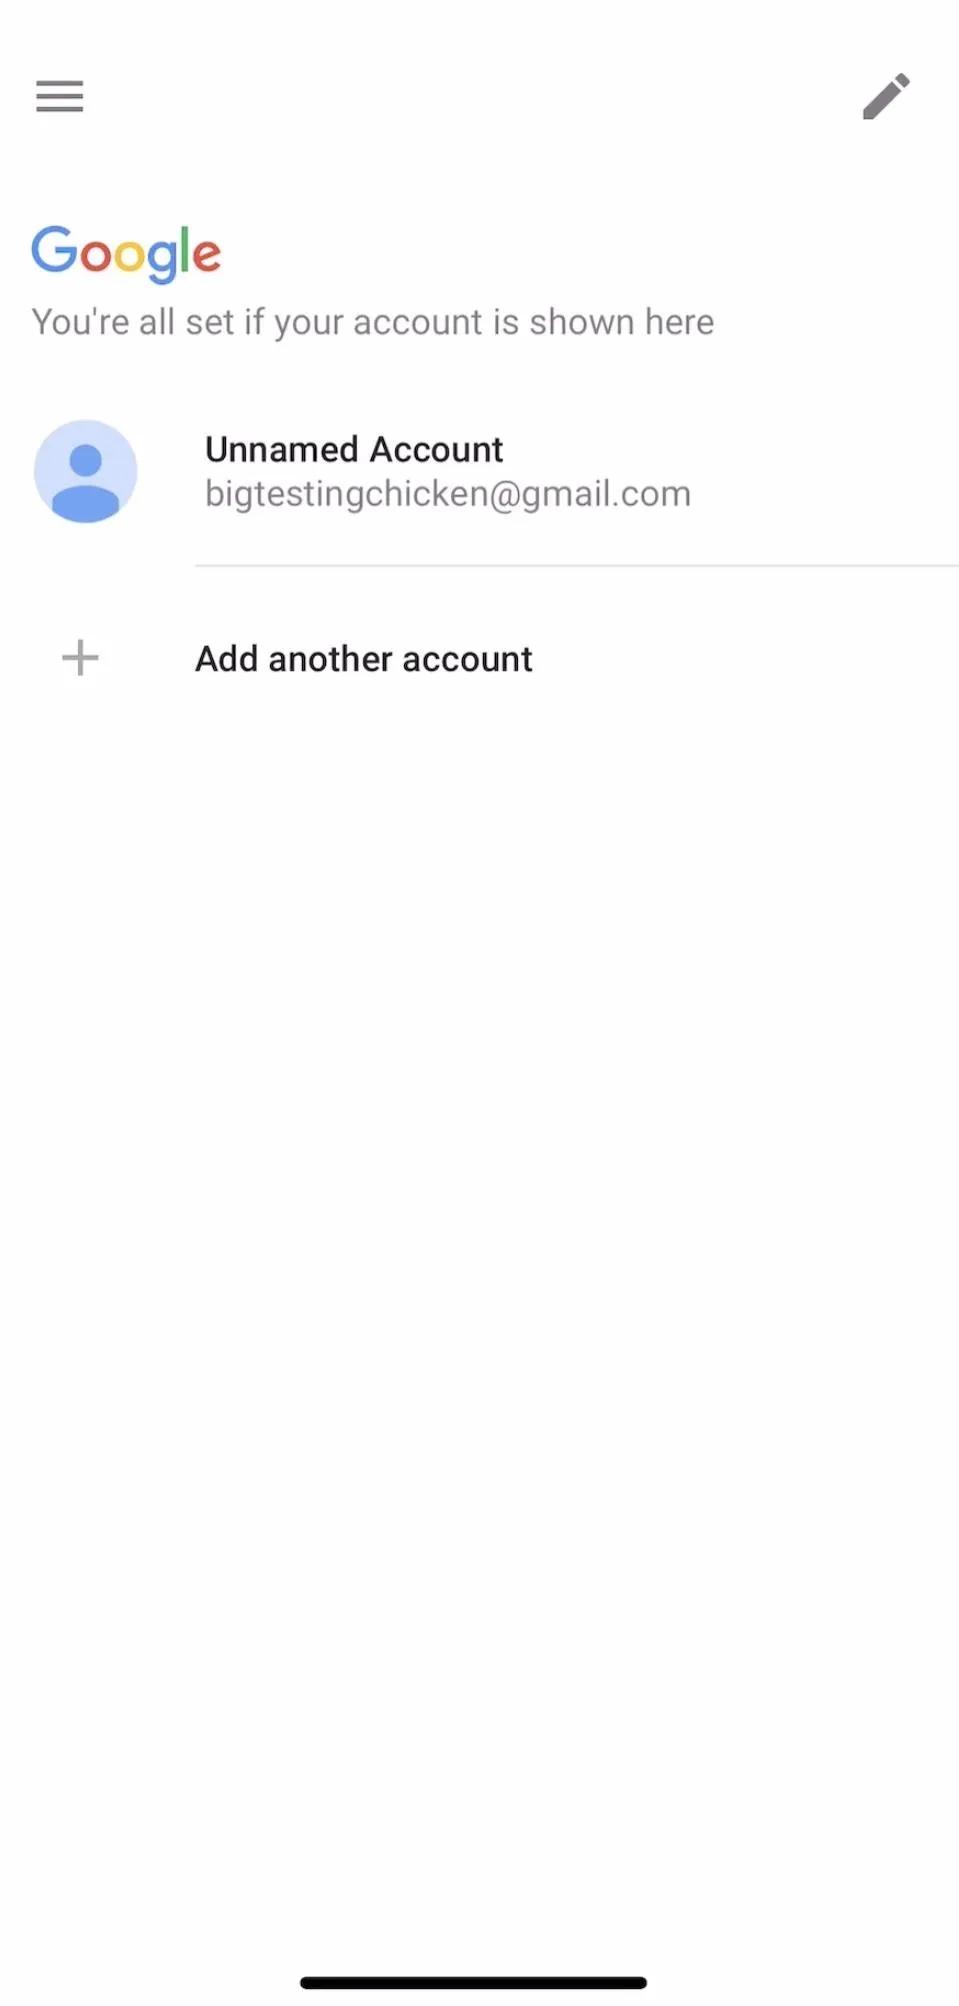
If everything worked, you should see a confirmation screen informing you that you've successfully logged in to your Advanced Protection enabled Google account on your iPhone. You should now see your account in the list of connected Google accounts, which means you shouldn't need to log in with your key again on this device.
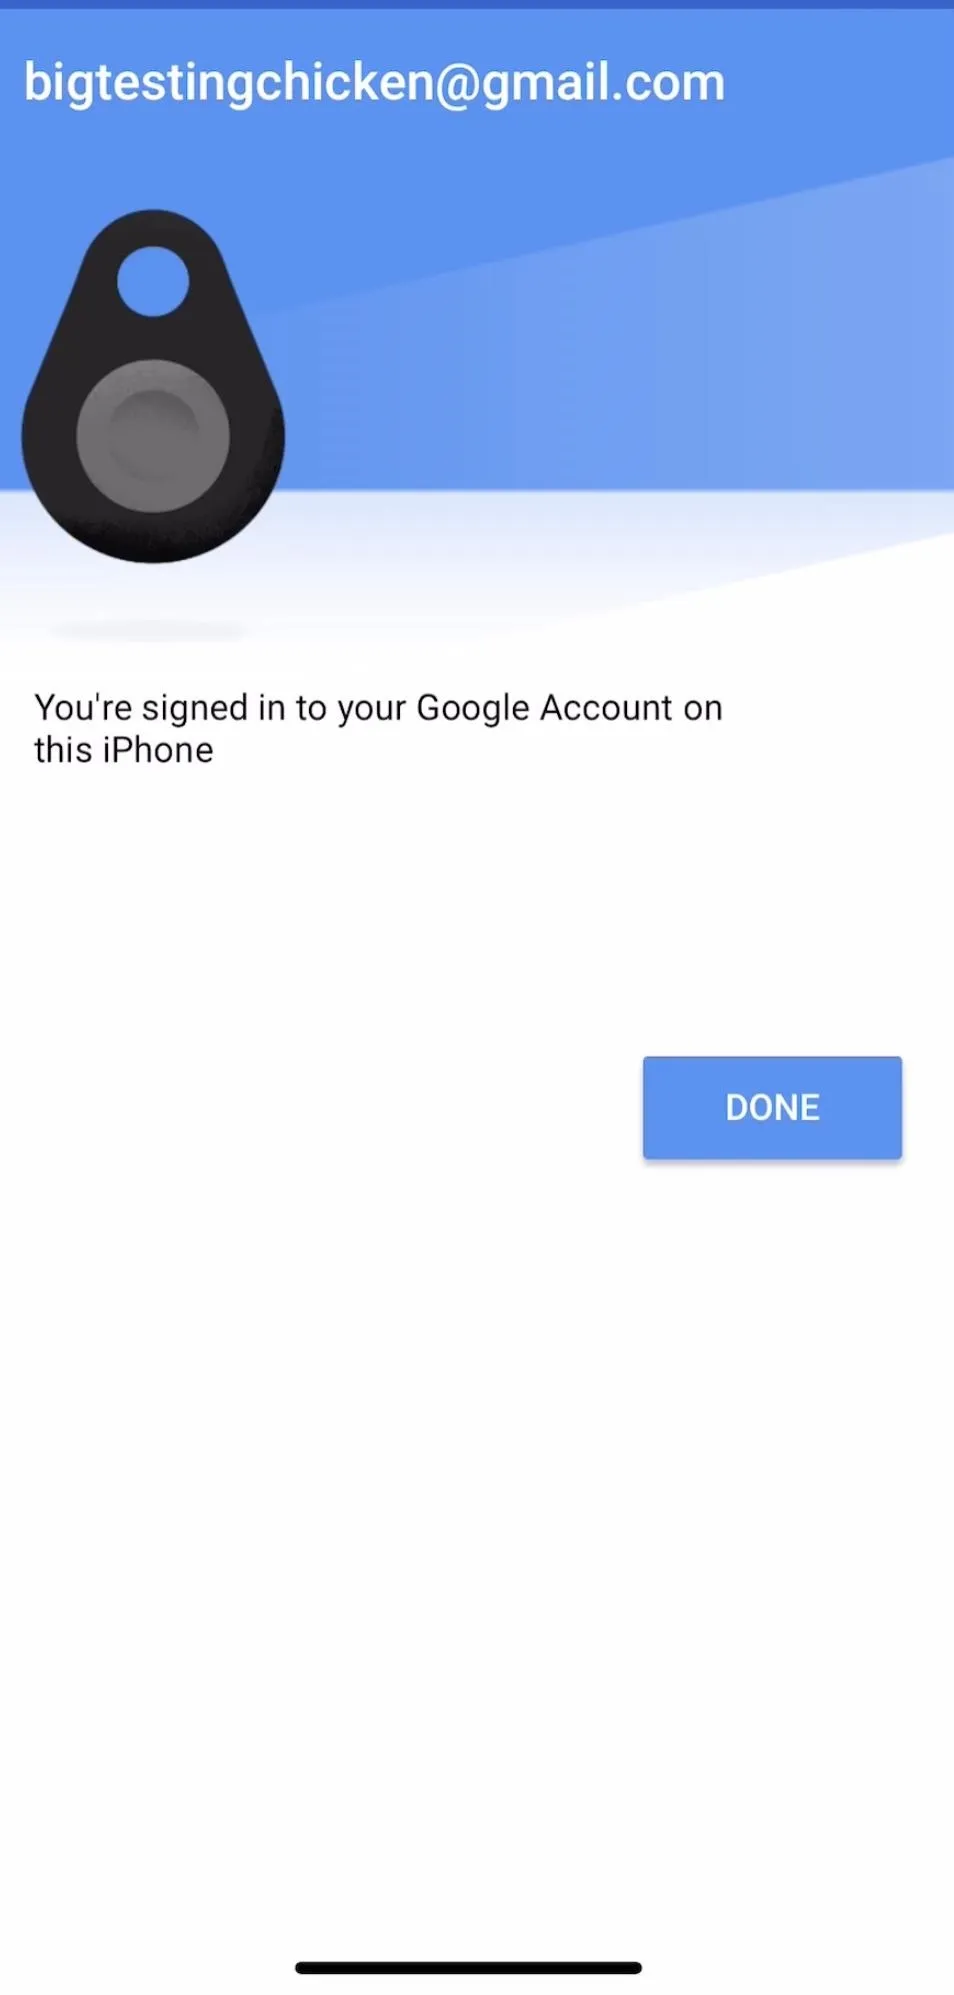
Congratulations, you've securely logged your iOS device in with your Bluetooth U2F key!
Remember to Practice & Keep Spare Keys
For celebrities, business owners, human rights workers, and other security-conscious users, the threat of phishing can be reduced substantially by mastering the use of U2F devices. Since you'll invariably be using a mobile device at some point, it is critical to practice logging in with these tokens to ensure you can do so under stress.
If you do certain things like use a VPN or change location frequently, you may need to sign in with your U2F key more frequently than the average user, as your account may think you are a different device.
Kody/Null Byte
The biggest takeaway when setting up your account to only be accessible with security keys is to never find yourself in the circumstance where you lose all your keys. Keep a backup somewhere safe that you can use to enroll spares. Finally, if you need to revoke access to any device that has been added to your account with a key, you can simply change the password to your Google account. This will require all authenticated devices to log in with a security key again.
I hope you enjoyed this guide to securing your Google account from phishing attacks using Advanced Protection and U2F security keys! If you have any questions about this tutorial or U2F usage, feel free to leave a comment or reach me on Twitter @KodyKinzie. We'll be doing some more guides on this program specifically for macOS and Windows, Arch Linux, and Debian, so stay tuned.
- Follow Null Byte on Twitter, Flipboard, and YouTube
- Follow WonderHowTo on Facebook, Twitter, Pinterest, and Flipboard
Cover photo and screenshots by Kody/Null Byte


Comments
Be the first, drop a comment!