
At this point in our series on creating a customized hacking container, you should be able to use Docker to save and retrieve customized instances of Ubuntu from your own machine. Make sure to revisit part one and part two if you need a refresher.
In this article, we're interested in security, which is why a lot of us are here on Null Byte in the first place, right?
One of the advantages of Docker and containerized operating systems is that they can be destroyed and replaced with just a few simple steps. To keep things as secure and as simple as possible, we're going to learn how to store our pen-testing OS remotely, so we can grab it when needed yet keep it away from prying eyes when necessary.
Step 1: Find the Container
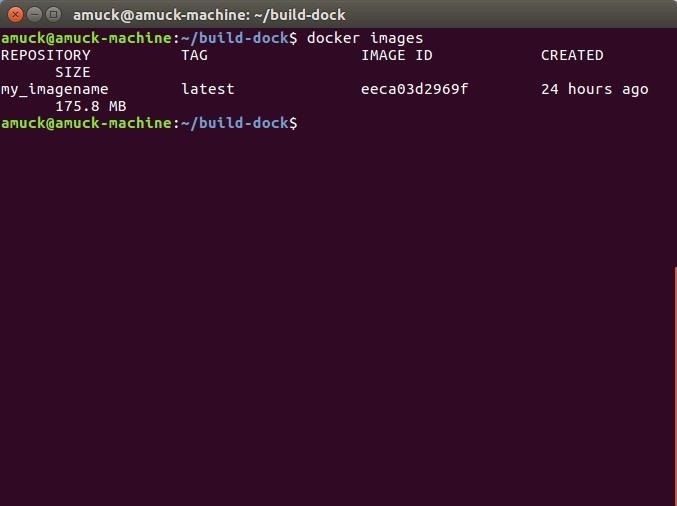
First, let's see if we have a container ready to go.
docker images
This shows us that we have my_imagename prepared.
If that command didn't work, use docker service restart to restart Docker and try again.
Step 2: Archive It
You may have noticed so far that we haven't signed into Docker's servers for any of our work; We're simply pulling Ubuntu down from their registry. We could sign up with Docker for some personal space to "push" our saved containers to, but we're going to put our Docker container somewhere else.
That elsewhere can be your own server, though, I'm sure you can see how this will work with a thumb drive, external hard drive, or even S3 share if needed. Either way, we're going to need to save our Docker container in a portable format that isn't dependent on Docker being on the other side. To do that, we can use the following command to save our container in TAR format.
docker save -o backup-name.tar backup-name
Where backup-name.tar is the name you want your container to have, and backup-name is the name your container has on your machine. And by "container," I mean the name you assigned to your customized pen-testing instance. In my case, I used:
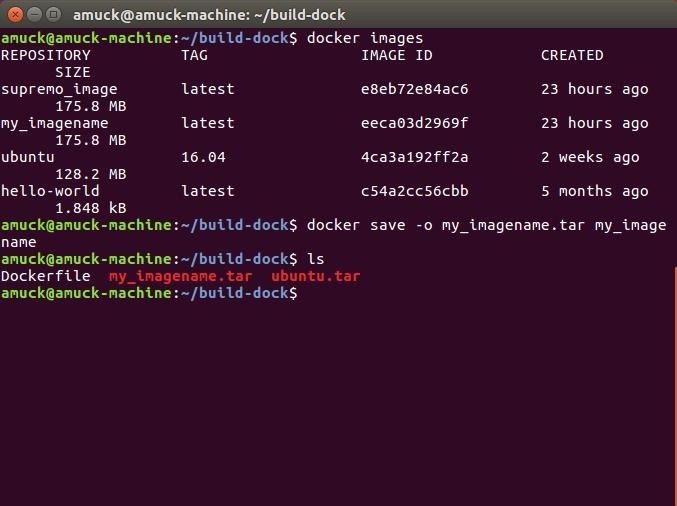
docker save -o my_imagename.tar my_imagename
Upon running this command, our TAR file will be located at the level that we ran this command from. I looked in my build-dock directory, since that's where I run all my Docker commands, and there it is.
ls
The my_imagename.tar file was created by Docker from the my_imagename instance.
Step 3: Store the Container Remotely
At this point, we can simply use SFTP, Rsync, or SCP, which are all just different protocols for transferring files from one server to another securely (that is, encrypted as it goes across the wire), to put this TAR file onto our remote server.
rsync my_imagename.tar amuck@exampleserver.com/tmp
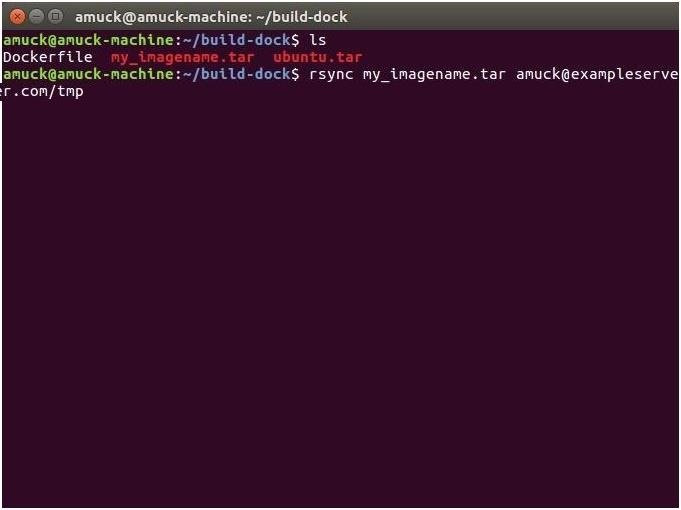
Obviously, I'm using an example server for this tutorial, so make sure to swap that out.
Step 4: Restore to a Local Machine
To restore to our local machine, say after we've scorched the earth of all things Docker for some reason, we can simply rsync or scp this file back to the same home-level Docker directory, and use Docker itself to reload the TAR file. There is no need for you to extract the TAR file yourself. Once the TAR file is back on our computer, we can verify it's there, then load it.
Let's grab the file, confirm it's on our system, and load it back into Docker.
rsync amuck@exampleserver.com/tmp/my_imagename.tar
docker images
docker load -i my_imagename.tar
That last command means, Docker, load the container in place from the following TAR file.
In the below image, you can see I had no images present in Docker, but had my_imagename.tar in my build-dock directory. I loaded this image with docker load, then confirmed it was present in Docker, and I was able to SSH into the restored container. John the Ripper is still there!
docker images
docker run -it my_imagename.tar
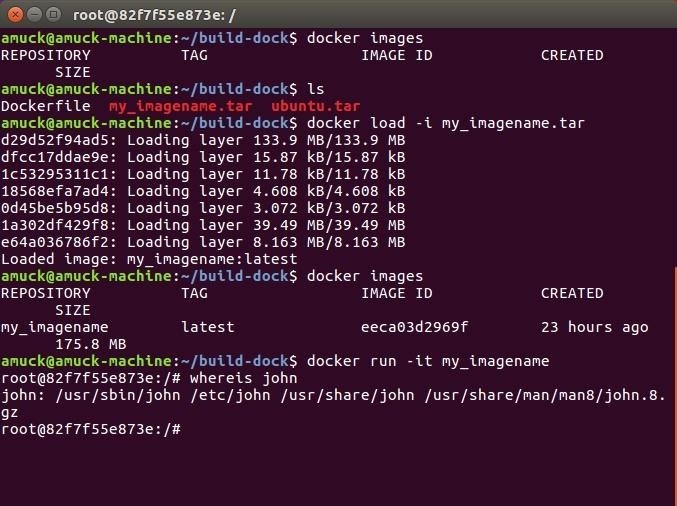
And we're back in business.
We've Used Docker, but Stayed Away from Its Servers
I really like the above method for storing and retrieving my Docker containers, since it uses secure transport, requires no additional software, and is on a server I trust (my own). The same can be true of your thumb drive, smartphone, external media, or other external storage site.
There is a way to configure your own server to accept standard Docker push and pull commands, but they depend on an earlier Docker version than we're using here. And again, that method also requires you to install more software on your server, which I'd rather not do. If you're set on using Docker push and pull commands on your own server rather than simple SFTP transport of a TAR file, let me know in the comments.
Has anyone got the hang of this yet? Let me know!
Just updated your iPhone? You'll find new emoji, enhanced security, podcast transcripts, Apple Cash virtual numbers, and other useful features. There are even new additions hidden within Safari. Find out what's new and changed on your iPhone with the iOS 17.4 update.


1 Comment
Hey TODDLER! Got a question.
So, I am seeing the practicality of this, but my question is how do we get our Burner OS from the Server and utilize it to attack? Would you access it and SSH in from your own smartphone/ laptop, or from the target given I have physical status? In the former example I am guessing the advantage over a Live USB or Nethunter setup is that you don't have a Thumbdrive or Expensive device to now tie you to a recent hack. As for the latter example and I way off base?
Share Your Thoughts