

Now that we've learned about keeping all our data safe with encryption, it's time to continue progressing through getting your Mac set up for hacking.
Just like most other people, we hackers have a lot of credentials to manage. We're also human, so we have a hard time creating random difficult-to-brute-force passwords. So instead of rolling up all of our passwords with Diceware, we'll let our machine do the work for us—both in guarding the passwords and generating them. For this, we'll use a password manager.
There are many password managers on the market, and some of the heavy hitters for macOS are LastPass, 1Password, and KeePassX. I prefer KeePassX because it's open source, very secure, works on almost everything, and allows me control over my key database and key file. KeePassX uses either 256-bit AES or Twofish to encrypt the password vault, and has had only a couple of CVEs (Common Vulnerabilities and Exposures) in its lifetime.
Step 1: Get KeePassX
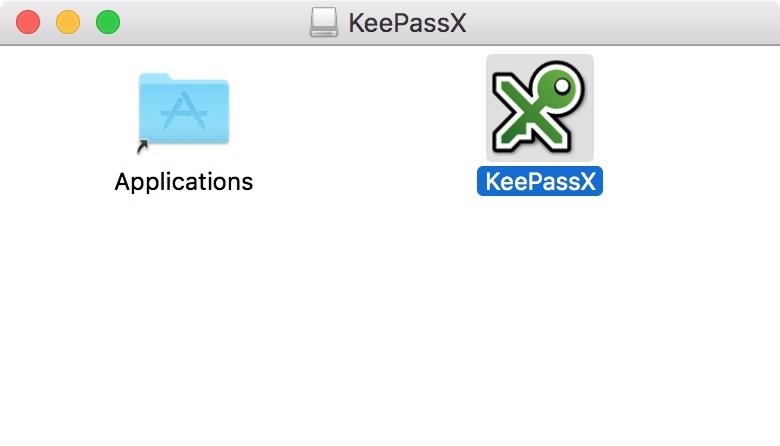
Our first step is to download KeePassX from their website. Once we have the disk image, we will mount it and drag KeePassX into our Applications folder.
On most macOS systems, we will not be able to run this app right out of the box due to the app being from an unidentified developer. Since KeePassX is unsigned, we will need to enable a security exception. If you are not comfortable with this, you may want to consider a different password manager.
Navigate to KeePassX in your Applications folder, then control-click (or right-click) on the KeePassX icon and select "Open" on the prompt. You will then be greeted with this screen:
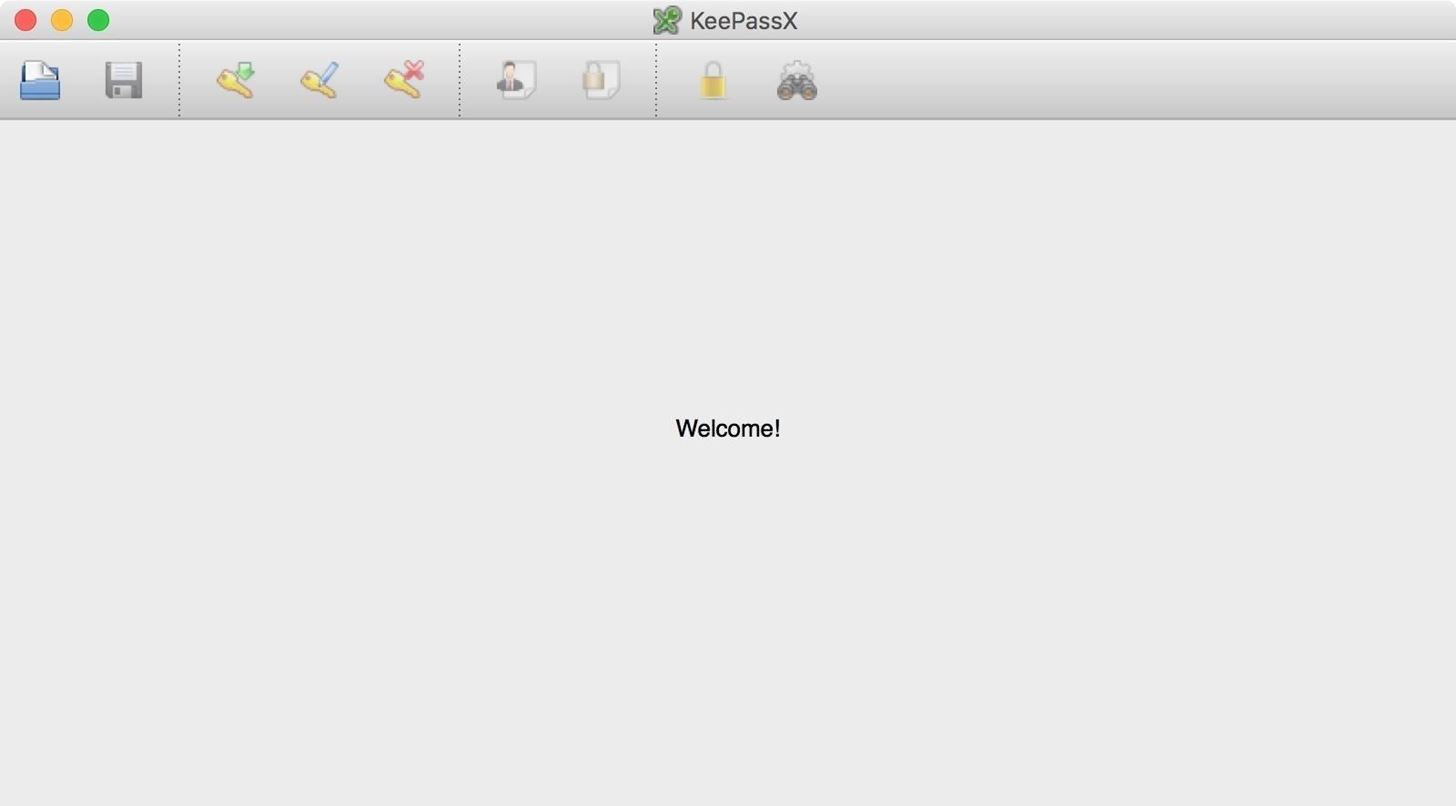
If you already have a KeePass database, you can open it now by selecting "Database" in the menu bar and clicking on "Open database." If you don't already have a database, that's okay—just keep on reading.
Step 2: Create a New Key Database
With the KeePassX window selected, go to "Database" in the menu bar and select "New database." For this tutorial, I will be using a key file along with a password. Without the key file, the database is useless. If you lose the key file, you will lose all of your passwords. I keep a backup of my key file somewhere safe, and a copy of it on a USB key. If I stored the key file with the key database and an attacker gained access to my system, they could attempt to brute-force my database. Better safe than sorry.
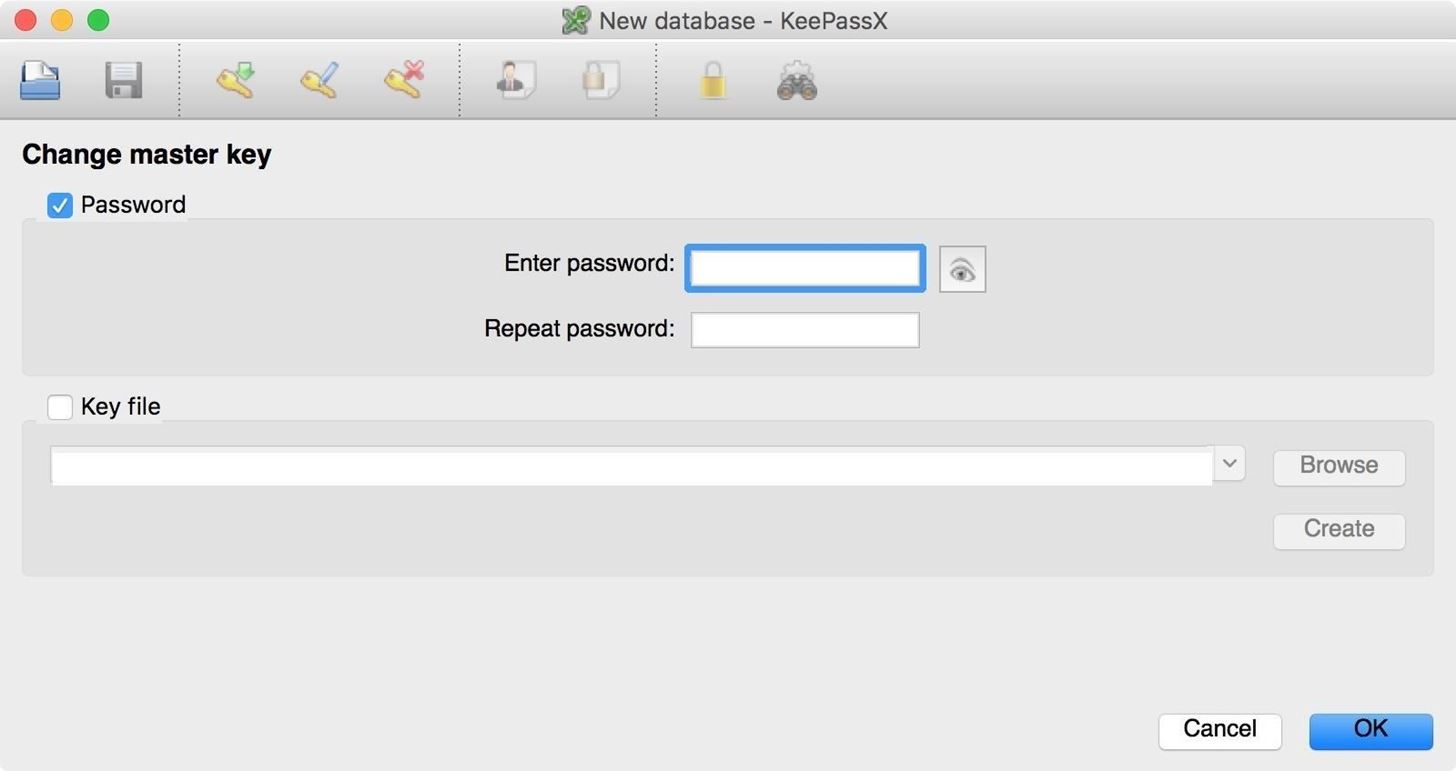
Tick the "Password" box and enter a strong password in the password field. I suggest using Diceware to create this password, since it's imperative for this one to be super strong and random.
Next, tick the "Key file" box (if you intend to use a key file) and click the "Create" button. You will be prompted with a save dialog. Select a location on your drive and save the key file—KeePassX will then generate the key file for you. If you are happy with your settings, click "OK" to continue.
Step 3: Add Groups to Your Database
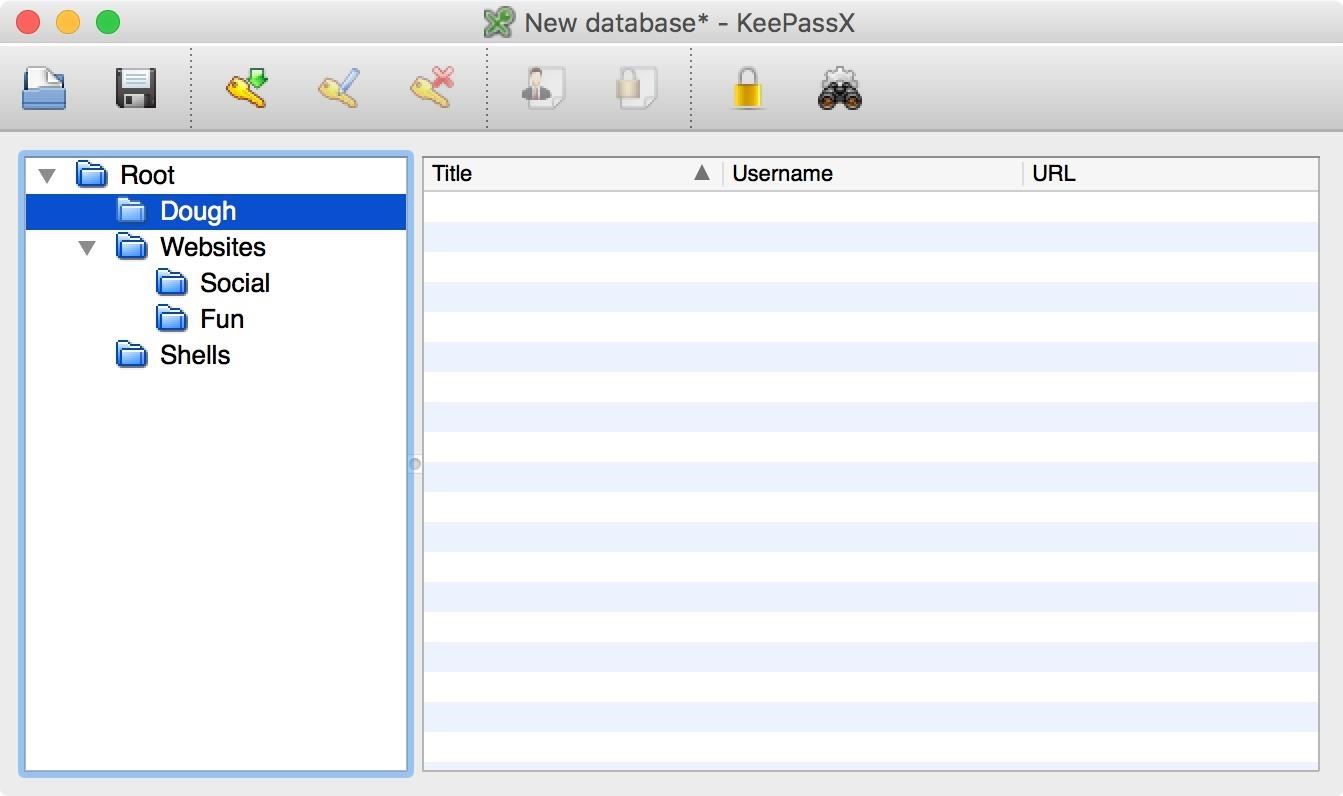
We now have a fresh key database, but we don't have any groups other than the default "Root" group, which houses everything. Groups are basically just folders to organize your passwords in whatever manner you want.
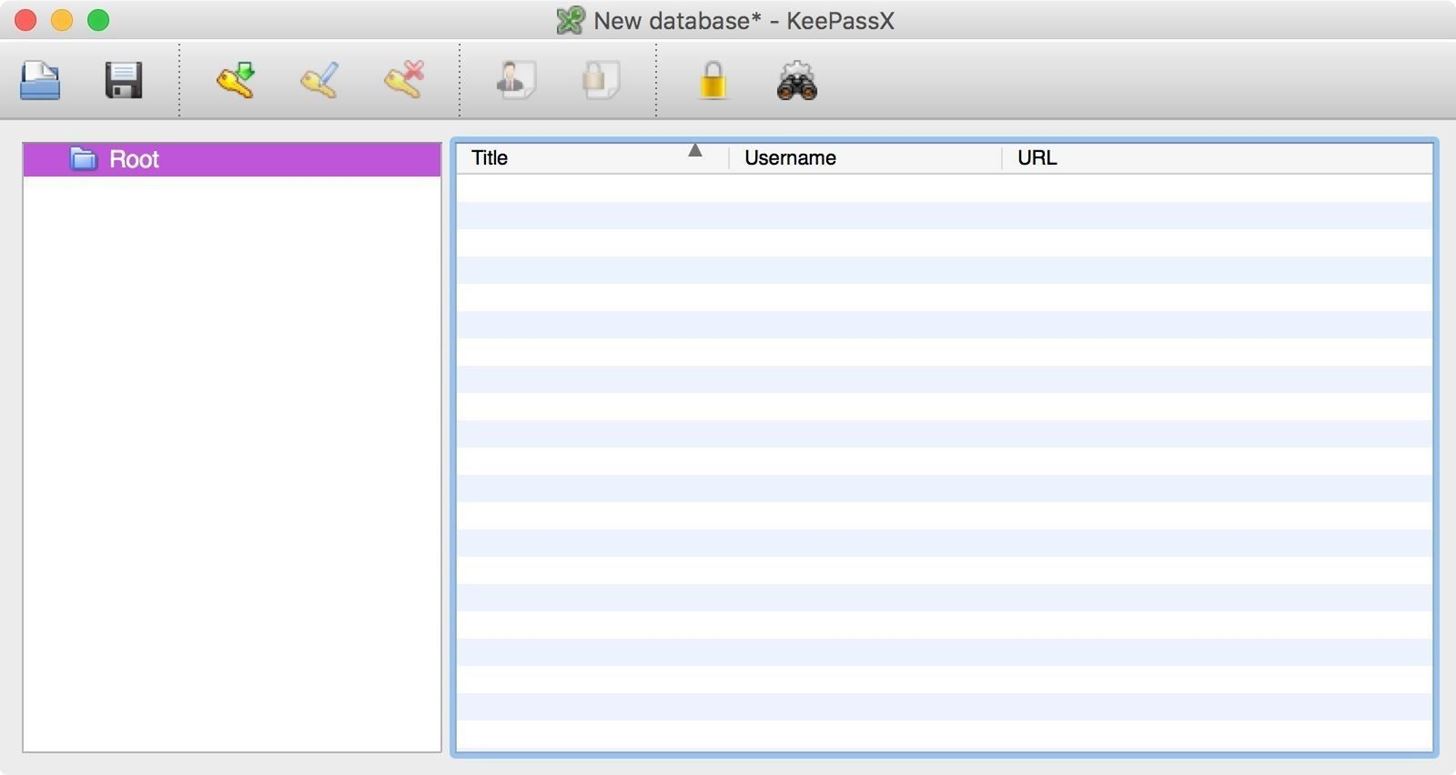
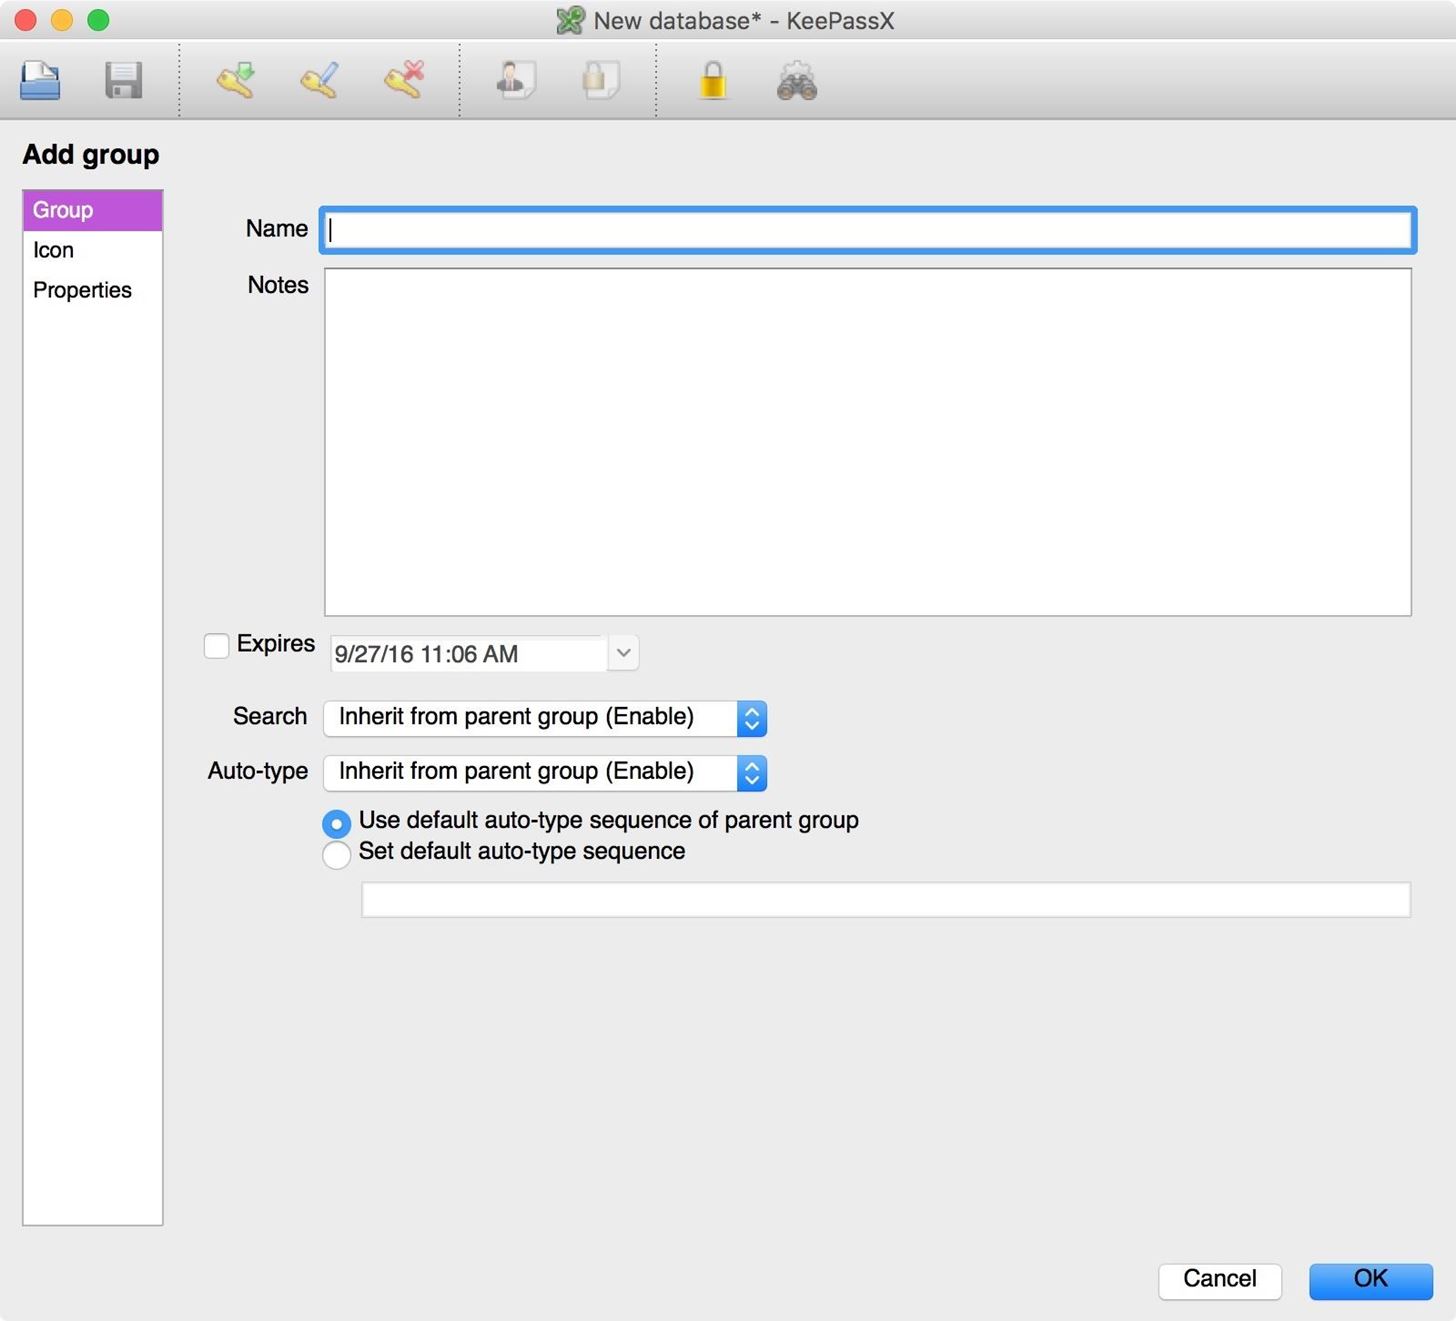
Since only having a "Root" group is extremely disorganized, we'll go ahead and create some more groups to keep things nice and tidy. Control-click (or right-click) on the folder labeled "Root" and select "Add new group." You could also select "Groups" in the menu bar and select "Add new group."
Fill out the name field, add notes if you need them. If you have a password revocation policy, tick the "Expires" box and enter a date and time. Keep in mind that this will expire all passwords in that group at that time, and will remind you to select new ones.
When you are done editing a group, click on the "OK" button on the bottom-right of the window.
If you want more groups, go ahead and create them. You can also create subgroups within groups, if you want to be really OCD about them.
Step 4: Add Entries
Now that we have some groups, it's time to start generating some credentials.
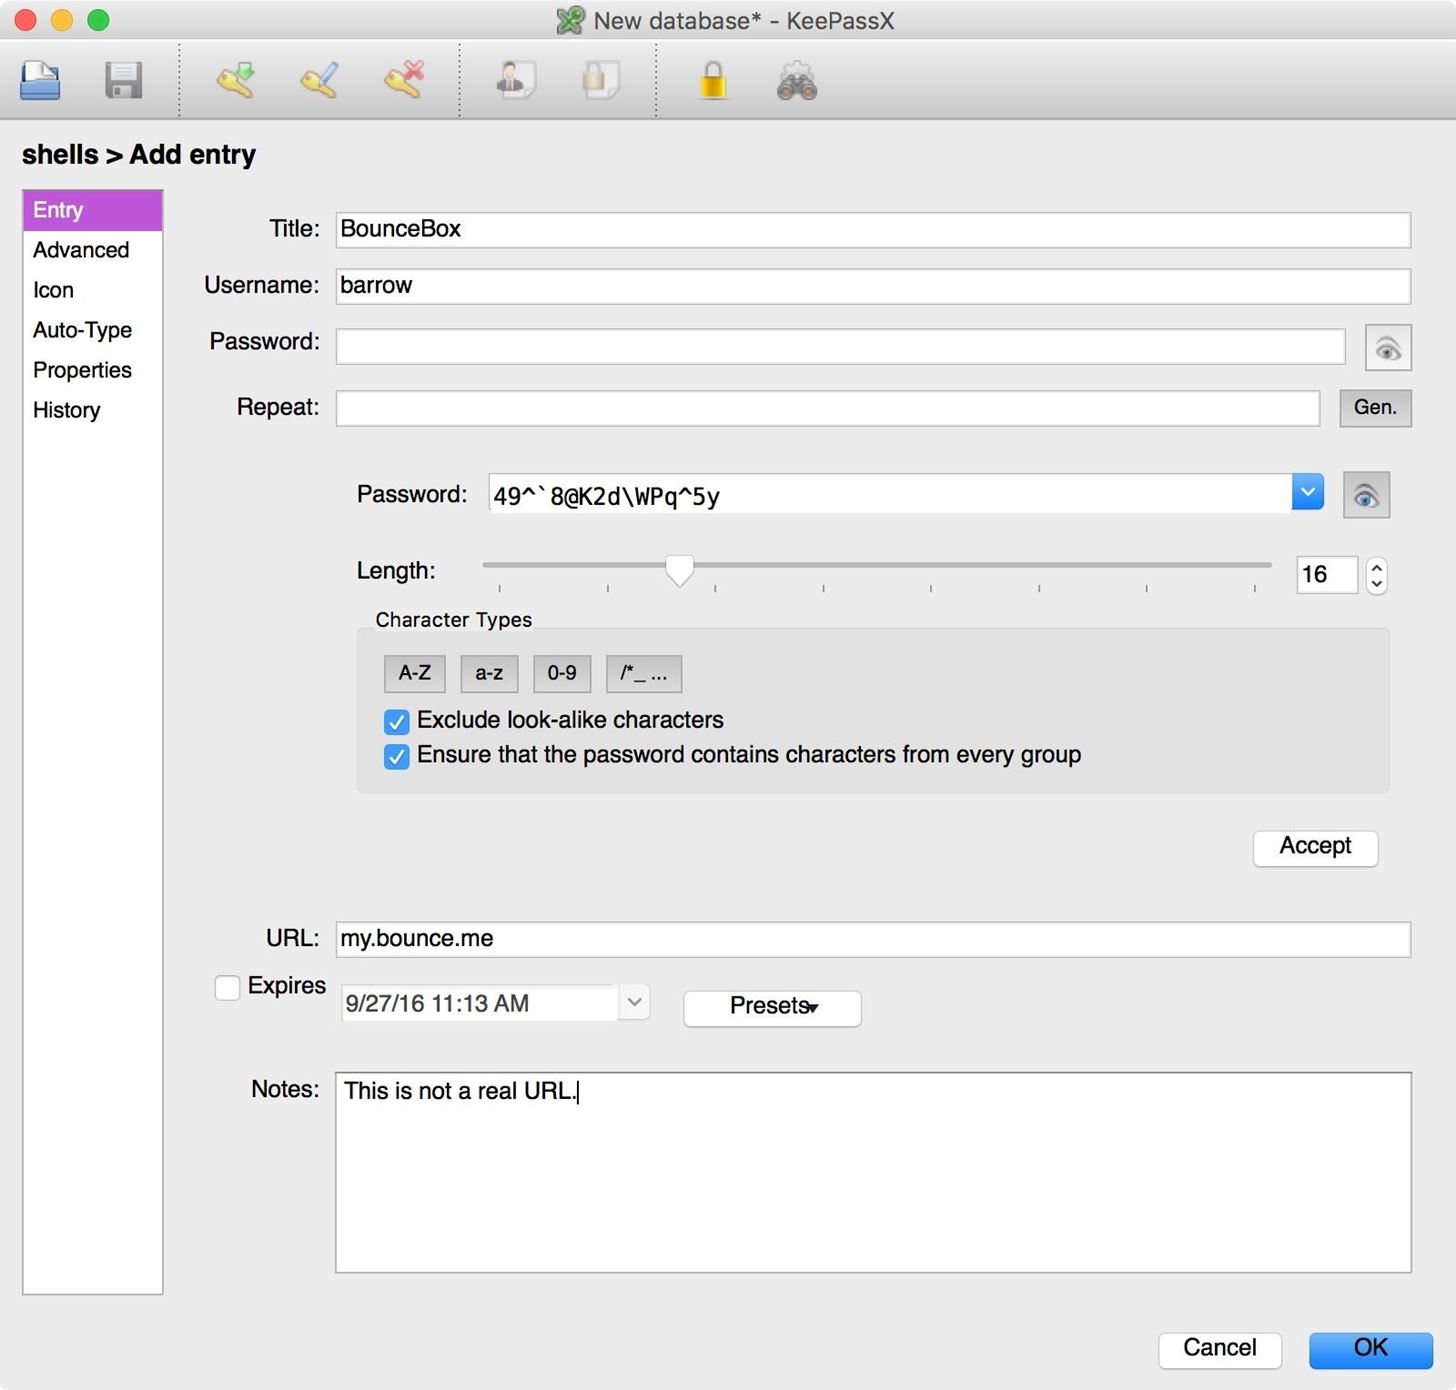
Select a group, then press Command N or go to "Entries" in the menu bar and select "Add new entry." Enter the title, your username, and click on the "Gen." button to generate a new password. Here you will be able to select password rules. I selected the special characters button in the character types, but you can use whatever you want—just hit "Accept" when it's to your liking.
Fill out the rest of the fields as you see fit, then click the "OK" button at the bottom of the window to save your entry.
Repeat these steps for all of the credentials you have and you will have unique, strong passwords for all of your accounts! Not necessarily as strong as Diceware passwords, but they're the next best thing.
Step 5: Use the Database
In order to use a stored password, simply select the entry you need and press Command C to copy your password. Then use Command V to paste the password into the appropriate field of the website, app, etc. You don't have to worry about the contents of your clipboard being read due to KeePassX auto-clearing the clipboard after 10 seconds. While KeePassX does offer an autofill option, it is still in experimental state and beyond the scope of this article.
Stay Tuned for More Hacking with Mac Guides!
If you've been following along with the series, you now have a solid foundation to start building up from. Your hard drive is encrypted, and your credentials are safe. Coming up next, we'll be getting familiar with the terminal, getting package management working, and working with vim, eventually culminating in a strong hacking environment based on macOS.
Just updated your iPhone? You'll find new emoji, enhanced security, podcast transcripts, Apple Cash virtual numbers, and other useful features. There are even new additions hidden within Safari. Find out what's new and changed on your iPhone with the iOS 17.4 update.


Be the First to Comment
Share Your Thoughts