
Hello everyone, I am new to the forum and also still a baby in Cyber Security. I desire to join you guys so much that I can also learn from the process. Wish everyone can enjoy my articles and even comment to correct my wrong points.
In the series of these articles, I will show some basic concepts and skills of Binary Exploitation. I may also separate the whole series into two operation systems, one is Linux and the other is Window. The skills would include such as "How to write a shellcode?", "How to bypass the DEP?"and so on, and I will also try my best digging into the reasons like "Why I should pop the register at here?".
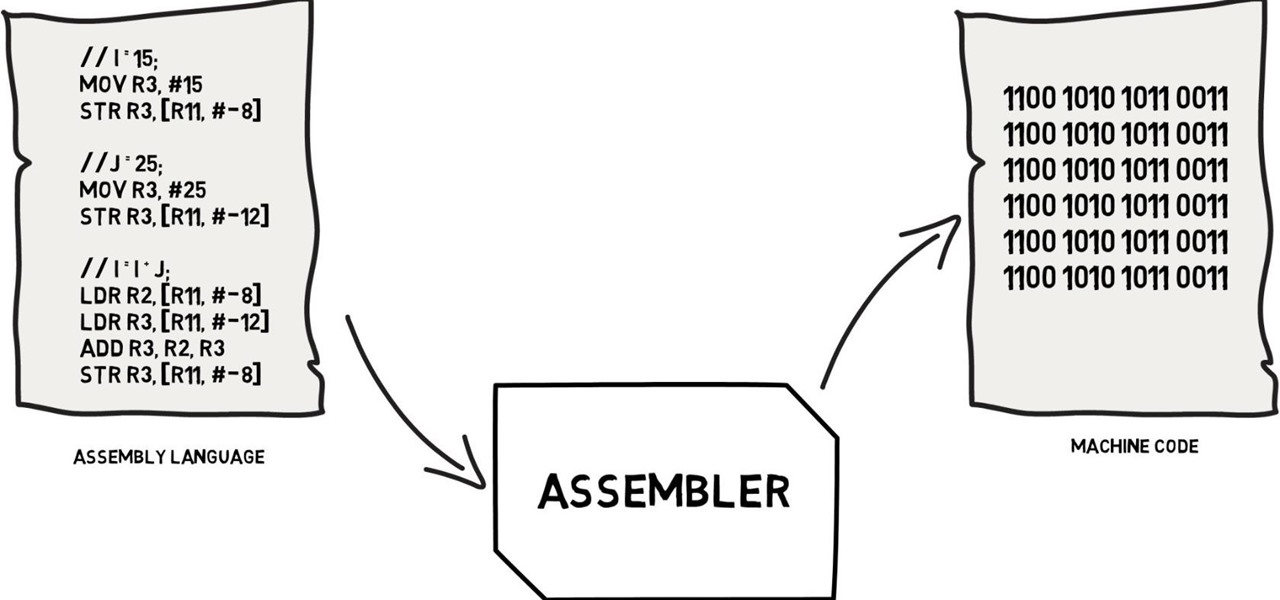
In the CTF, there is also a region called pwn specifically for Binary Exploitation. For me, it is the most difficult part that I always escaped from it in past. I didn't want to face the seemly complex code such as assembly code; therefore; Binary Exploitation was once the nightmare to me. However, when I started to learn for the Malware Analysis, I found digging the assembly code so attracting to me, it is also just like a code, which we can use it to decide the process of some software. As a good saying goes, no one can know what it is before touching it.
OK! I will start the part 1 with Binary Exploitation in Linux 64-bit OS and in this lesson I would like to share with "How to write a shellcode?"
How to Write a Shellcode?
When I first time learned to write a exploitation, I always use Shellcraft as a shellcode generator in pwnlib library. However, I faced a problem when I relied on the tools so much : I don't know how Register work with the shellcode to get a shell, and this will make me confused when I need to customize my own shellcode. Therefore, I suggest people new to this region need to make the shellcode by hands, not with tools or the copy from the Internet.
In the following I will show a example of shellcode and explain it.
- How to get a shell with the shellcode?
We need to use the execve() and write '/bin/sh' as its first argument to make it.
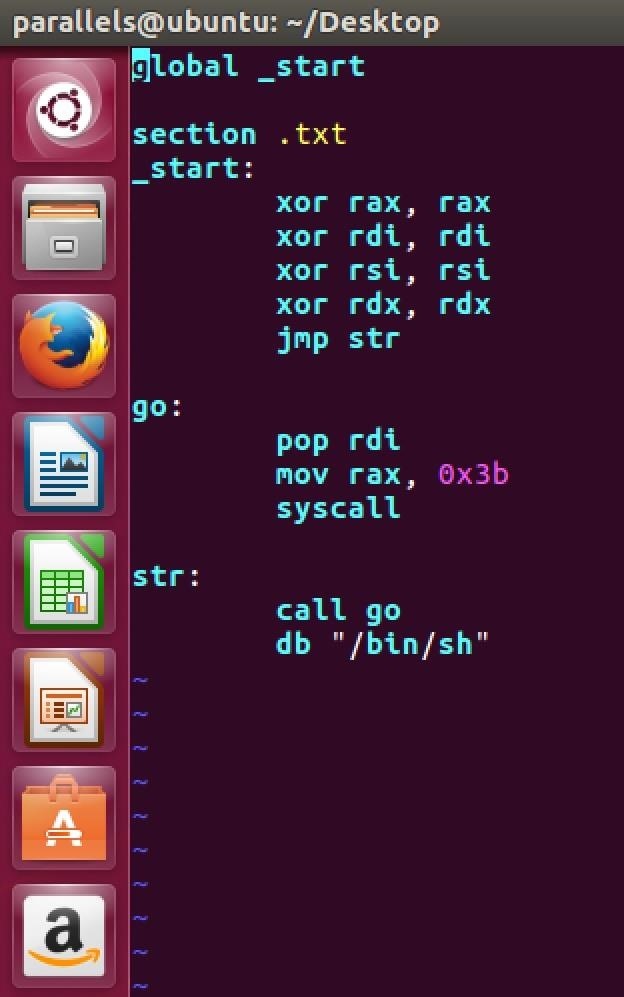
start section:
To start with, the "start" section will be the fixed and first one to run. We can see in the "start" section we use the xor to clean up four registers, and that is just as the process of initialize variables. How do I know that I need to clean up these four registers? We take a look at the following system call table

From the picture, we can realize that we need rax, rdi, rsi, rdx such four registers to call the open function. So I need to clean them up first then I can insert the needed value above into the register! However, take a look at rdi register in the picture again then you can see that the needed value is name, so we should give the value "/bin/ls" to rdi. Here, we need to take a deep look at push/pop instructions.
How does the push instruction work with registers?
When push a value onto the stack, stack will let the address pointer in rsp - 8, and insert the value to the new address of rsp.
How does the pop instructioin work with registers?
When pop a register, stack will let the address pointer in rsp + 8, and insert the origin value to the register.
Now we look back to the start section, we have already cleaned up the registers we need in open function, next we jump to the section of str by the "jmp str".
str section:
In the str section, our purpose is to push the "/bin/sh" into the stack. This may be a little tip if you are familiar with the function prologue.
What will happen with registers when we call function?
- push arg (we can imagine it with the concept I talk about above
- save ret pint and jmp to function entry
Therefore, when we jump to the go section, the rsp is pointing to the saved ret point, and the arg of /bin/sh is located at the address of rsp + 8. Next we jump to the go section.
Pay attention to the 0 in the end of the string, it acts as the terminator to stop receiving user input!!
go section:
Finally, we come to the last step. With the push/pop instruction I have talked about, we can insert /bin/sh into rdi. We have already know that rsp pointing to the next block (-8) of arg, so what will happen if I pop rdi? The rsp pointer will point to the address of rsp+8 again and insert the value into rdi, so far we have inserted the "/bin/sh" into the register. Then we can start to take a rest!!! Give 0x3b to rax with mov instruction, and we just need to give null value to the rest of two registers, and that has already done by the xor instruction in the start section. Then we can use syscall to complete our Shellcode.
Oops! To run it , we still have two action to do:
- nasm -felf64 file.s -o file.o // file.s is the original file of your shellcode
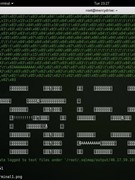
- ld -m elfx8664 file.o -o file // then we can run the file generated in this step and get the following result

my file is "bin.s", and bin is the file I generate in the last step, we can see the new shell $ in the following.......
Writing a Shellcode needs knowledge of assembly language, however, if you are familiar with the assembly language, the Shellcode is just a story books to you! That is also a goal I work hard for XD
if you want to know the argument standing for in the system function, you don't need to surf the internet. You just need the terminal can insert man 2 <func>, and you can get the detail function and even the example of it use.
Now how about write a Shellcode yourselves!
Thanks for reading the article, please correct me with your comment if I have miss or make some wrong points.


Be the First to Respond
Share Your Thoughts